Smartphones have evolved from tools of communication to our one-stop shop for life, and a window into the world of others. Images sit at the heart of phone use, partly because it’s so easy to capture them in this way. But smartphone cameras are no longer basic point-and-shoot compromises; some of the specs can rival the might of DSLRs.
Isaac Reynolds, the product manager for Google’s Pixel 2 phone, knows more about smartphone technology, imaging and their use than almost anyone; his job centres around bringing together smartphone technology and software to take image capture to the next level.
We recently caught up with Isaac and asked for a few tips and tricks for getting the most out of smartphone cameras, and added some extra tips from our own photography experts. A few tweaks to the way you use your smartphone could take your photography skills to a whole new level.
01: Take lots of pictures
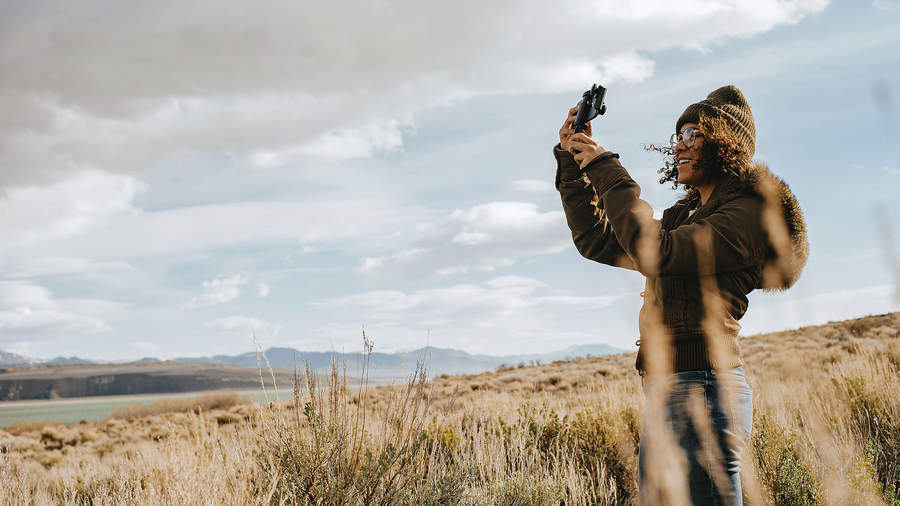
Isaac says: “I went to the Grand Canyon a while ago and shot 1,400 pictures in one week, and liked seven of these. When you’re shooting portraits especially, never take just one – take many to ensure you get just the right expression! (The Google Photos app gives you unlimited storage. Use it.)”
T3 says: If you’re visiting a once-in-a-lifetime location, make sure you get a variety of shots from different angles. A slight shift in position to the left or right can make a significant difference to the dynamics of your images. One potential problem is that as camera sensors get higher resolution, the pictures take up more space. If your phone can take a microSD card, make sure you add a big one (128GB or more, if your phone supports it) so that you don’t have to worry about the number of shots (or how much 4K video you take).
If you can’t add storage to your phone (as is the case with iPhone, for example), send photos to a cloud service then delete them from your device when more room is needed, or get some external storage that you can connect – there are USB keys and hard drives that work with iPhone.
02: Keep your camera out
Isaac says: “Make sure you always have your camera out. It sounds obvious, but you need to be ready.”
Sign up to the T3 newsletter for smarter living straight to your inbox
Get all the latest news, reviews, deals and buying guides on gorgeous tech, home and active products from the T3 experts
T3 says: As phones are always on standby, they can be ready to use almost instantly. For added speed, consider using a sleeve and lanyard to keep your camera out and primed, but only if you feel safe exposing your phone in such a way. The Zizo Bolt case is an excellent choice. It has a hook to attach a lanyard, so you can loop it around your wrist. It’s also a tough case, built to withstand any accidents that could happen if you’re carrying your phone everywhere.
You might also run low on battery if you’re walking around with your camera app already running a lot. In that case, you could look at a battery case instead of the Bolt – Mophie’s Juice Packs are a great option for iPhone and Samsung – or a slimline external battery pack that can sit in a pocket until needed.
03: Use natural light more intelligently

Isaac says: “At midday, when the sun is directly above, take pictures of objects and people in the shade. Midday sun is incredibly harsh, but in the shade it’s much softer and more distributed. Your subject also won’t squint, and you’ll get a better photo. Everyone’s happy!”
T3 says: Using naturally diffused light through a canopy of leaves is another great way to find complementary lighting, but watch the background. If the scene beyond the shade is cast in bright sunlight you may find it burns out and gets lost. If this is the case, move your subject slightly to get a background with light that more closely matches the foreground.
If you are stuck for cover and want to take the picture in direct sunlight, position your subject with the sun at 45 degrees behind you. This will cause some shadows across the face but will help to avoid squinting, since they won’t be looking directly at the light. To reduce the shadows on the face when shooting a portrait, you can always hold up a piece of white fabric, card or paper to reflect some of the light back into the face on the shadowed side.
04: Get an unusual perspective
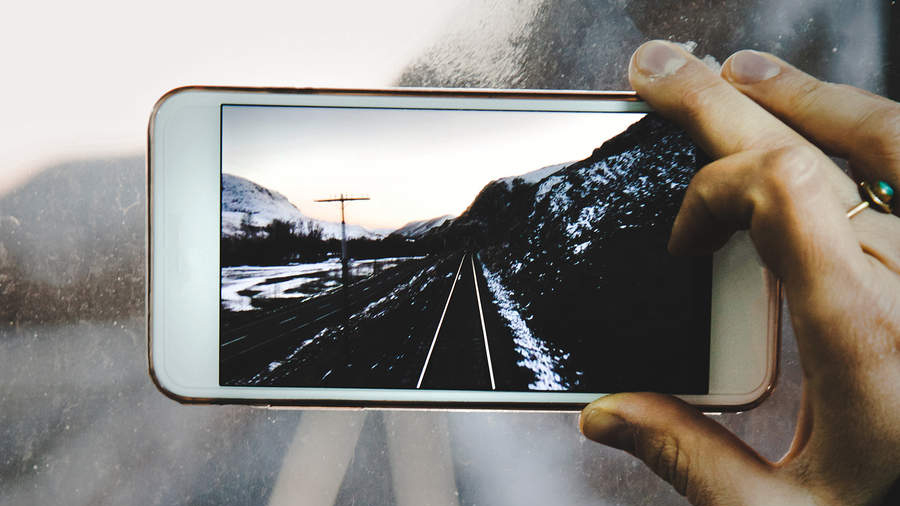
Isaac says: “Think about shooting something from directly above or directly below. Or very close. Or while using a natural frame like bushes or leaves. The phone is small. It can be used in many different settings, so take advantage of that. You should never take the same photo twice; always change perspectives or settings between photos.”
T3 says: A common trick used by photographers is to angle the horizon, a technique known as the Dutch tilt. This unusual angle instantly adds further interest and dynamics, and can be used in a variety of ways. Used in combination with a low or high angle, for example, the effect can be super-dramatic. Take a look at your surroundings too. You can use objects such as trees, fences, paths or even a lamp post to create patterns or paths through images, helping to draw the eye through your composition.
05: Make use of the viewfinder
Isaac says: “Make sure you tap the viewfinder when taking your shot. you can tap the viewfinder to set focus on something in your image. on the pixel, this will make sure that whatever you tap stays sharp and not too dark or bright. you can even drag the aperture setting up and down after tapping to make the image exactly as bright as you like.”
T3 says: This is solid advice for more than just the Pixel phones. The autofocusing on phones is great at guessing what you want the shot to be of, but when you tap something the phone will optimise what it’s doing for that subject. Being able to lock focus and exposure is really useful, too. While this works well for static subjects, things can be a little more tricky if they start to move. New features such as intelligent tracking will help to keep up with the subject and ensure that it remains in focus and correctly exposed.
However, if you’re at a sporting event where the horse, car or person shoots past quickly, you may find that you miss the action. This is where exposure and focus lock come into play.
Tap on a specific point on the ground that corresponds to the position you know that the subject will pass, then lock the focus and exposure to that point (often just by tapping and holding, but it’ll vary between phone and app). When the subject passes, hold the shutter button to take burst shots. You’ll skip the delay as the camera tries to focus and calculate the exposure, and you will end up with the image you want. A little trial and error are often needed to perfect the shot.
06: Fill the frame
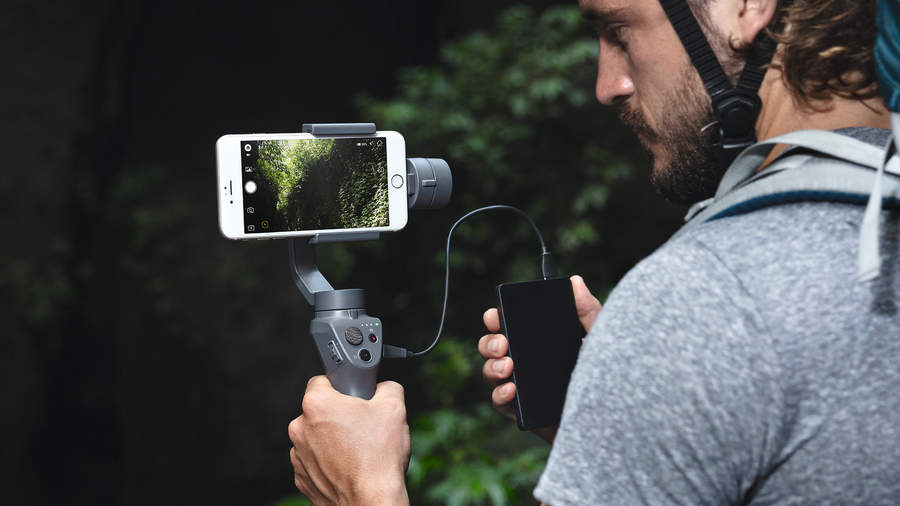
Isaac says: “Get closer and fill the frame. When you’re too far back it’s hard to figure out what the subject is, and more likely that you’ll have unwanted or distracted intrusions in the background. Just get closer! As a side note, pay attention to your backgrounds.”
T3 says: People can benefit from an extreme close-up, but it has to be done carefully. In the world of selfies, this type of shot has become much easier. But still, stepping into someone’s personal space can be intrusive. To take a successful close-up portrait, ensure you know the person well or at least have a good rapport going; keep chatting to them as you take the picture and get them to pull a few expressions. The more shots you take and the better that rapport, the better the final image will be.
One of the big principles here is to always zoom with your feet and not by pinching to zoom. You’re just cropping into the frame when you do that on a phone, which you could always do after you take the shot anyway. If you want to get in close, do it by shifting yourself so that you get the full quality of the picture.
