Many of us are deskbound for our average day at work, and even with all the apps and fitness trackers available reminding us to move frequently, how often do you leave your desk? Although investing in one of the best standing desks and one of the best office chairs will help, you need to make sure you're sitting in the correct posture, too. These desk exercises are all designed to bring movement to your joints and improve your posture.
The following sequence can be practised using your desk chair, and there's no equipment required, so there is no excuse. They take less than 10 minutes and can be repeated as many times as you like throughout the day. Give it go and watch your posture improve.
Note: Most of these are practised seated with the feet hip distance and flat on the floor, unless otherwise stated. Hit the arrows to scroll through the demo images. If you want to take things up a notch and have a little more time, try this 10-minute energy-boosting yoga sequence.
1. Counteract the digital hunchback
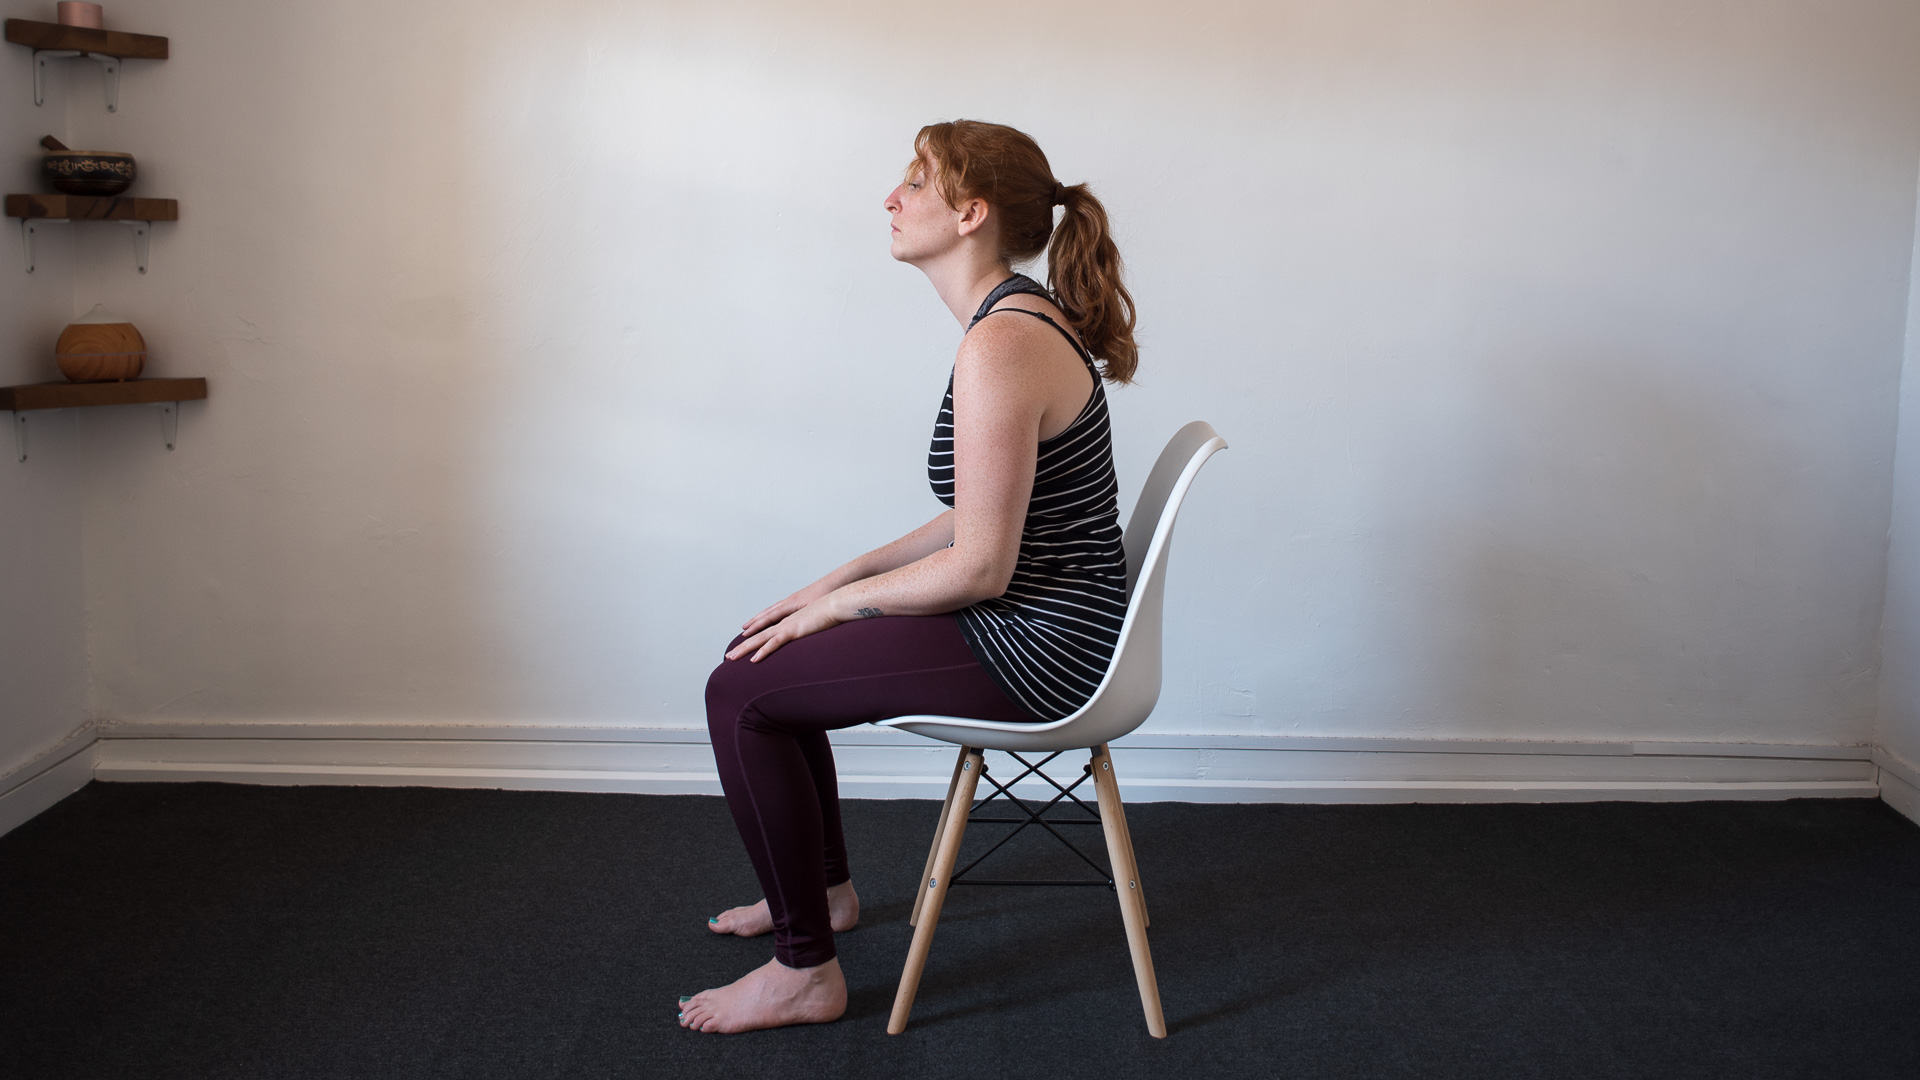
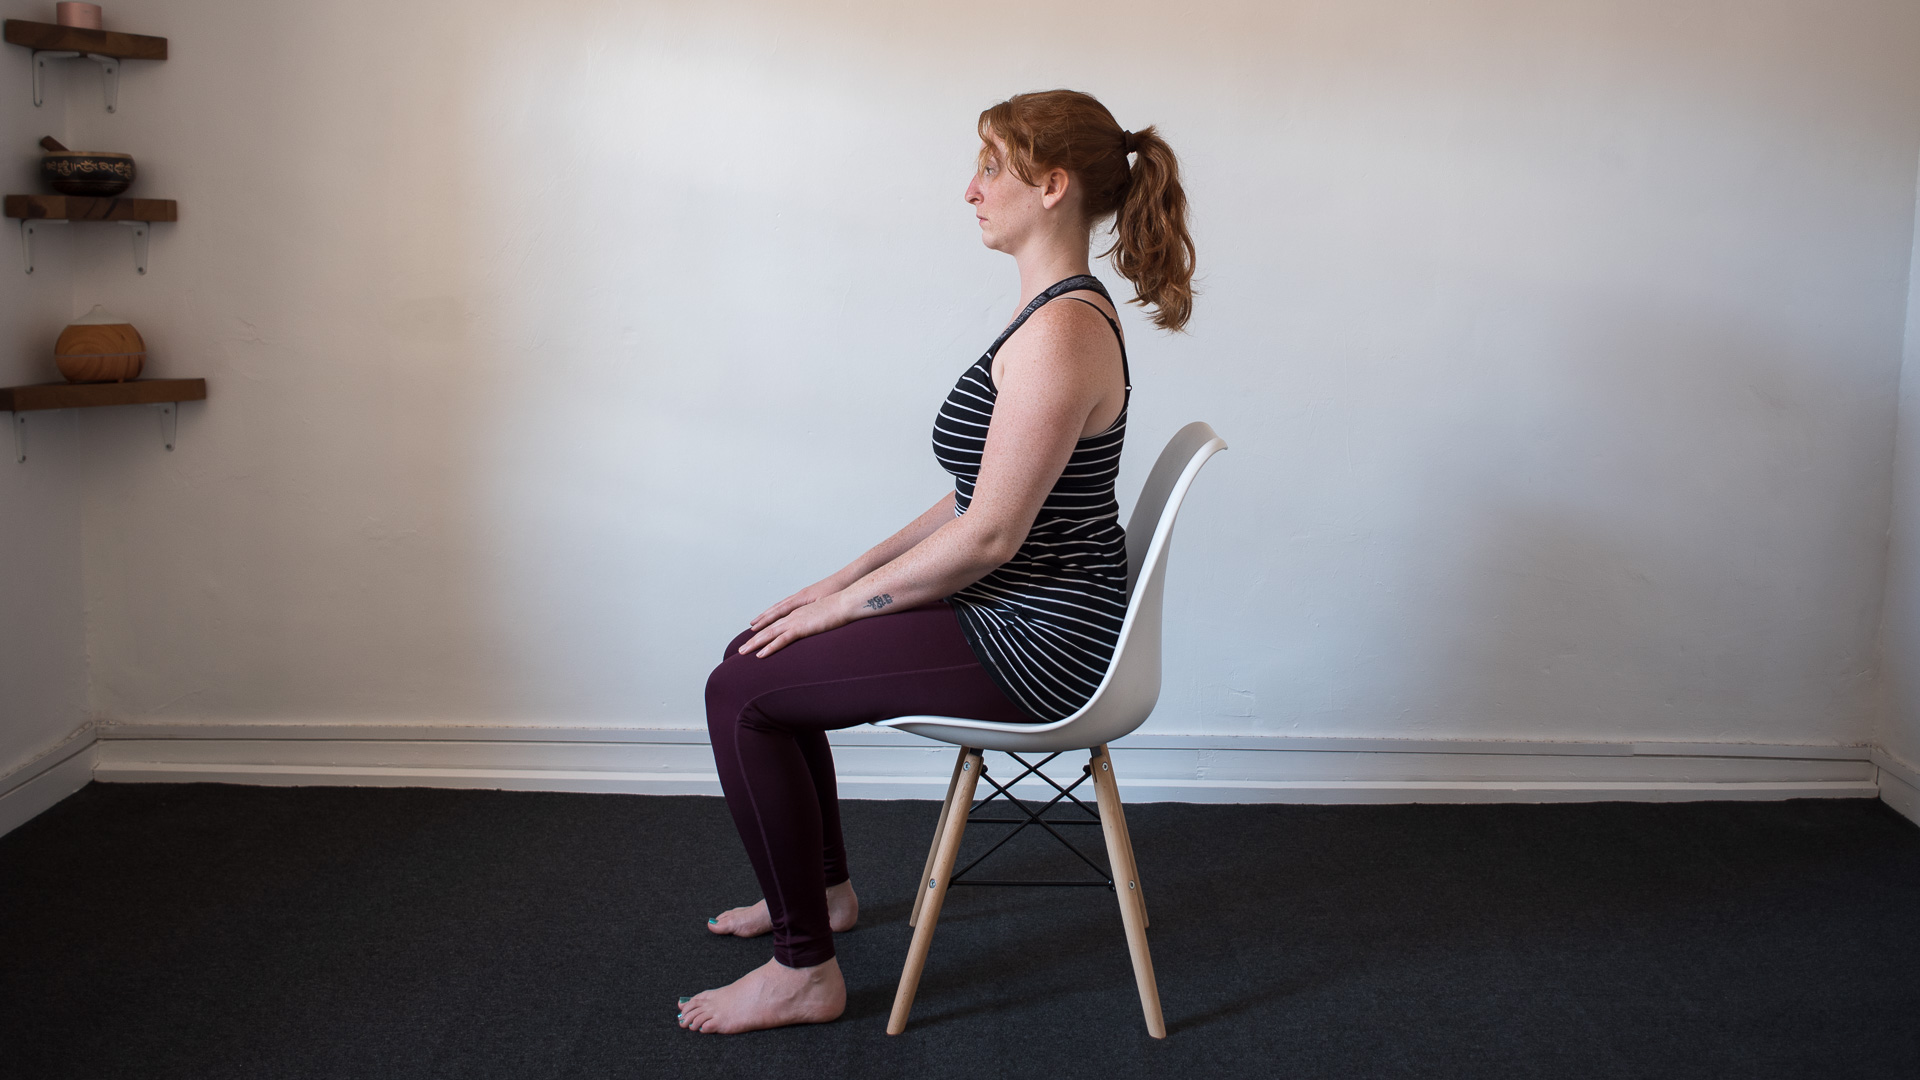
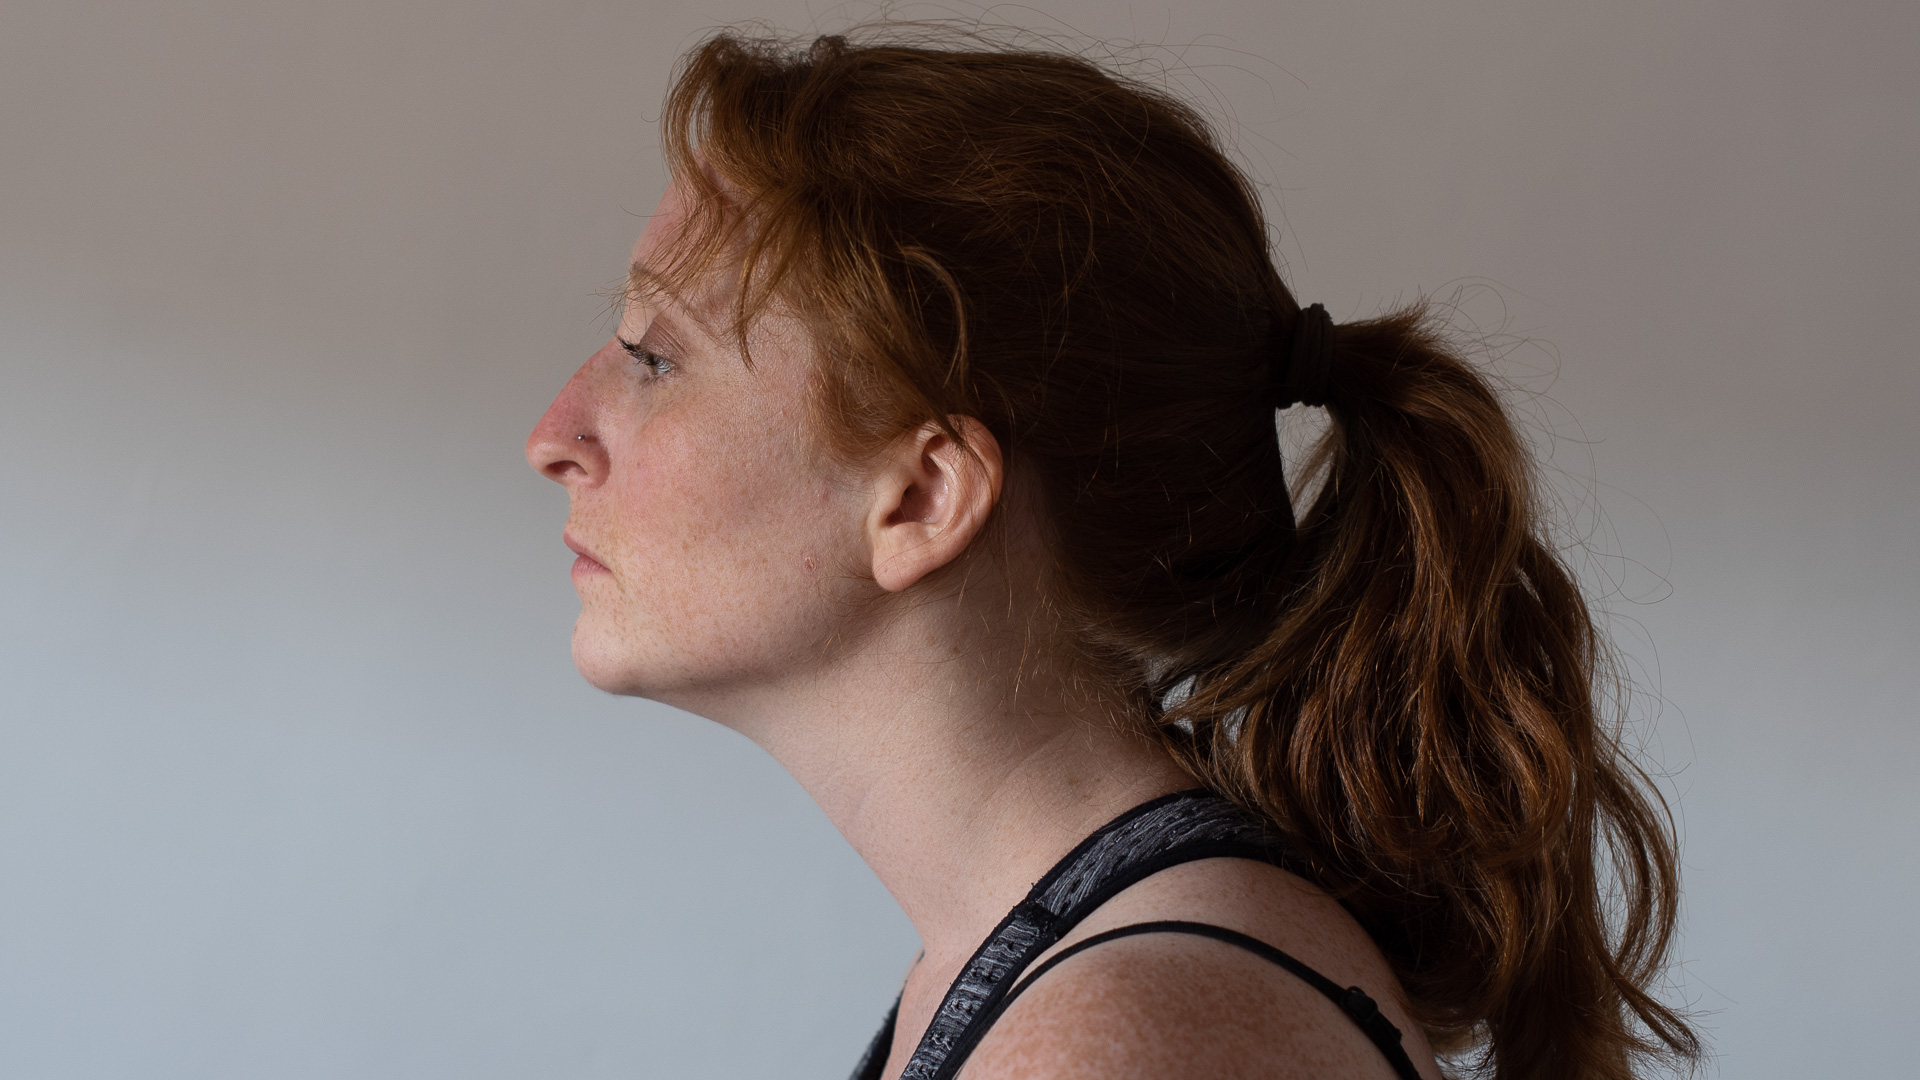
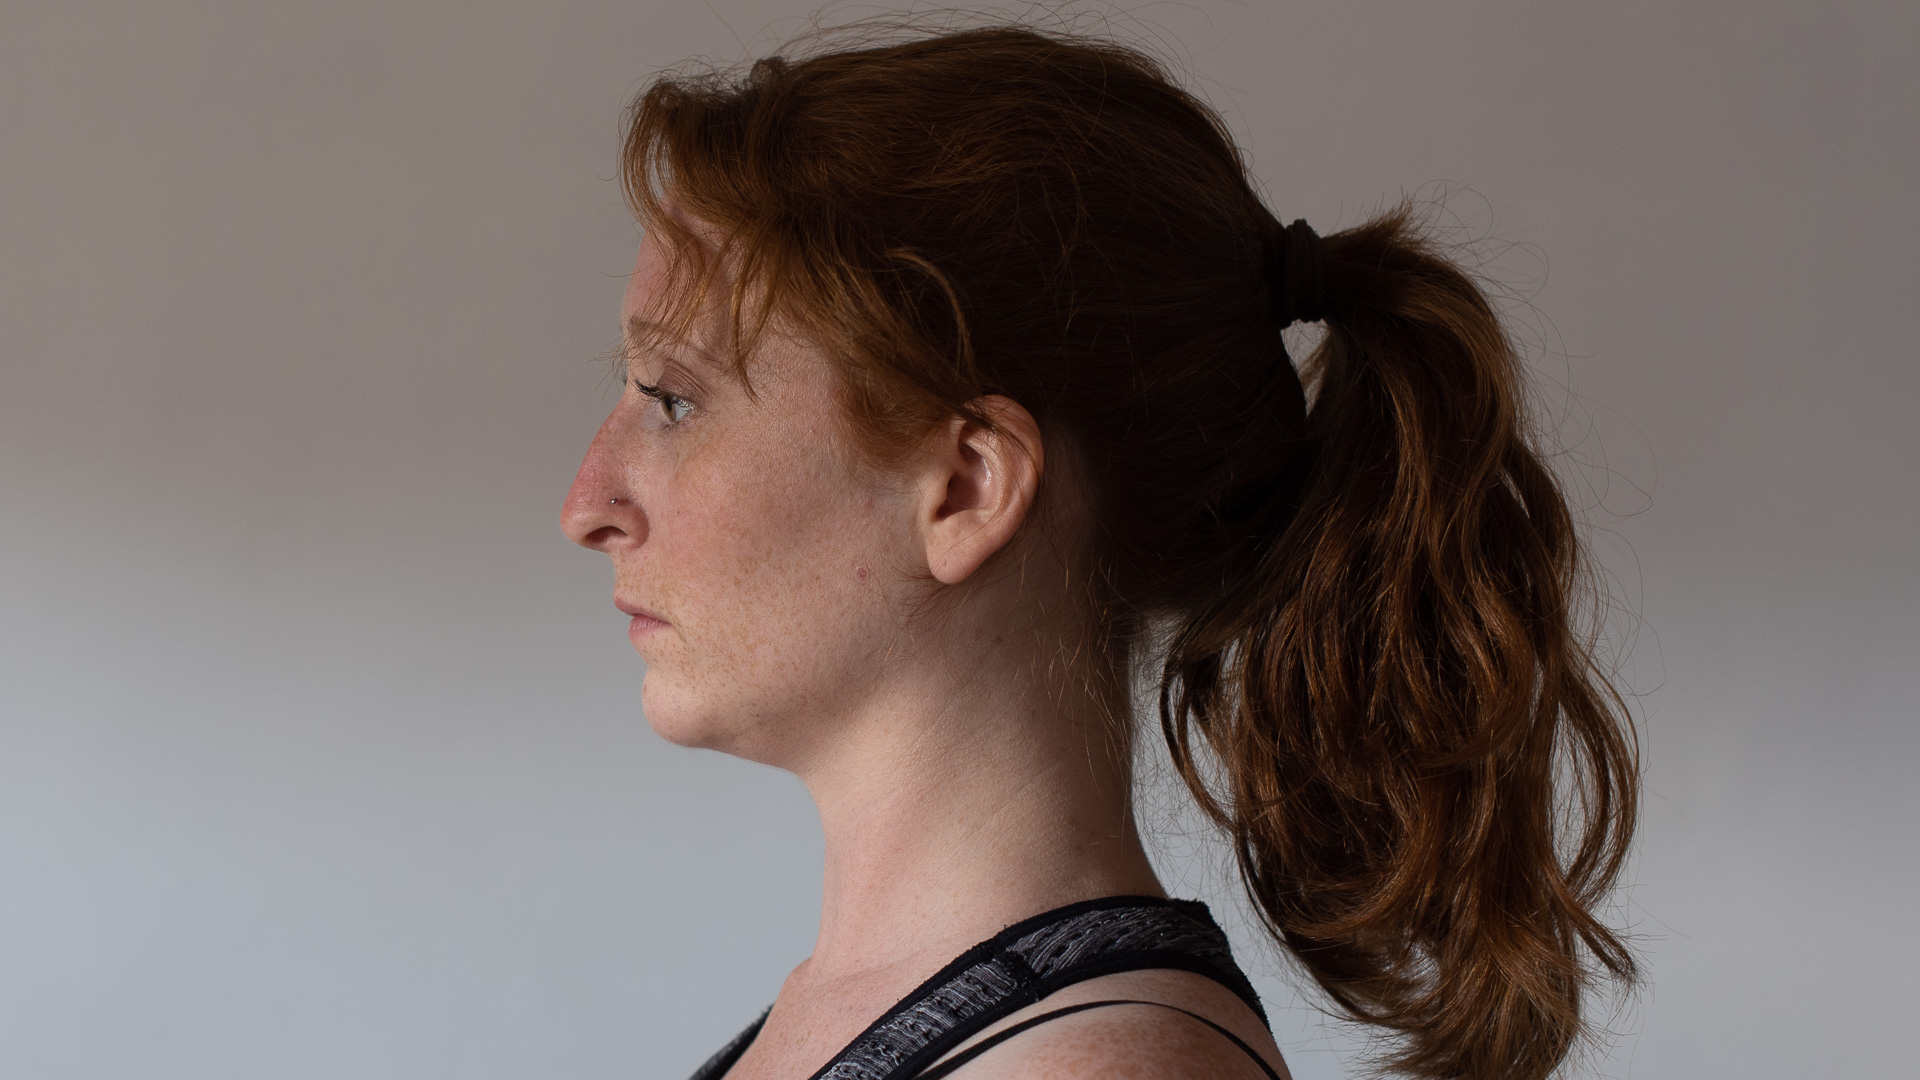
Having some awareness of the ideal spinal alignment can help you achieve a better posture so that's where we'll start. In the first image, you can see the upper back is rounded, the shoulders are dropping forward, the back of the neck is shortened and the chin is lifting up. This tends to be how we end up sitting at our desks as we slowly lose the extension through the spine.
To avoid the hunchback look, roll your shoulders back, bring your chin parallel to the floor and move the top of your ears up and back. This will lengthen the back of your neck and stop you from drooping forward. Practice this throughout your day whenever you notice you're slumping. This is the alignment you want to come back to – remind yourself to check your posture throughout the day
2. Open the upper back
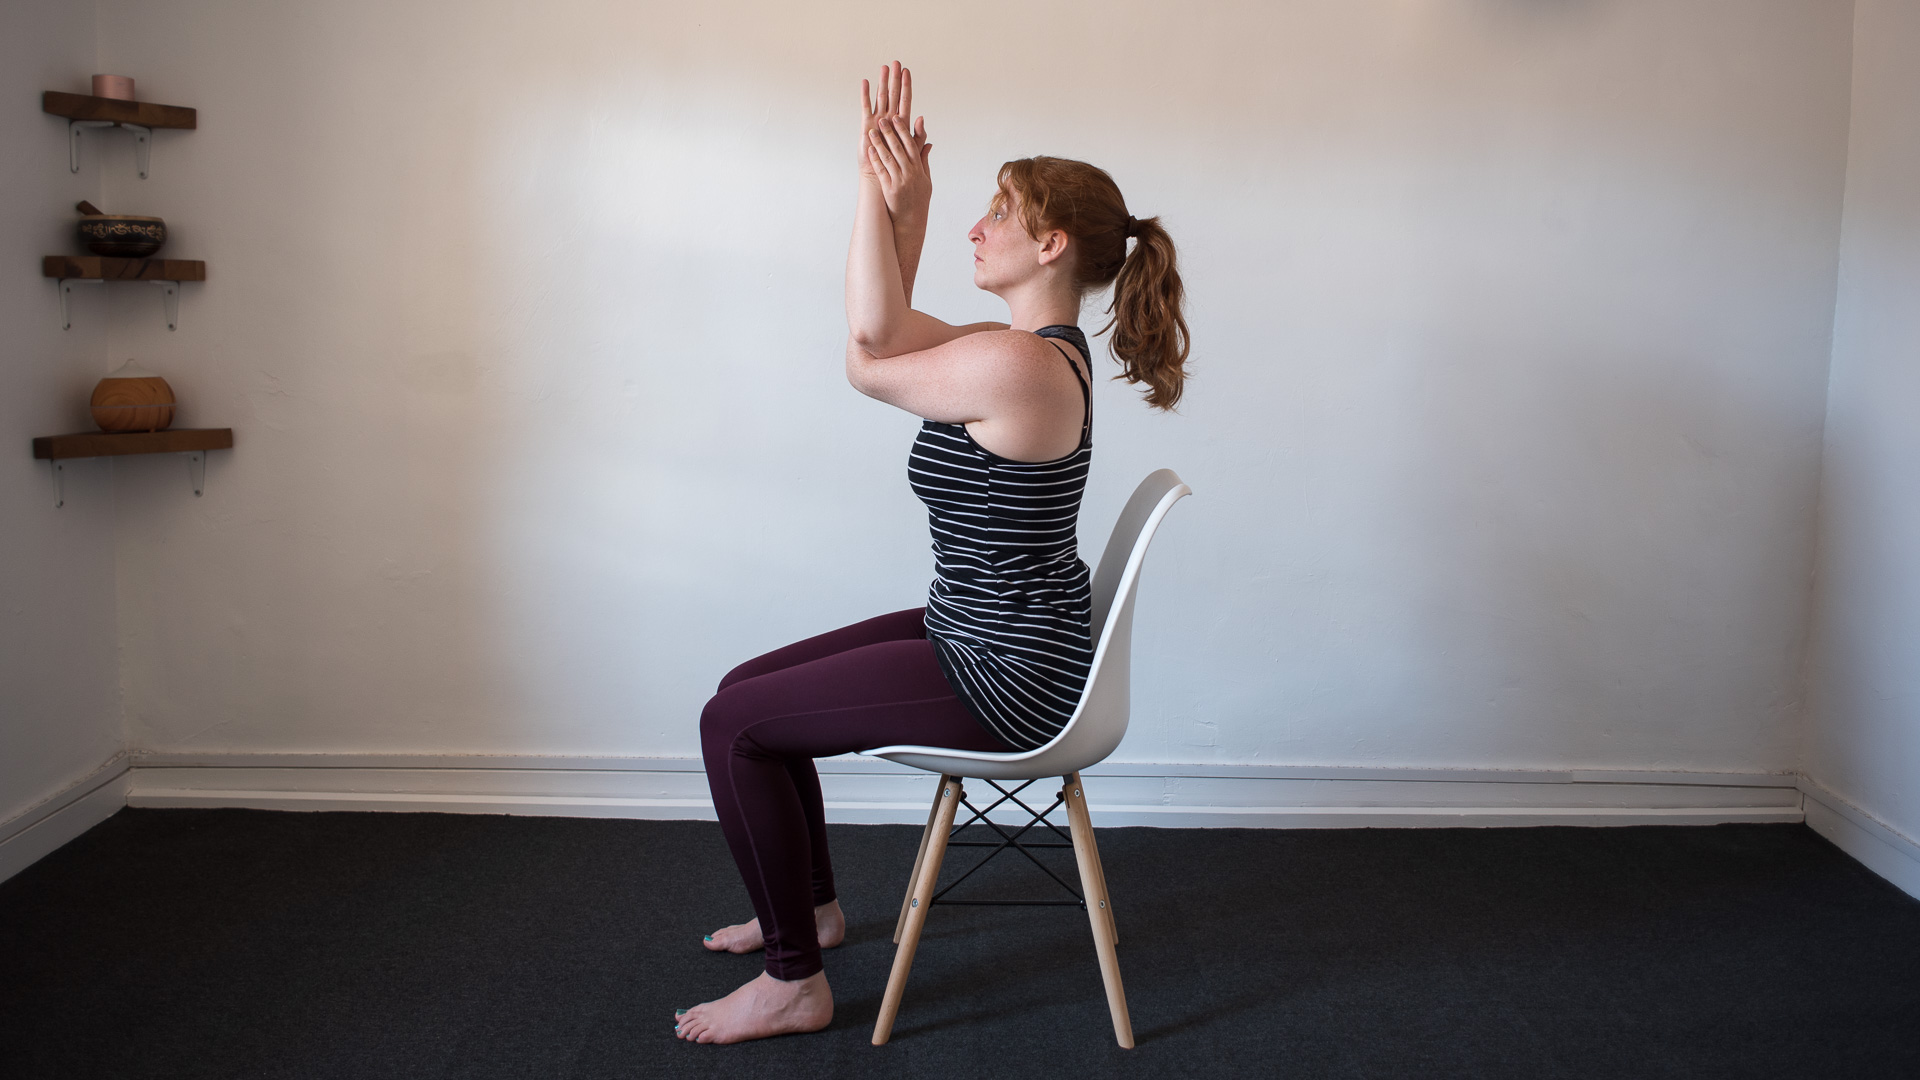
This pose is designed to help open your upper back
When we fall into a habitual posture at our desk, our neck and shoulders can experience tension, especially if we sit for extended periods with the upper back rounded. To counteract this, you want to relieve the trapezius muscles help you to move your shoulders and head back comfortably into the ideal spinal alignment.
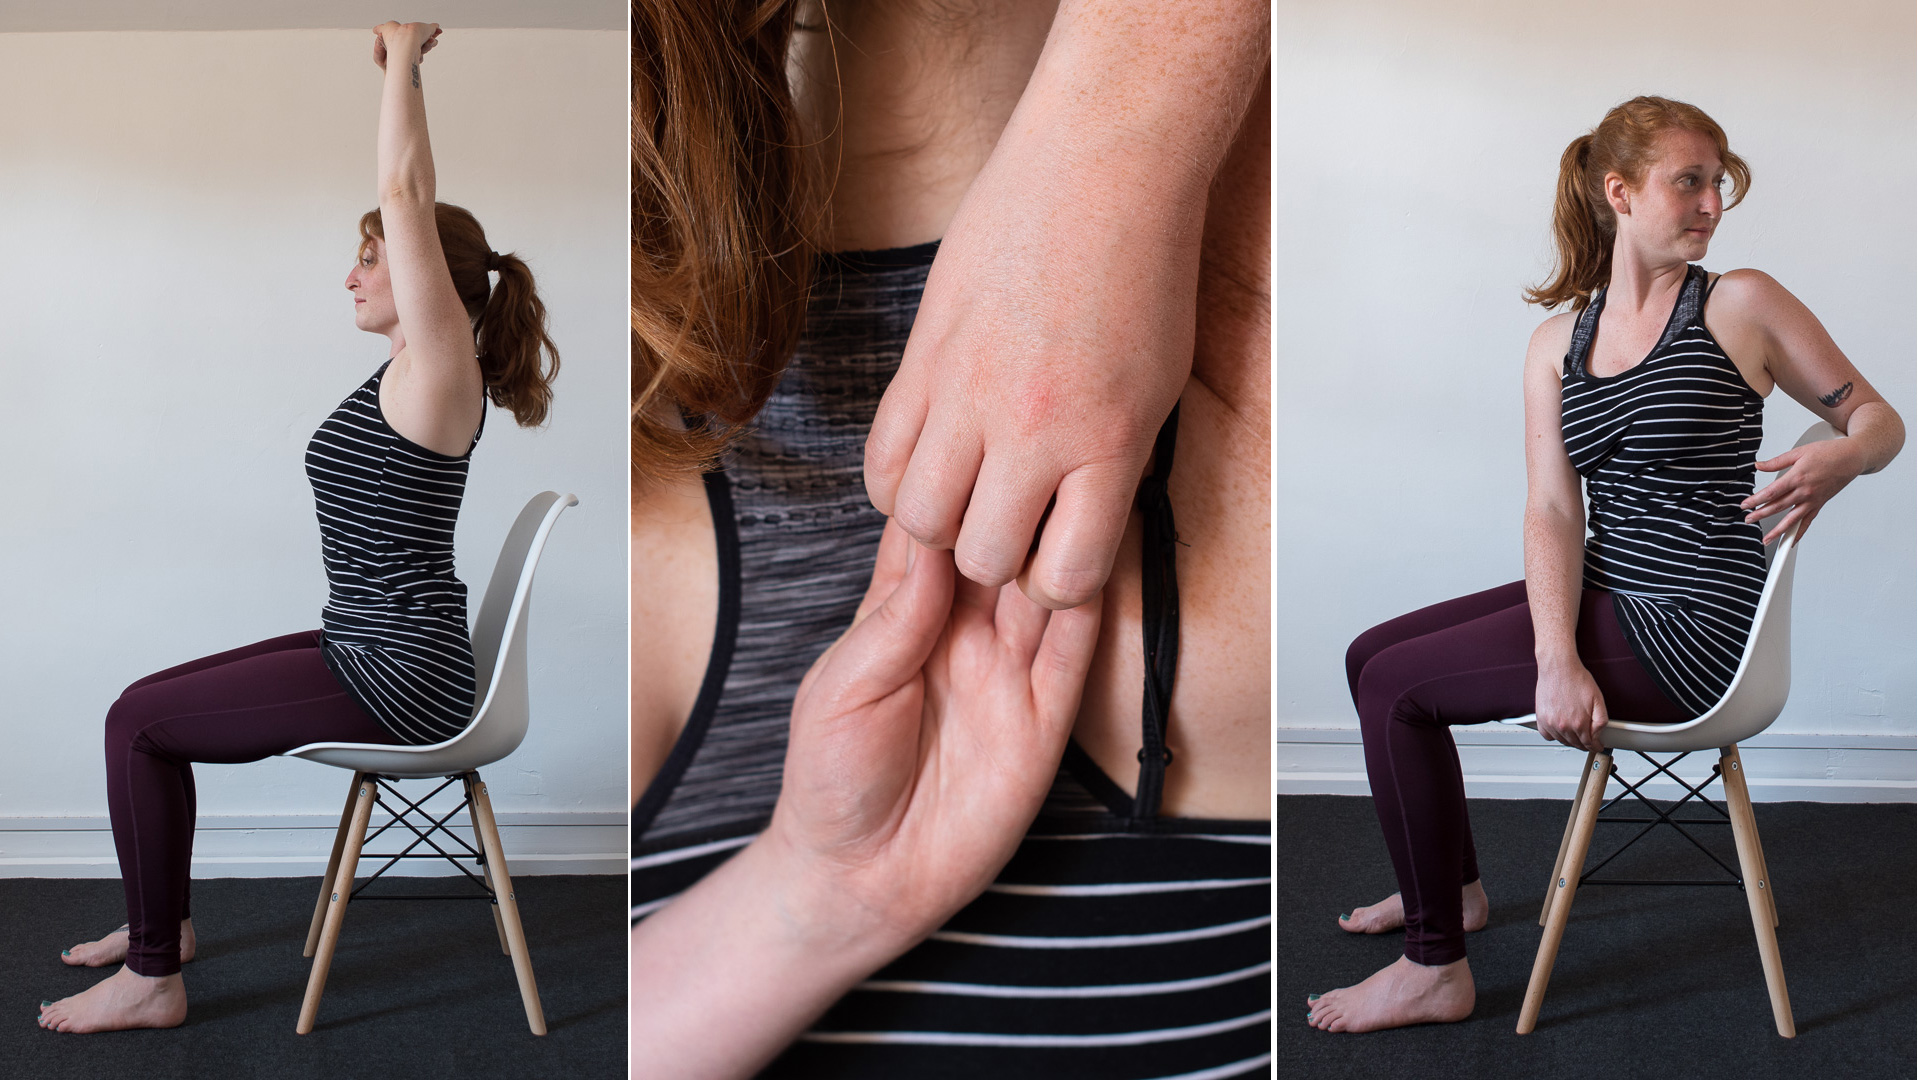
A good desk exercise for this is to sit forward with your back away from your chair. Bring your right elbow into the crease of the left elbow, bringing your arms into a 'V' shape. Start to wrap your forearms around each other.
Sign up to the T3 newsletter for smarter living straight to your inbox
Get all the latest news, reviews, deals and buying guides on gorgeous tech, home and active products from the T3 experts
If you can, take hold of your right wrist with the left hand or place the palms together. If you can't reach, focus on trying to bring the top of the forearms closer. Keep your elbows parallel to the floor and the arms parallel to the face, moving your shoulders down, away from your ears. Take a few deep breaths. Be sure to repeat on the other side.
3. Bring space into the shoulders
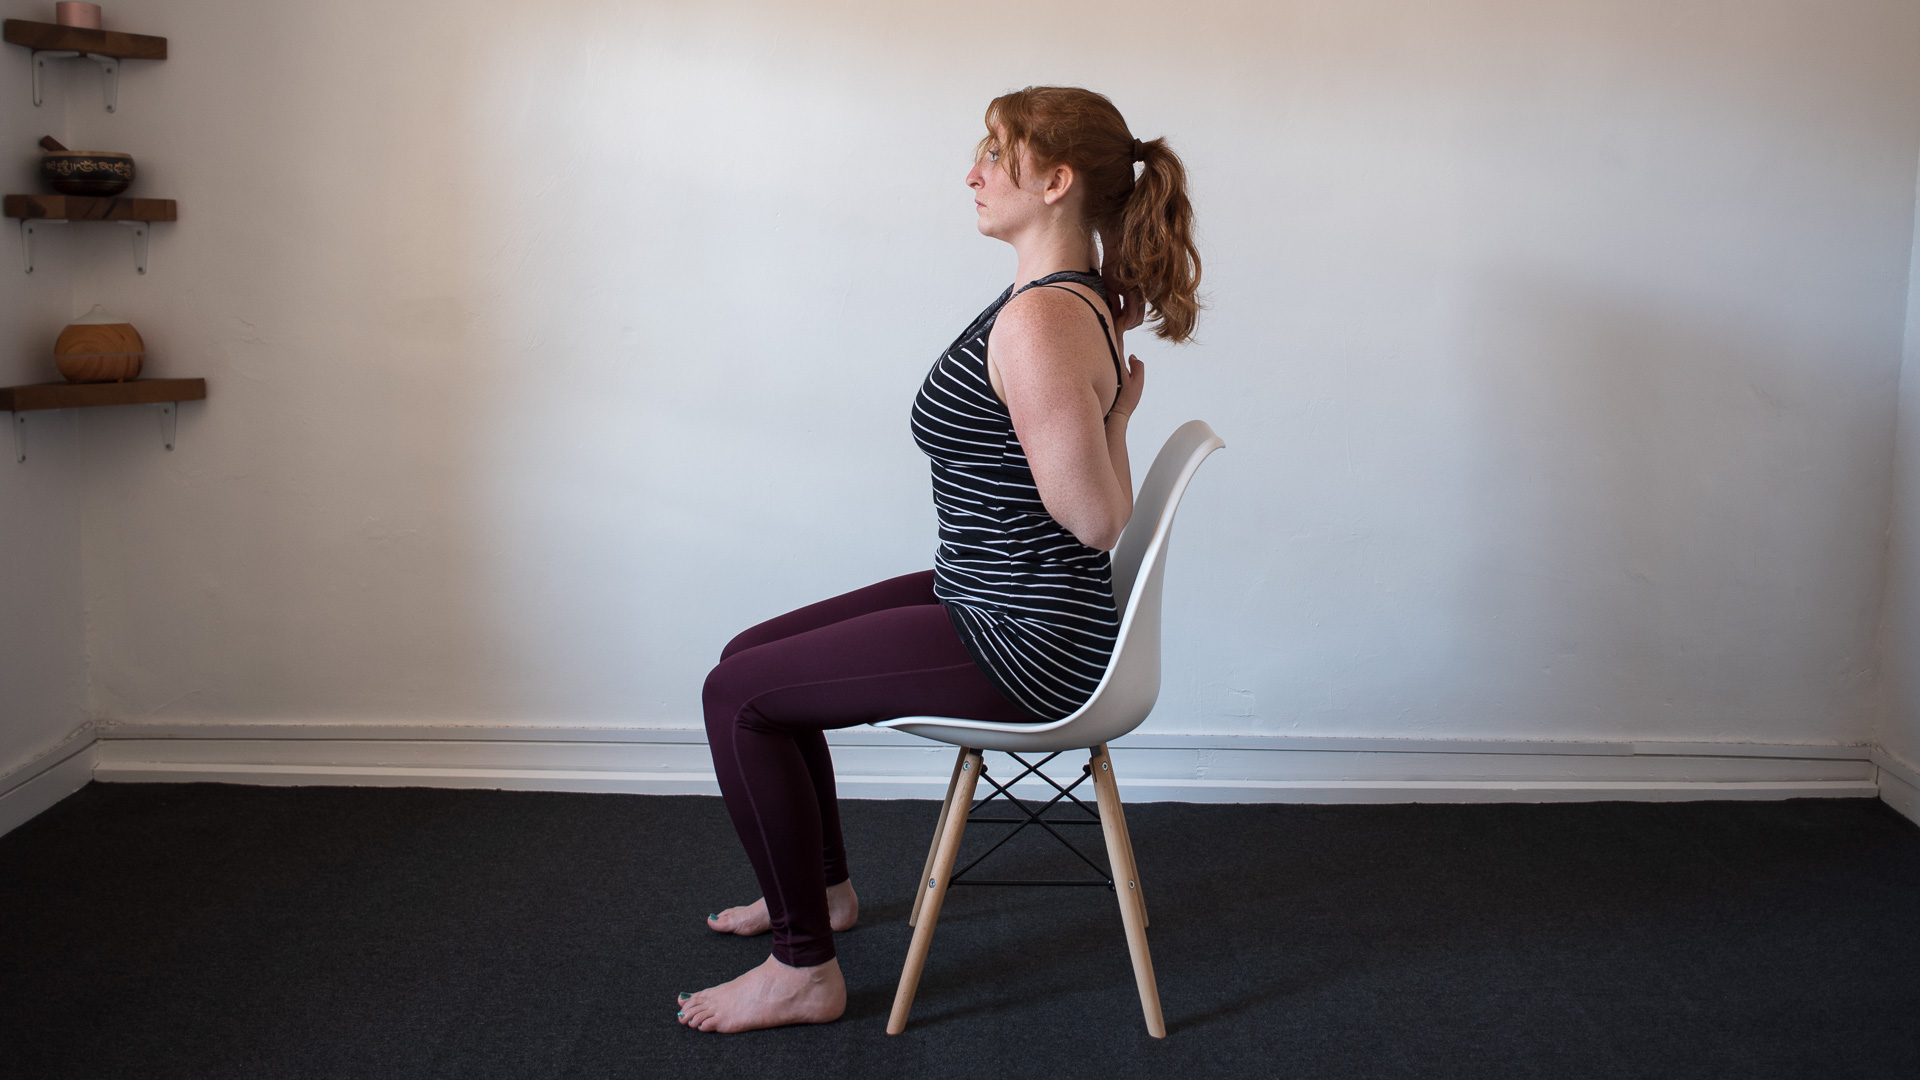

Another way to make it easier to move the head and shoulders back into alignment is to stretch out the muscles around the shoulders and warm up the shoulder joints. You can do this by lifting your right arm up, placing your hand in between your shoulder blades. With your left arm, make a big circle to the left, bend your elbow and bring the back of your left hand onto your back.
If you can, clasp your hands together. If not, gently pinch your top with your index fingers and thumbs. Work towards pointing your right elbow to the ceiling while drawing your front ribs in to avoid arching in the lower back. Take a few breaths and then repeat with the left hand in between the shoulder blades.
4. Release tension from the neck
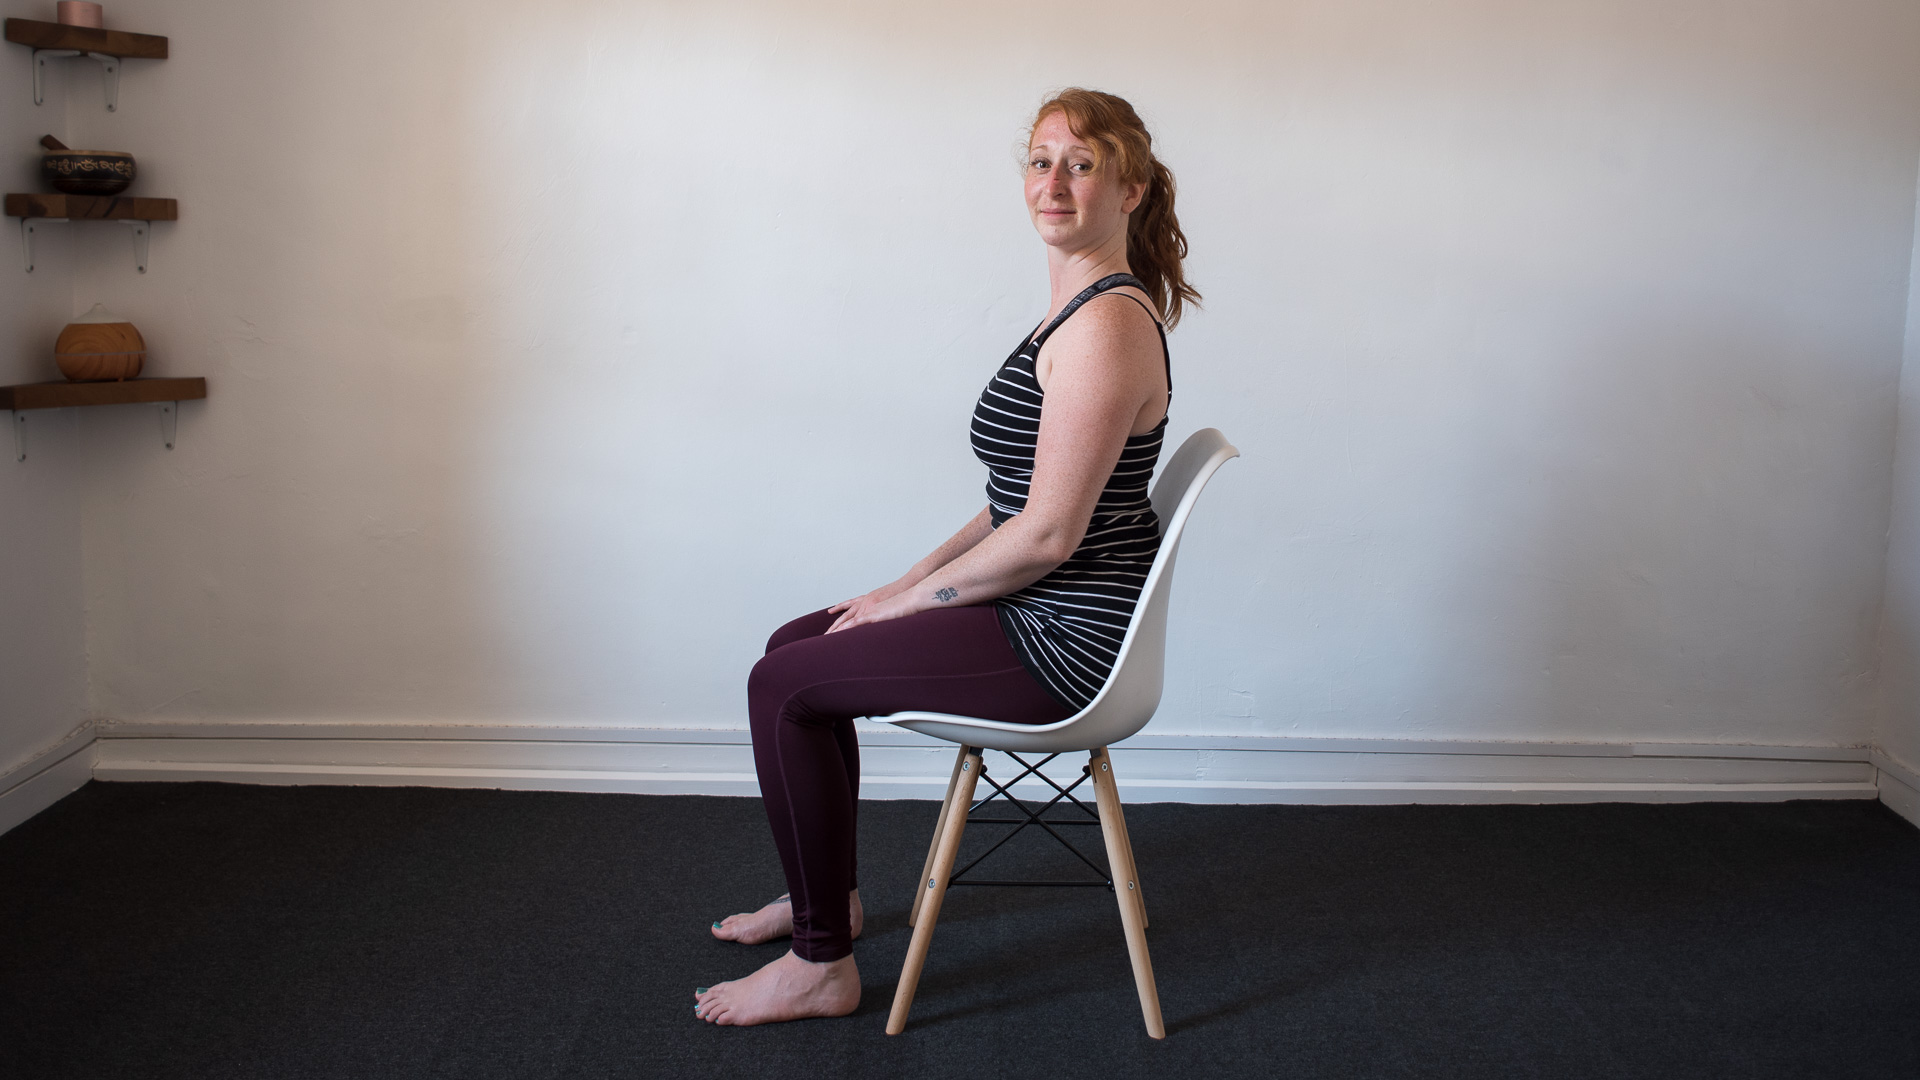
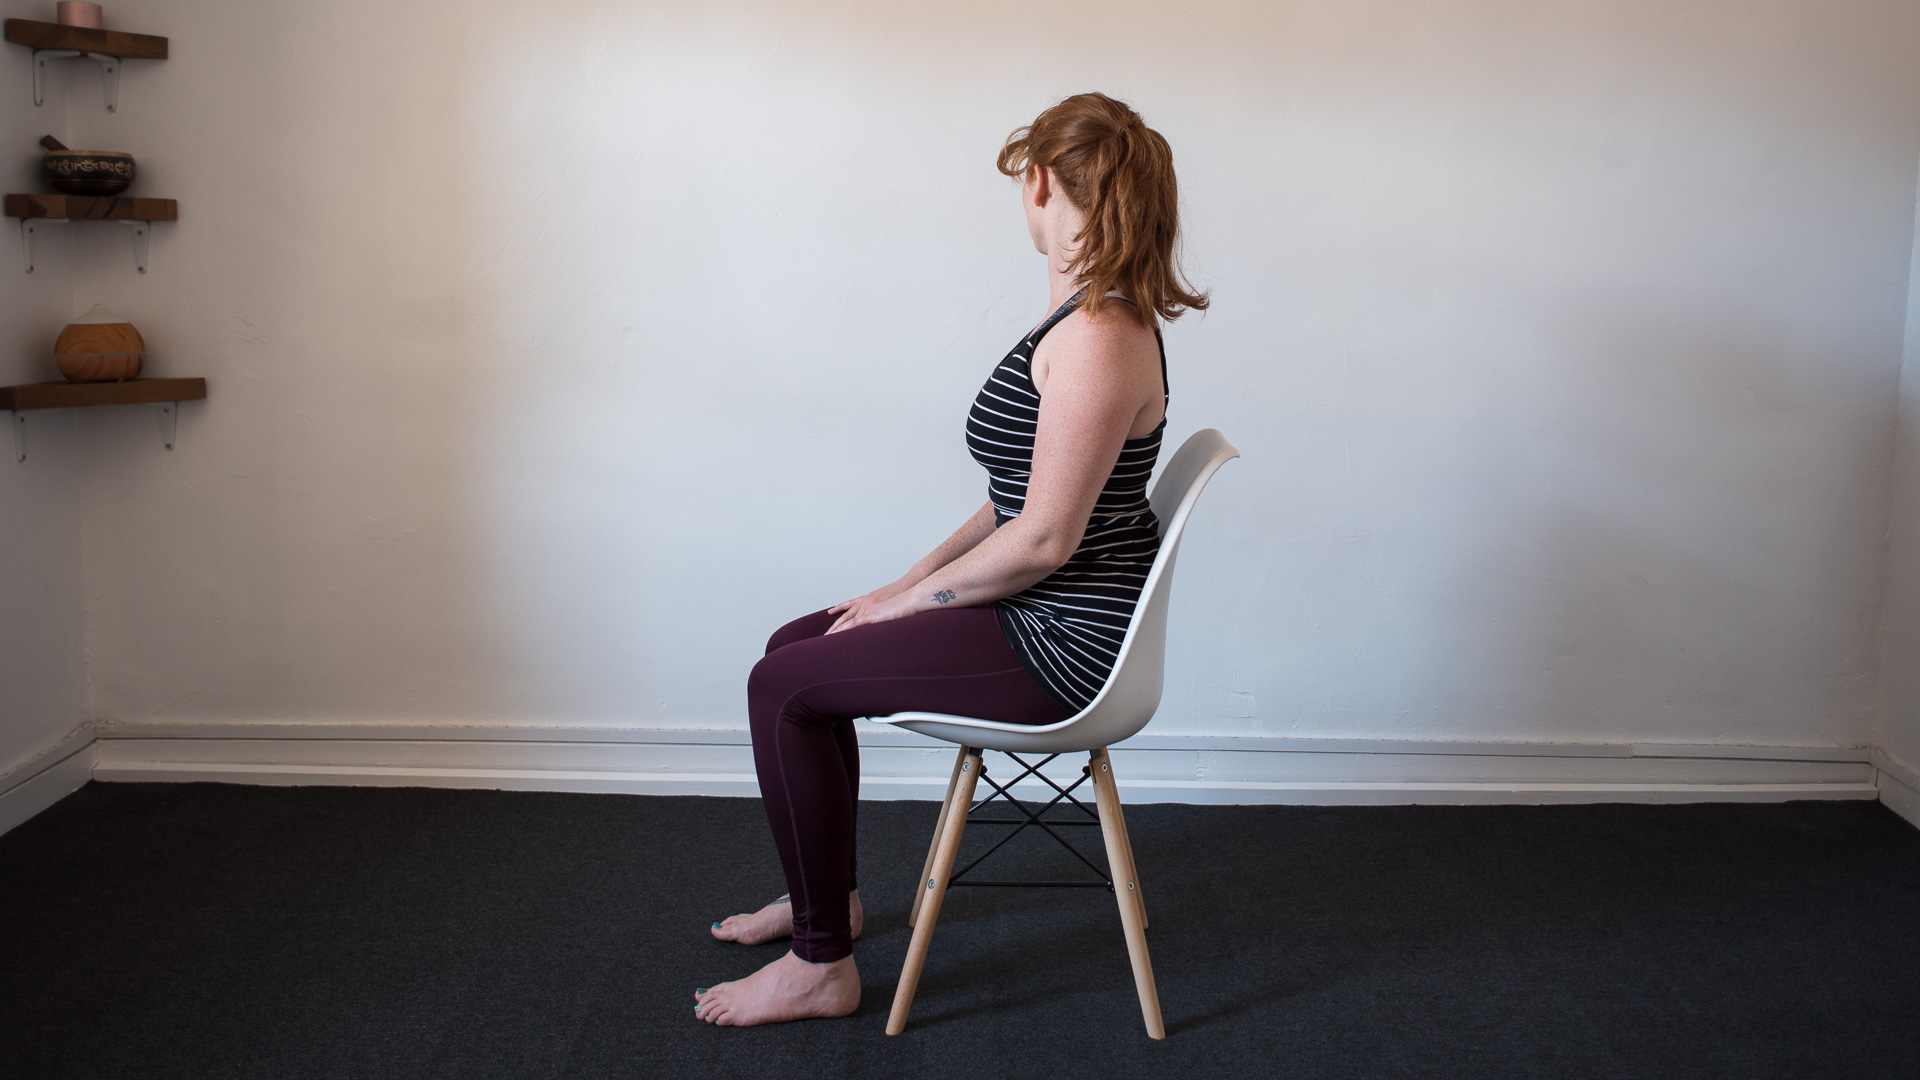
Sitting in an upright position, relax your shoulders and rest your hands on your lap. Start to look over your left shoulder and then the right shoulder. Repeat this a few times, moving from left to right with deep breaths. Make the movement slow so you can feel the muscles of the neck and upper back helping you to turn your head.
- Getting started with yoga? These are the best yoga blocks to help you improve your practice
5. Stretch out your wrists
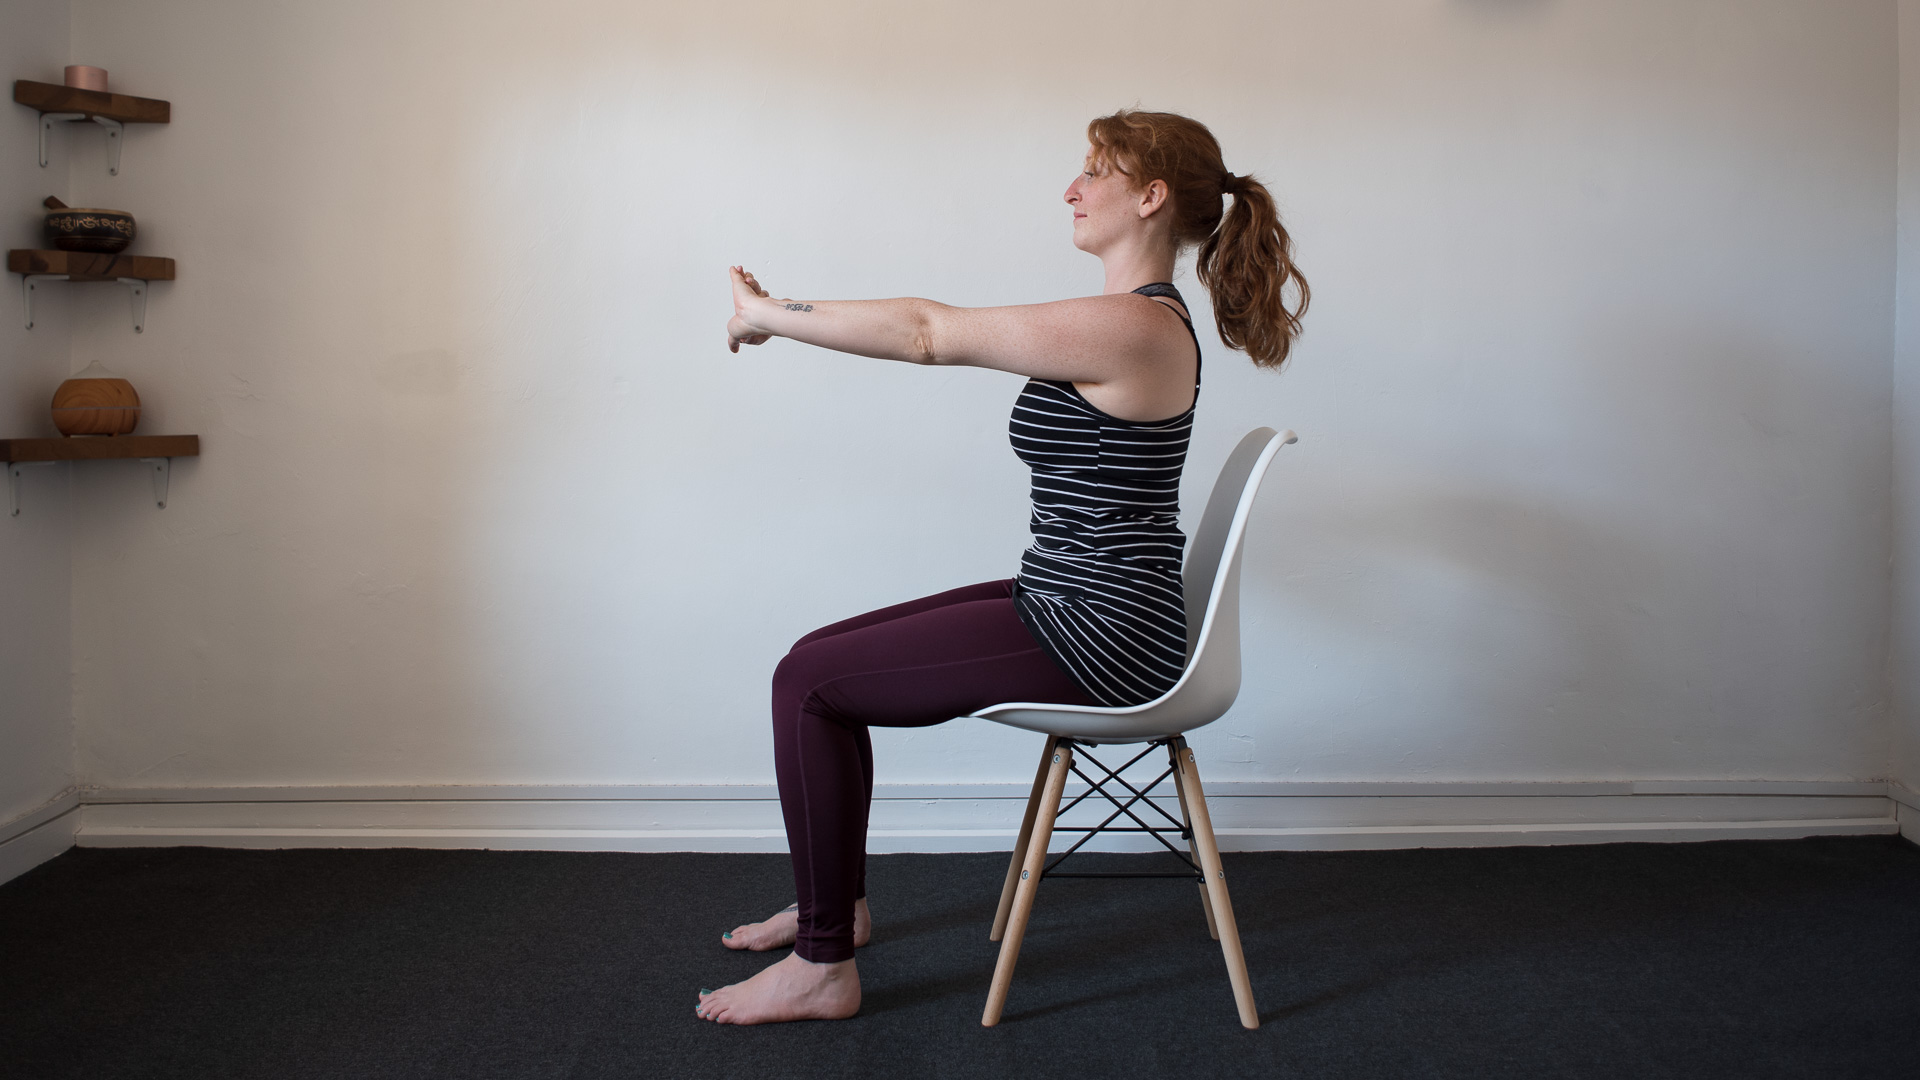
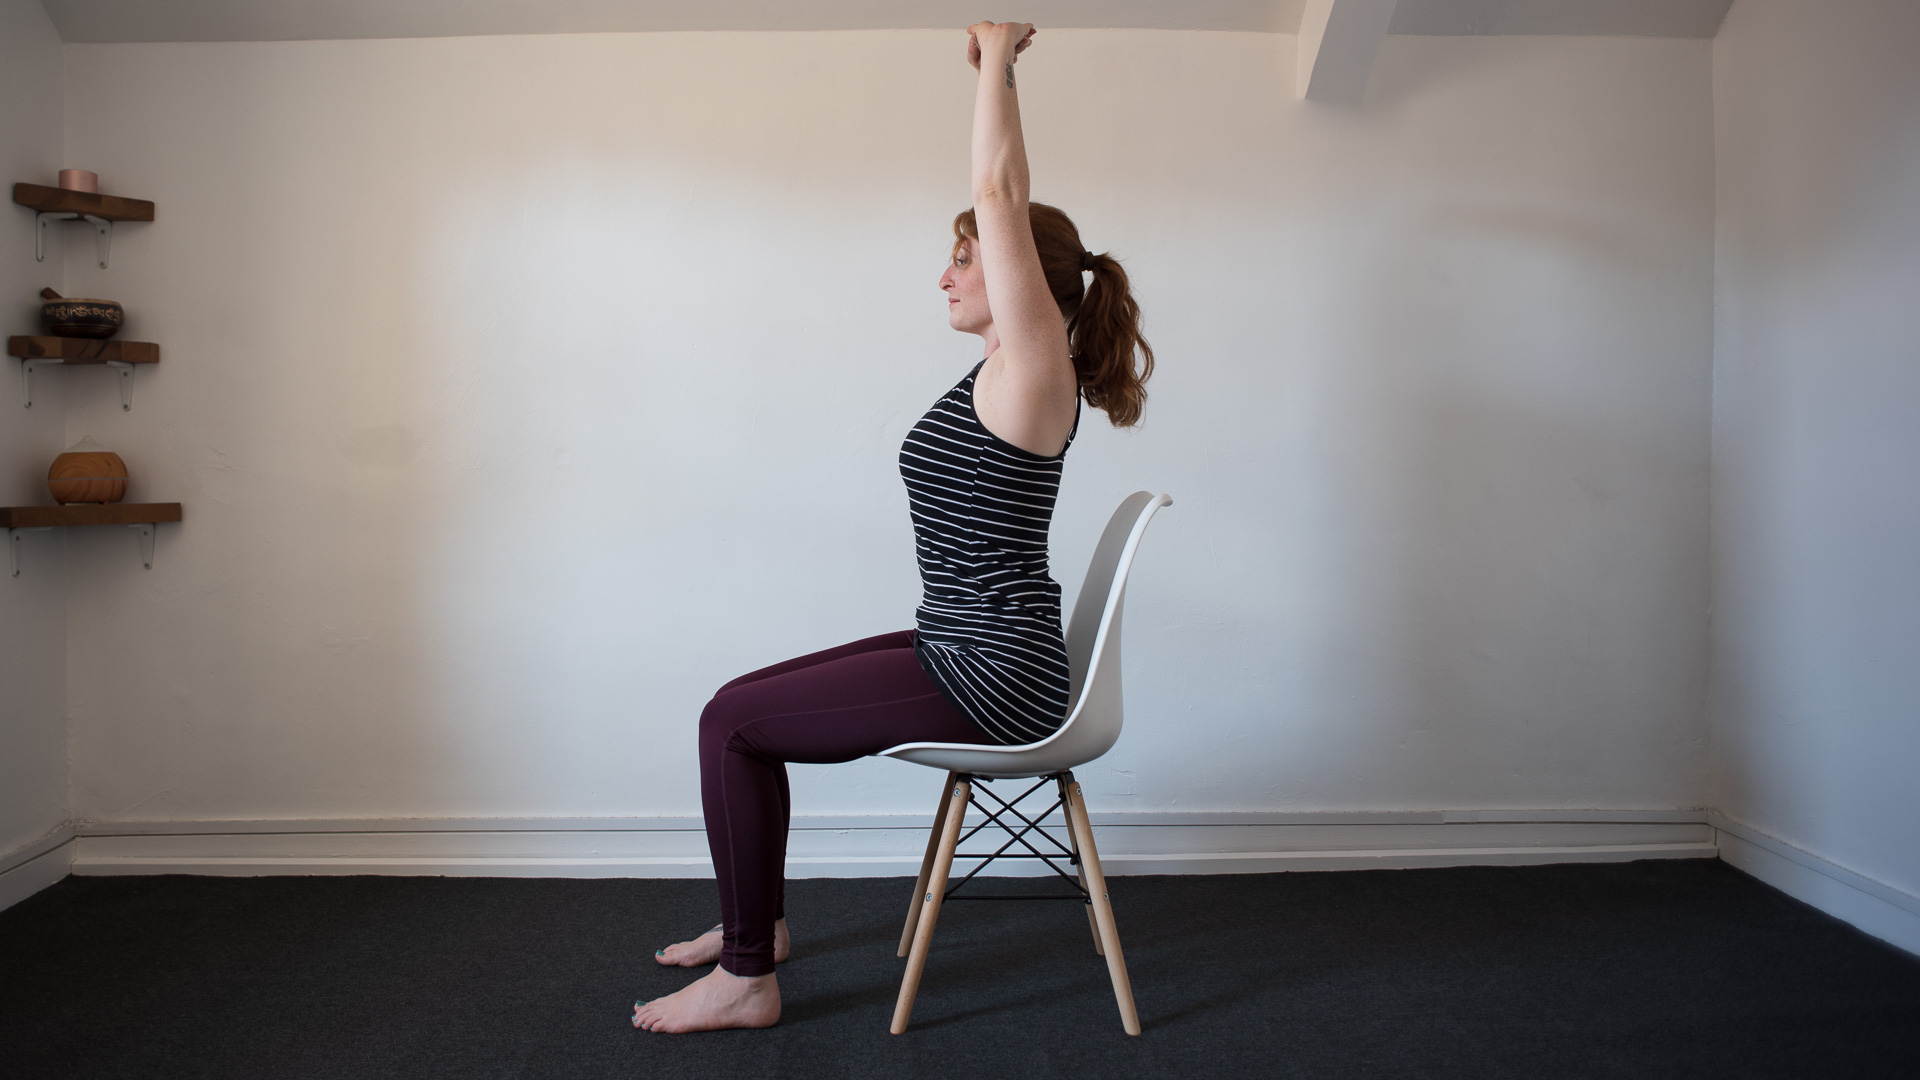
Typing all day sees your wrists in flexion. This exercise reverses that and brings them into extension. Staying in your upright position, bring your arms out in front of you at shoulder height, interlace your fingers and press your palms away. Inhale, lift your arms up while keeping your shoulder blades down your back, away from your ears. Hug your front ribs in to avoid arching in the lower back. Your palms face the ceiling, or as close to that as you can manage. Reach up through the wrists. Take a few deep breaths then return your arms to shoulder height in front of you. Interlace the fingers the other way with the other little finger on top and repeat.
6. Open up with a supported backbend
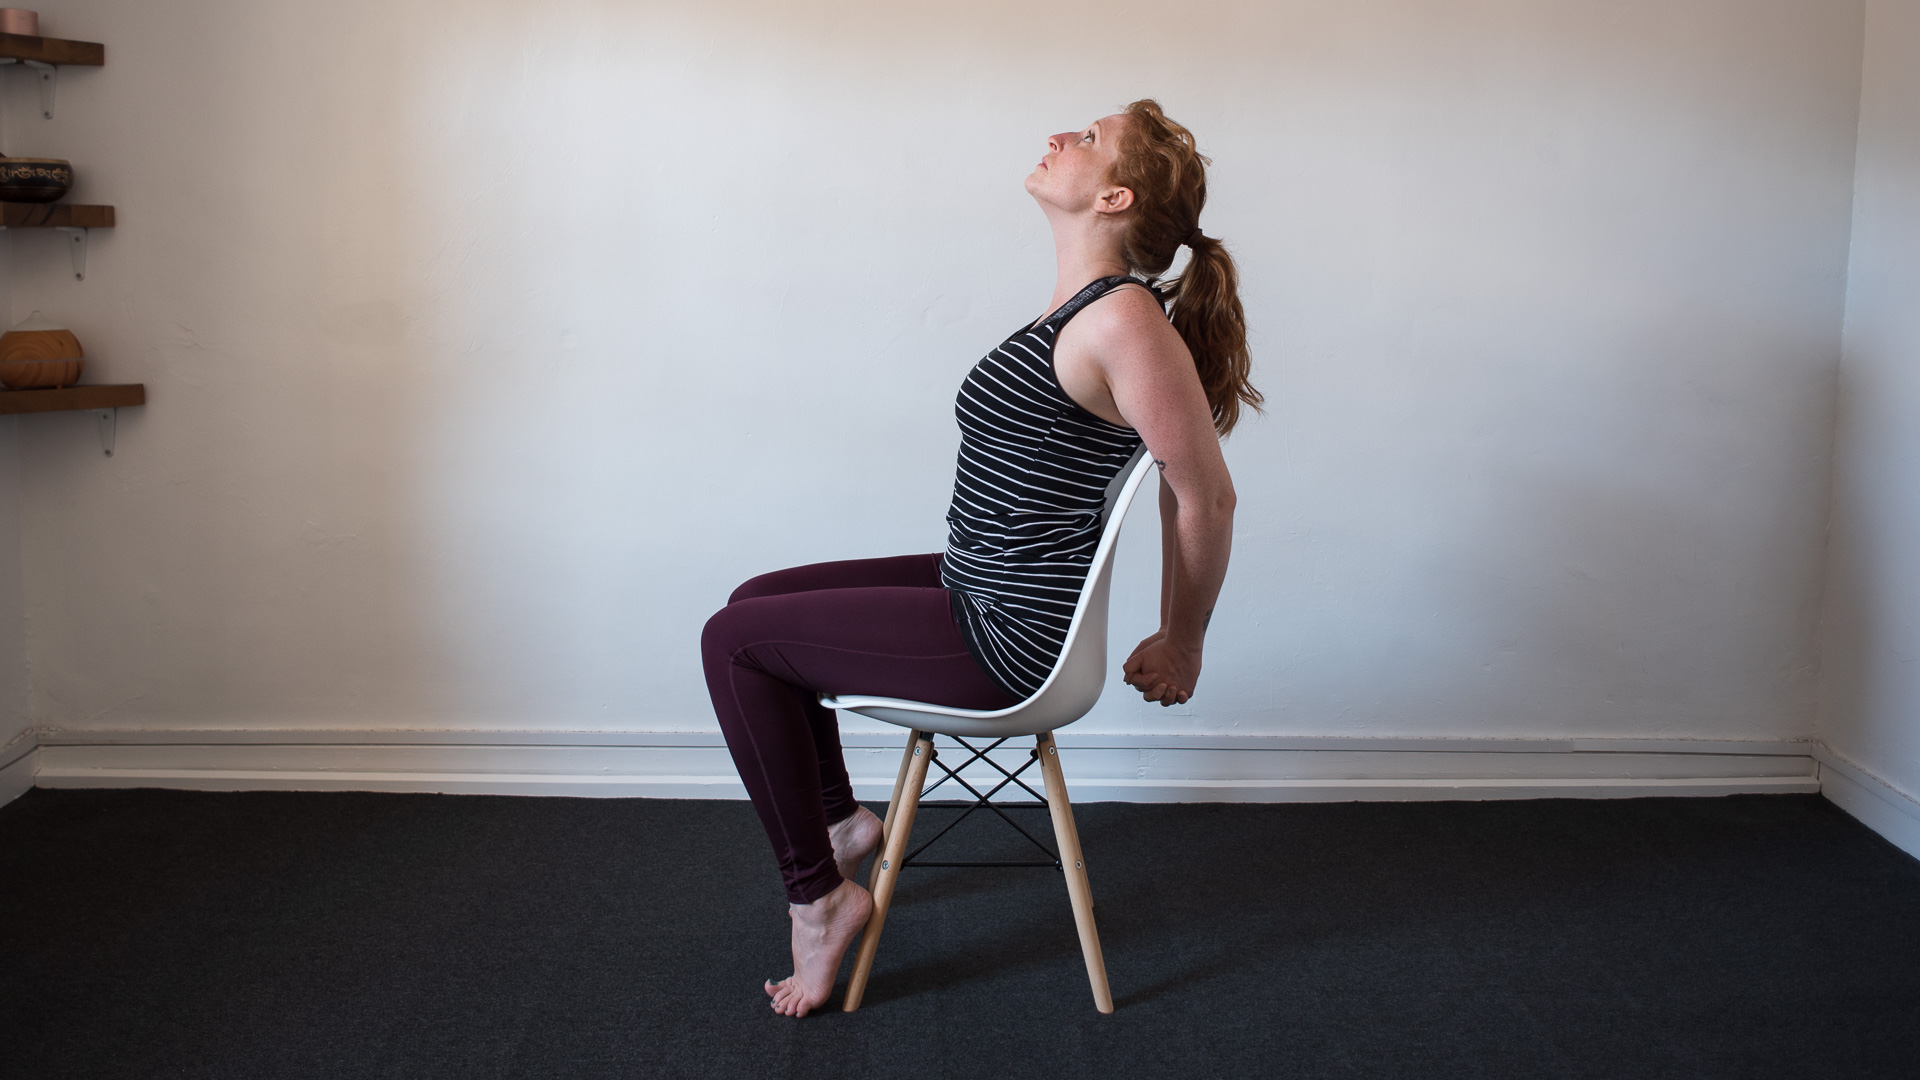
Stretch out your chest muscles with this simple backbend
If we spend a lot of time with the shoulders dropping forward, it can cause our chest muscles to tighten. Sit slightly forward away from the back of your chair. Take your arms behind you resting your upper arms on the top of your chair, fingers pointing to the floor. Rest your heels on the legs of the chair, toes on the floor. Interlace your fingers, palms together, keeping a bend in your elbows. If your palms don't connect, separate the hands and point your fingers to the floor. Keeping your upper back away from the chair, draw your hands down with a bend in the elbows, squeeze your shoulder blades together, lift your chest bone up and look up. Hug your lower belly in. Take a few deep breaths and release.
7. Unlock the whole body
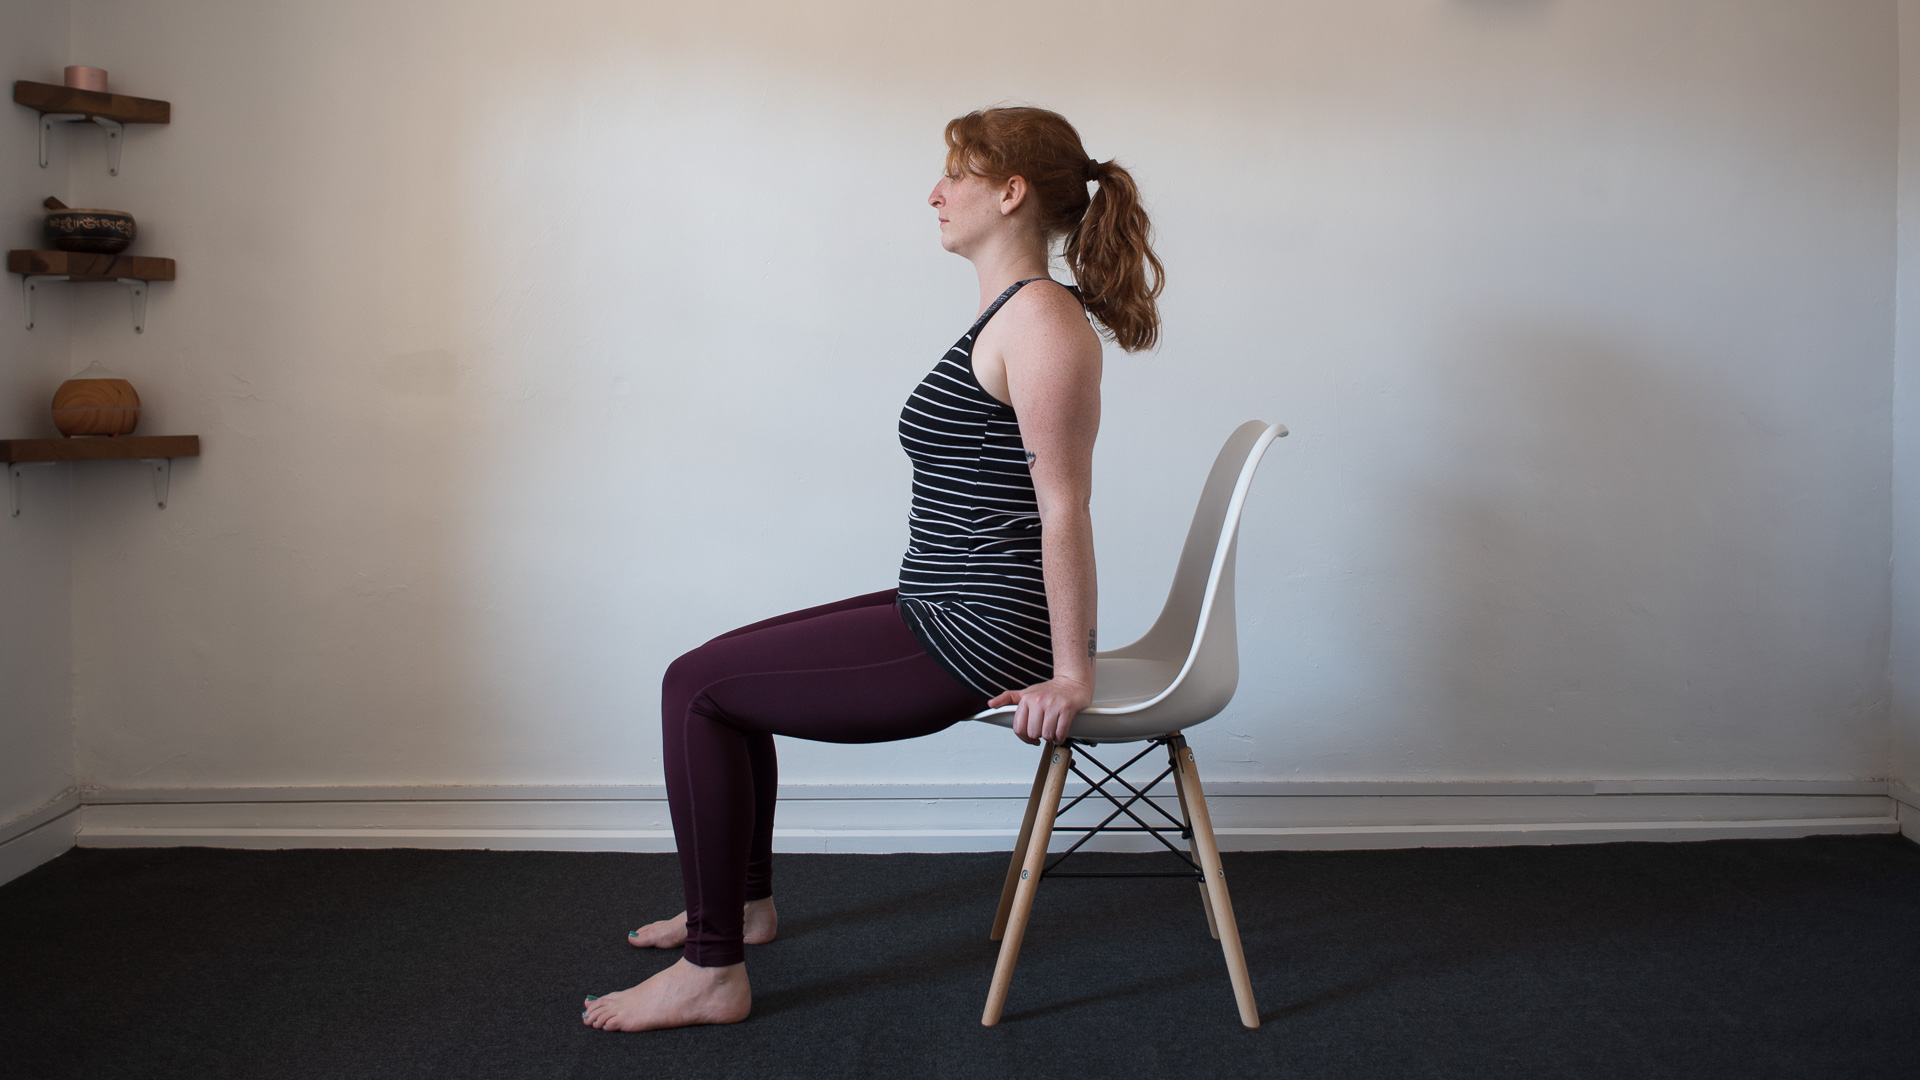
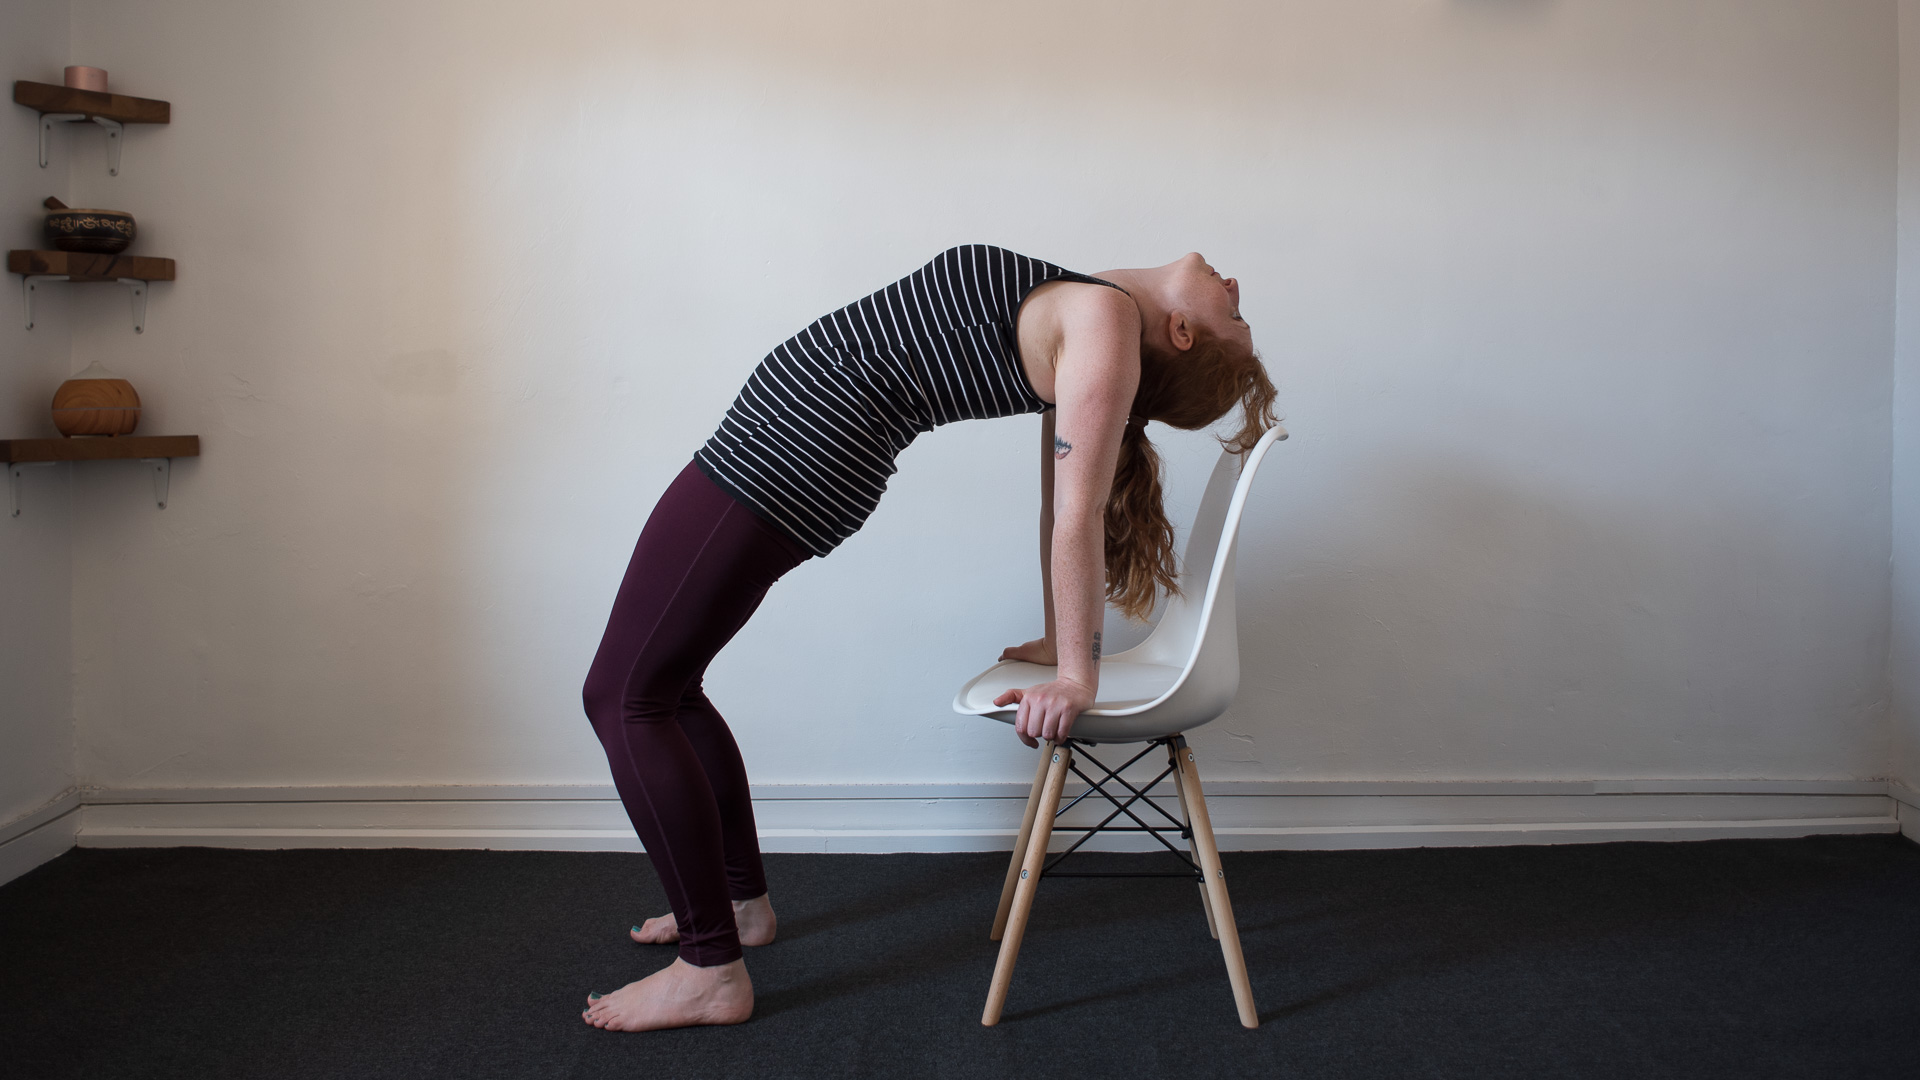
For the next one, make sure your chair will not move. If you're using a wheely desk chair, place the back of the chair against the edge of your desk (or swap for a non-wheely chair to be safe).
Start by sitting on the edge of your chair, feet hip distance and knees stacked over ankles. Take hold of the sides of your chair. From here, begin to press into your hands and feet, lift your hips up, pressing your hip bones forward. Slide your tailbone down to your heels, lift your lower belly in and up, draw your shoulders blades together and look back. Take a few deep breaths then lower yourself back to the chair. Remember to always warm up before attempting this.
8. Twist to release
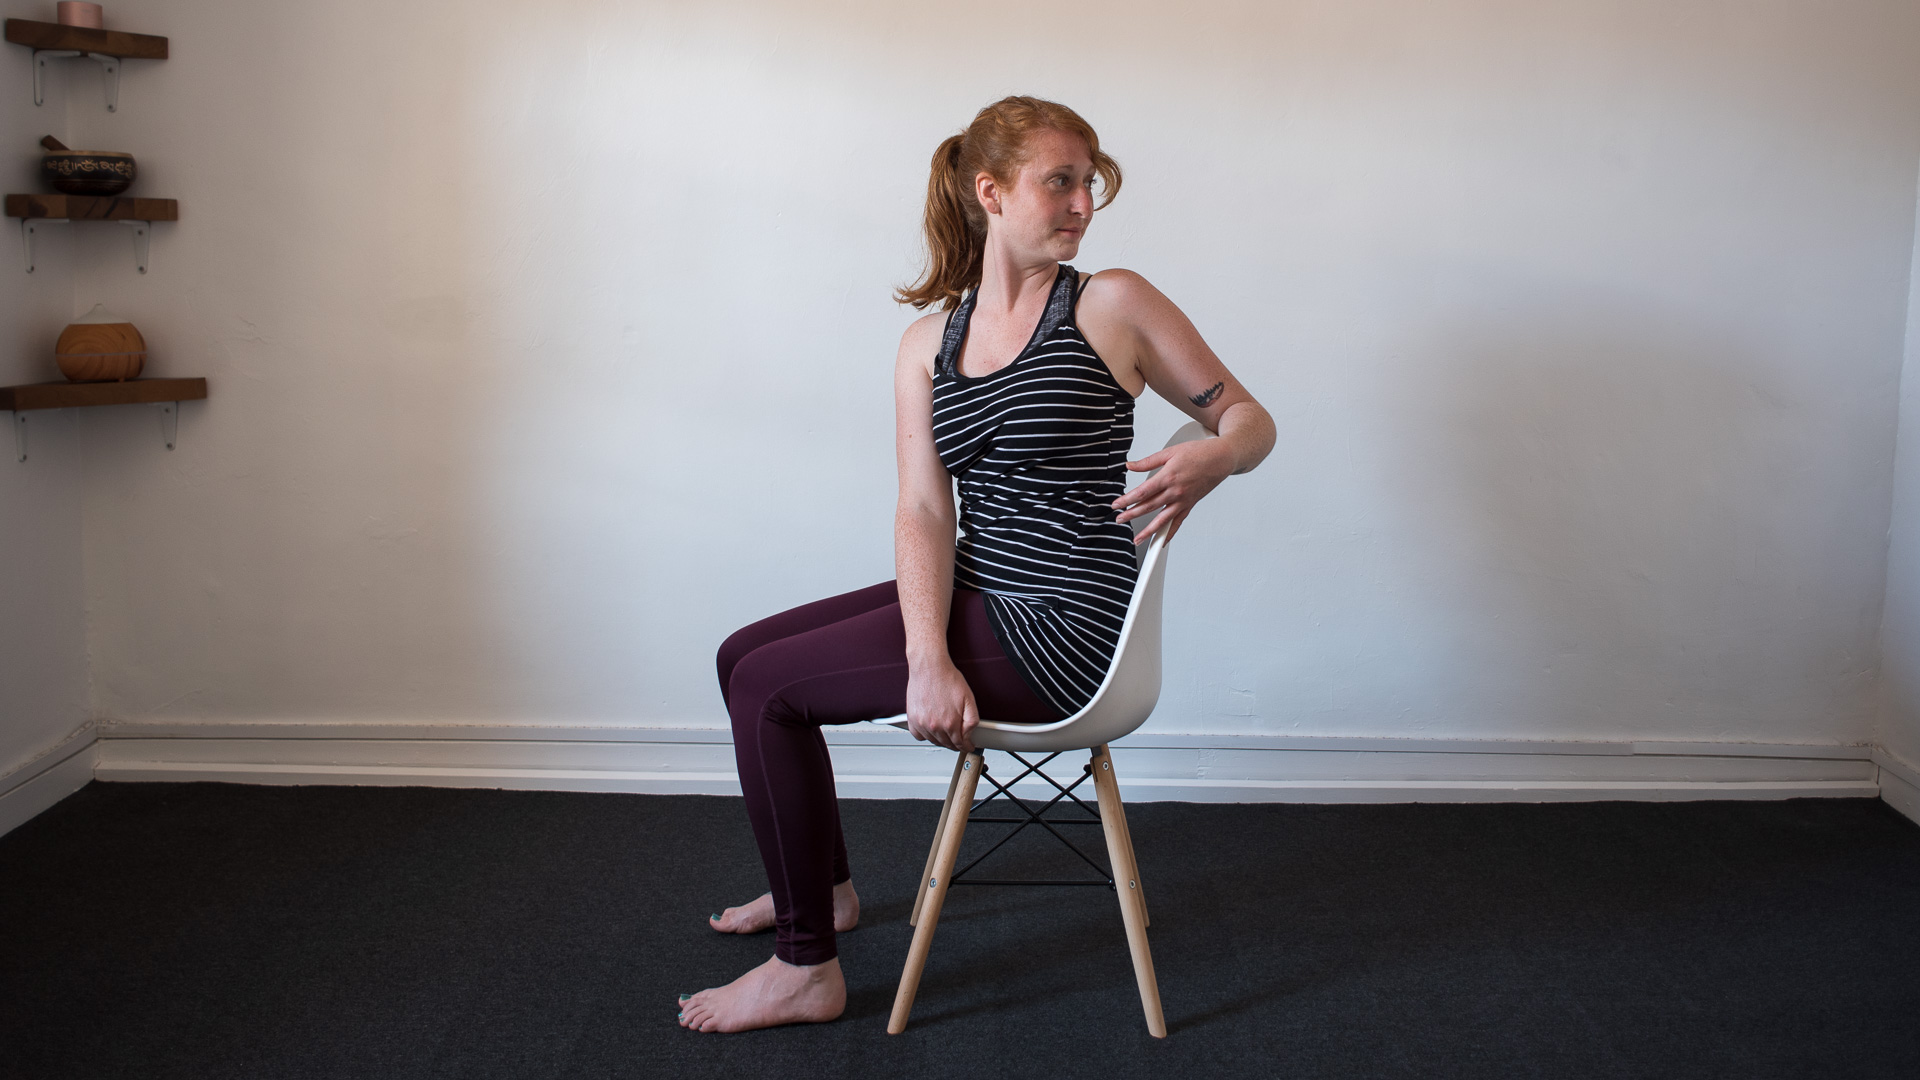
Twists rejuvenate the spine, helping us to sit straighter
To finish, take a simple twist. Twisting loosens the intercostal muscles (the muscles between the ribs) which can get tight when we sit down, hunched, for extended periods. To take this twist, bring your left arm onto the back of your chair. Place your right hand onto the left side of the chair. Take a breath in, straighten the spine and as you exhale, twist to look over your left shoulder. Take a breath and on your next exhale, bring yourself back to the centre. Twist to the right side.
Kat has 10 years of yoga teaching experience with further training in supporting injured students. She is qualified to teach Yin Yoga, Hormone Yoga Therapy and more traditional forms of Hatha yoga. She also has a certificate as a Yoga Therapy Practitioner.
-
 Driven to distraction: the ultimate luxury cars to sit in the back of
When you’re being driven rather than driving, these are the cars that will let you arrive in style
By Mat Gallagher Published
-
 I tested every new Tudor at Watches and Wonders – my favourite caught me by surprise
The Rolex sister brand had a lot to offer
By Sam Cross Published
-
 I ran the Seville marathon with ASICS – here’s 5 things I learnt from my first marathon
Everything I learnt from my first marathon
By Bethan Girdler-Maslen Published
-
 This AI food diary app can tell you the nutritional content of your food – with just one photo
Oh, and it's free to use!
By Lizzie Wilmot Published
-
 Zoe launches first own-brand supplement on the back of successful nutrition programme
Daily30+ will be available online and in select Waitrose stores later in July
By Lizzie Wilmot Published
-
 This new wearable monitors your hydration levels and will remind you to drink water
The world's first real-time hydration monitoring wearable is here
By Lizzie Wilmot Published
-
 I tried the Zoe nutrition programme – it told me exactly what I was doing wrong
If you haven't heard of the Zoe programme, where have you been?
By Lizzie Wilmot Published
-
 Manduka PRO yoga mat review: luxurious, eco-conscious but could have better grip
A luxurious top-end yoga mat that's almost perfect, apart from its grip... here's T3's Manduka PRO yoga mat review
By Kat Bayly Published
-
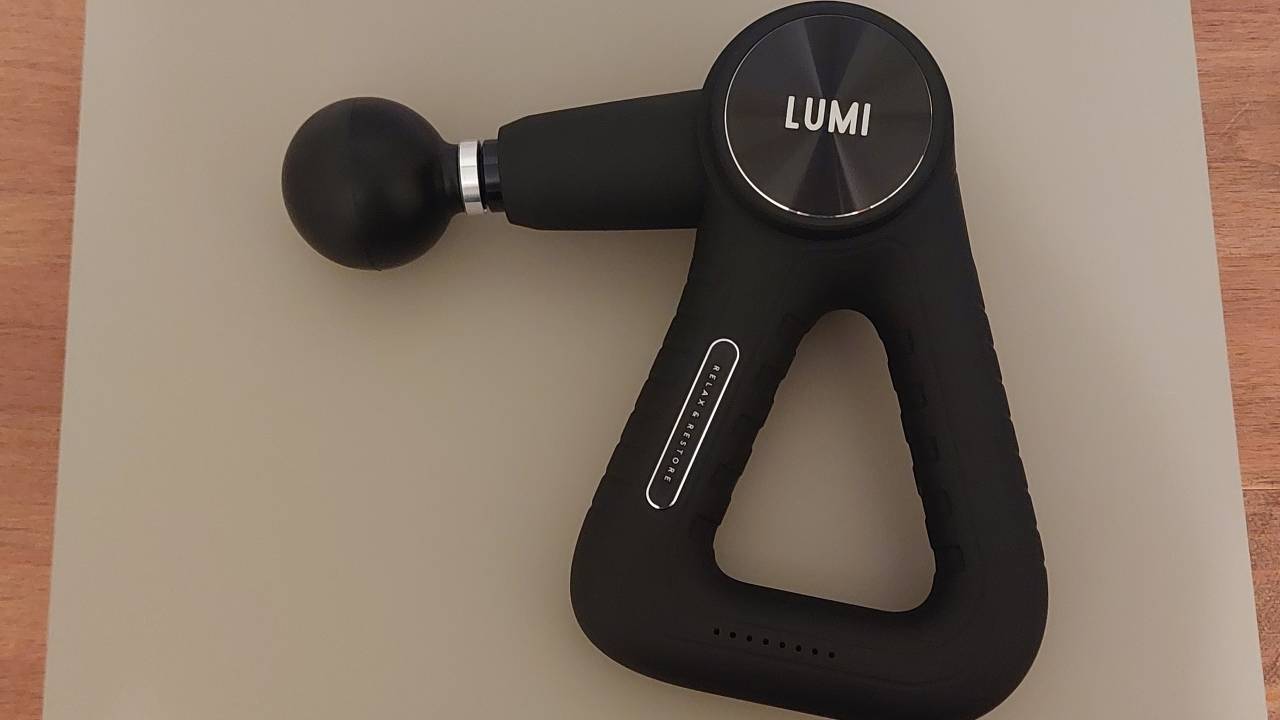 Lumi Therapy powerPRO Massage Gun review: relieves sore muscles in an instant
Your muscles will never feel sore again with the Lumi powerPRO… if you can manage to hold it!
By Bethan Girdler-Maslen Published
-
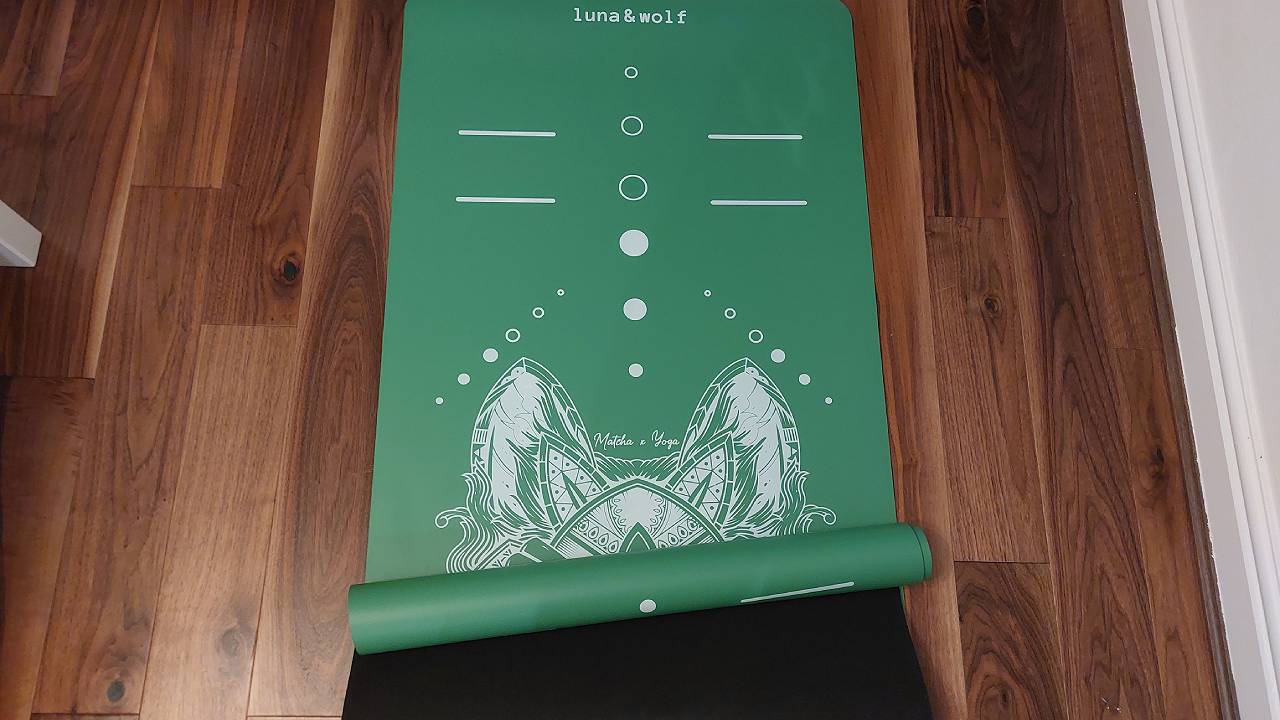 Lumi Therapy Eco Wolf Yoga Mat review: natural, cushioning and sturdy
The more you sweat, the more the Lumi Therapy Eco Wolf Yoga Mat grips
By Bethan Girdler-Maslen Published