
Dash cams have quickly become the must-have gadget for your car. Fixed to the windscreen, they keep a constant eye on the road ahead, then automatically save video to a memory card when a collision is detected.
That way, you have an automated system for recording evidence of a crash which may not have been your fault.
But, until car makers start offering dash cams as a factory-fit option (Citroen and Mini are among the very few who do this for now), the driver is left to install a third-party camera themselves.
Generally speaking, there are three options here. One is to rely on the camera’s internal battery for power; this is fine for short journeys, but the batteries don’t last very long at all, and you will quickly tire of taking the camera inside to charge after every journey.
A better option is to use the included cable and plug the camera into either your car’s lighter socket, or a USB port. The former should always provide enough power to use the camera, while the output of dashboard USB ports can vary from one car to another.

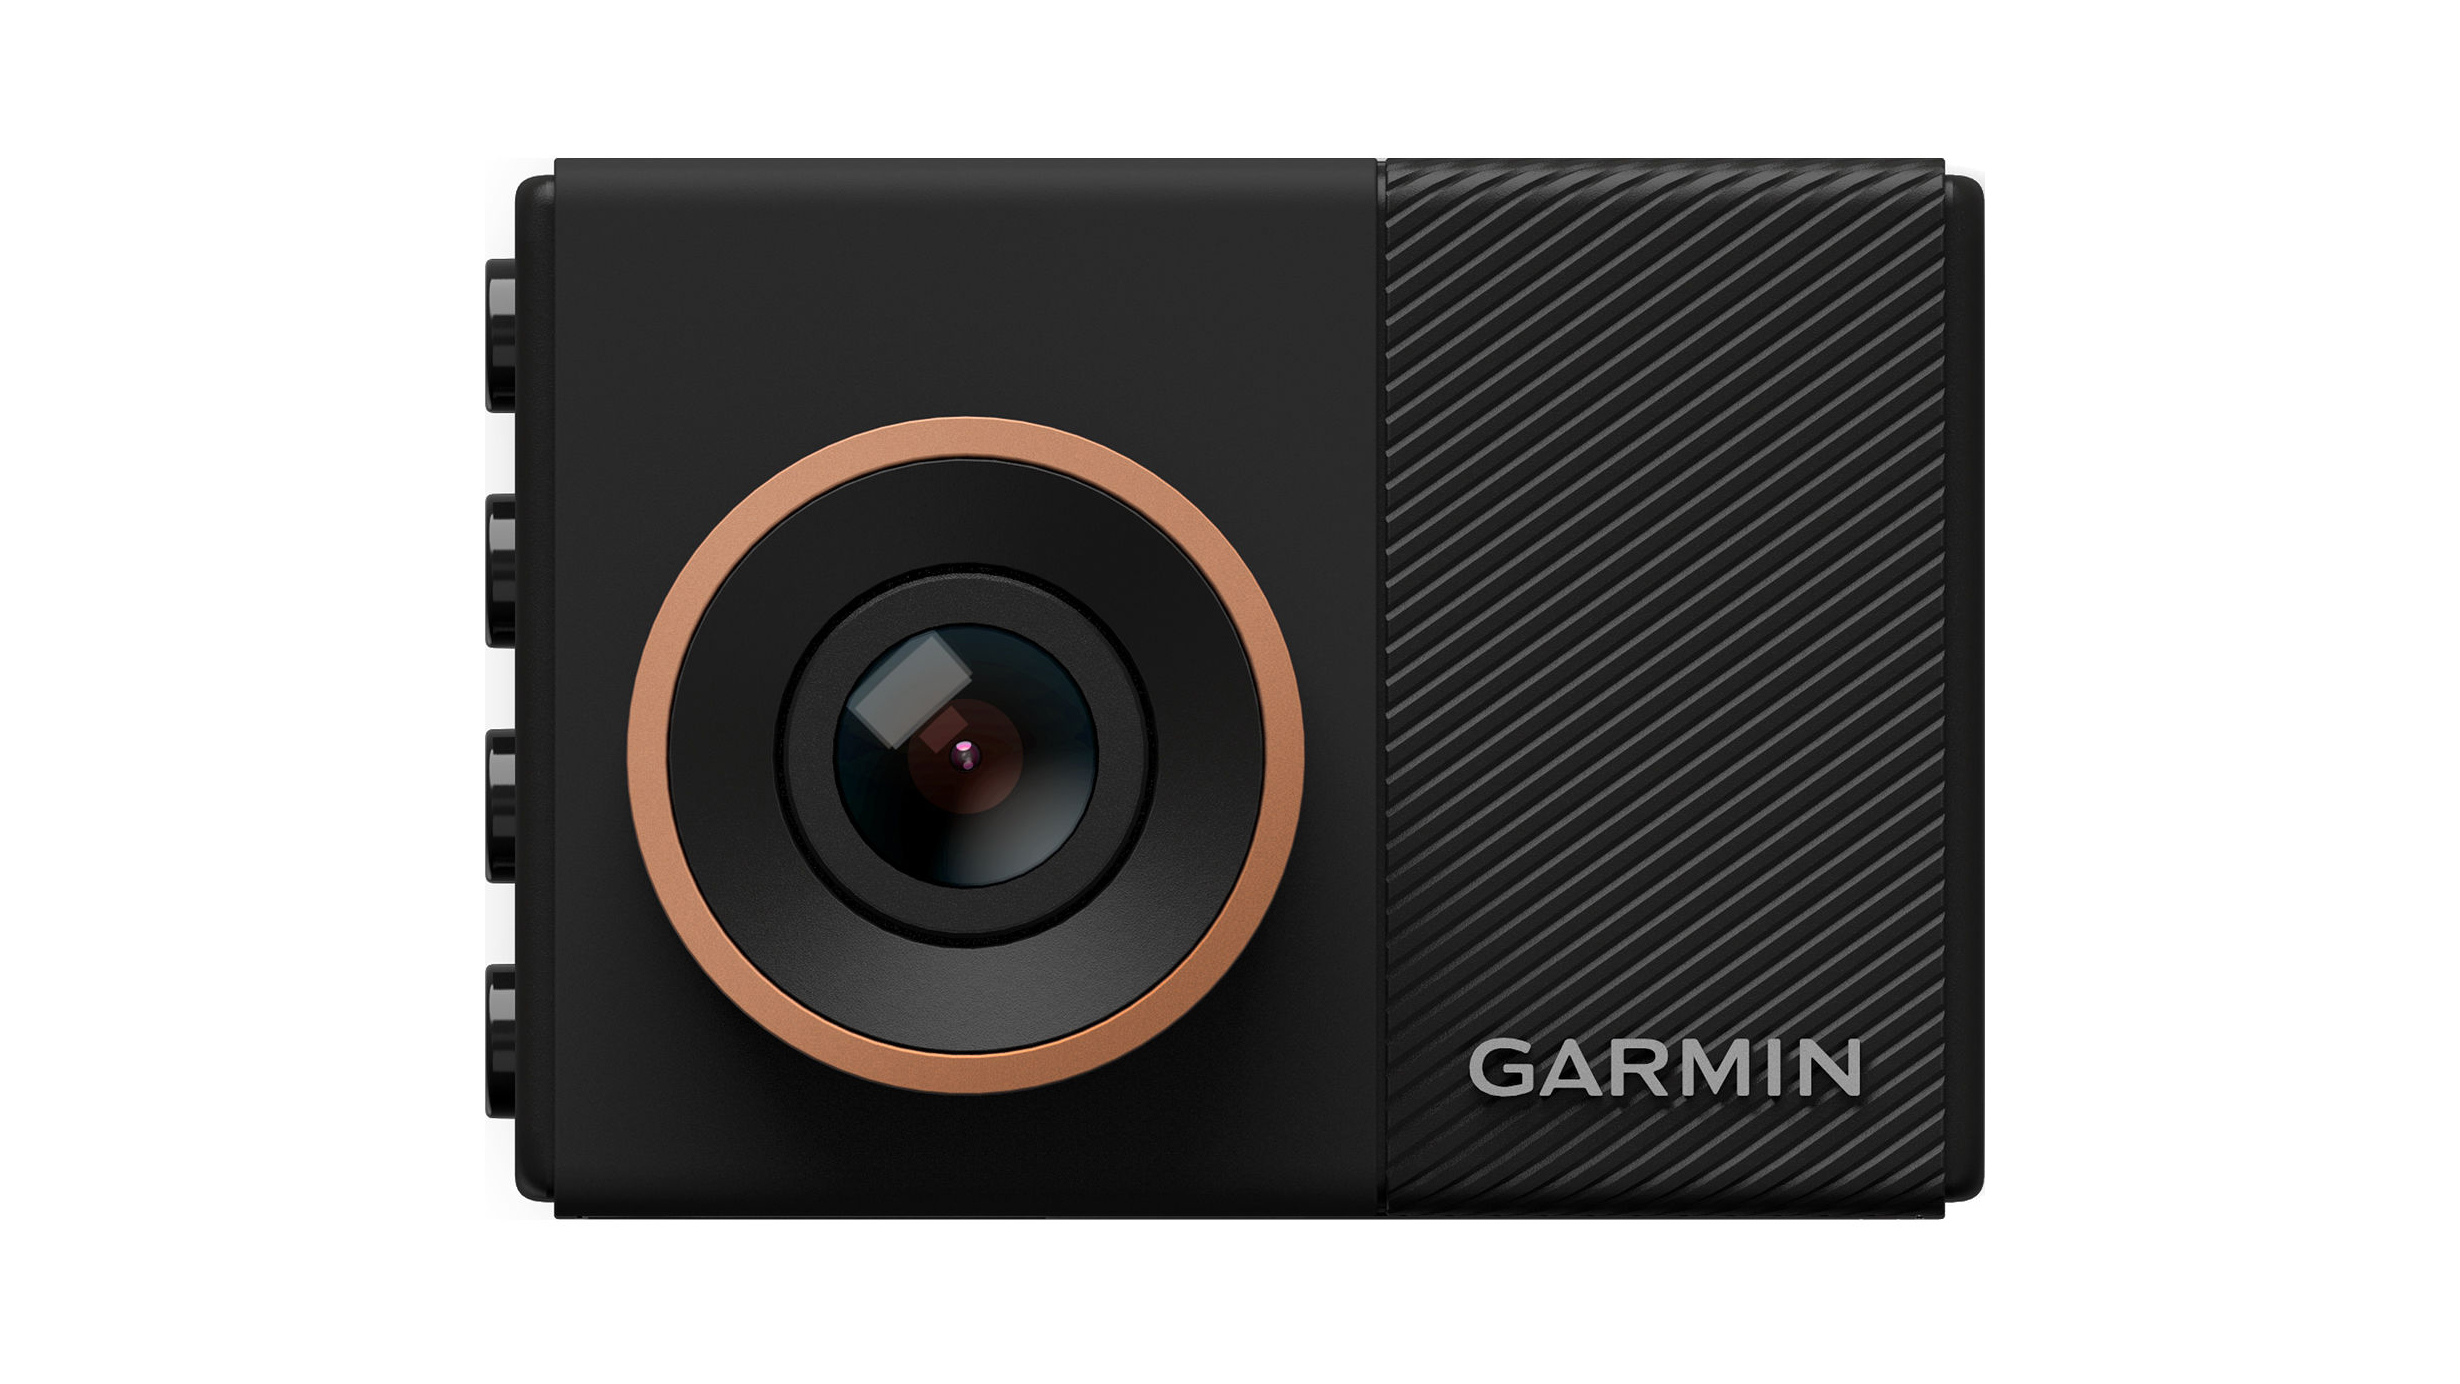
Garmin Dash Cam 55
If both work, then you can pick the one which offers the neater installation - not always easy, as this invariably results in a cable dangling from the camera, down to the lighter socket or USB port in the centre console, or under the arm rest.
The best solution is to hard-wire the dash cam, giving it a constant power supply from the car’s battery, via the fuse box. This way, the power cable can be hidden behind the dashboard and interior panels of your car, and it will fire up when you switch on the ignition. This option also means dashcams with a parking mode will work whenever you park up and switch the car off.
Sign up to the T3 newsletter for smarter living straight to your inbox
Get all the latest news, reviews, deals and buying guides on gorgeous tech, home and active products from the T3 experts
1. Fit a dash cam with an internal battery
As we said above, using the internal battery is only really an option for short journeys. Our current favourite dash cam, the Garmin Dash Cam 55, has a battery life of just 30 minutes - and when we’re talking about a device with the potential to capture crucial evidence in the event of a crash, you shouldn’t really be relying on the battery when its life is so short.
That said, if you are just popping to the shops, the internal battery offers the cleanest and simplest option - just put the camera in place, switch it on and away you go.
2. Install the dash cam in a lighter socket or USB port
By far the most common solution, plugging the dash cam into your car’s lighter socket or USB port, strikes a balance between convenience and tidiness. Yes, you’re going to have a cable dangling from the camera, but in return you don’t need to worry about battery life, or hard-wiring the camera to the car’s fuse box.
Dash cams also often come with fairly long cables, so you may be able to find a way to route the cable neatly along the edge of the head lining, down the passenger side A-pillar, and across the top of the footwell, ready to be plugged into the socket, often found in the centre console.

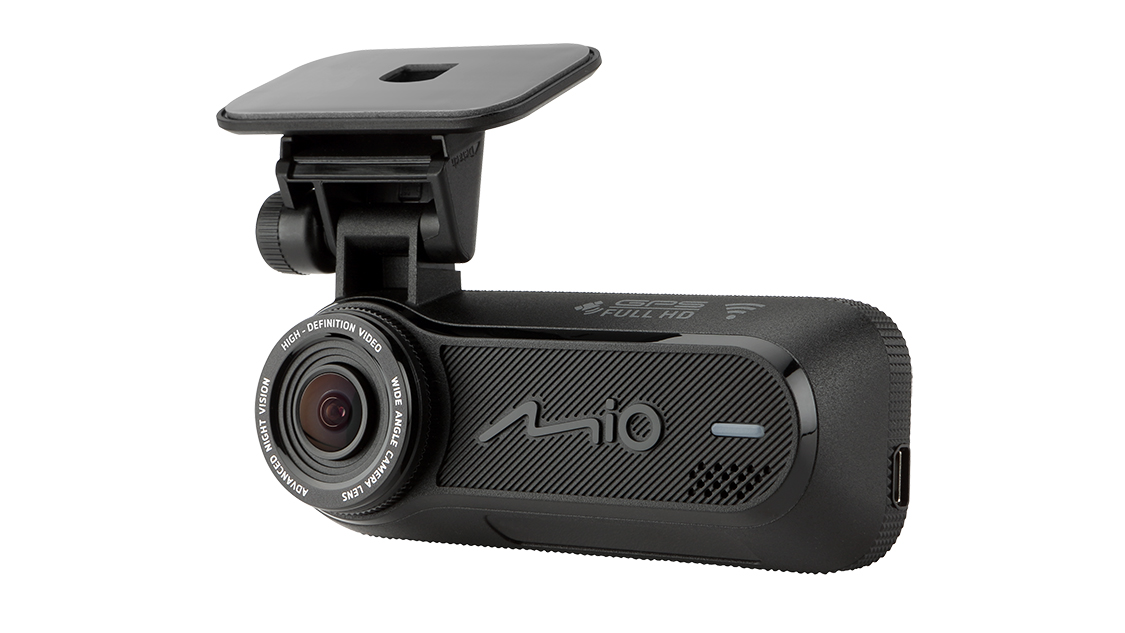
Mio MiVue J60
Obviously, there are a lot of variables for different vehicles which we can’t cover fully in this article. But, generally speaking, a thin dash cam power cable should be easy enough to tuck behind interior panels without cracking out the toolbox.
Just be wary of the press studs which are commonly used to hold interior panels in place; they are easily broken when pulling on a panel, and tricky to replace without disassembling more of the interior. With a bit of luck, there will be enough flex in the panels to hide the cable without disassembly.
If panel removal looks necessary, then consult the car’s handbook first, or speak to your local dealership. On newer cars there may well be an airbag inside the A-pillar, which should not be interfered with unless you know exactly what you are doing.
3. Hard-wire a dash cam into the fuse box
Finally, onto the main event - hard-wiring a dash cam so that it is powered directly by the car, its cable is hidden, and it boots up as soon as you switch on the ignition.
For this option you will need to purchase a dash cam hard-wire installation kit. This includes a cable which forks into two; one end is for connecting to the car’s fuse box, and the other end is a metal ring (or ground lug) which attaches to the car’s metal body to ground the dash cam.
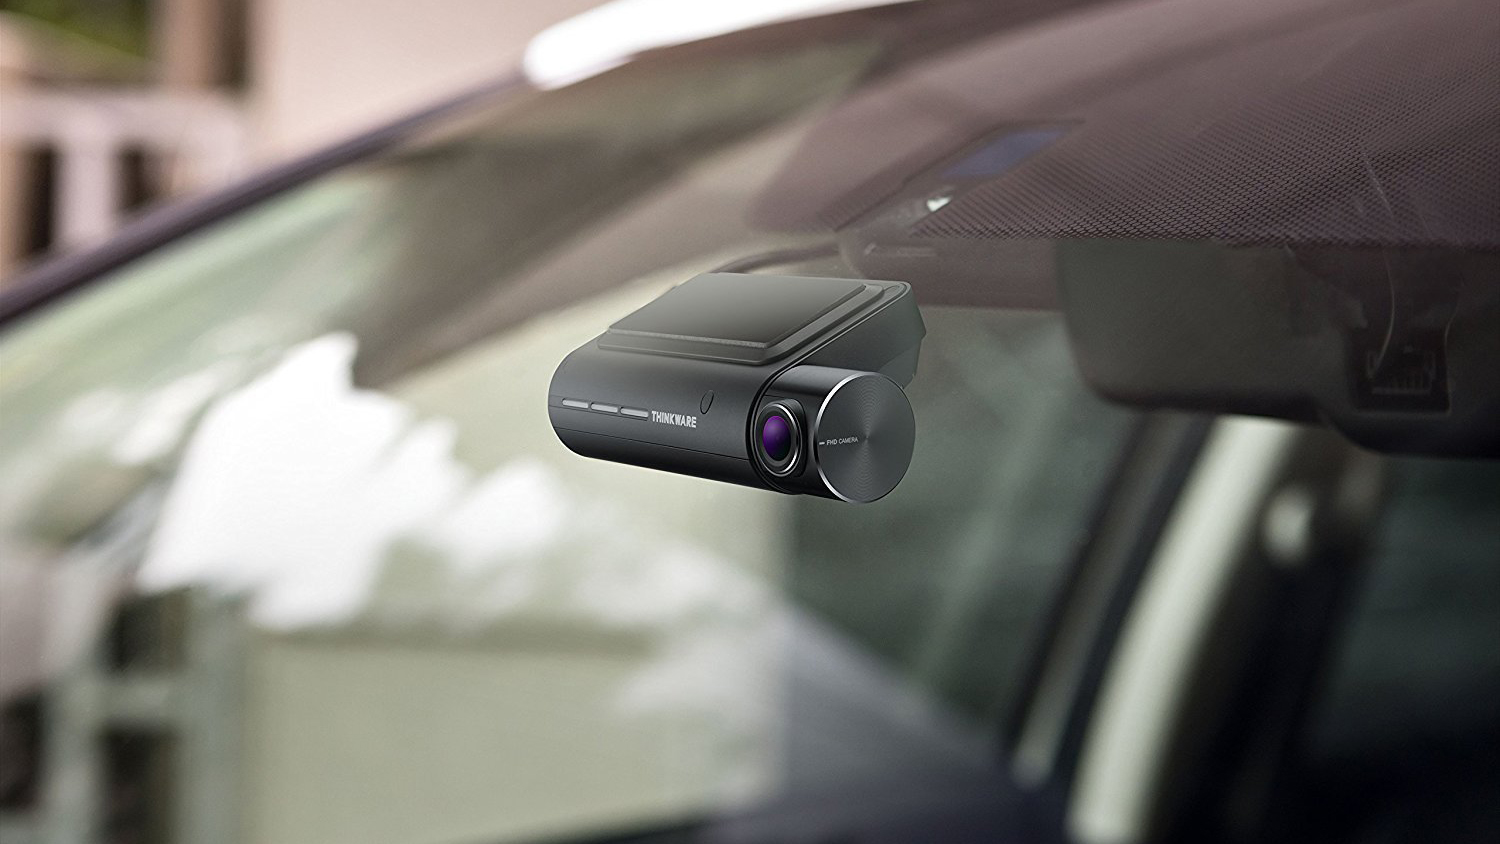
First, position the camera exactly where you want it. Ideally this will be as close to the central rear view mirror as possible, giving the camera a good view of the road ahead while keeping it out of your field of view. You should also bear in mind there are rules about where on the windscreen devices like cameras can and cannot be placed.
Next, you’ll want to tuck the cable between the windscreen and roof lining, then down the side of the A-pillar. This will vary a lot depending on the make and model of your car, but often there is just enough space between the panel covering the A-pillar and the dashboard to house the cable.
Once you have reached the passenger footwell, you will - on many cars, at least - be approaching the fuse box. This is often located inside or beneath the glovebox, or behind a removable plastic panel, either in the left or right footwell.

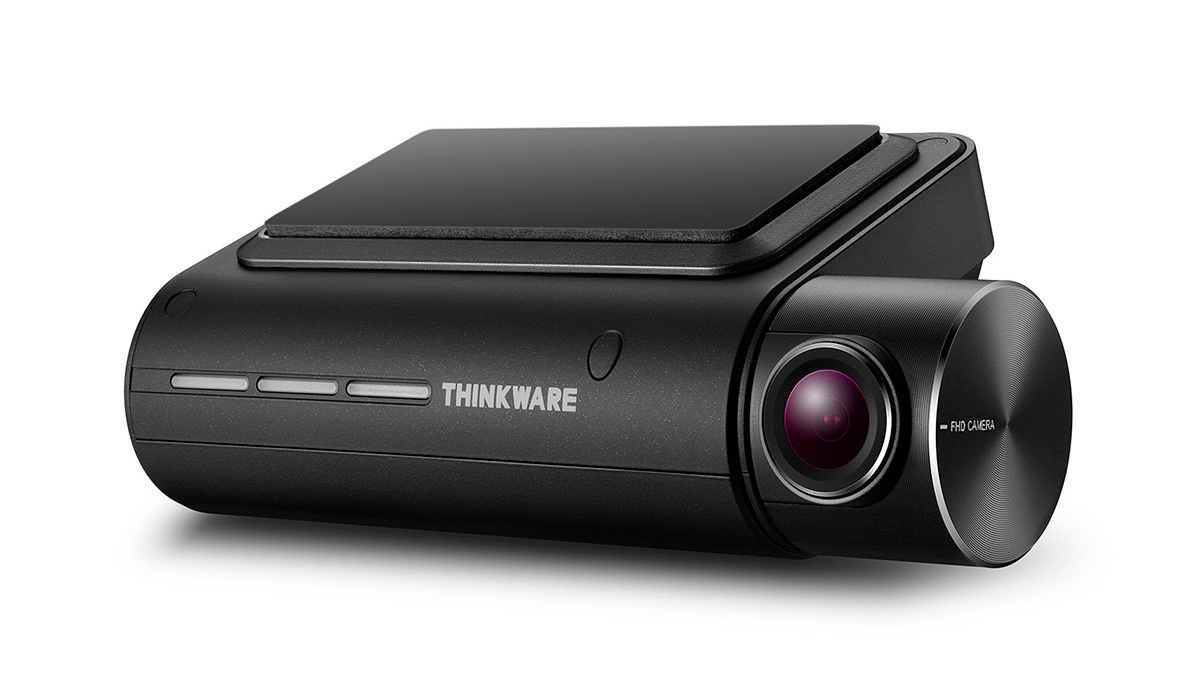
Thinkware F800 Pro
Now you will need to locate a fuse which is ‘hot in start’, as opposed to ‘always hot’ - or in other words, a fuse which is given power when you turn the ignition, but is not powered when the ignition is off. Attaching a camera to the latter will drain the car’s battery.
You may want to use a circuit tester here to see which fuse socket to attach the camera to, or consult the car’s handbook to locate the cigarette lighter fuse. Remove this with pillars, then fit it to the plug which comes with the dashcam’s hard-wire installation kit. This can then be fitted back into the fuse box, giving power to both the lighter and camera from the same socket.
The next step is to ground the dashcam by securing the other end of the hardwiring kit to the metal chassis or body of the car. All you have to do here is look for a nut and bolt connected directly to a metal body panel (often located close to the fuse box), then undo this bolt, hook the ground lug over the nut, then screw the bolt back on.
Finally, turn the ignition and test that the camera powers up correctly, then shuts off when you turn the ignition off. If all is well, you can now use zip ties to tidy up any excess cable, tuck this among the other cables located nearby the fuse box, then reinstall any plastic panels you had to remove.
This may sound daunting to some readers, but as long as the car’s fuse box is easily located (and accessible without breaking anything), the entire process shouldn’t take more than 30 minutes or so.
4. Pay someone to do it for you
If this all sounds like too much effort, your local garage, your dealership, RAC or a branch of Halfords (Halfords charge just £30).
Alistair is a freelance automotive and technology journalist. He has bylines on esteemed sites such as the BBC, Forbes, TechRadar, and of best of all, T3, where he covers topics ranging from classic cars and men's lifestyle, to smart home technology, phones, electric cars, autonomy, Swiss watches, and much more besides. He is an experienced journalist, writing news, features, interviews and product reviews. If that didn't make him busy enough, he is also the co-host of the AutoChat podcast.

