
As more of us begin to work remotely, the VPN has become a staple of our online lives. Whether for providing enhanced privacy or for bypassing geo-restrictions on content, a VPN gives you greater and more secure access to the vast internet landscape. What’s even better is that everyday users can now access the best VPN services in the market.
While it’s a relatively straightforward task to install a VPN service on your computer and phone, it’s a little more complicated to install it on the PS4. In this article, we provide step-by-step instructions on how you can install a VPN on PS4.
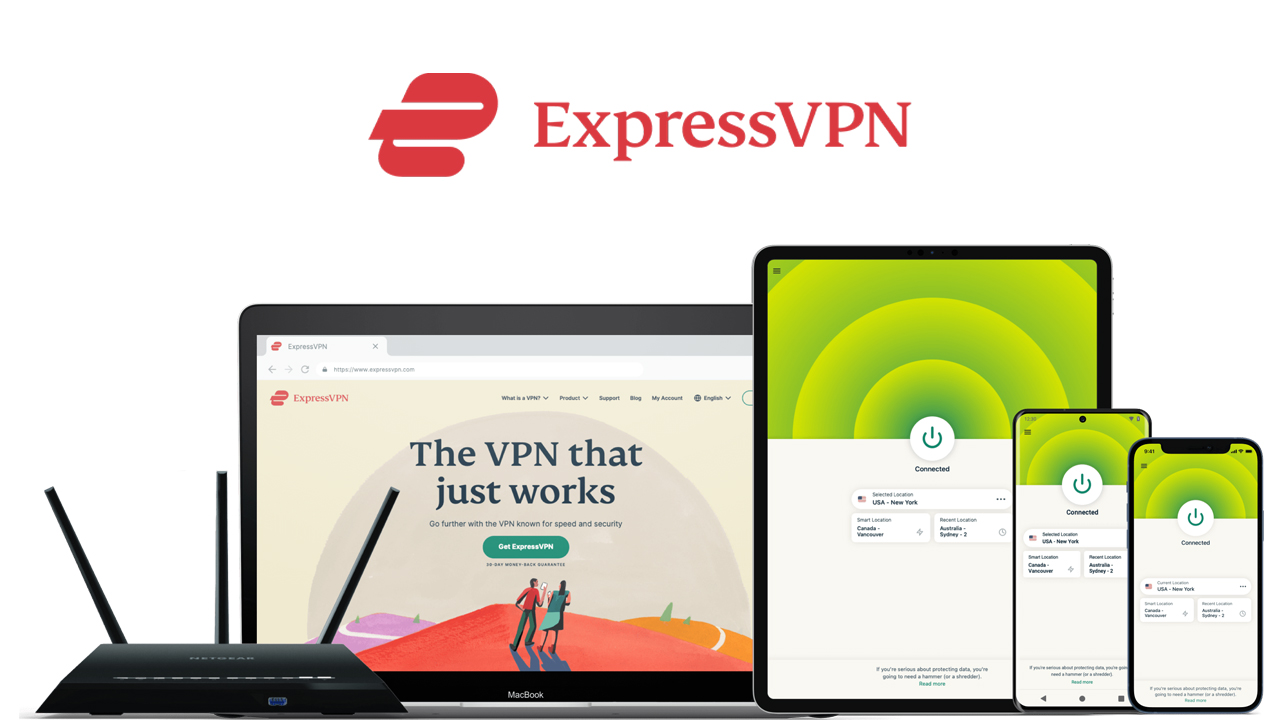
ExpressVPN - Download our #1 VPN recommendation for your Router
The top performer when it came to speed, security features, and the ability to unlock our favorite streaming services, ExpressVPN reigns supreme as the best overall VPN. Complete with a 30-day money back guarantee, new customers can also enjoy three months added to their one year plan free, saving you 49%.
How to install a VPN on PS4: Preparation
The Sony PlayStation store doesn’t support the use of VPN, so you cannot install a VPN service on the PS4 the way you do it on your other devices.
However, there are two methods for using a VPN on your PS4. The first is a simple process that uses the Wi-Fi router, and for this, you’ll need access to a VPN provider. The router VPN method is the one we’ll be explaining in our guide.
The second method is more elaborate and needs a computer with a VPN service and an ethernet cable. We’ll not be covering this in the article.
Step 1: Log in to your router
Enter the IP address in your internet browser to log in to your router. Generally, routers have 192.168.1.1 as their default address, but if you’re not sure about your login credentials, you can check your router’s manual for information.
Step 2: Update the VPN setting
After logging in to your router, you’ll have to find the VPN section. This section varies from router to router, so you’ll need to search for it in your router’s admin panel and then input the details of your VPN connection. This information includes the name of the VPN service, your username, password, and the VPN server ID.
Sign up to the T3 newsletter for smarter living straight to your inbox
Get all the latest news, reviews, deals and buying guides on gorgeous tech, home and active products from the T3 experts
Save the details once you have added them. If you need help gathering this information, you can contact your VPN provider.

Find the VPN section in your router’s admin panel
Step 3: Connect the PS4 to your router
Turn on your PS4 and head to Settings > Network > Set up Internet Connection > Use WiFi > Easy. Lastly, the Do Not Use a Proxy Server option has to be ticked.
After saving the settings, test your connection to see if the VPN is working.
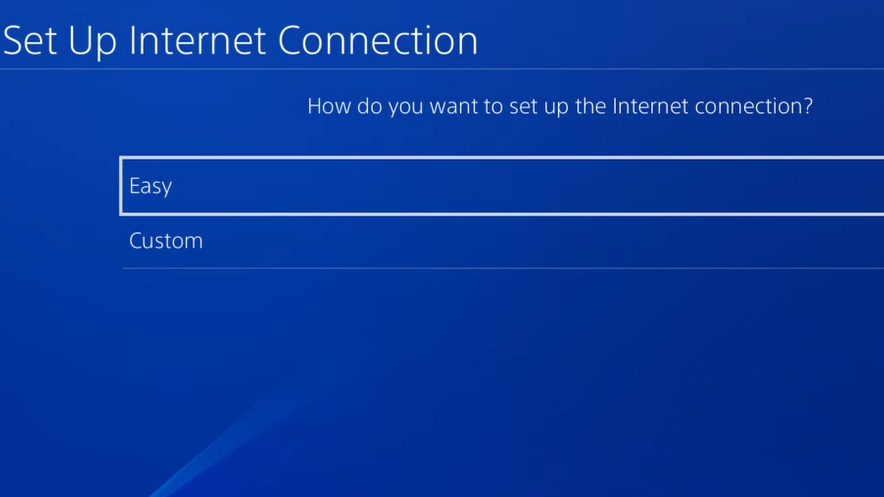
Select Easy when setting up the internet connection
Summary
Setting up a VPN on PS4 is certainly more tedious than doing so on other devices. But with the steps given above, you can use a VPN on your PS4 and enjoy unrestricted internet freedom with the best gaming VPN, allowing you to bypass geo-restrictions on particular games, as well as avoiding bandwidth throttling by your internet provider.
Also, make sure you find a VPN that’s perfect for your needs. ExpressVPN once again finds itself taking the top spot for gaming. Better still, if you sign up directly you can benefit from 3 months free and a 30-day money back guarantee, allowing you to give it a whirl before fully committing for the long haul.
- Read our ExpressVPN review in full
- Get your next binge watch wherever you are with the best streaming VPN
- New to VPN? Here are all the VPNs with free trials
-
 5 best BBC iPlayer VPNs in 2025
Unblock BBC iPlayer, from anywhere in the world, with the help of a VPN
By Alice Marshall
-
 NordVPN has launched a new VPN deal - but another provider might just have it beaten
One of the most well-known VPN services out there is running its usual birthday freebie, but there's another VPN deal that is even cheaper right now
By Alice Marshall
-
 These two major providers have launched their Black Friday VPN deals early
Black Friday may officially still be just under a month away, but you can get a head start on saving your hard earned cash with Black Friday VPN deals available now from NordVPN and Surfshark
By Alice Marshall
-
 Gtech’s haircare debut starts strong with these new straighteners – I'm impressed
I've been excited to try these for a while
By Lizzie Wilmot
-
 I loved the Ressence Type 7 at Watches and Wonders – but the real gem has lurked in its catalogue for six years
You've never seen a watch like this
By Sam Cross
-
 10 best VPN services for the everyday user in 2025
Boost your digital privacy and unblock content from around the world with a VPN, and check out my top 10 apps.
By Alice Marshall
-
 5 best Mac VPNs for your MacBook or iMac 2025
Protect your Mac from malware and hackers with the best macOS-compatible VPNs
By Alice Marshall
-
 Do Macs have a built-in VPN?
Apple may be known for its secure devices, but we answer whether or not its Mac computers have a built-in VPN, or if you'll need to install a third-party provider
By Alice Marshall
-
 ExpressVPN review: T3’s pick for the best overall VPN
ExpressVPN retains its title as the overarching top dog in the war of VPNs thanks to its streaming unblocking prowess, excellent clients, an array of powerful security features
By Alice Marshall
-
 5 best BBC iPlayer VPNs in 2025
Unblock BBC iPlayer, from anywhere in the world, with the help of a VPN
By Alice Marshall
-
 The best streaming VPN for unblocking your favorite platforms in 2025
Keep up with your favorite show with a streaming VPN
By Alice Marshall
-
 How to watch UK TV from abroad with a VPN including BBC iPlayer and All 4
Don't get locked out by pesky geo-restrictions. There's a simple solution to watching UK TV abroad with our handy guide
By Alice Marshall
-
 Bitdefender VPN review: Simplicity and speed
Bitdefender VPN comes from a huge name in security yet offers a very minimal and easy to use service
By Luke Edwards
