
We HATE slow technology here at T3 Towers. As a general rule, if the machine you are using cannot keep up with the speed you are using it at, then something is wrong and, honestly, it needs dumping. While there is very little you can normally do with these pieces of tech in many circumstances, unless you can somehow overclock your coffee machine, in terms of laptops there is, contrary to popular belief that they're "difficult to upgrade", actually lots you can do speed them up and grant them a new lease of life.
In this How to guide we show how you can, in almost all cases, easily upgrade your old laptop's creaky old hard disk drive (HDD) with a lightning fast, state-of-the-art solid state drive (SSD). And, as you'll see, providing you do your pre-install preparation properly, you can have the old drive out and the new one in with a fresh copy of Windows 10 installing on it in less than 10 minutes.
What you'll need for the job
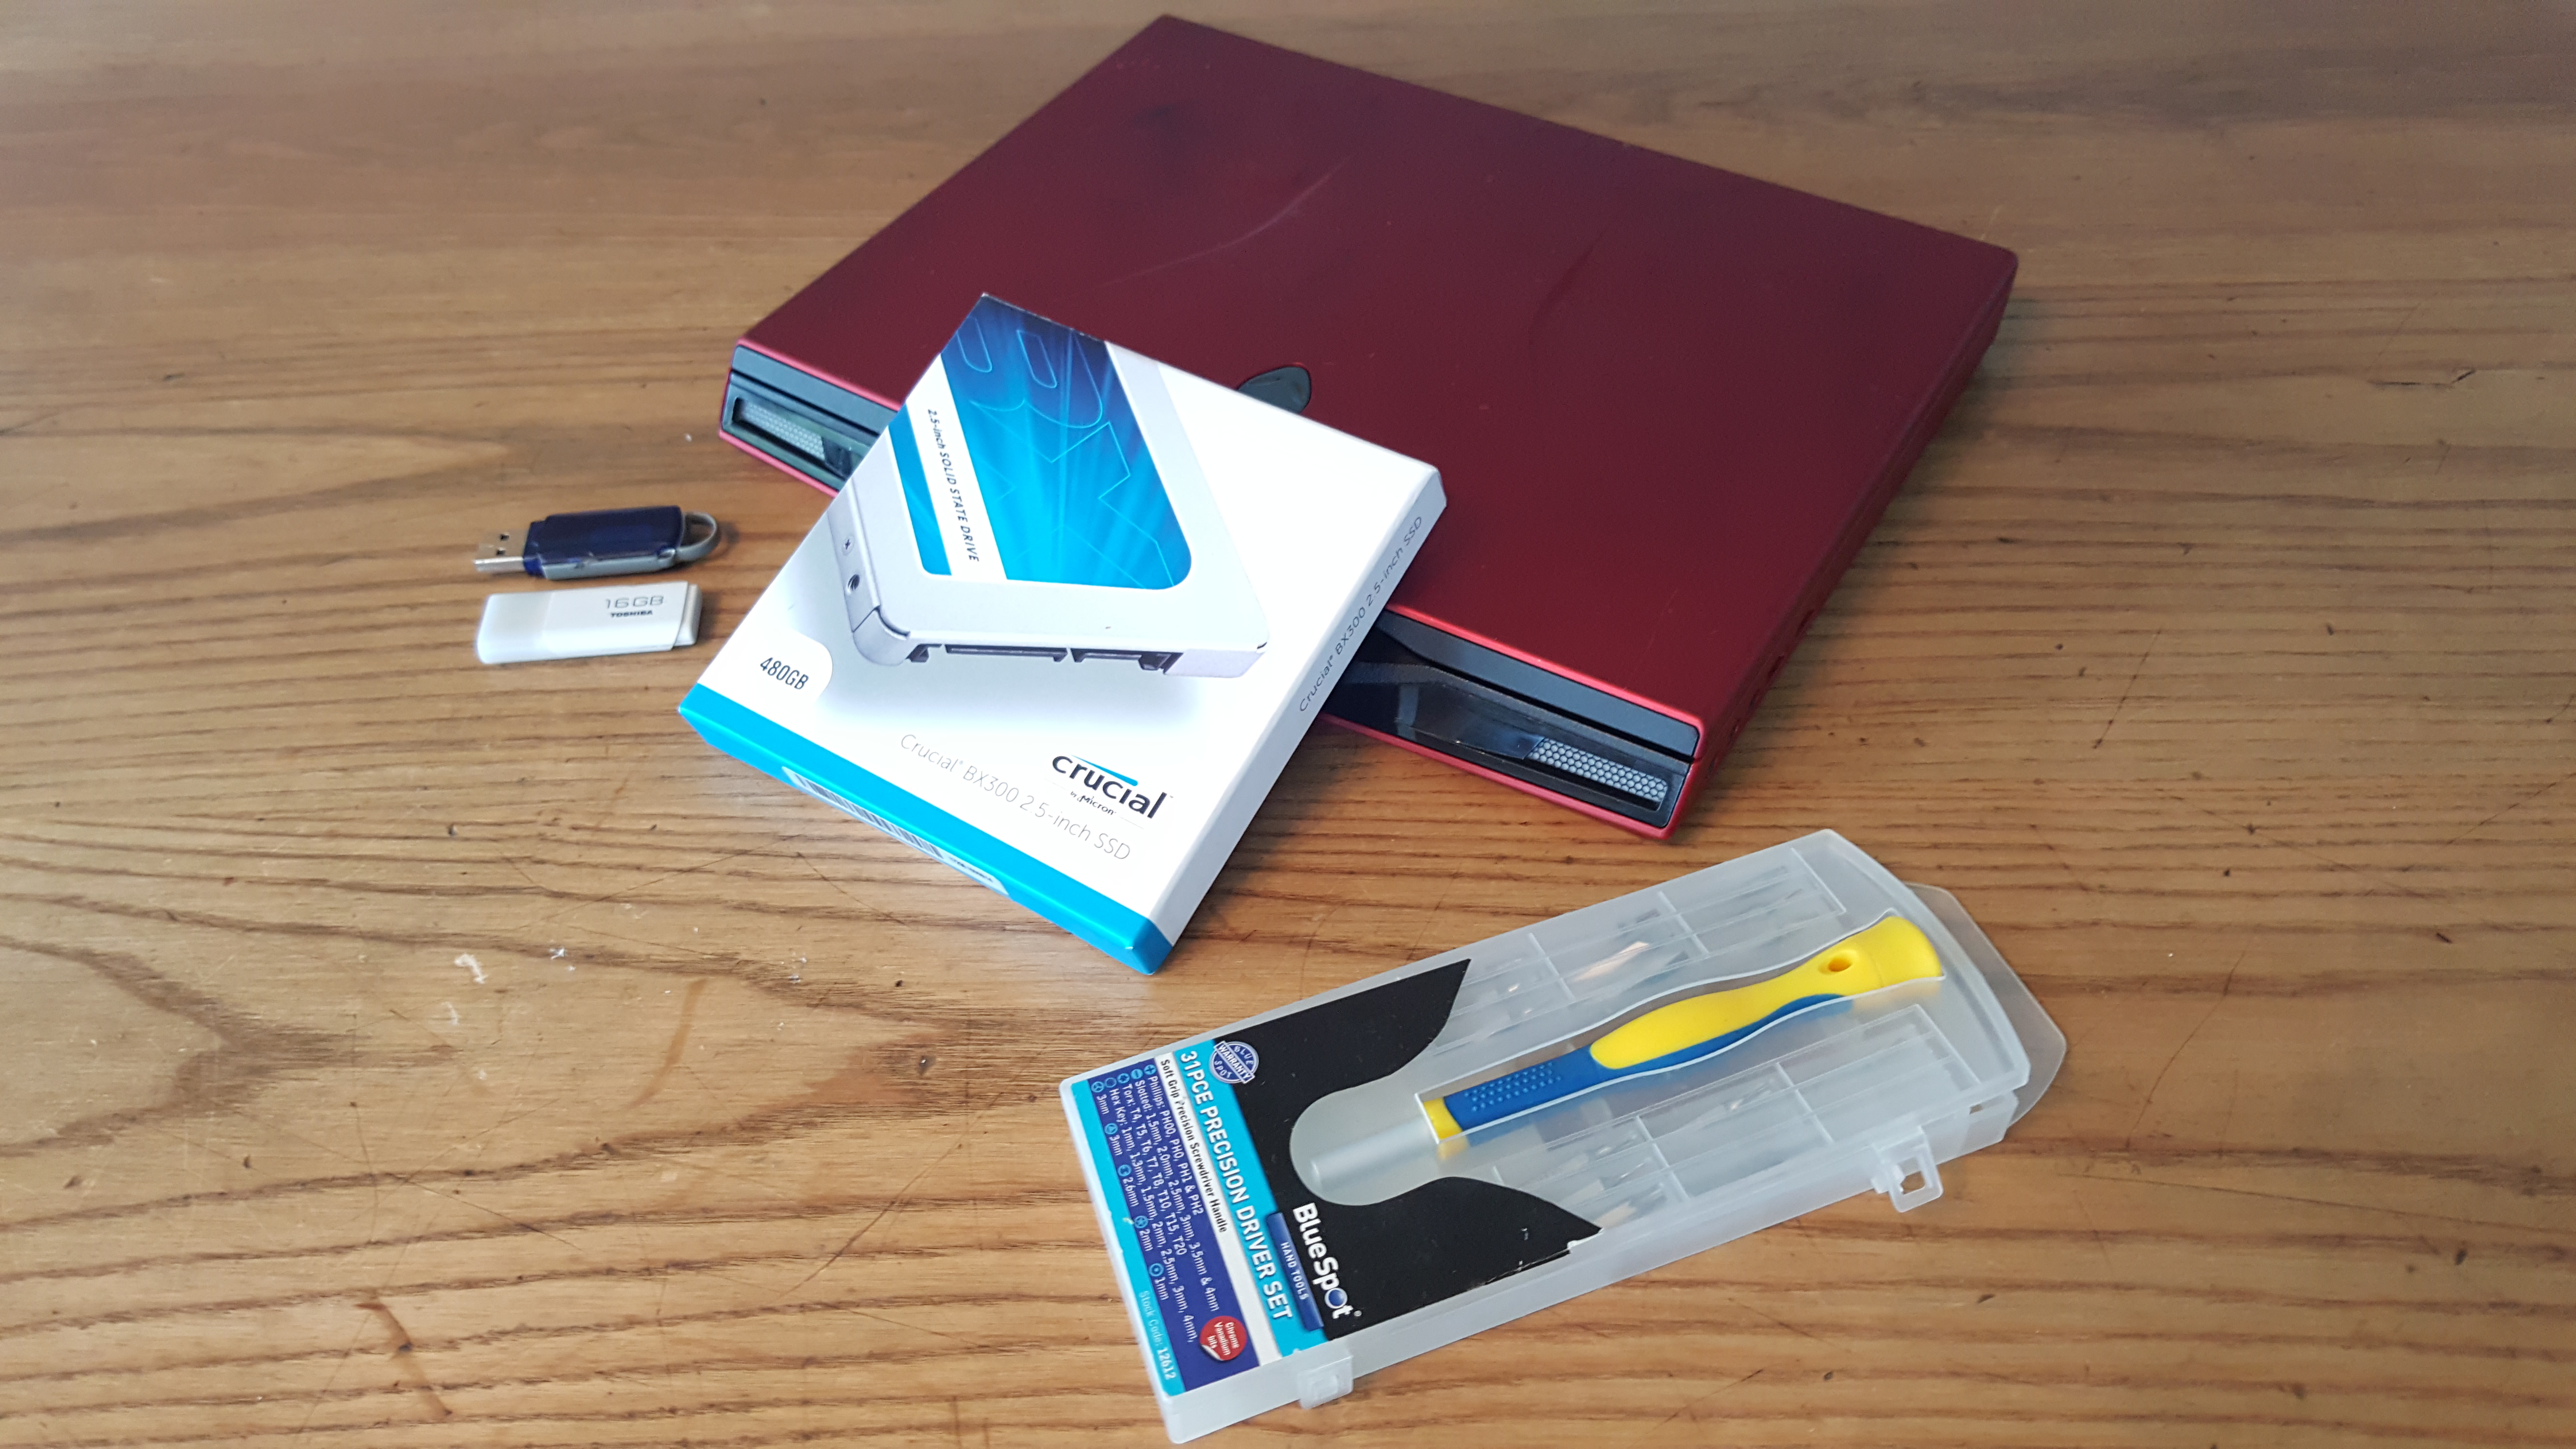
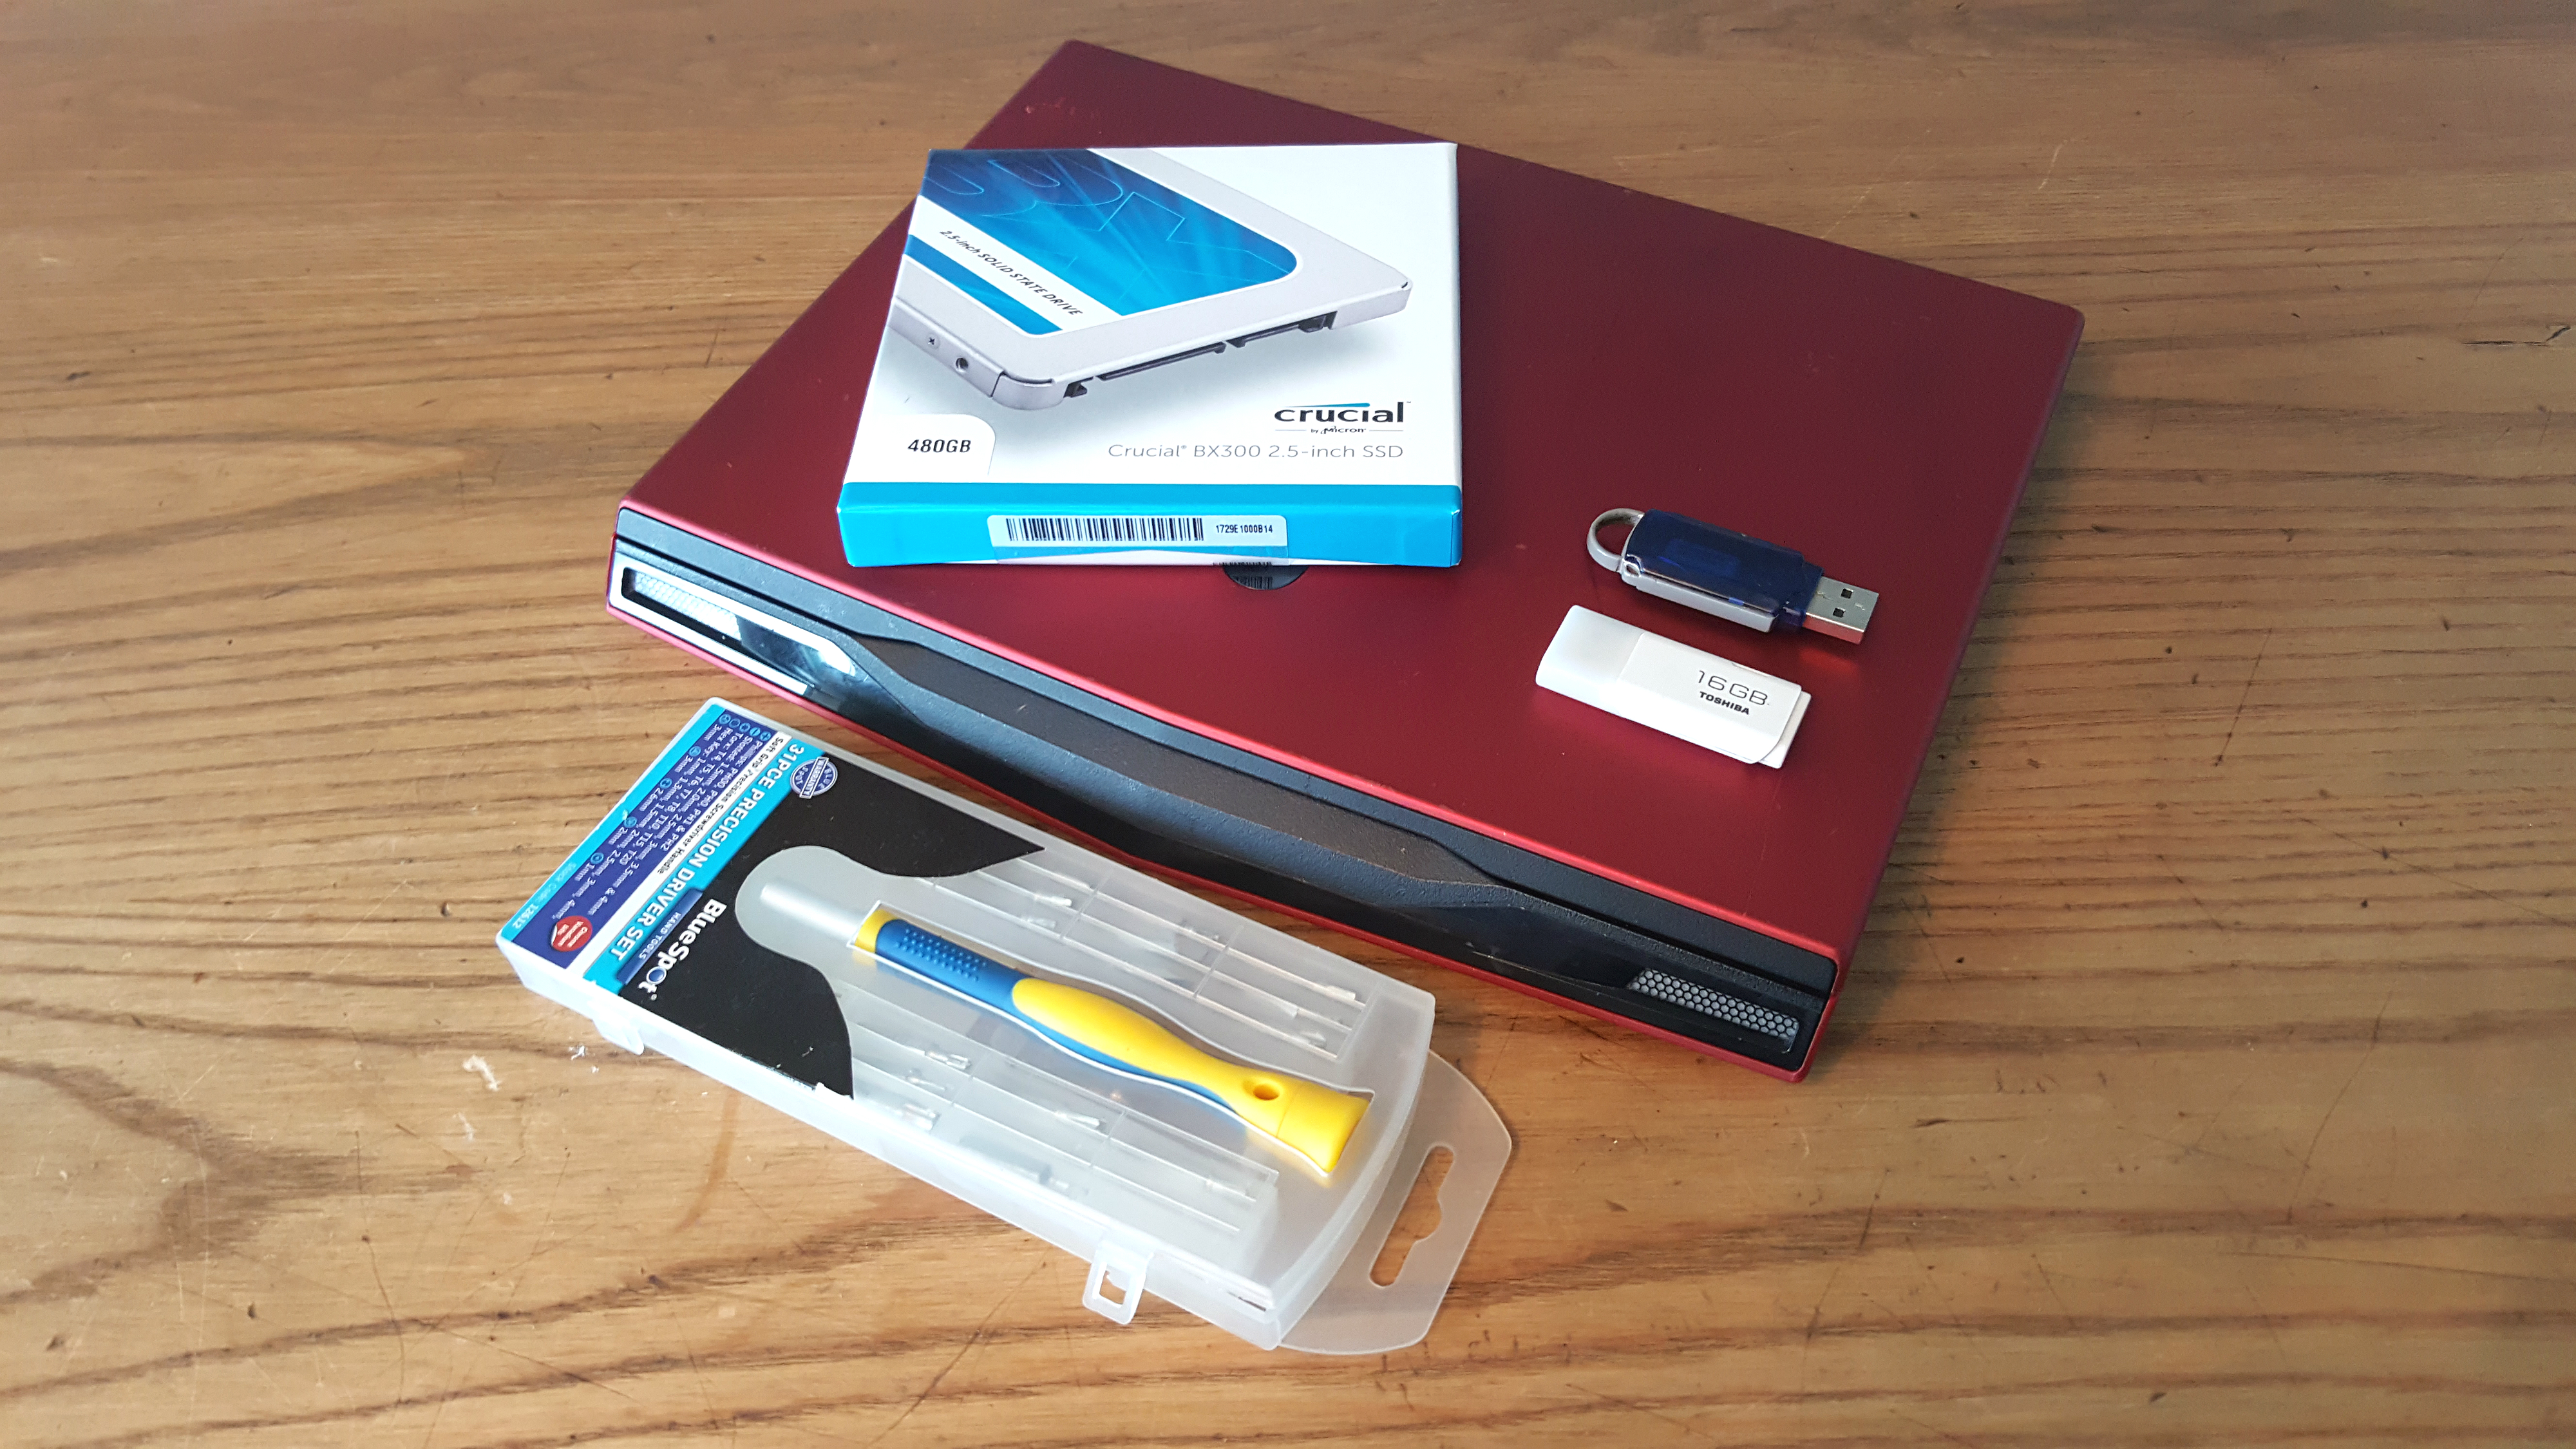
T3's laptop of choice for this explainer is a Dell Alienware M11X R3, which once was a nifty little portable gaming machine. Today its non-SSD hard drive is on its last legs, making booting into Windows a long drawn out affair, and seriously compromising any gaming enjoyment with prolonged, painful load times. As such, it was the perfect candidate therefore to receive a new, lightning fast SSD.
We also chose the Alienware M11X R3 as it is representative of how accessible many laptop internals actually are, with components such as storage, RAM, battery and more in many cases replaceable and upgradeable. For example, this system can take any 2.5-inch SATA drive, which means we have plenty of options when determining our upgrade.
Our upgrade SSD of choice for this guide is the Crucial BX300 480GB, a spacious and - crucially - lightning fast solid state drive that will really help us get the most out of the laptop's gaming credentials, as well as make booting into Windows incredibly rapid.
Asides from the laptop and the new SSD, the only other things we need are our trusty multi-head screwdriver kit and a brace of USB sticks - one to install Windows 10 off (the M11X R3 doesn't have a disk drive) and the other to store the machine's driver suite as well as our personal files on.
Pre-installation preparation
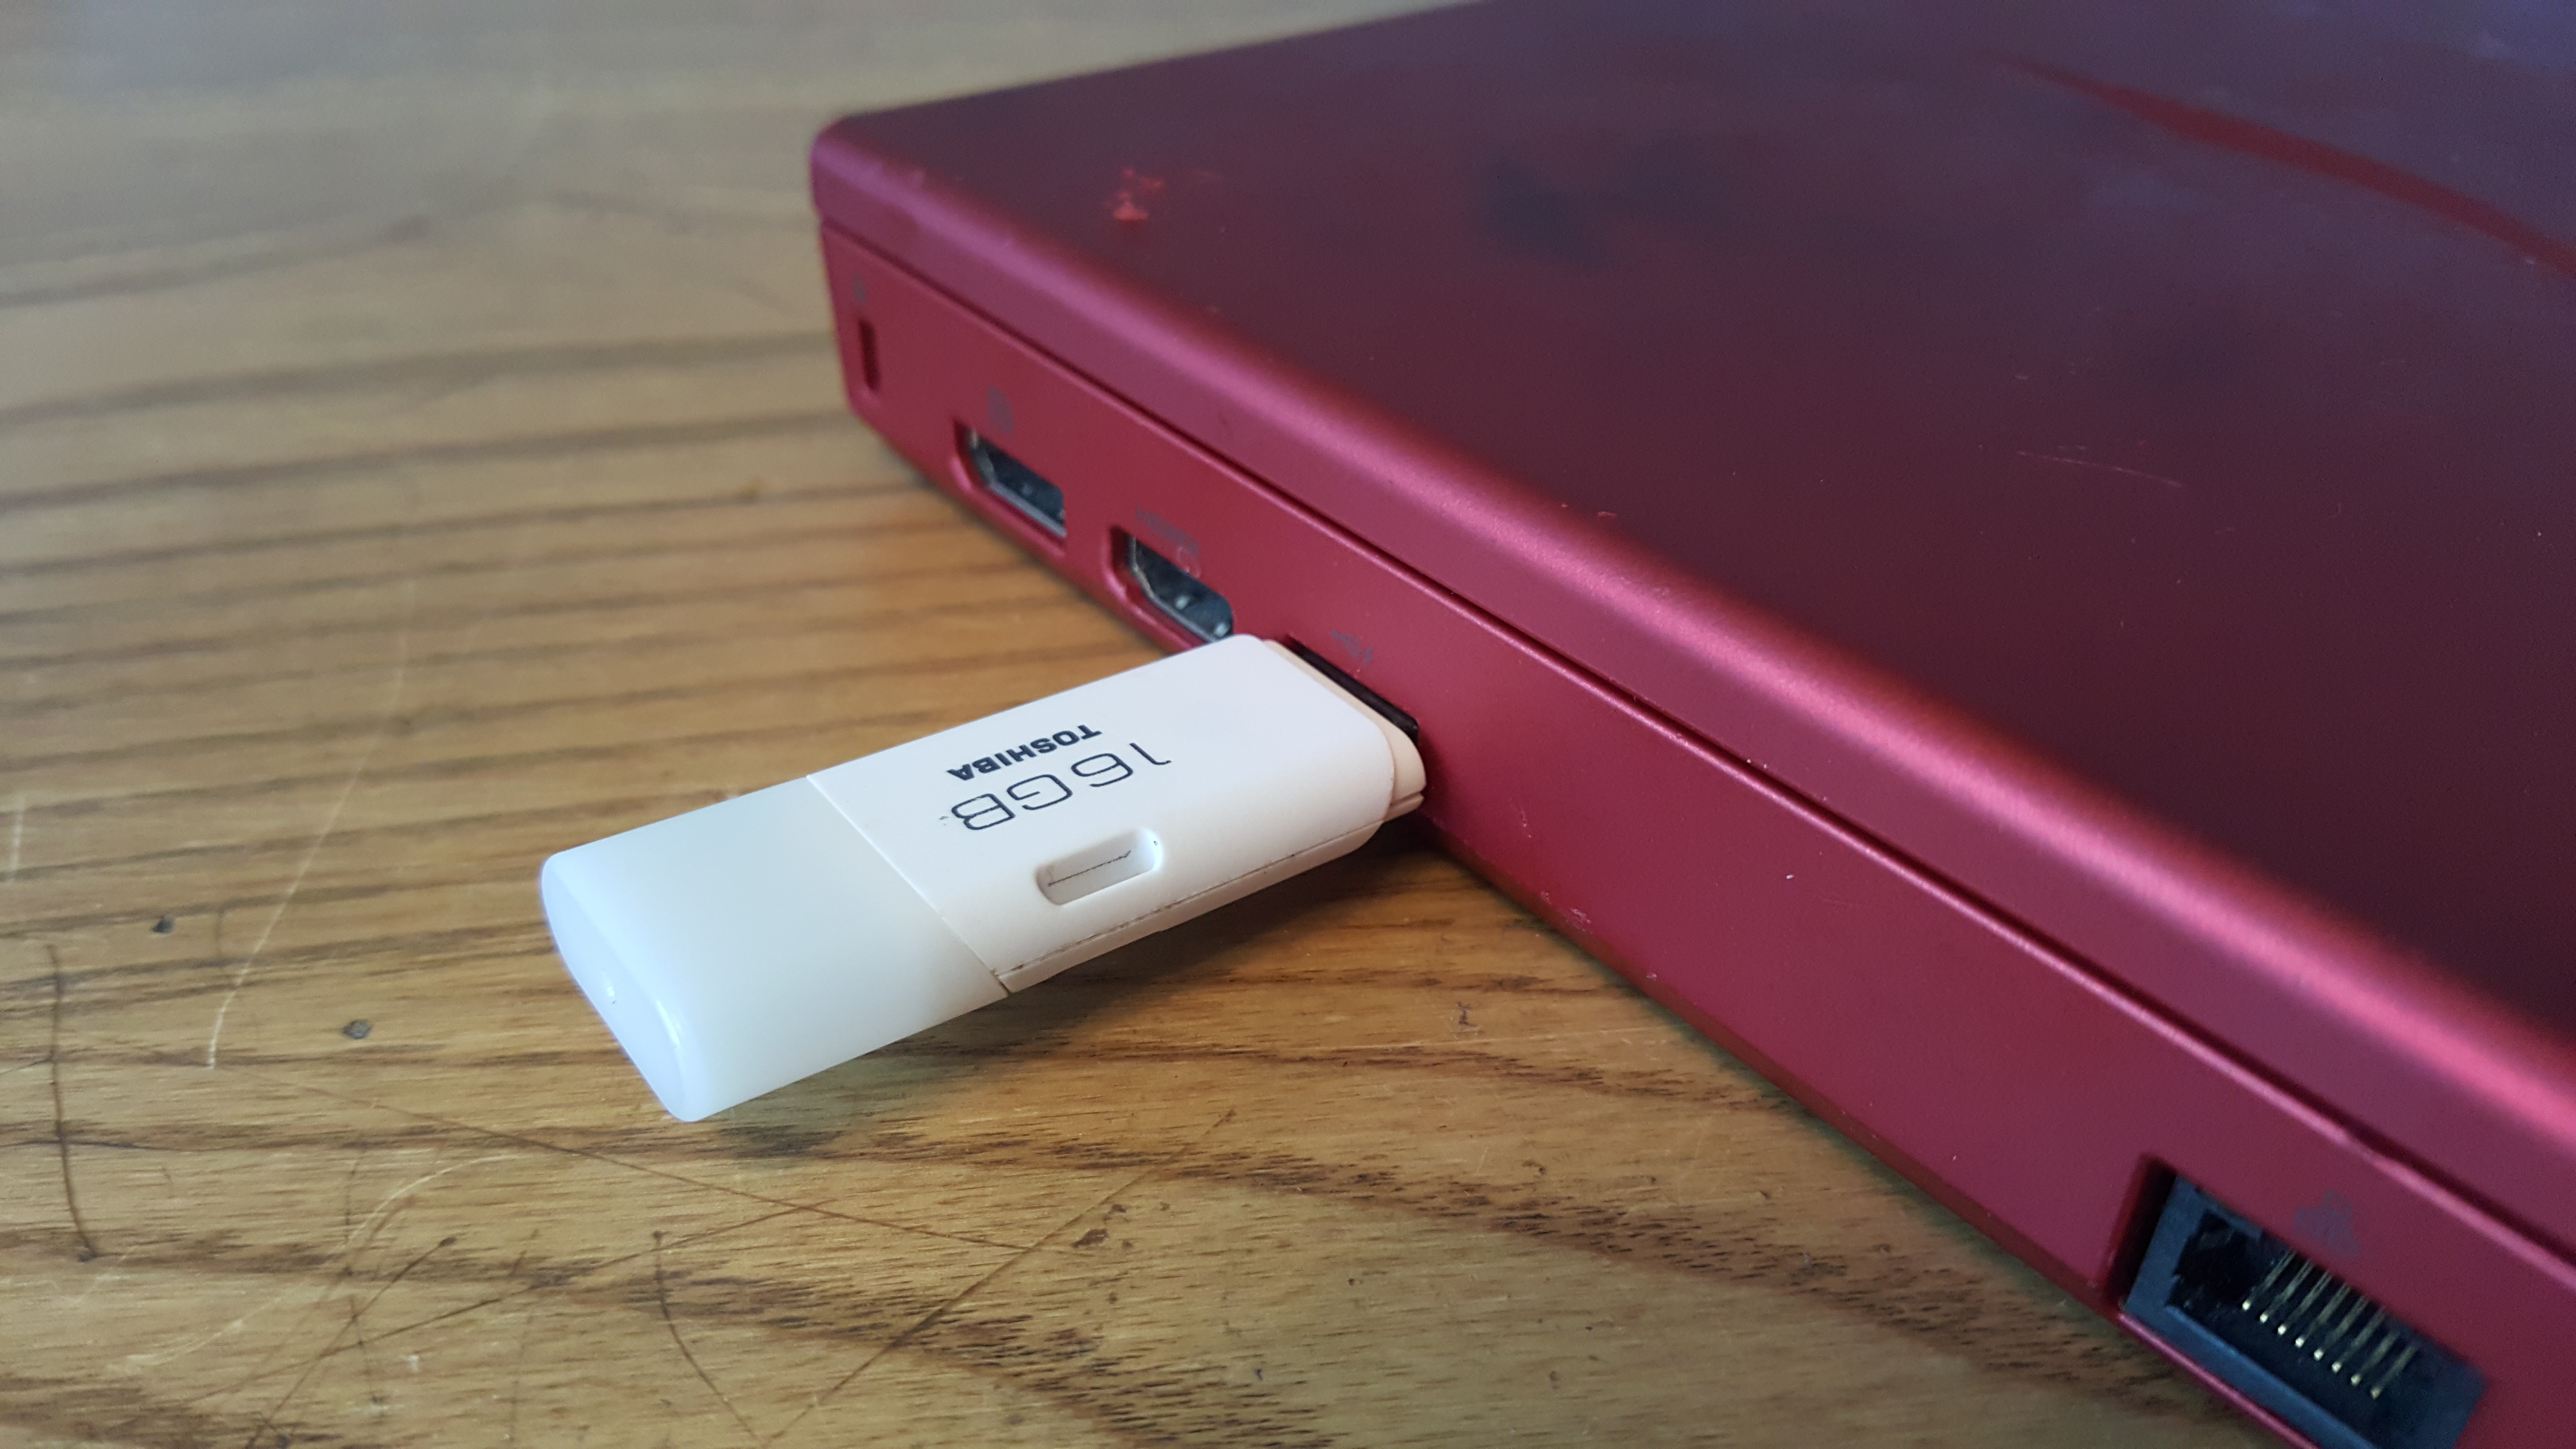
Ok, the first thing we need to do prior to tinkering with any hardware is to re-download the system's driver suite onto a USB, as well as any personal files like photos and videos that we want to keep. Obviously, the driver suite will be different for each machine and, if we're being honest, for most fresh installations Windows 10 will likely cover most of them. However, old systems such as this one may have specific software or drivers that will not be installed with a fresh Windows 10 installation, so re-downloading the executables before swapping the hardware will just make your life easier.
Sign up to the T3 newsletter for smarter living straight to your inbox
Get all the latest news, reviews, deals and buying guides on gorgeous tech, home and active products from the T3 experts
Once the drivers and files have been stored on a USB drive, we now need to create a separate Windows 10 USB boot drive, as the M11X R3 doesn't have a CD drive (obviously, if your system has a disk drive and you have a physical copy of Windows 10 then ignore this part).
To do this we downloaded the Windows 10 media creation tool, which allows for the creation of a bootable version of the OS on USB. We won't go into the steps of creating the USB here as they are clearly detailed on on the media tool's download page and, quite simply, they are very straight forward. Simply click the link above and soon you will have what you need.
When you have both your Windows 10 USB installation drive, and your files/drivers backed up on second USB, proceed to the next step.
Replacing the HDD with the SSD
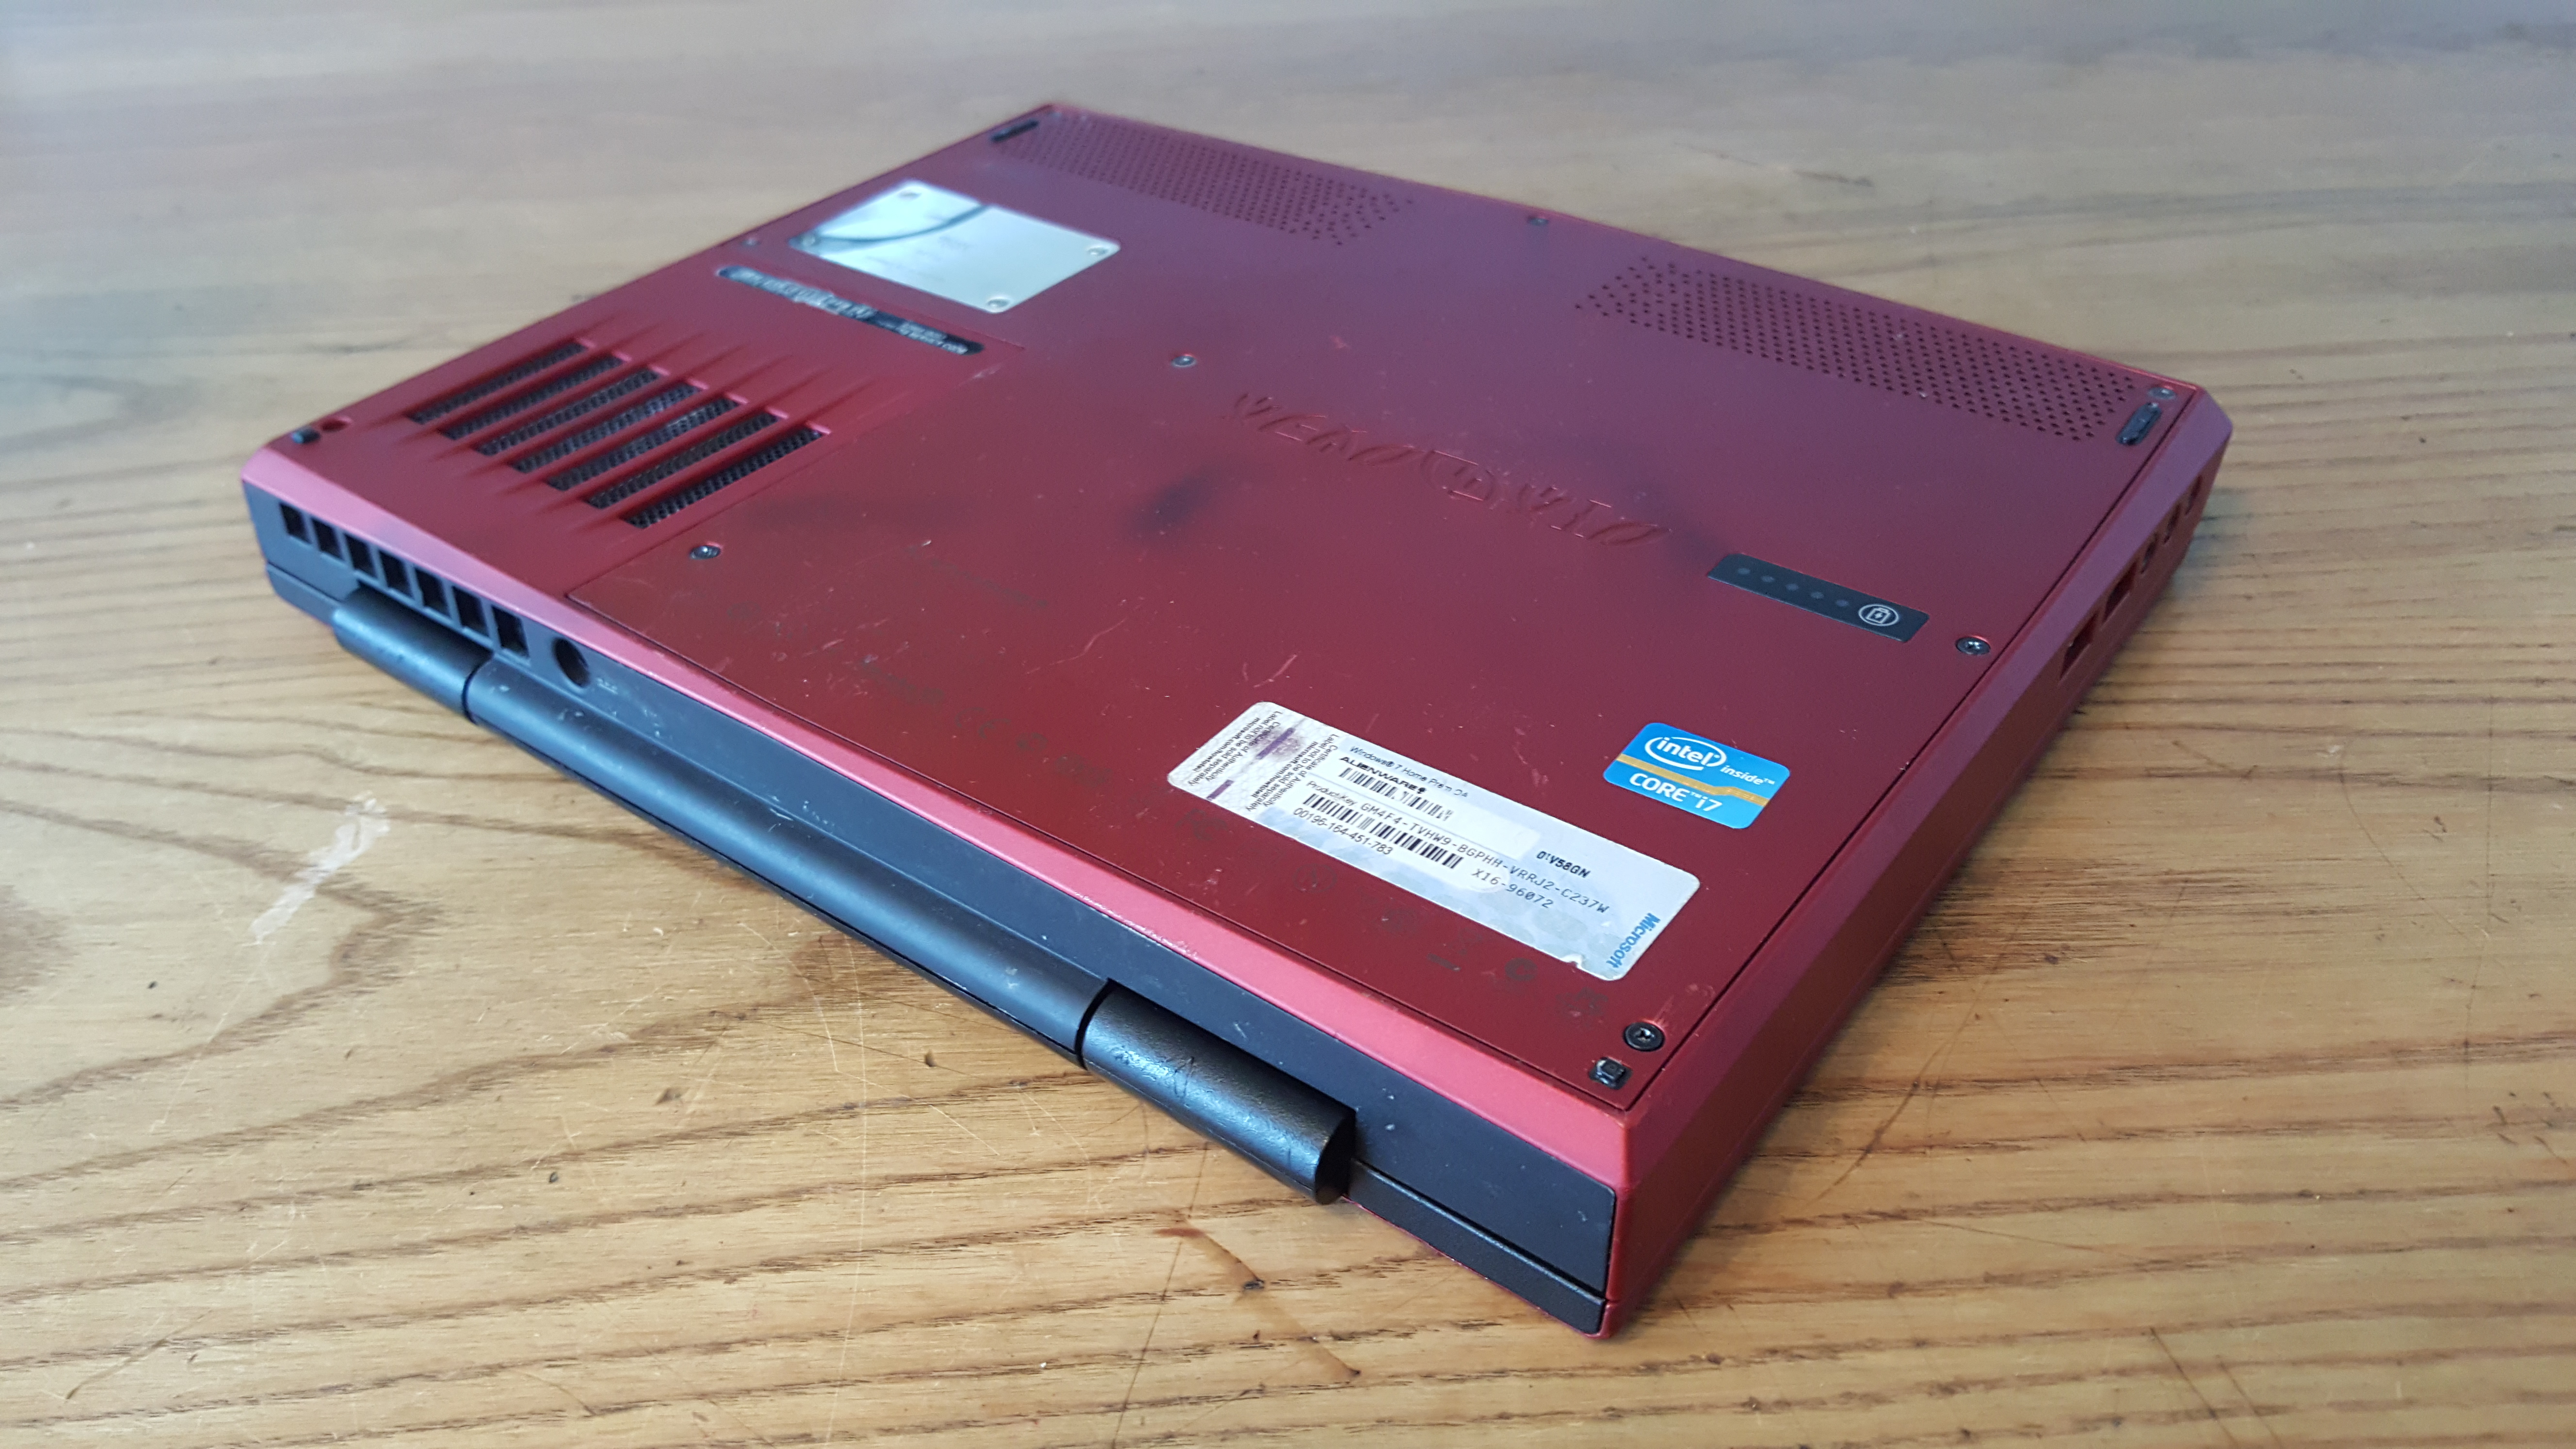
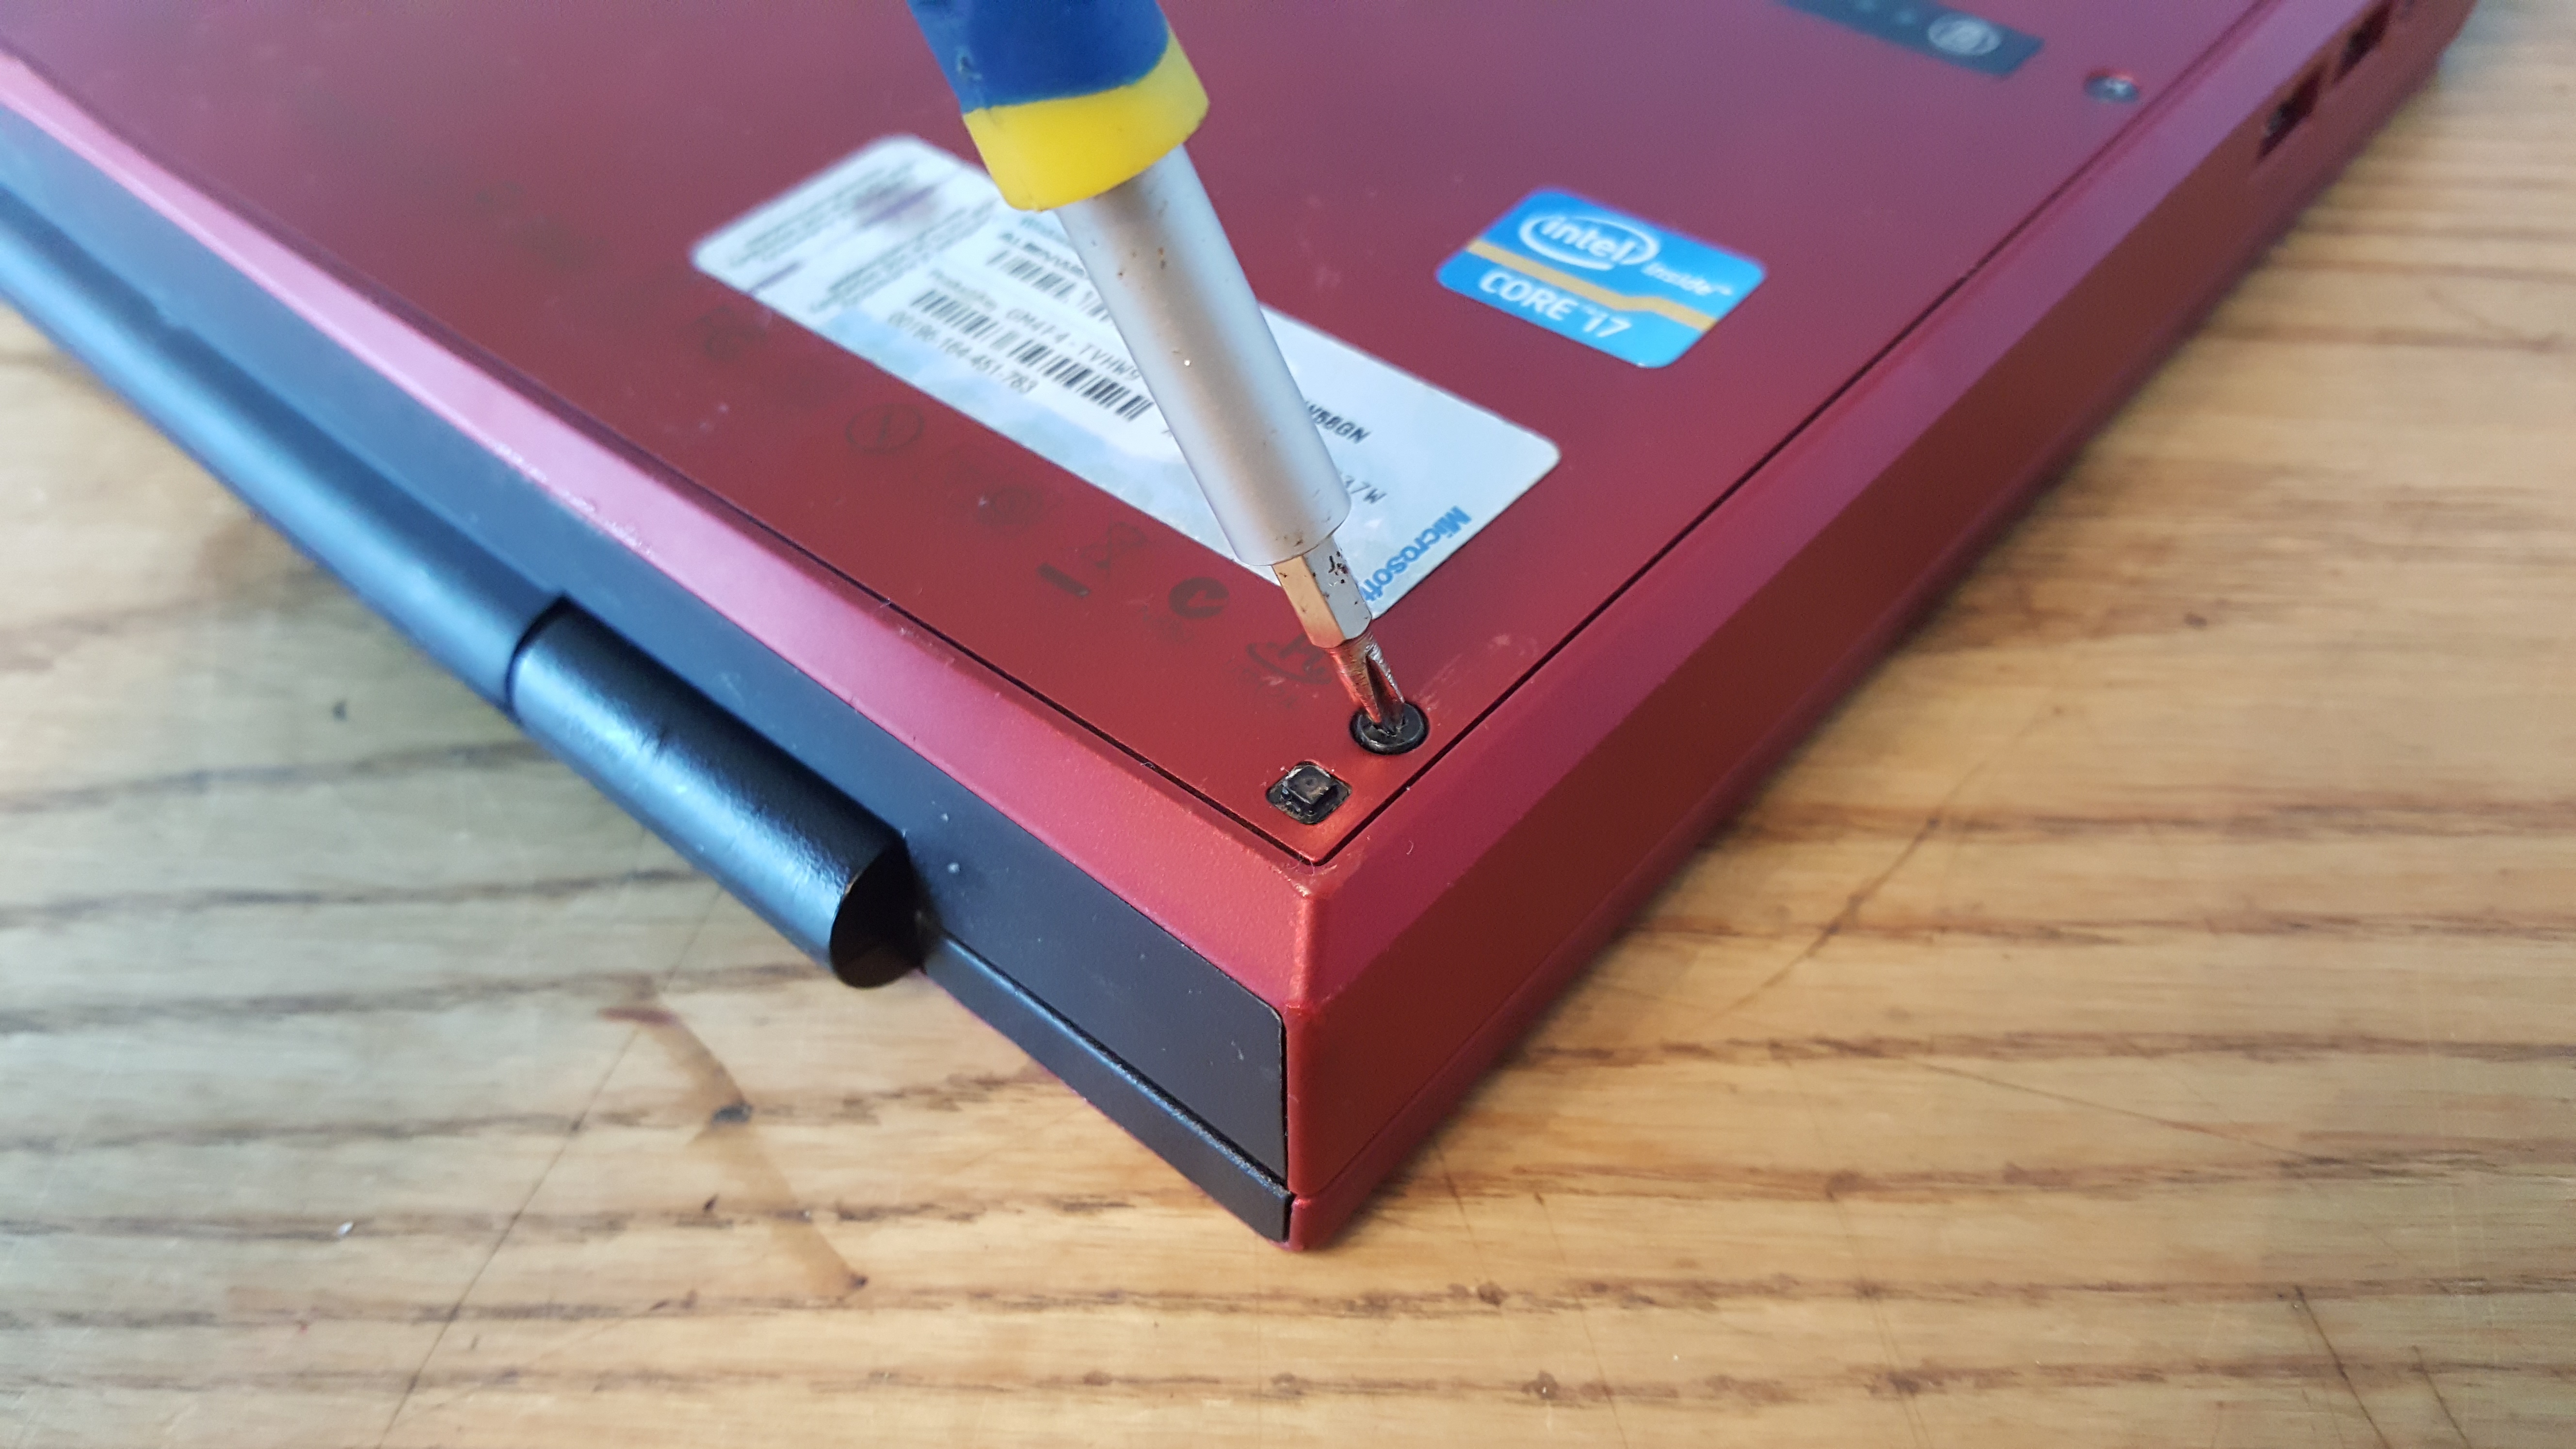
Now we have our software, drivers and files ready to roll we can go ahead and swap out the laptop's old HDD with our lightning fast new SSD. The first step to do this is to open up the laptop so we can access the interior hardware components. Flipping the laptop onto its lid reveals a series of small screws - remove them and carefully place them to one to side.
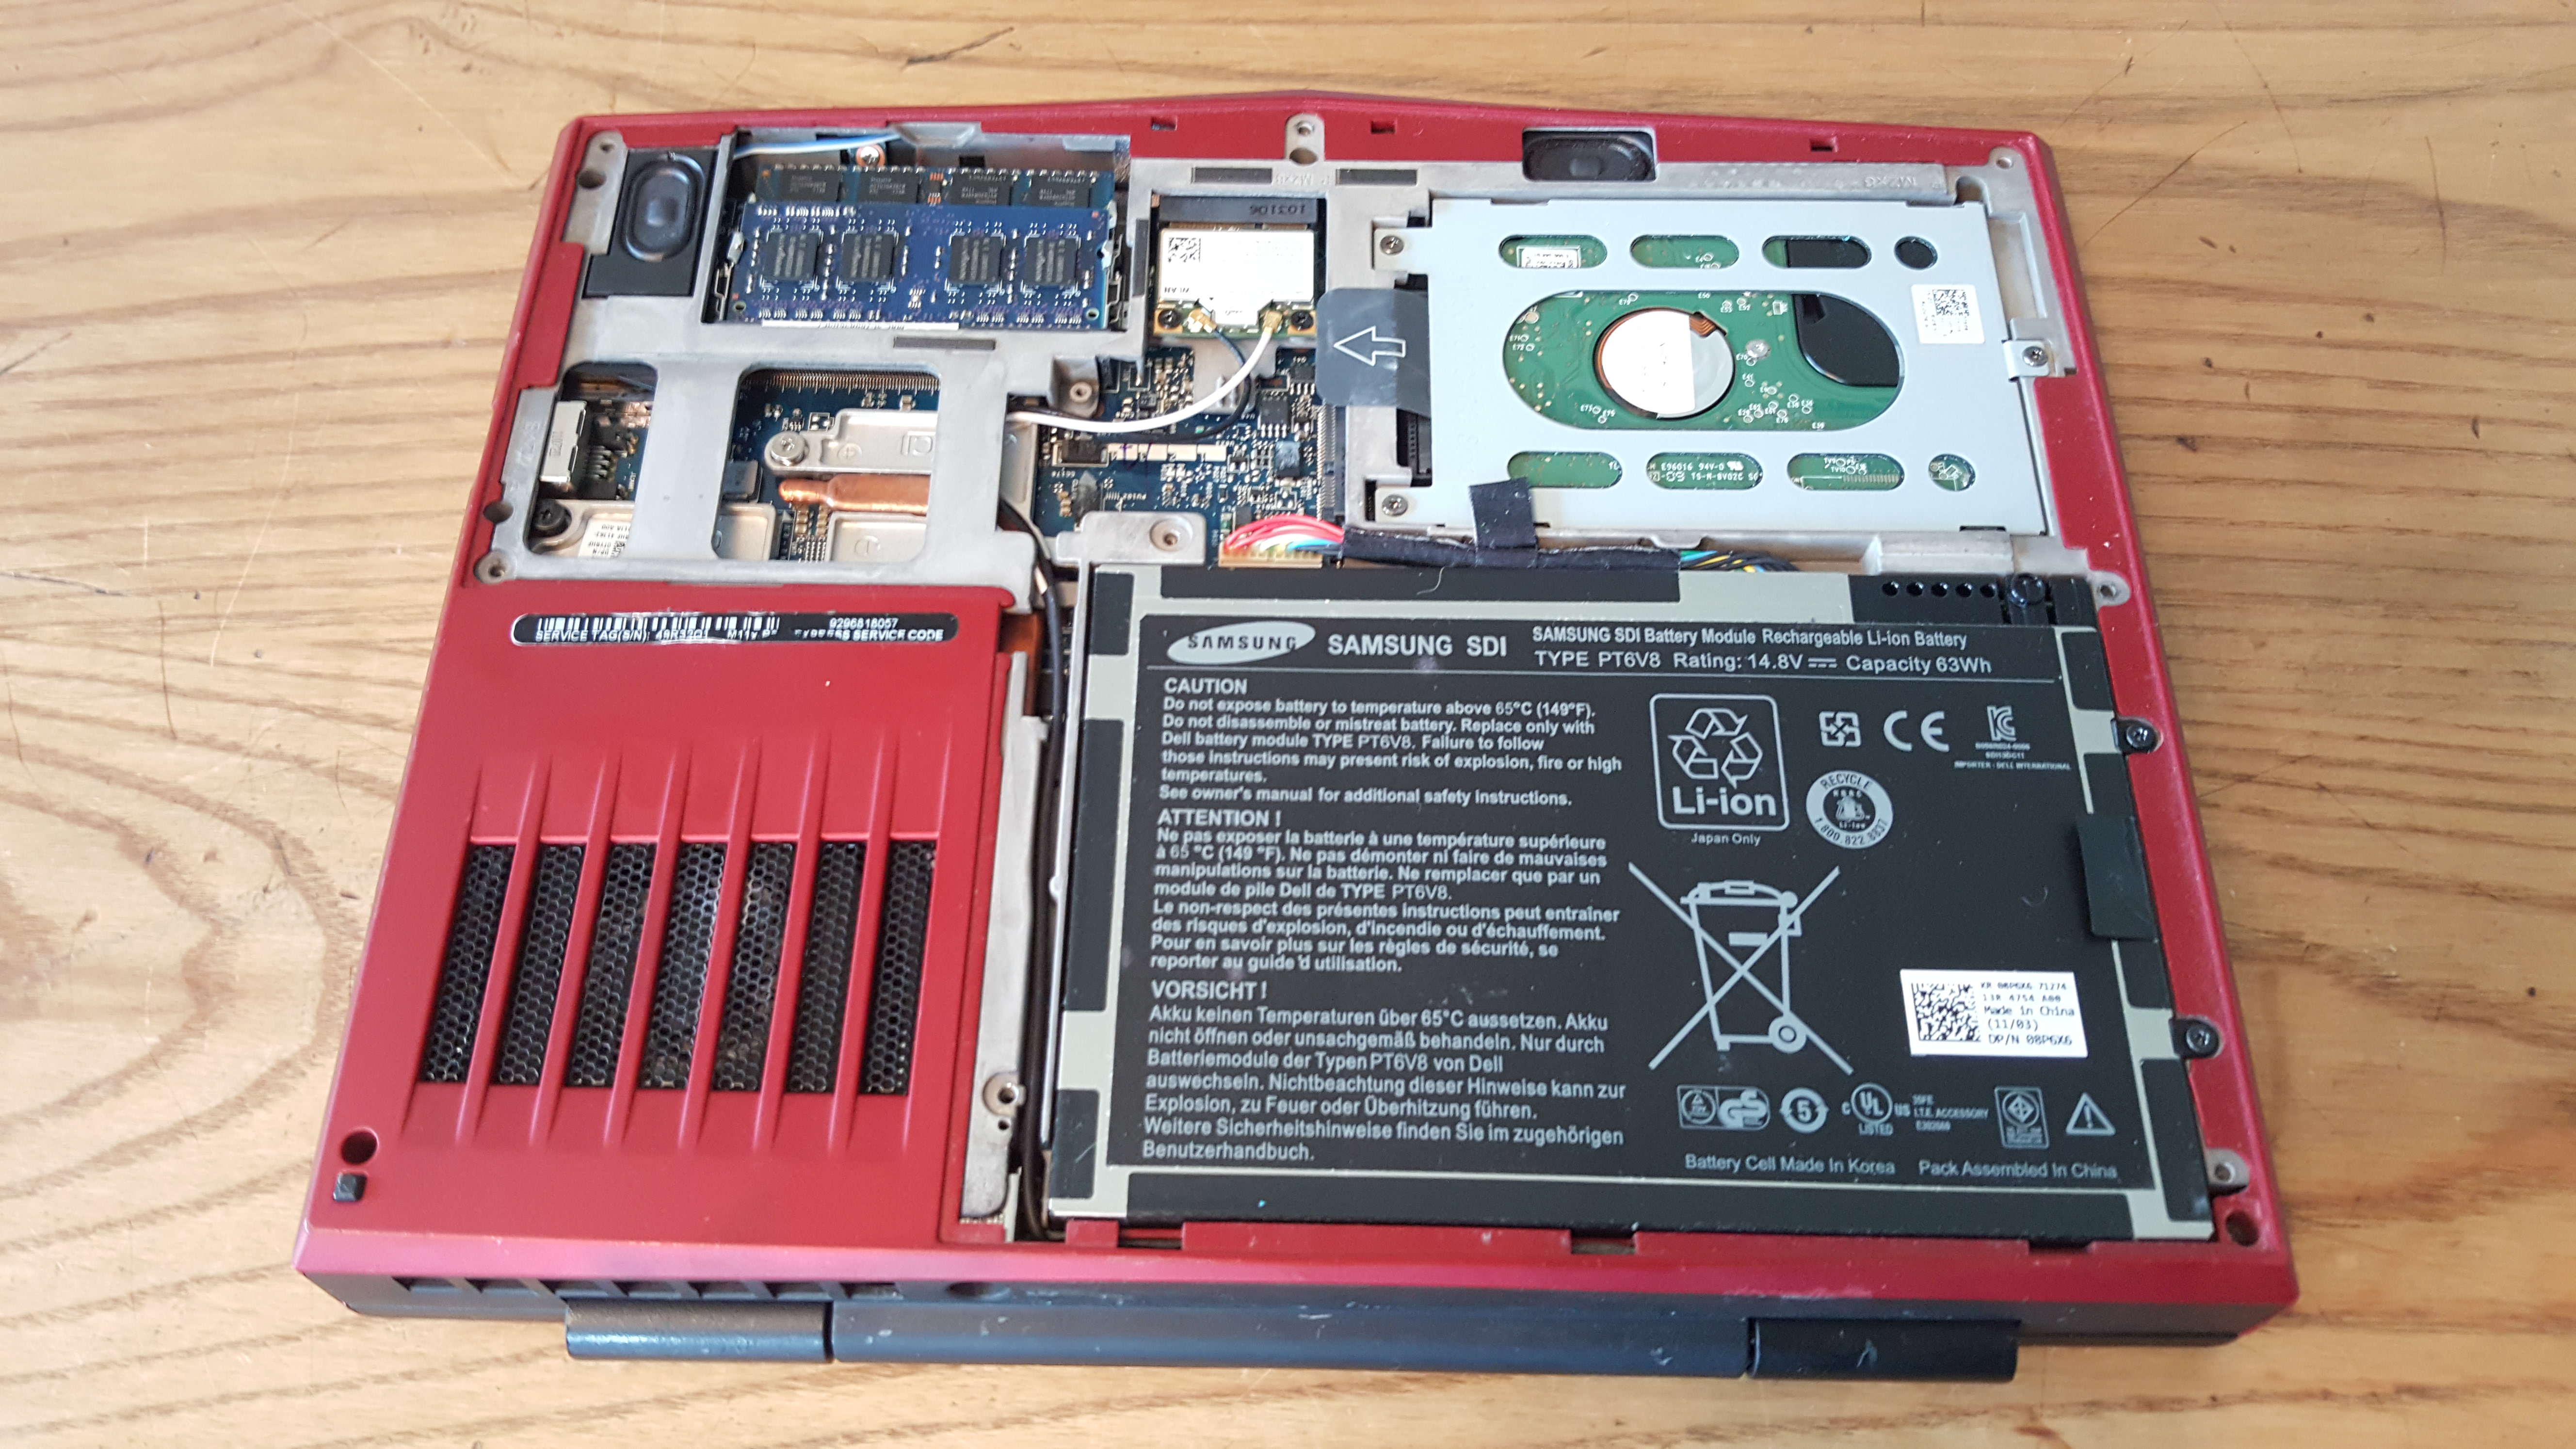
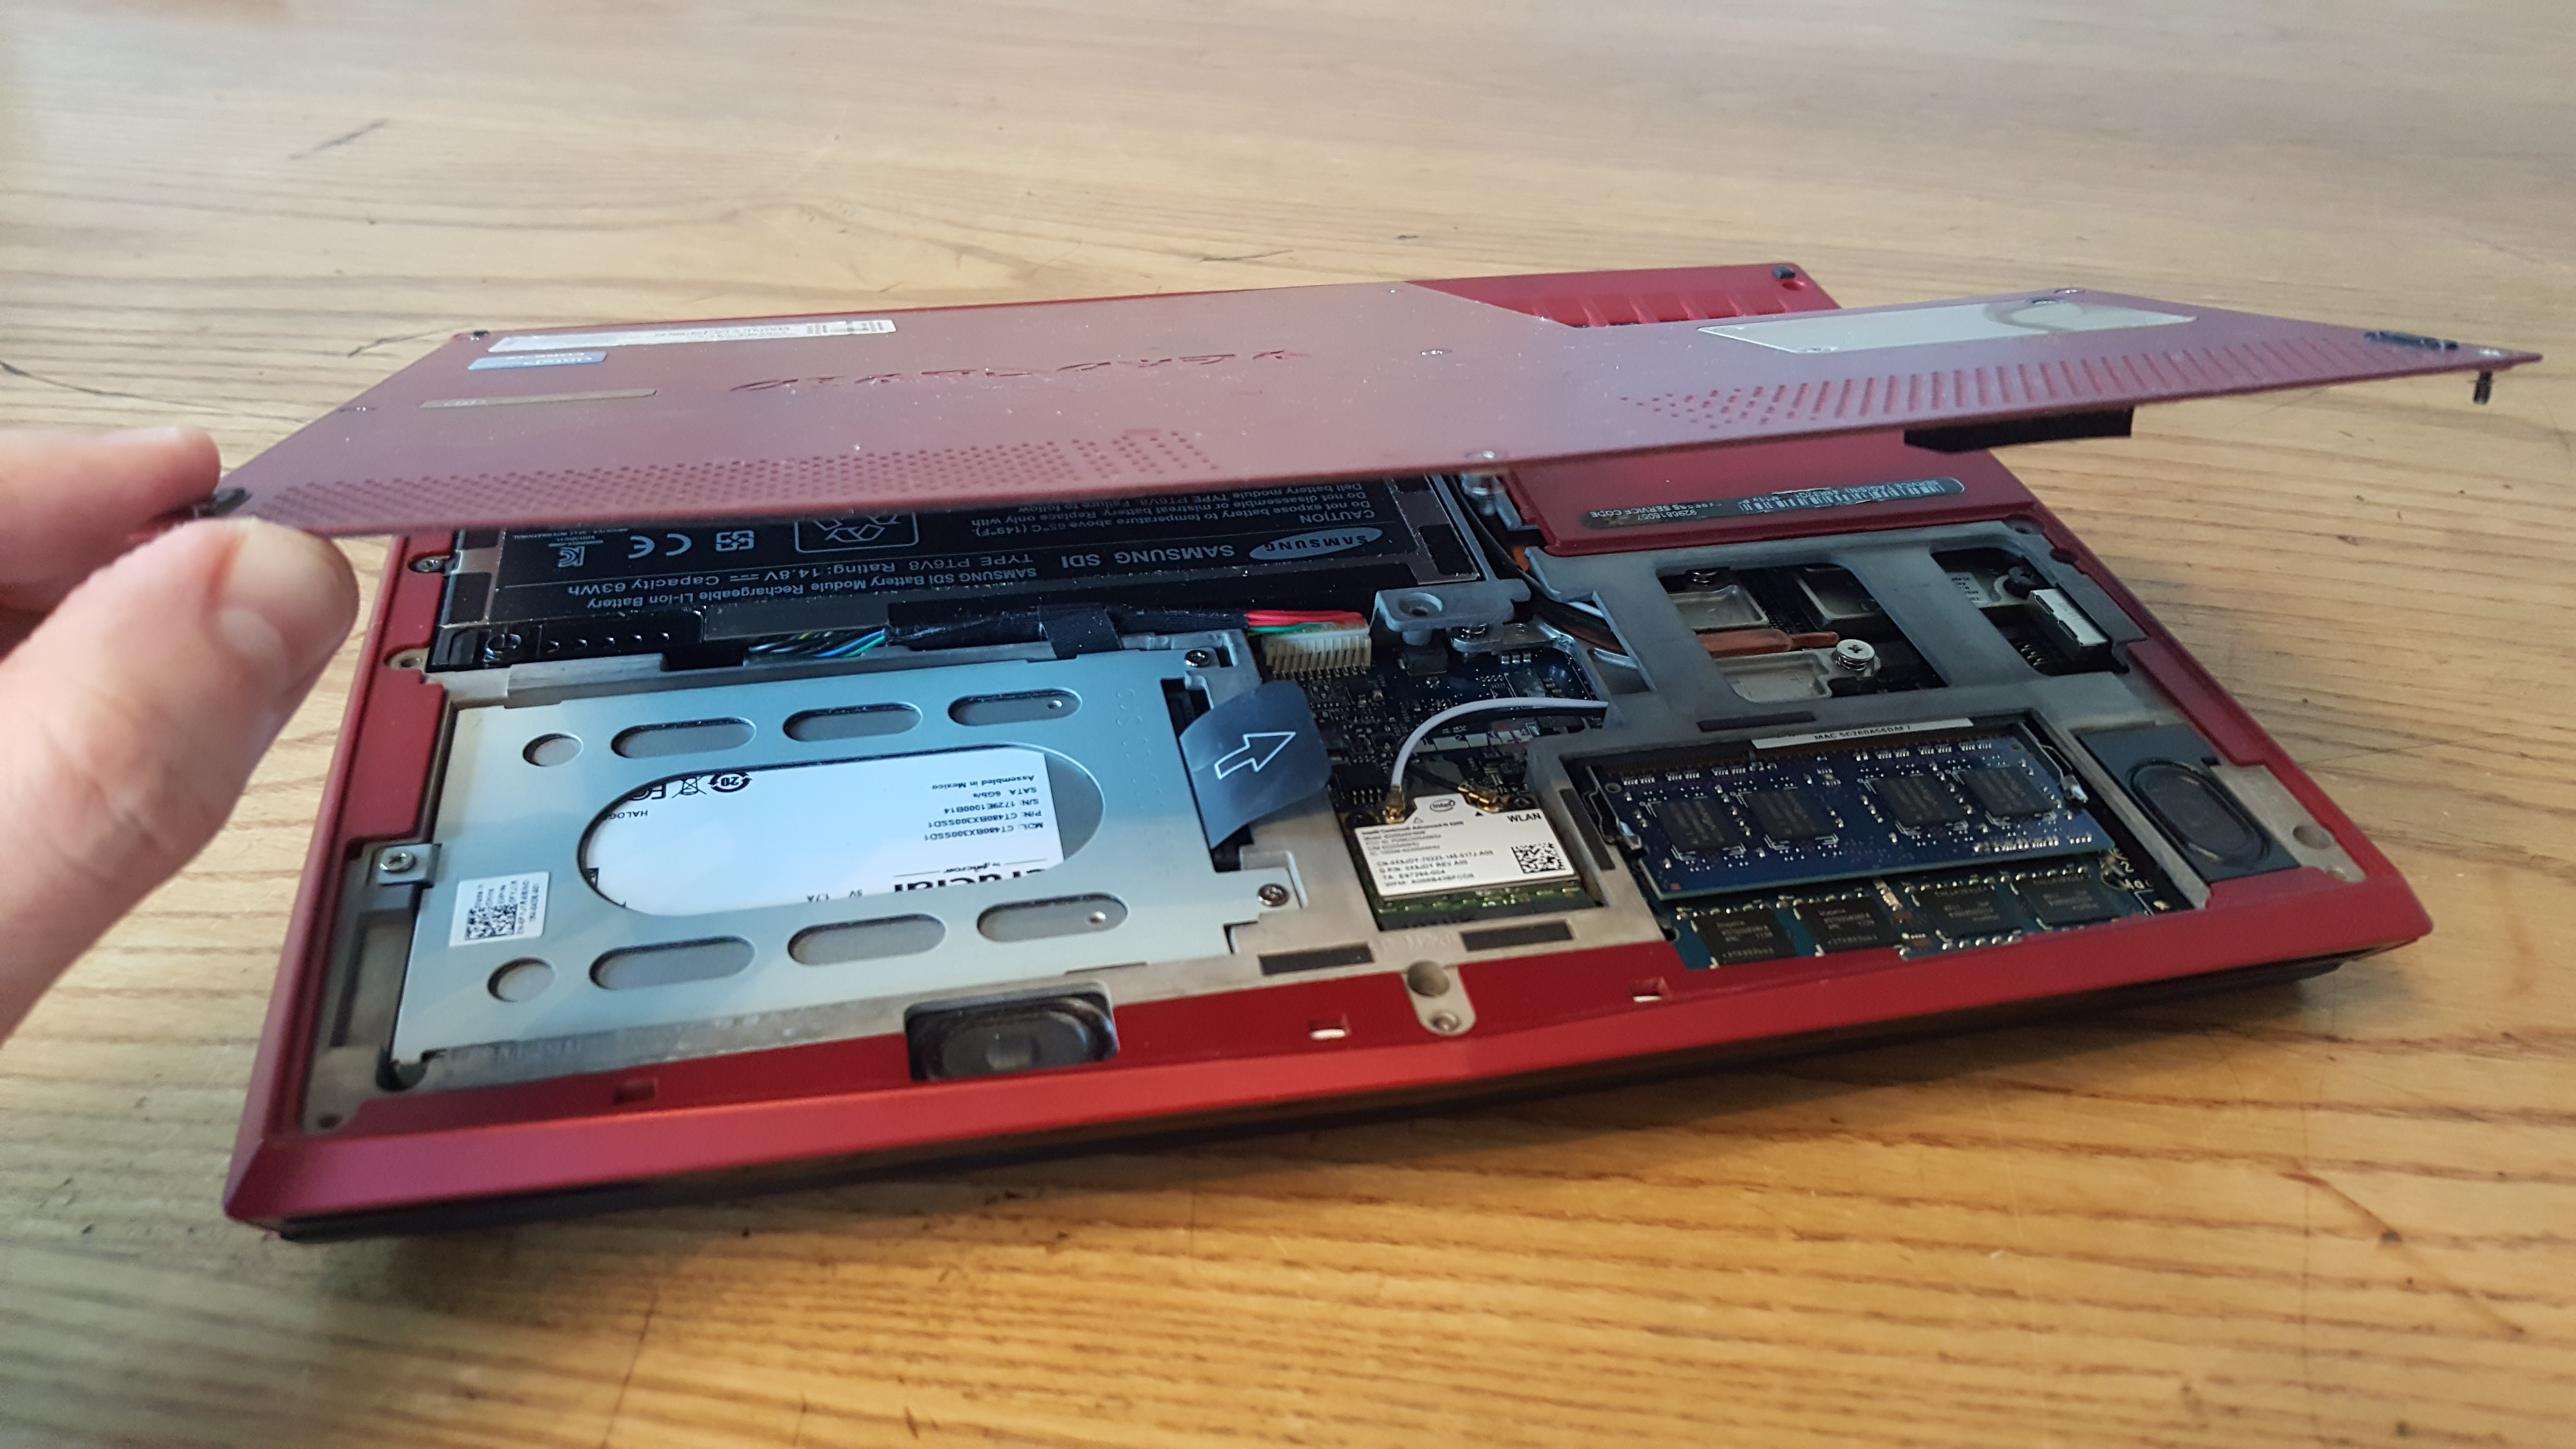
By removing the screws, which mostly line the exterior of the base panel, we can gently lift off the plate to grant access to the interior. In this orientation (see pic below) the M11X R3's hard drive can be seen top right, while its battery can be seen bottom right, with its motherboard and various daughter boards located top left and dead centre.
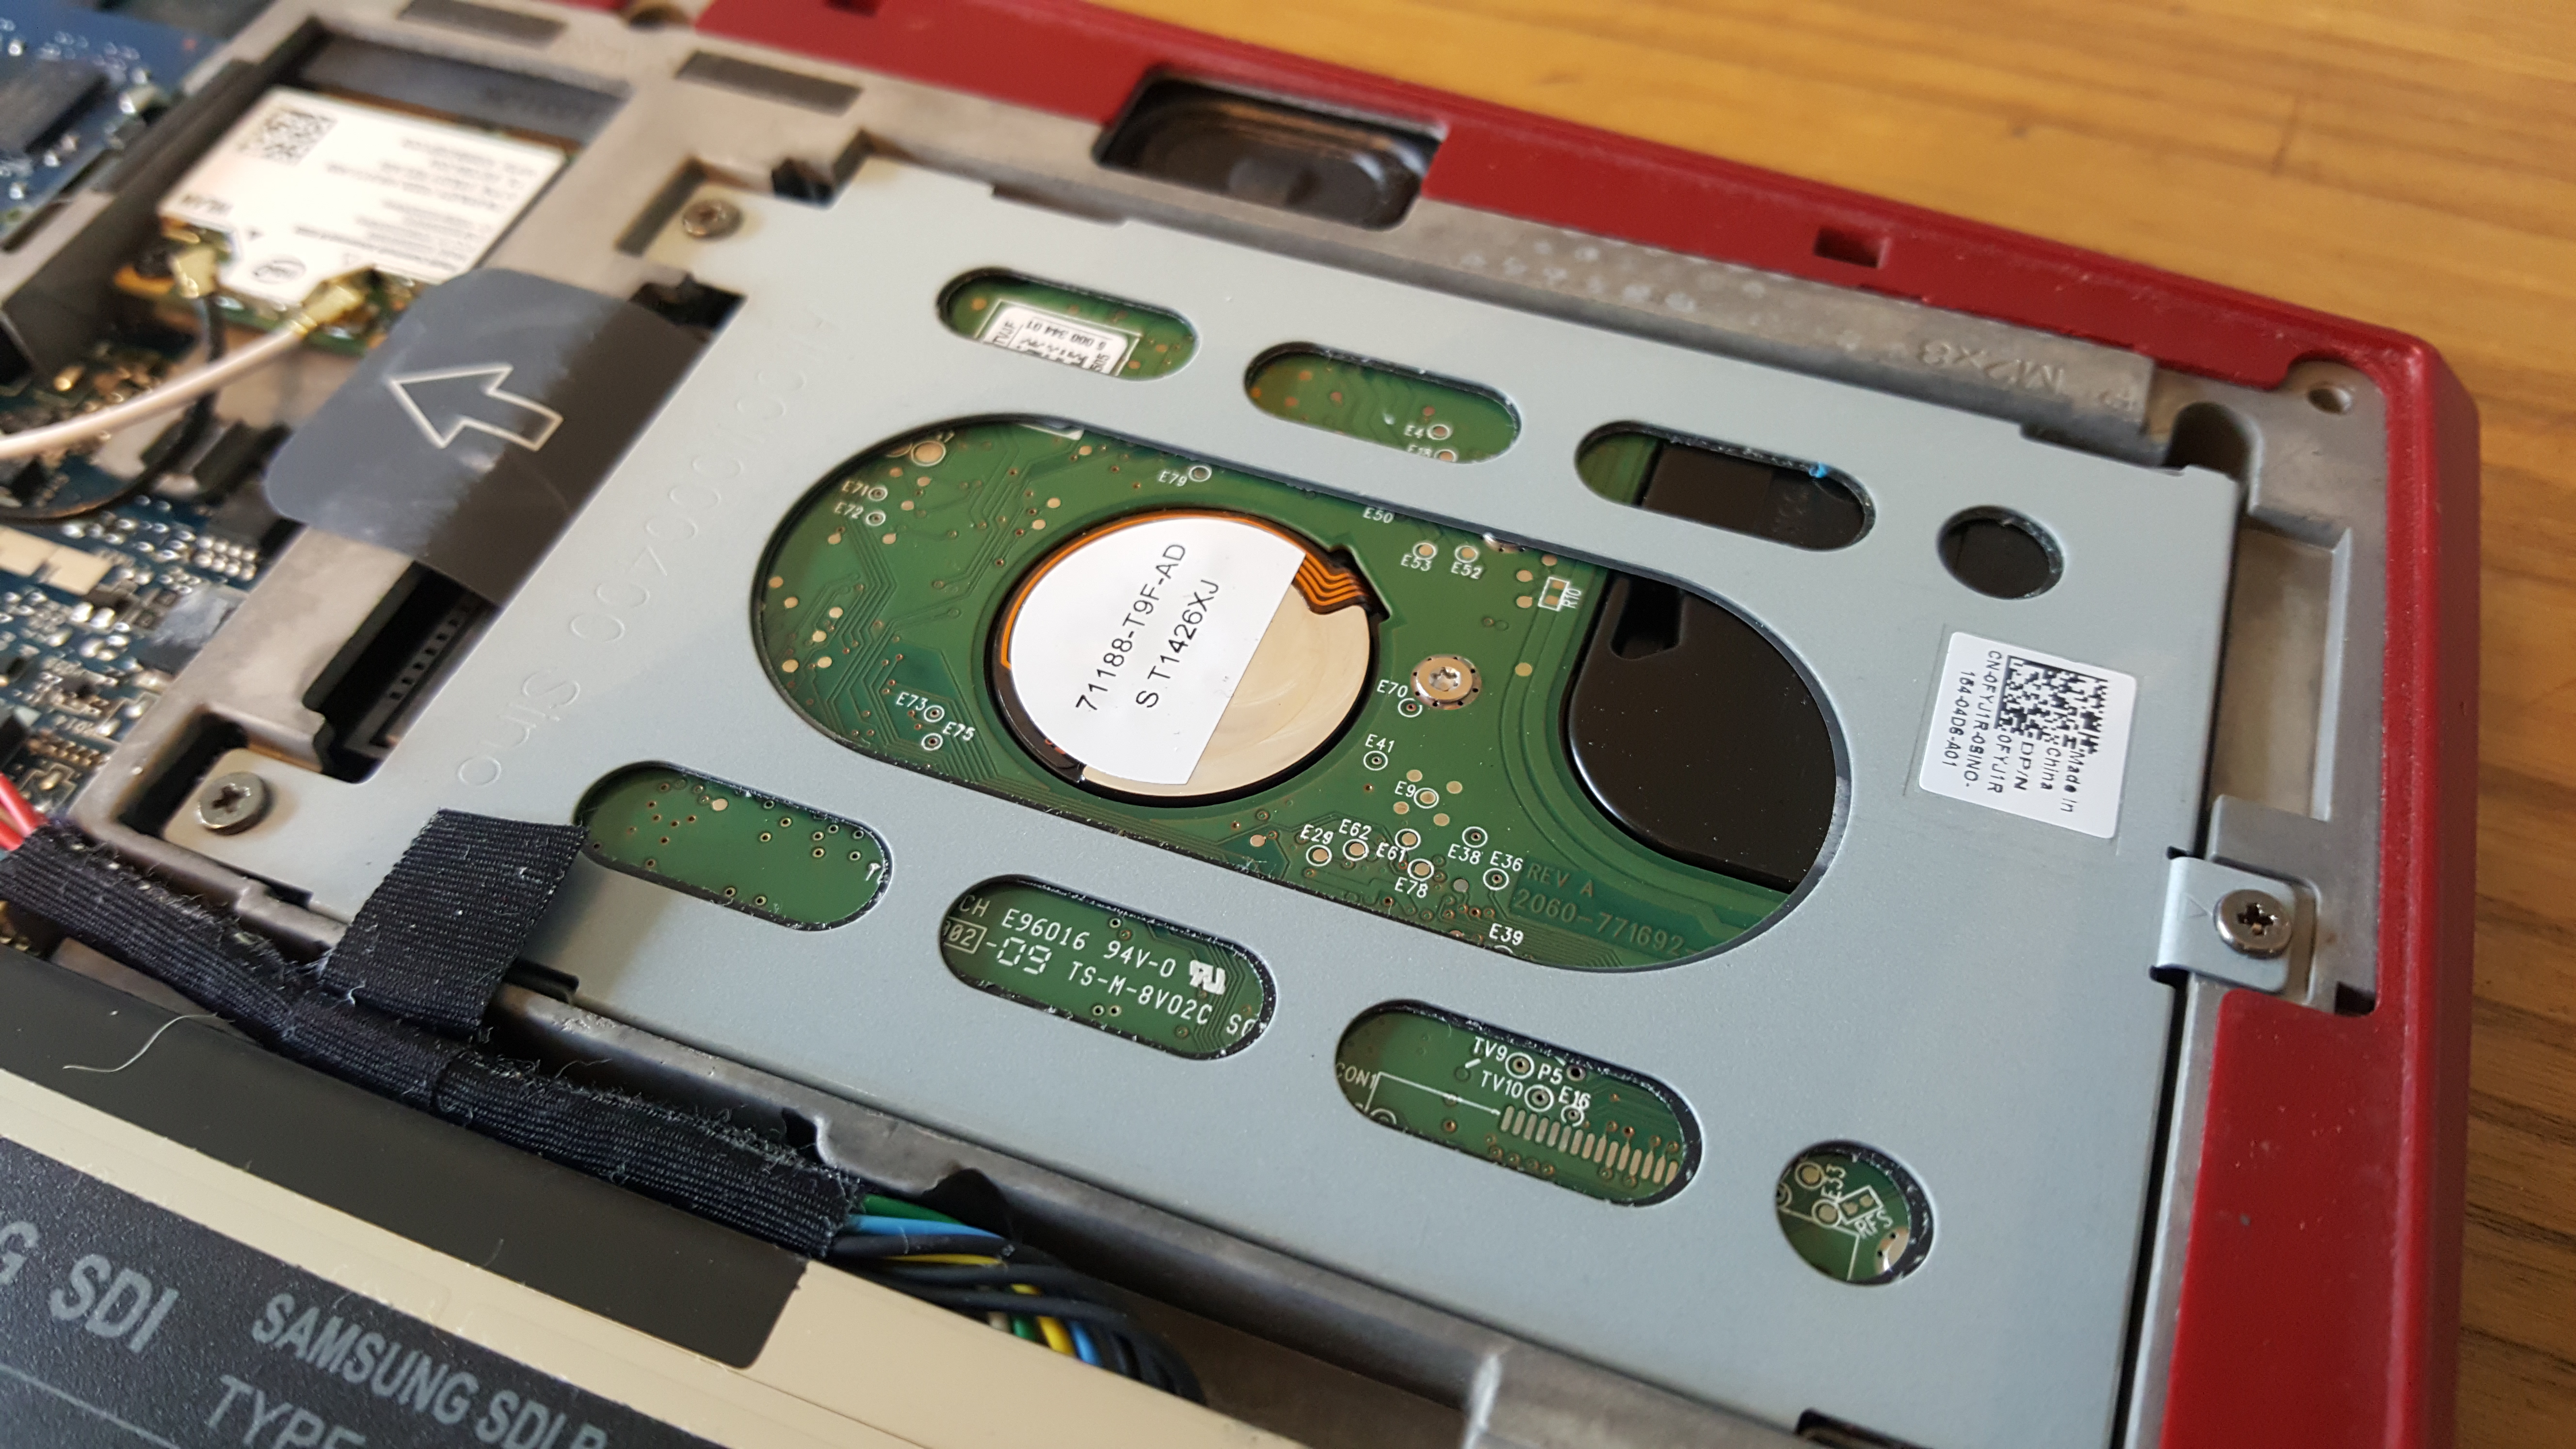
Now in the M11X R3 the hard drive is installed within its own removable caddy (this will be true on the vast majority of laptops) and in order to replace the hard drive we are first going to have to remove the caddy from its dock. Before you grab your screwdriver however STOP and read the next crucial step.
Before we start fiddling around with the internal components it is ESSENTIAL that we disconnect the system's battery. On the M11X R3 that is achieved by carefully disconnecting the pictured cable - gently lift the cable until it clips out of the motherboard.
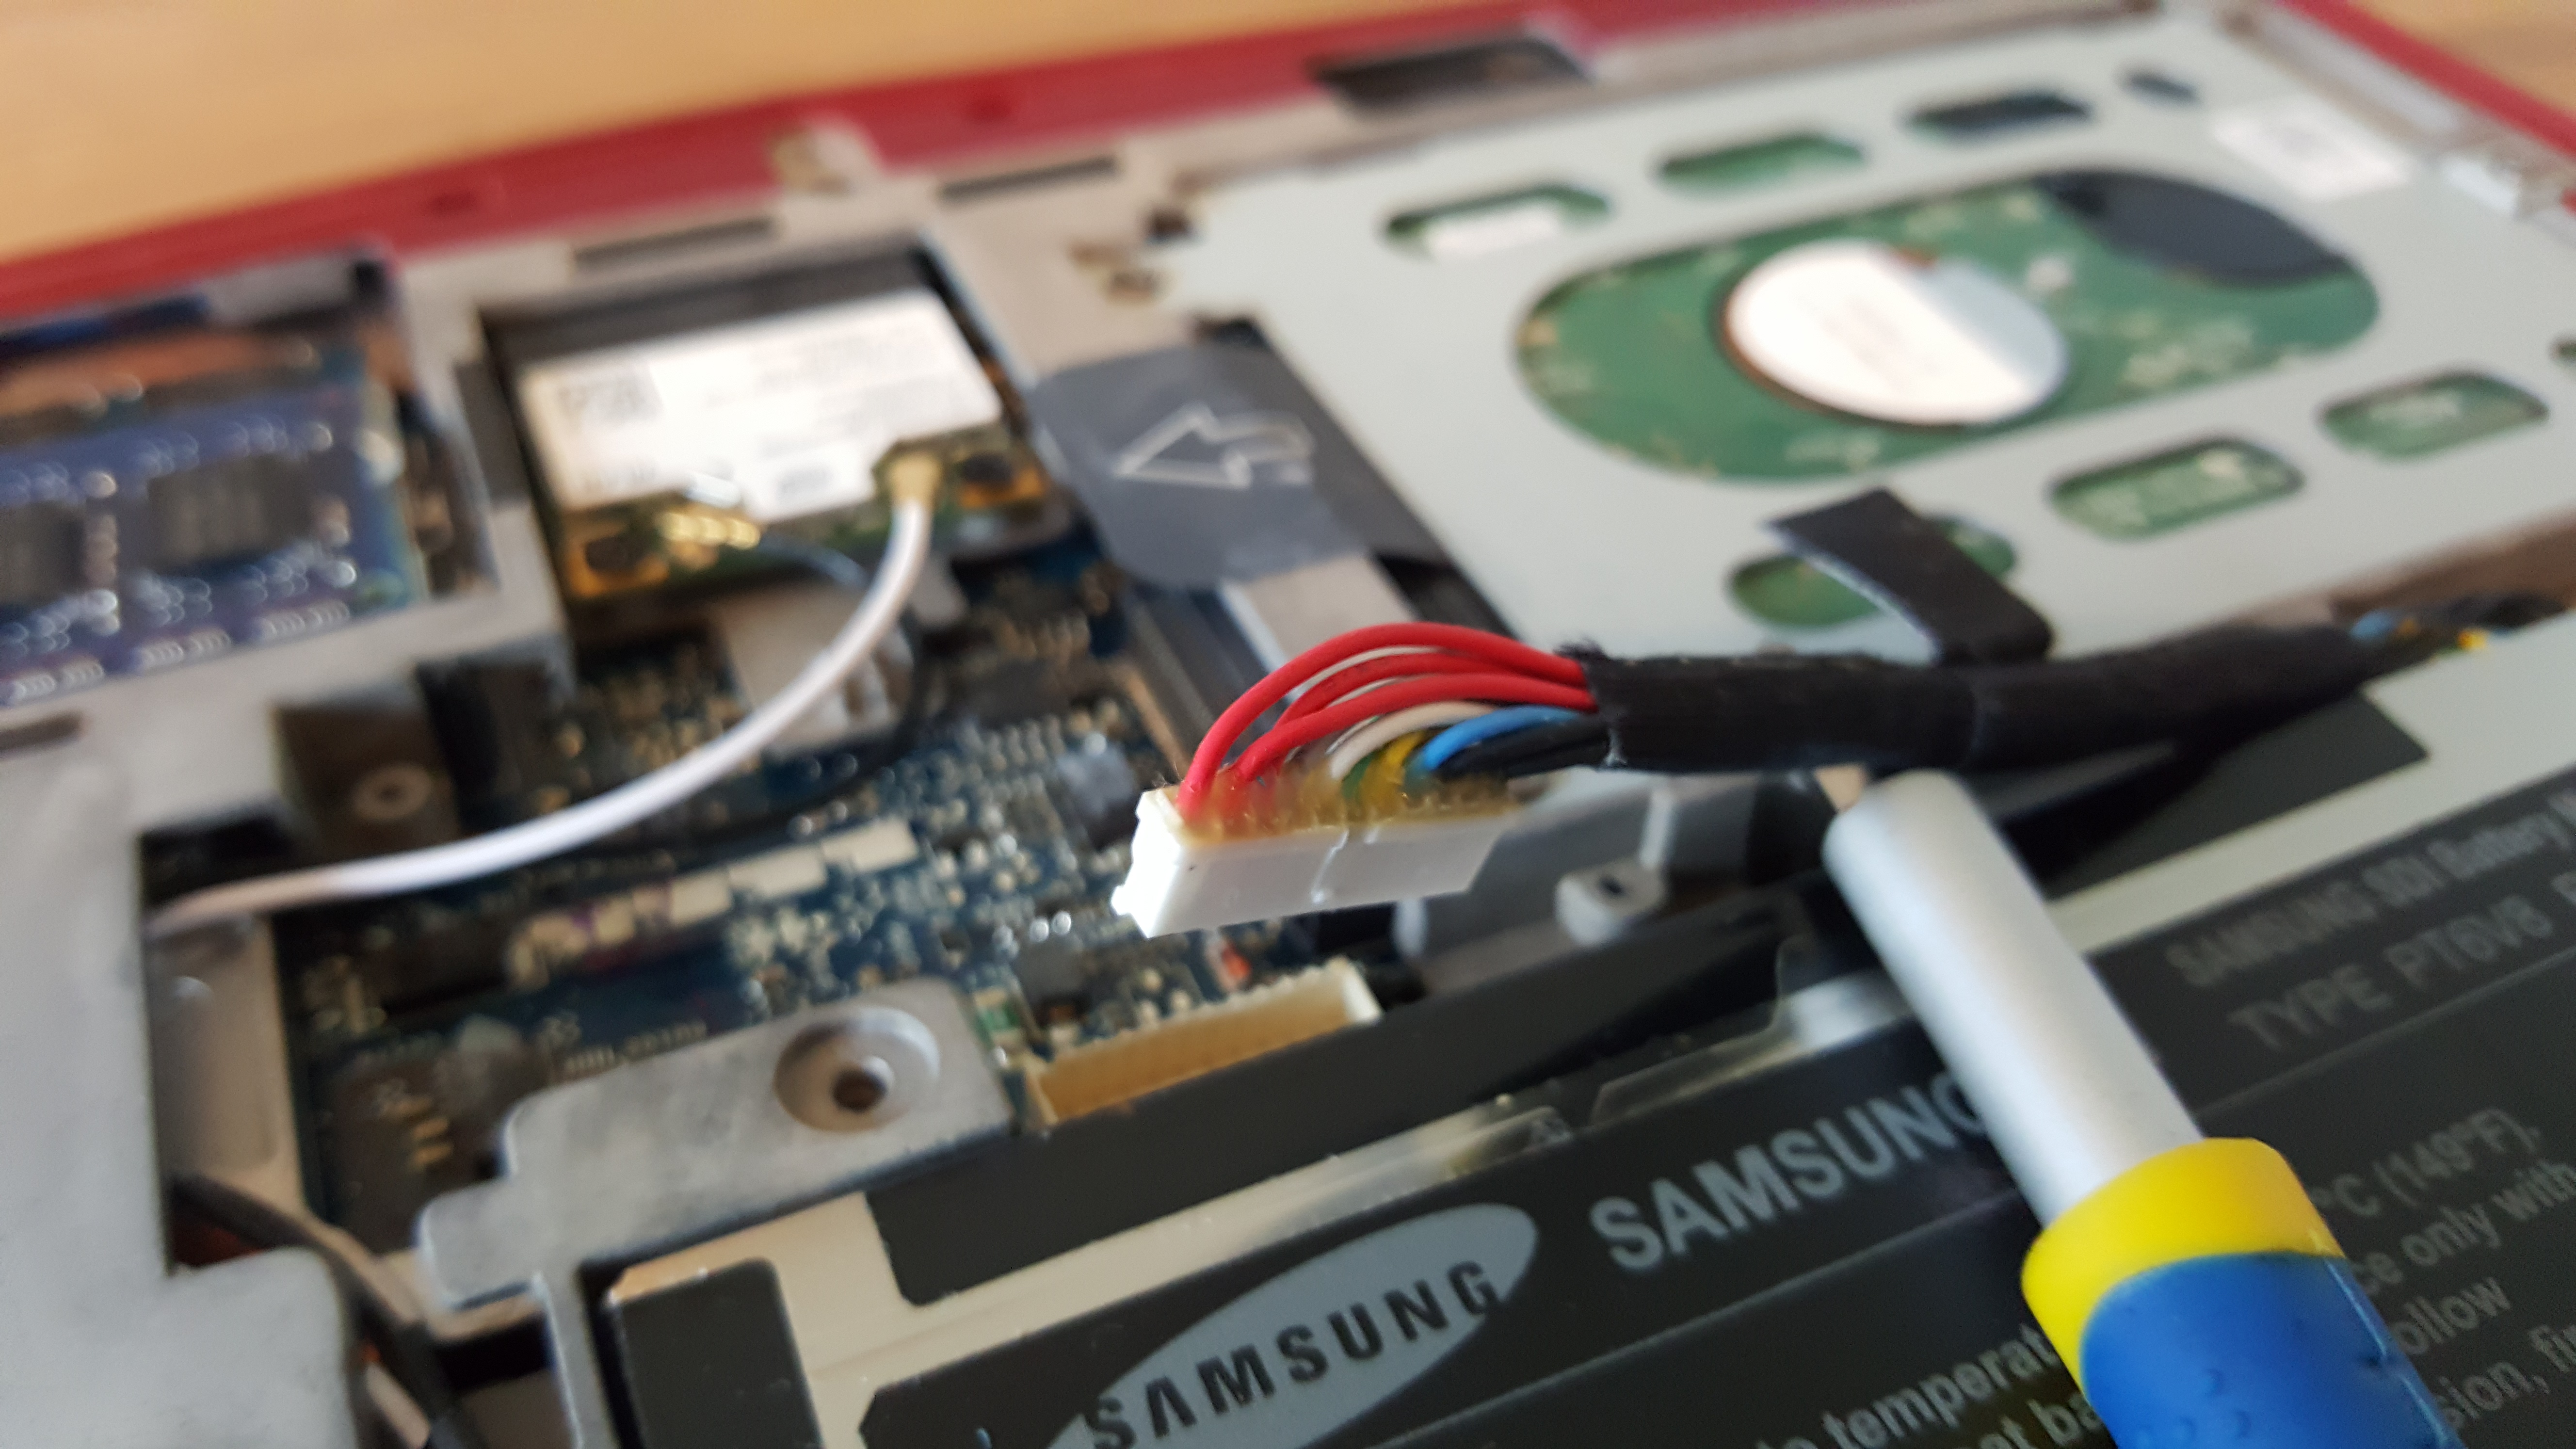
With the battery disconnected we can proceed to remove the hard drive caddy, which is held in place by three small screw.
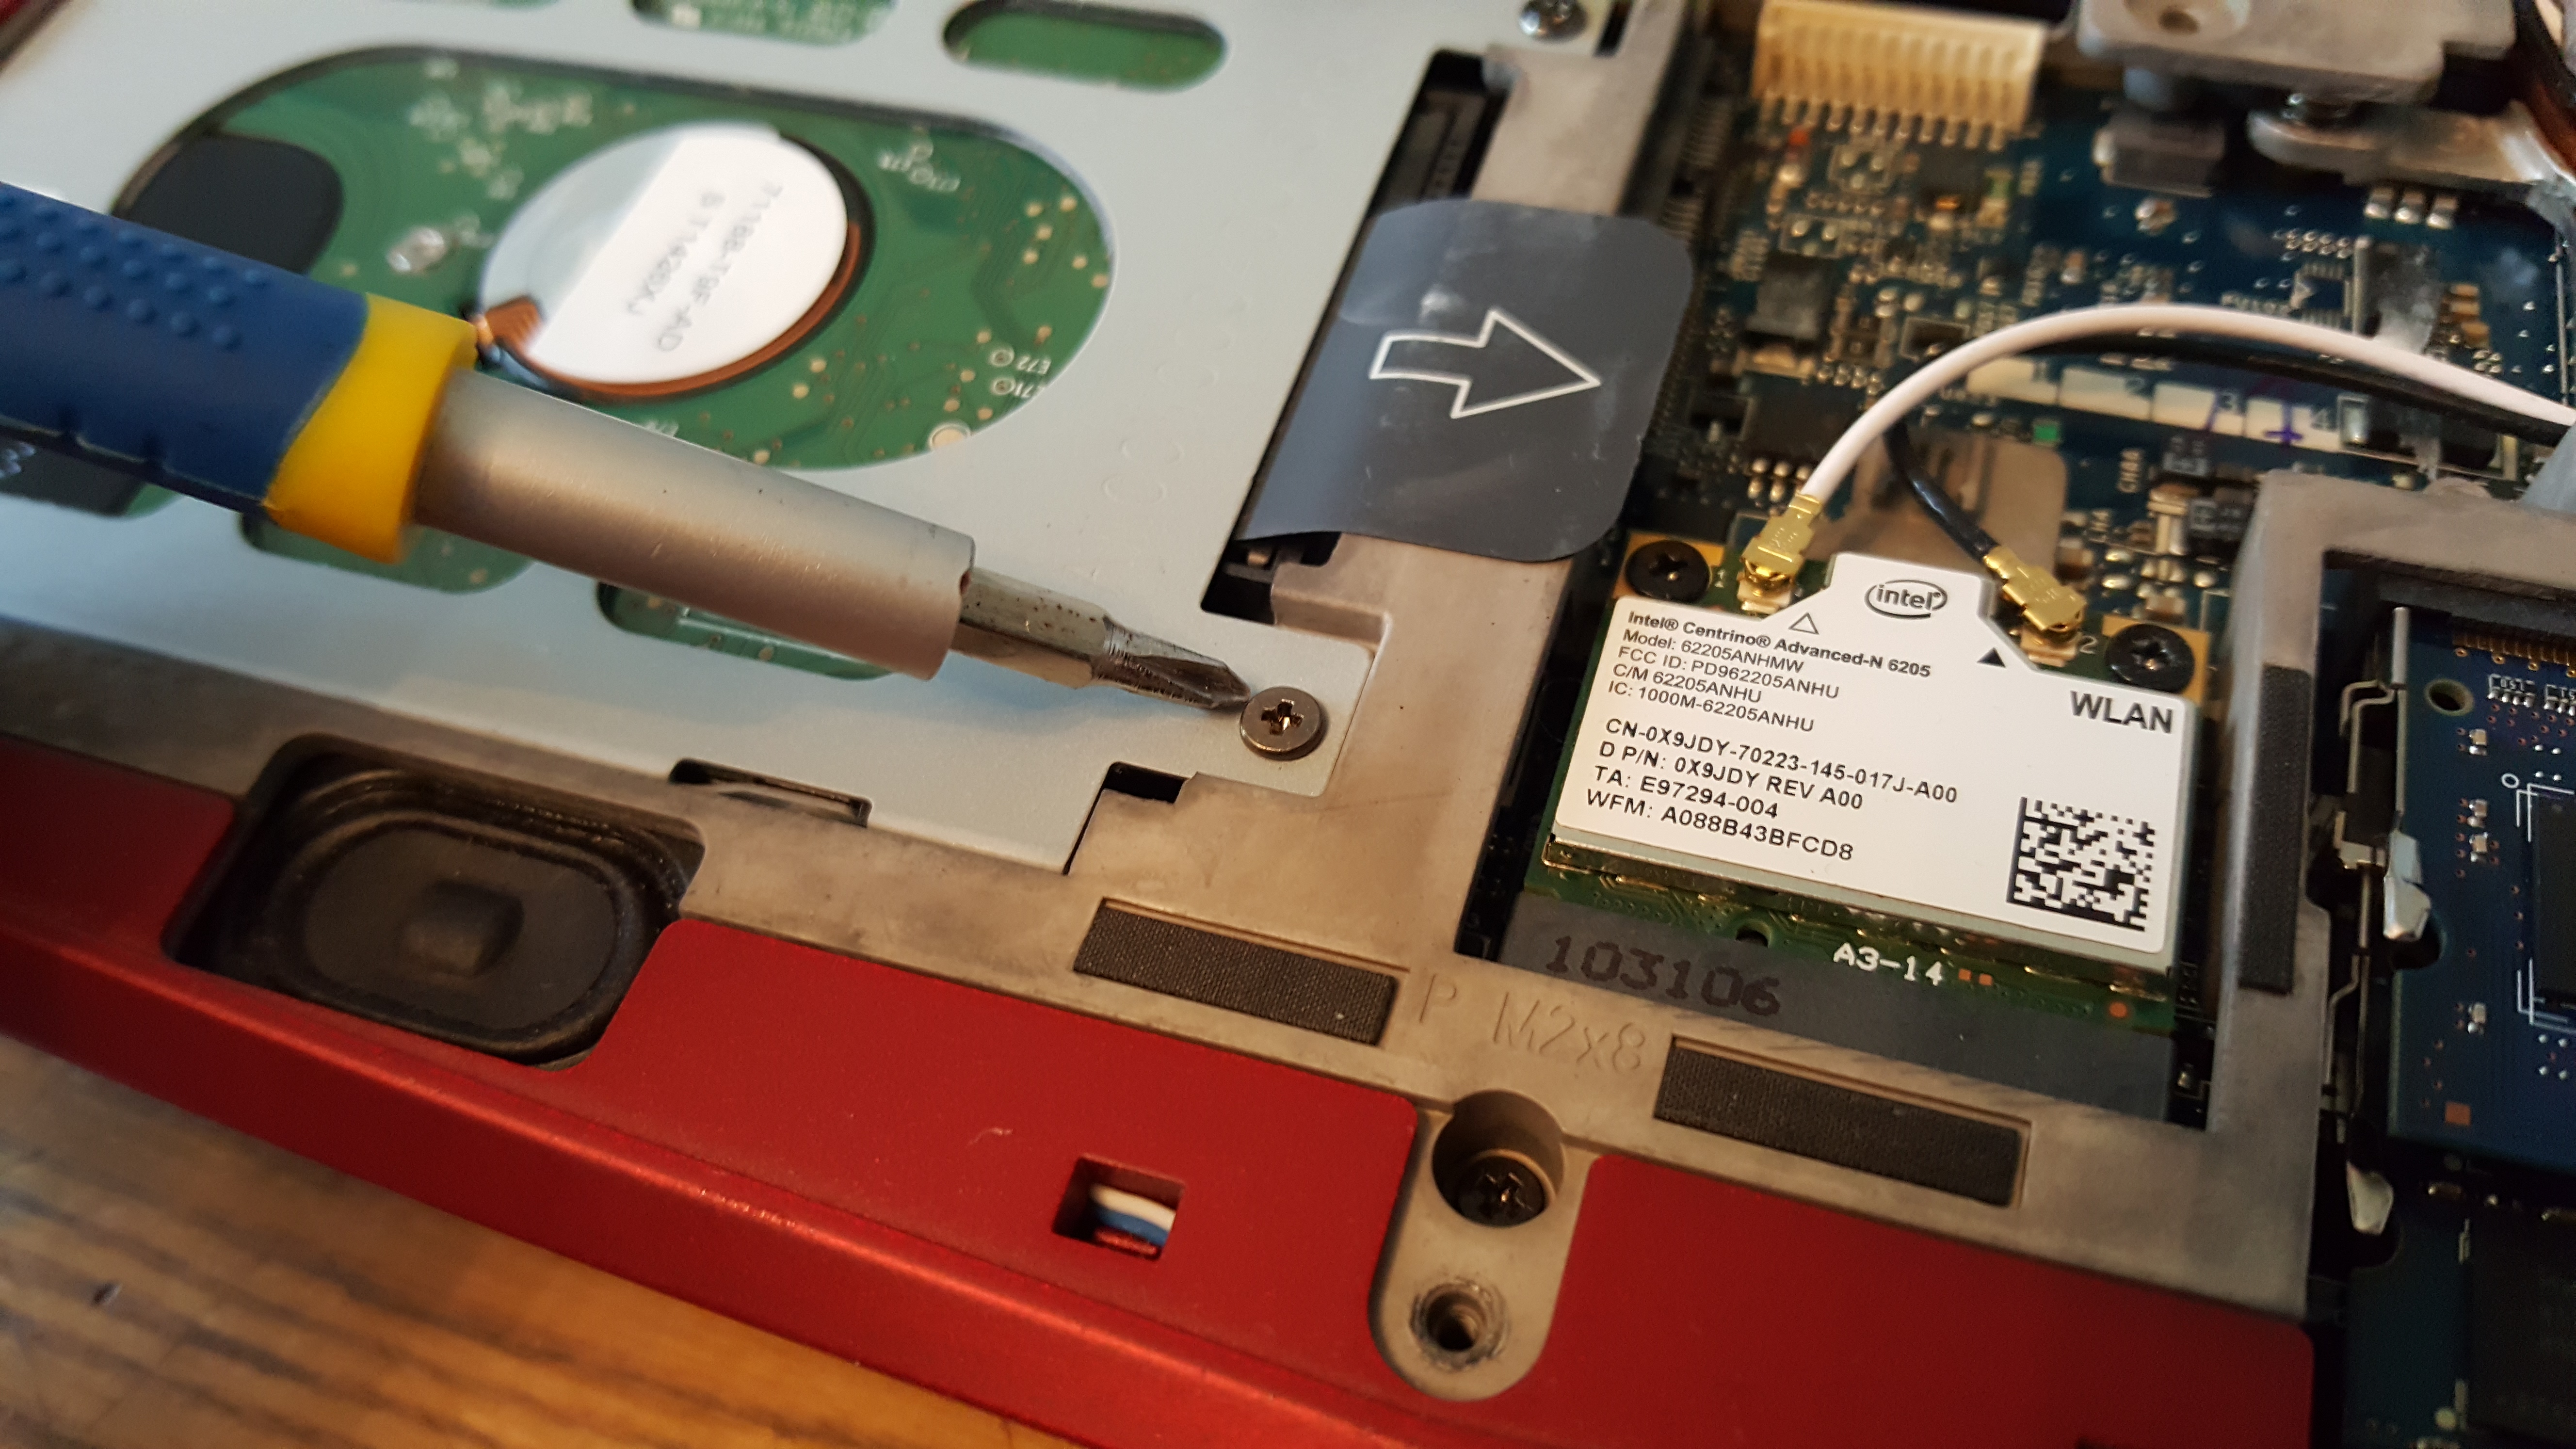
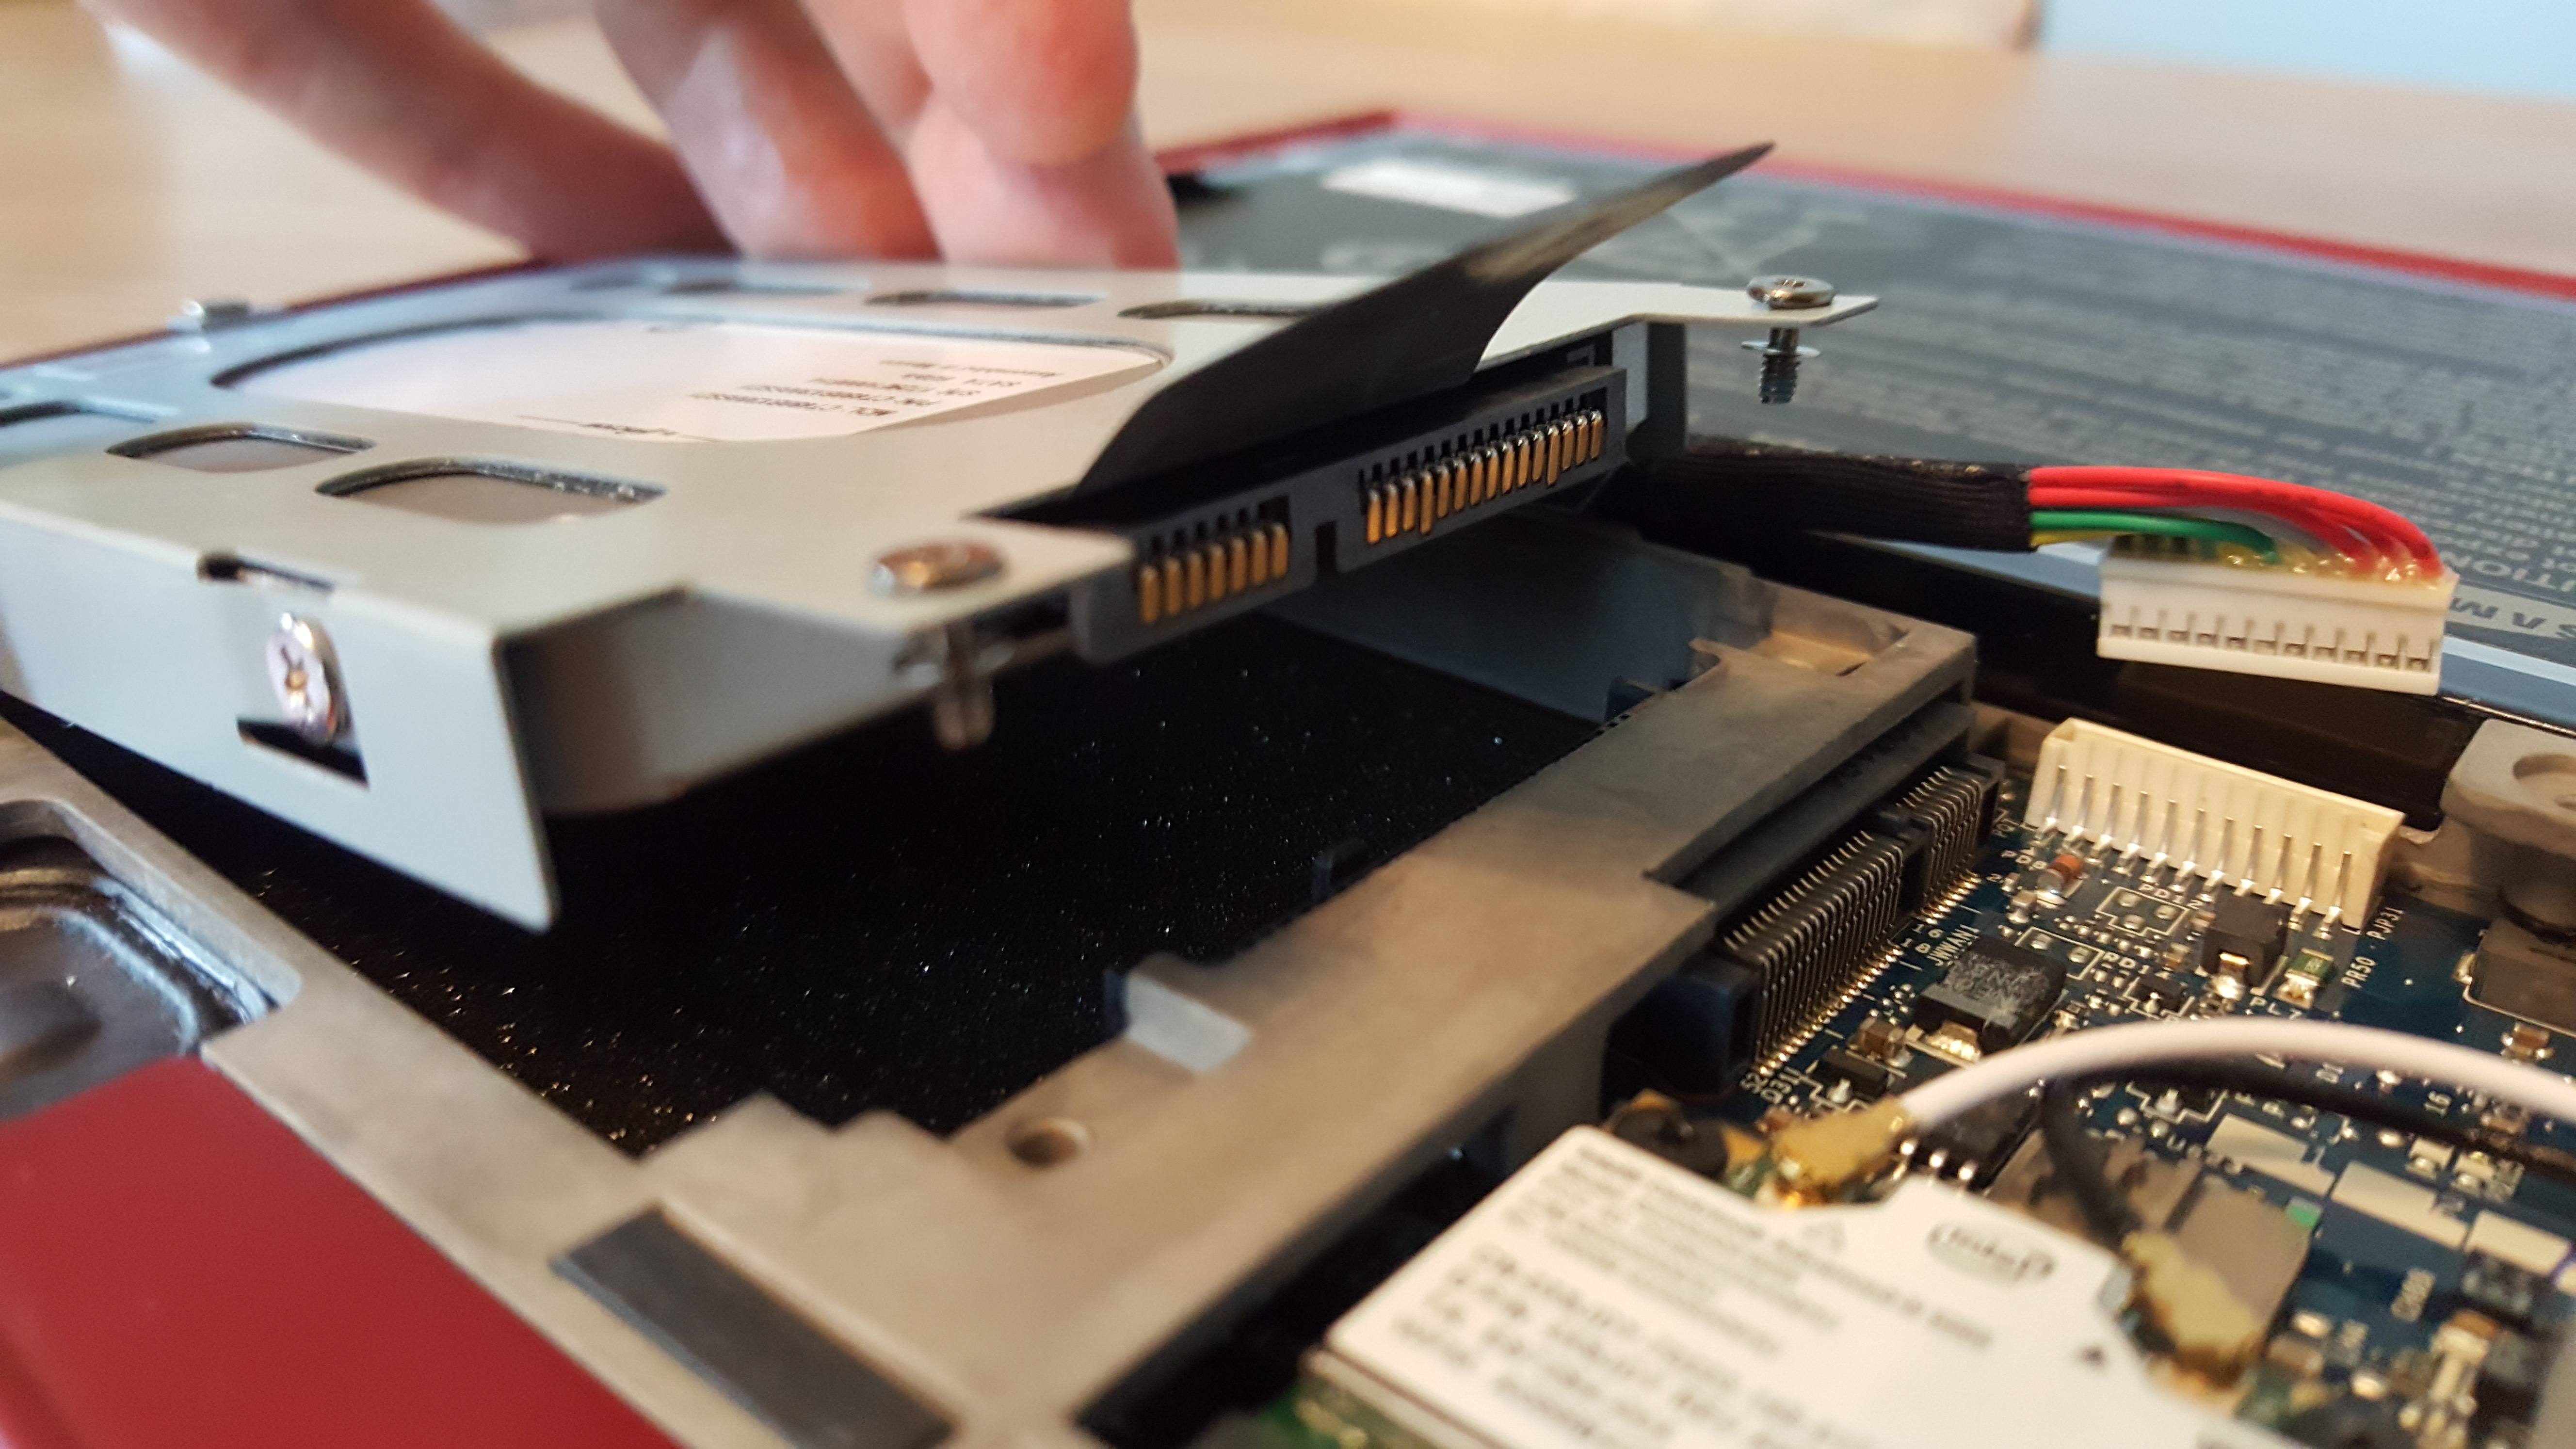
Once the screws are removed we can simply remove the caddy by pulling upwards on the connected, arrowed pull-tab.
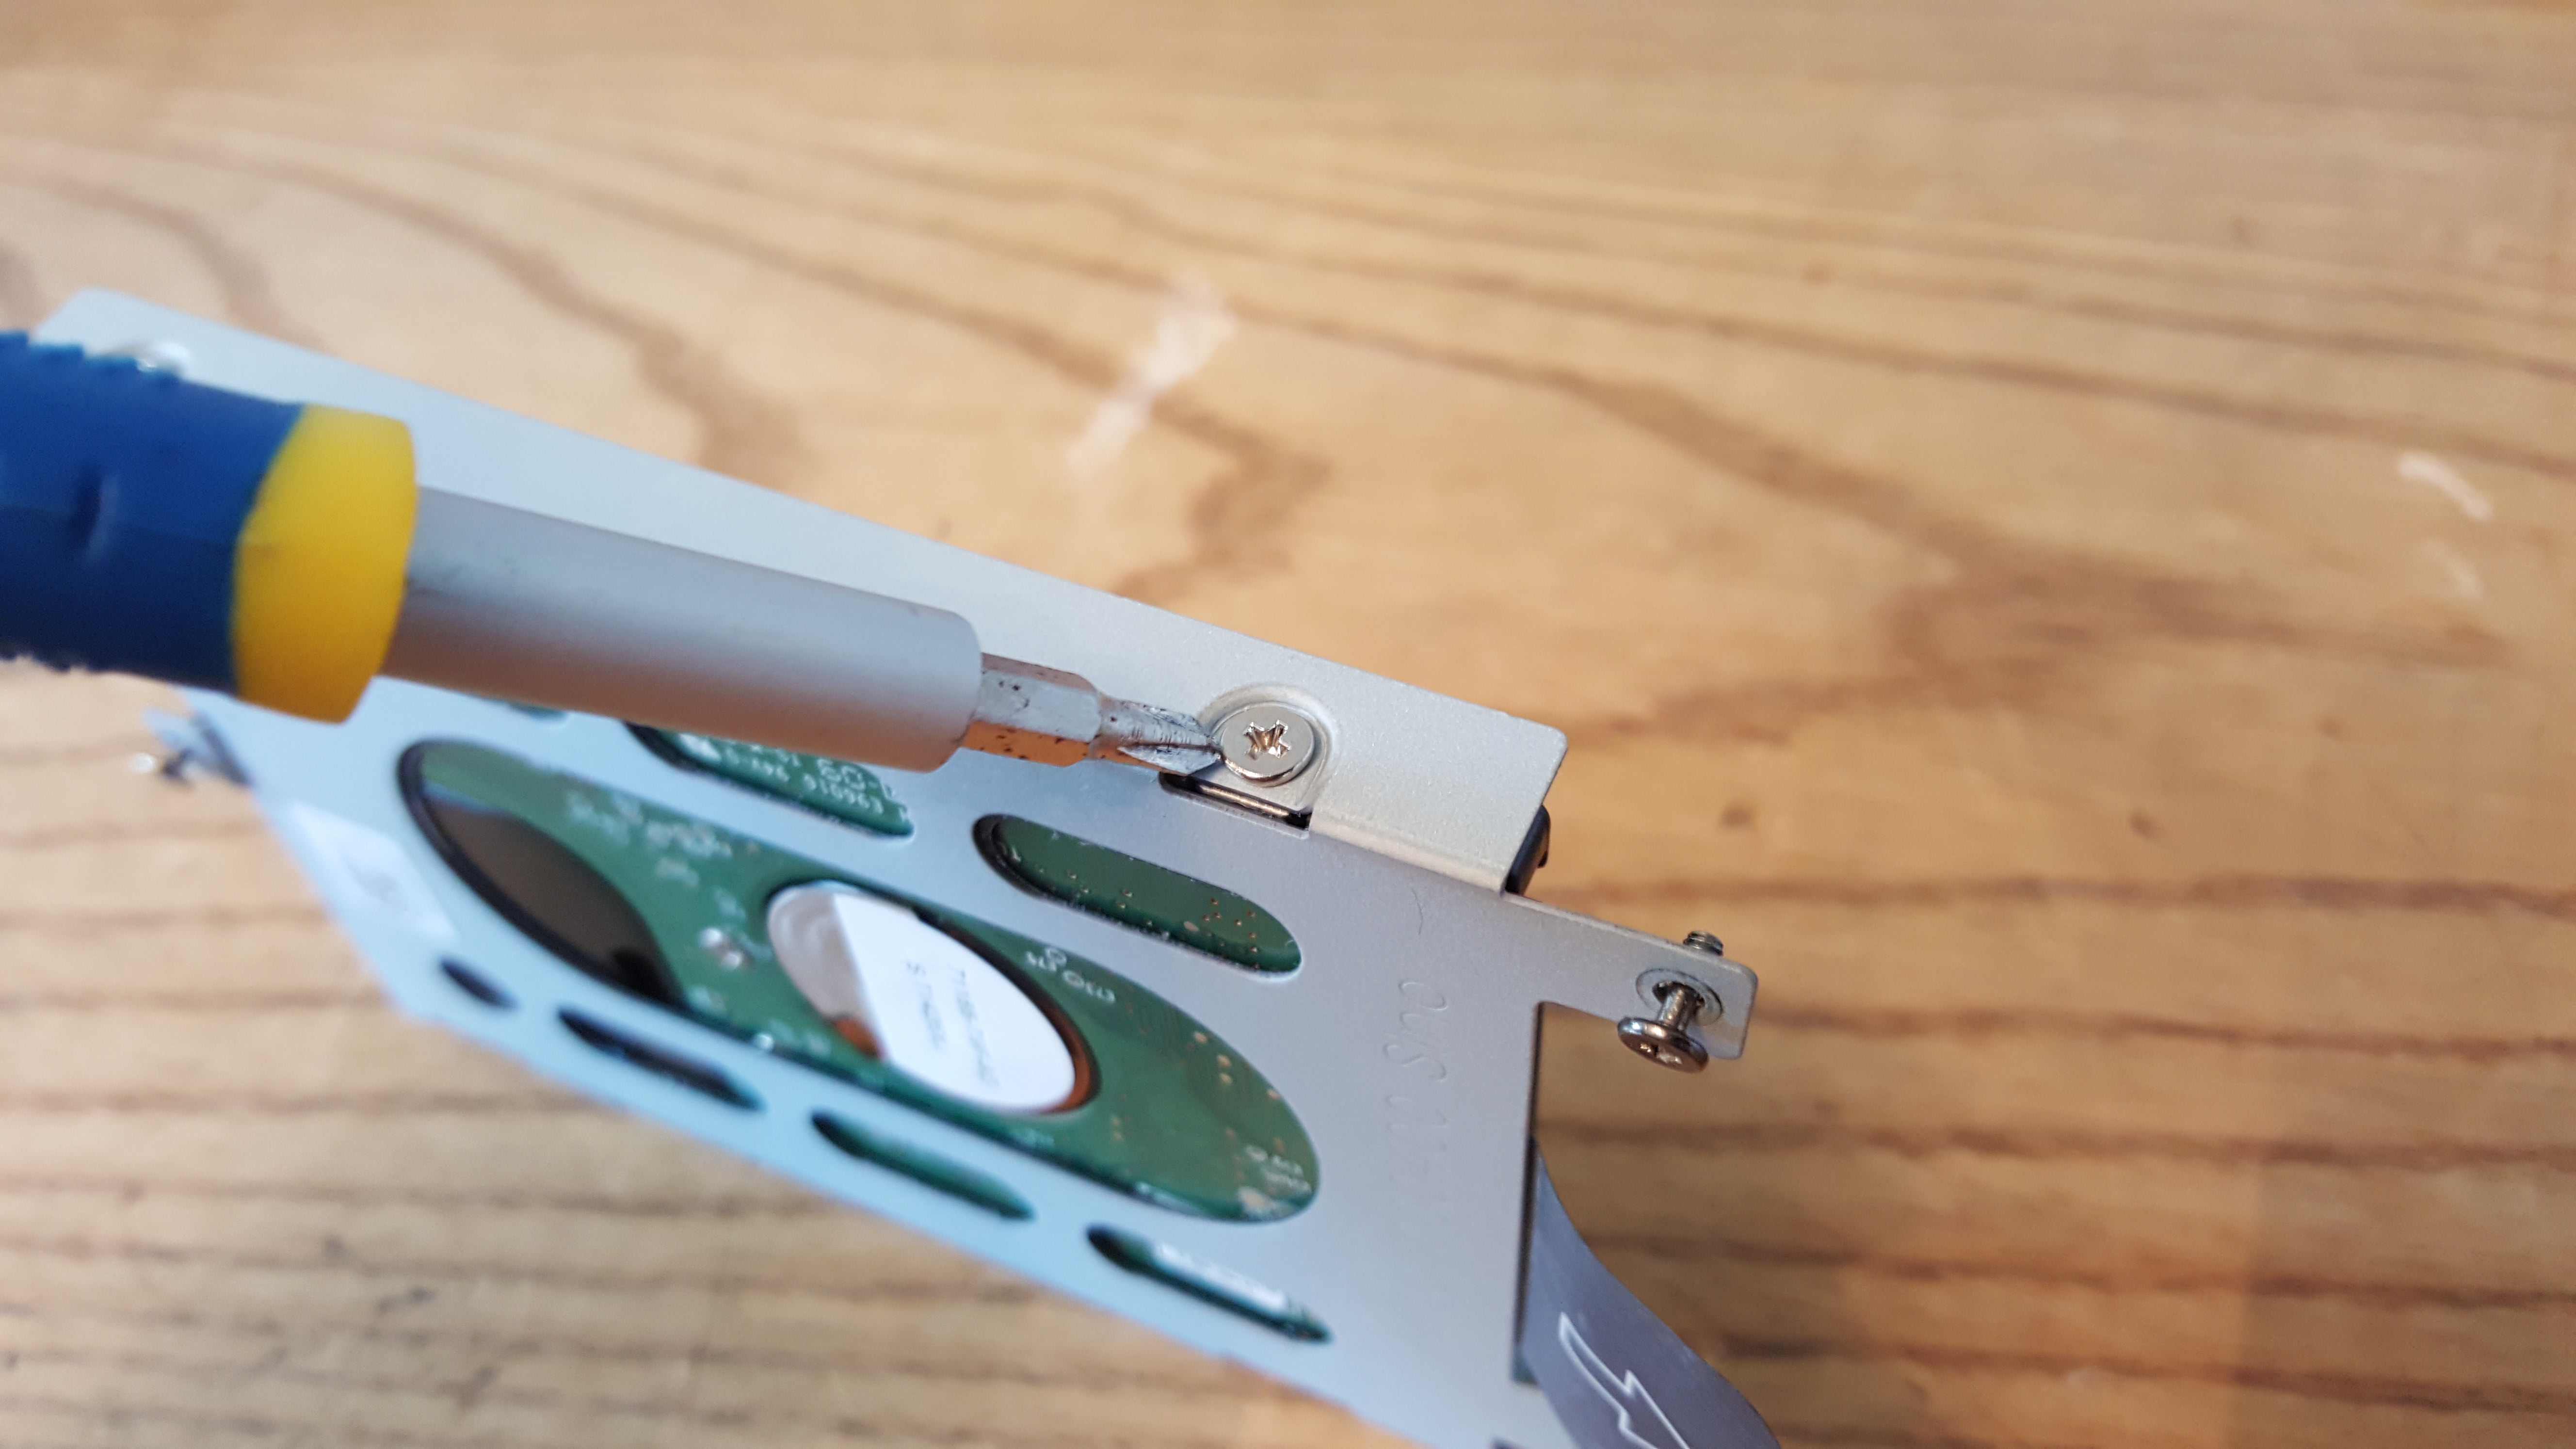
Now the caddy is out of the machine we need to remove the old slow hard drive from the caddy. To do this simply remove the four screws holding the HDD in place, with two located on either side.
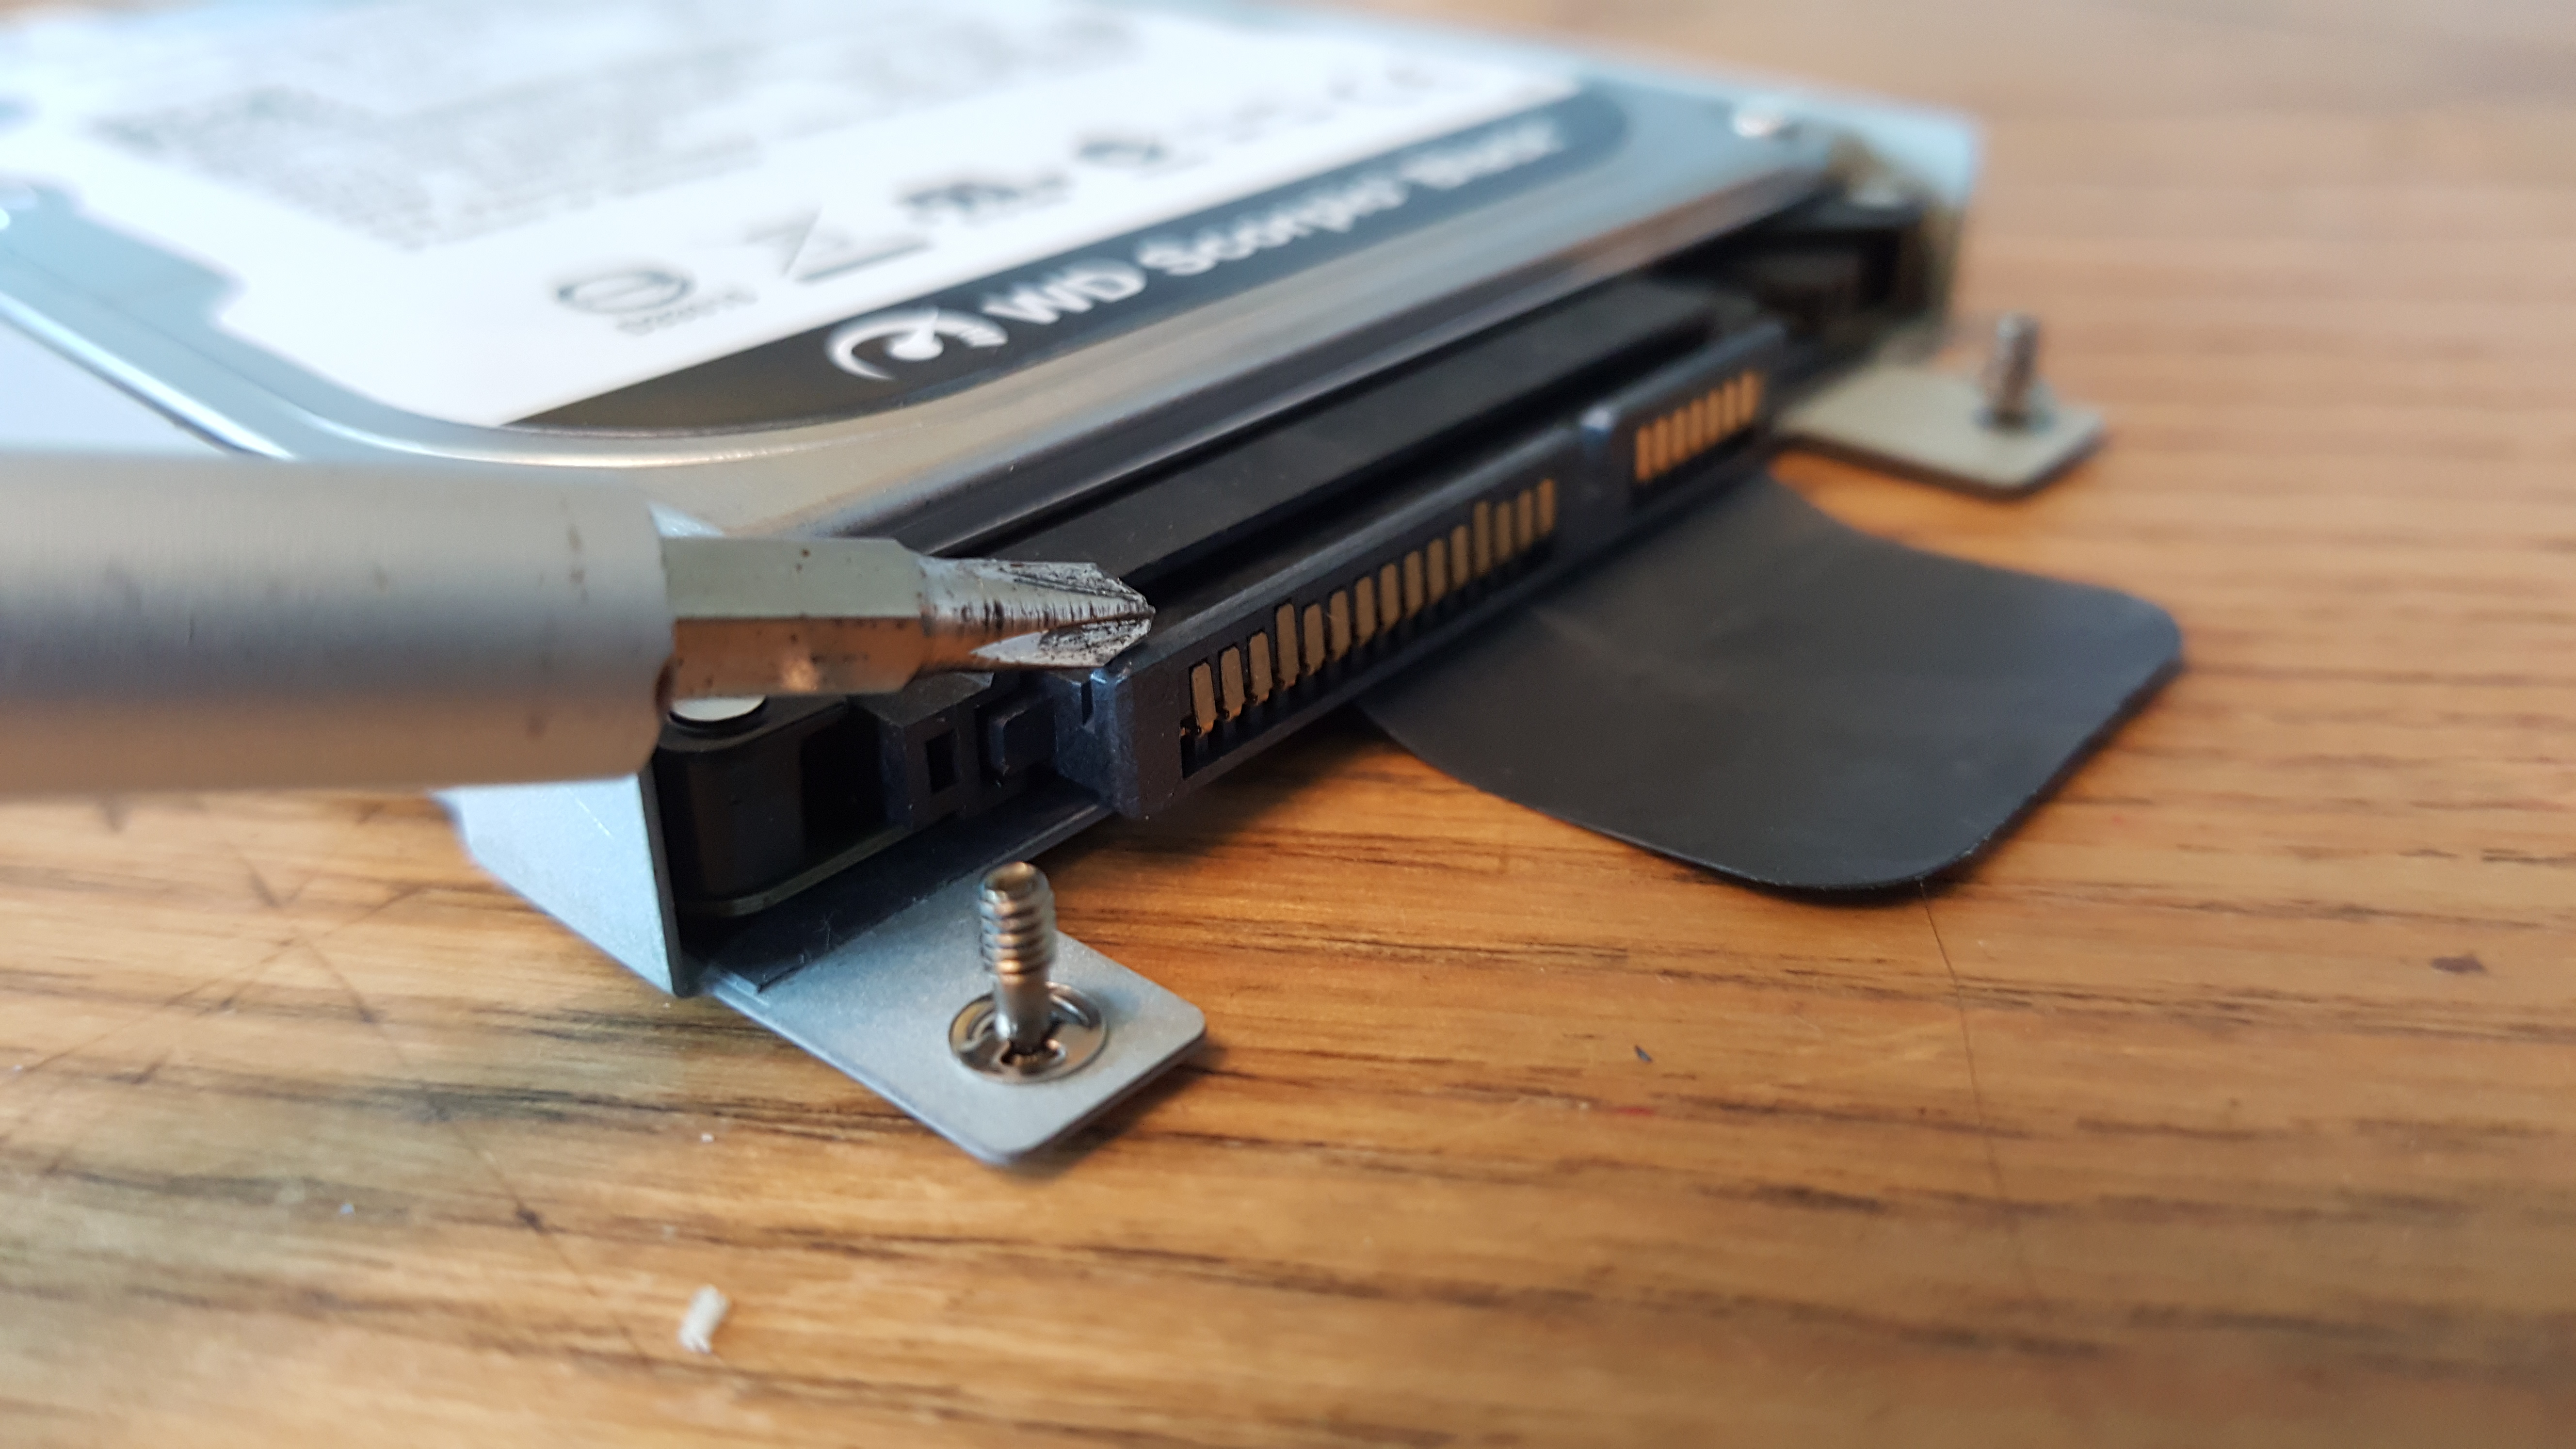
Now on the M11X R3 the hard drive connects to the motherboard via a right-angled connector (not all systems will have this), so in order to install our fast, new SSD we need to harvest that connector. Luckily, removing it from the old hard drive is straight forward, with the connector easily pulled off with a gentle wiggle.
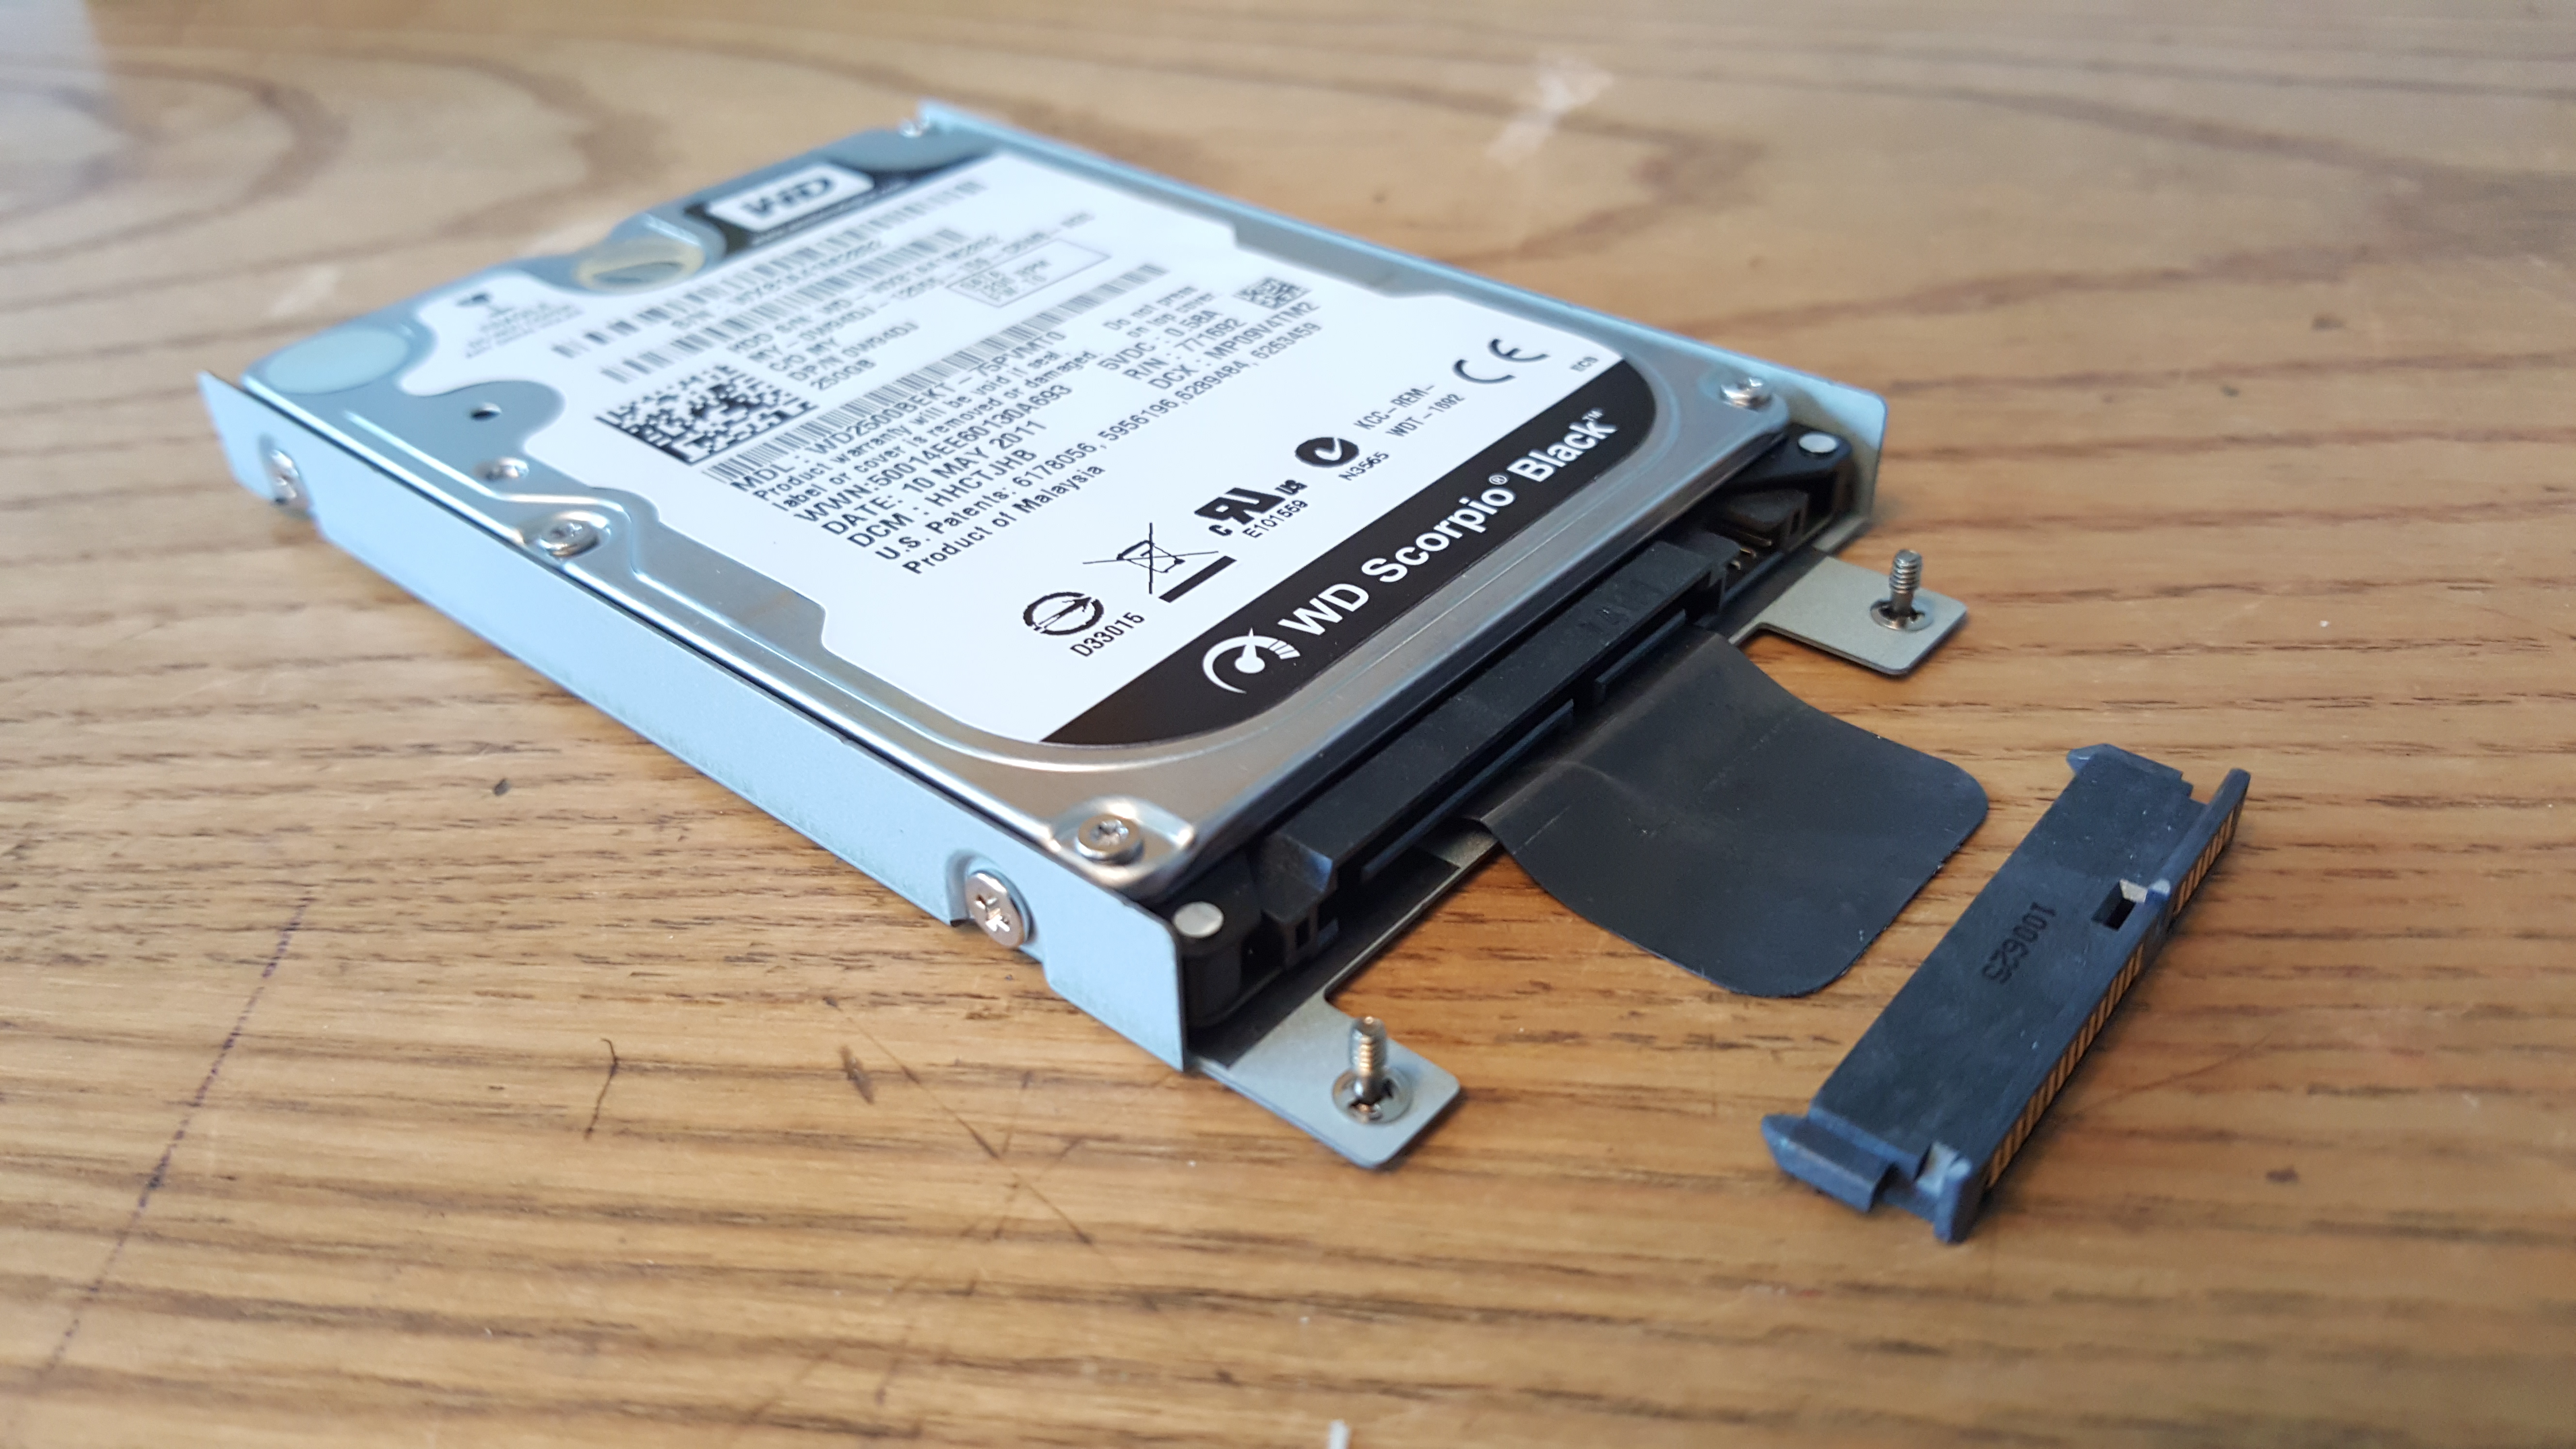
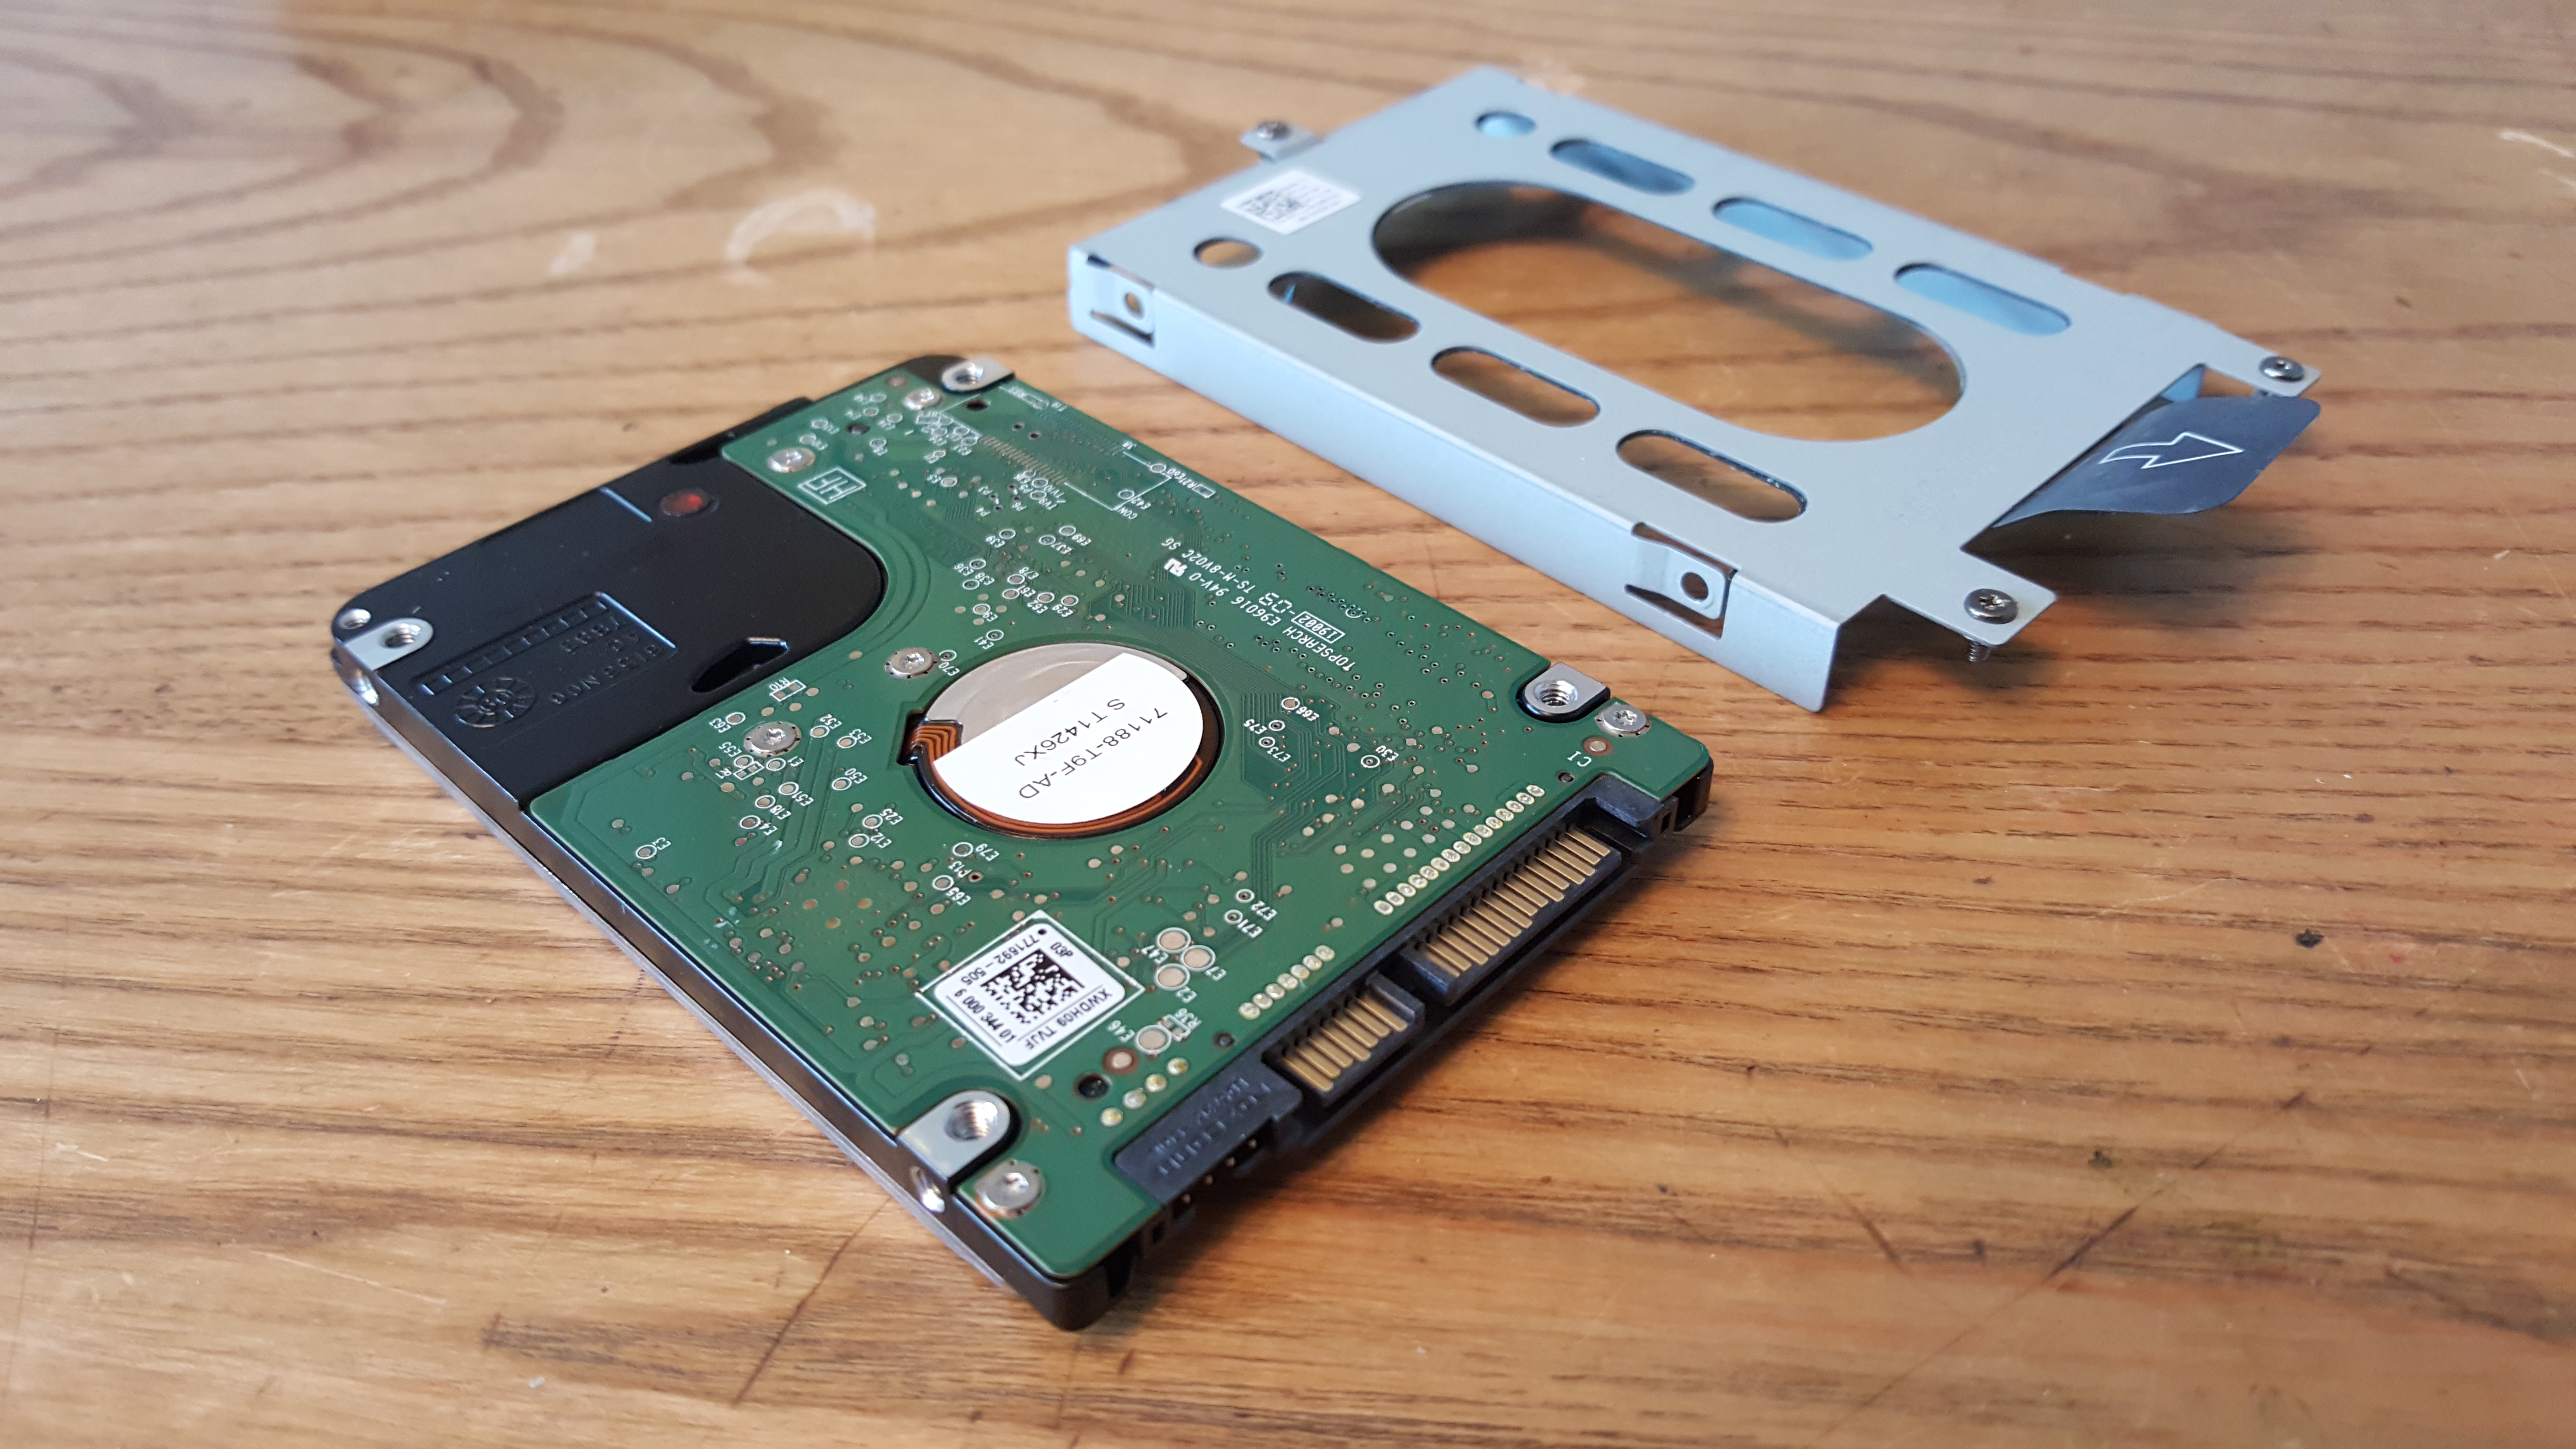
At this point you should now have the old hard drive totally removed from the caddy, with the right-angled motherboard connector also separated. If that is the case then congratulations as all we have to do now is reverse the process to install the new SSD.
So, what are you waiting for? Break the seal on the Crucial BX300 2.5-inch SSD's box and get ready to install.
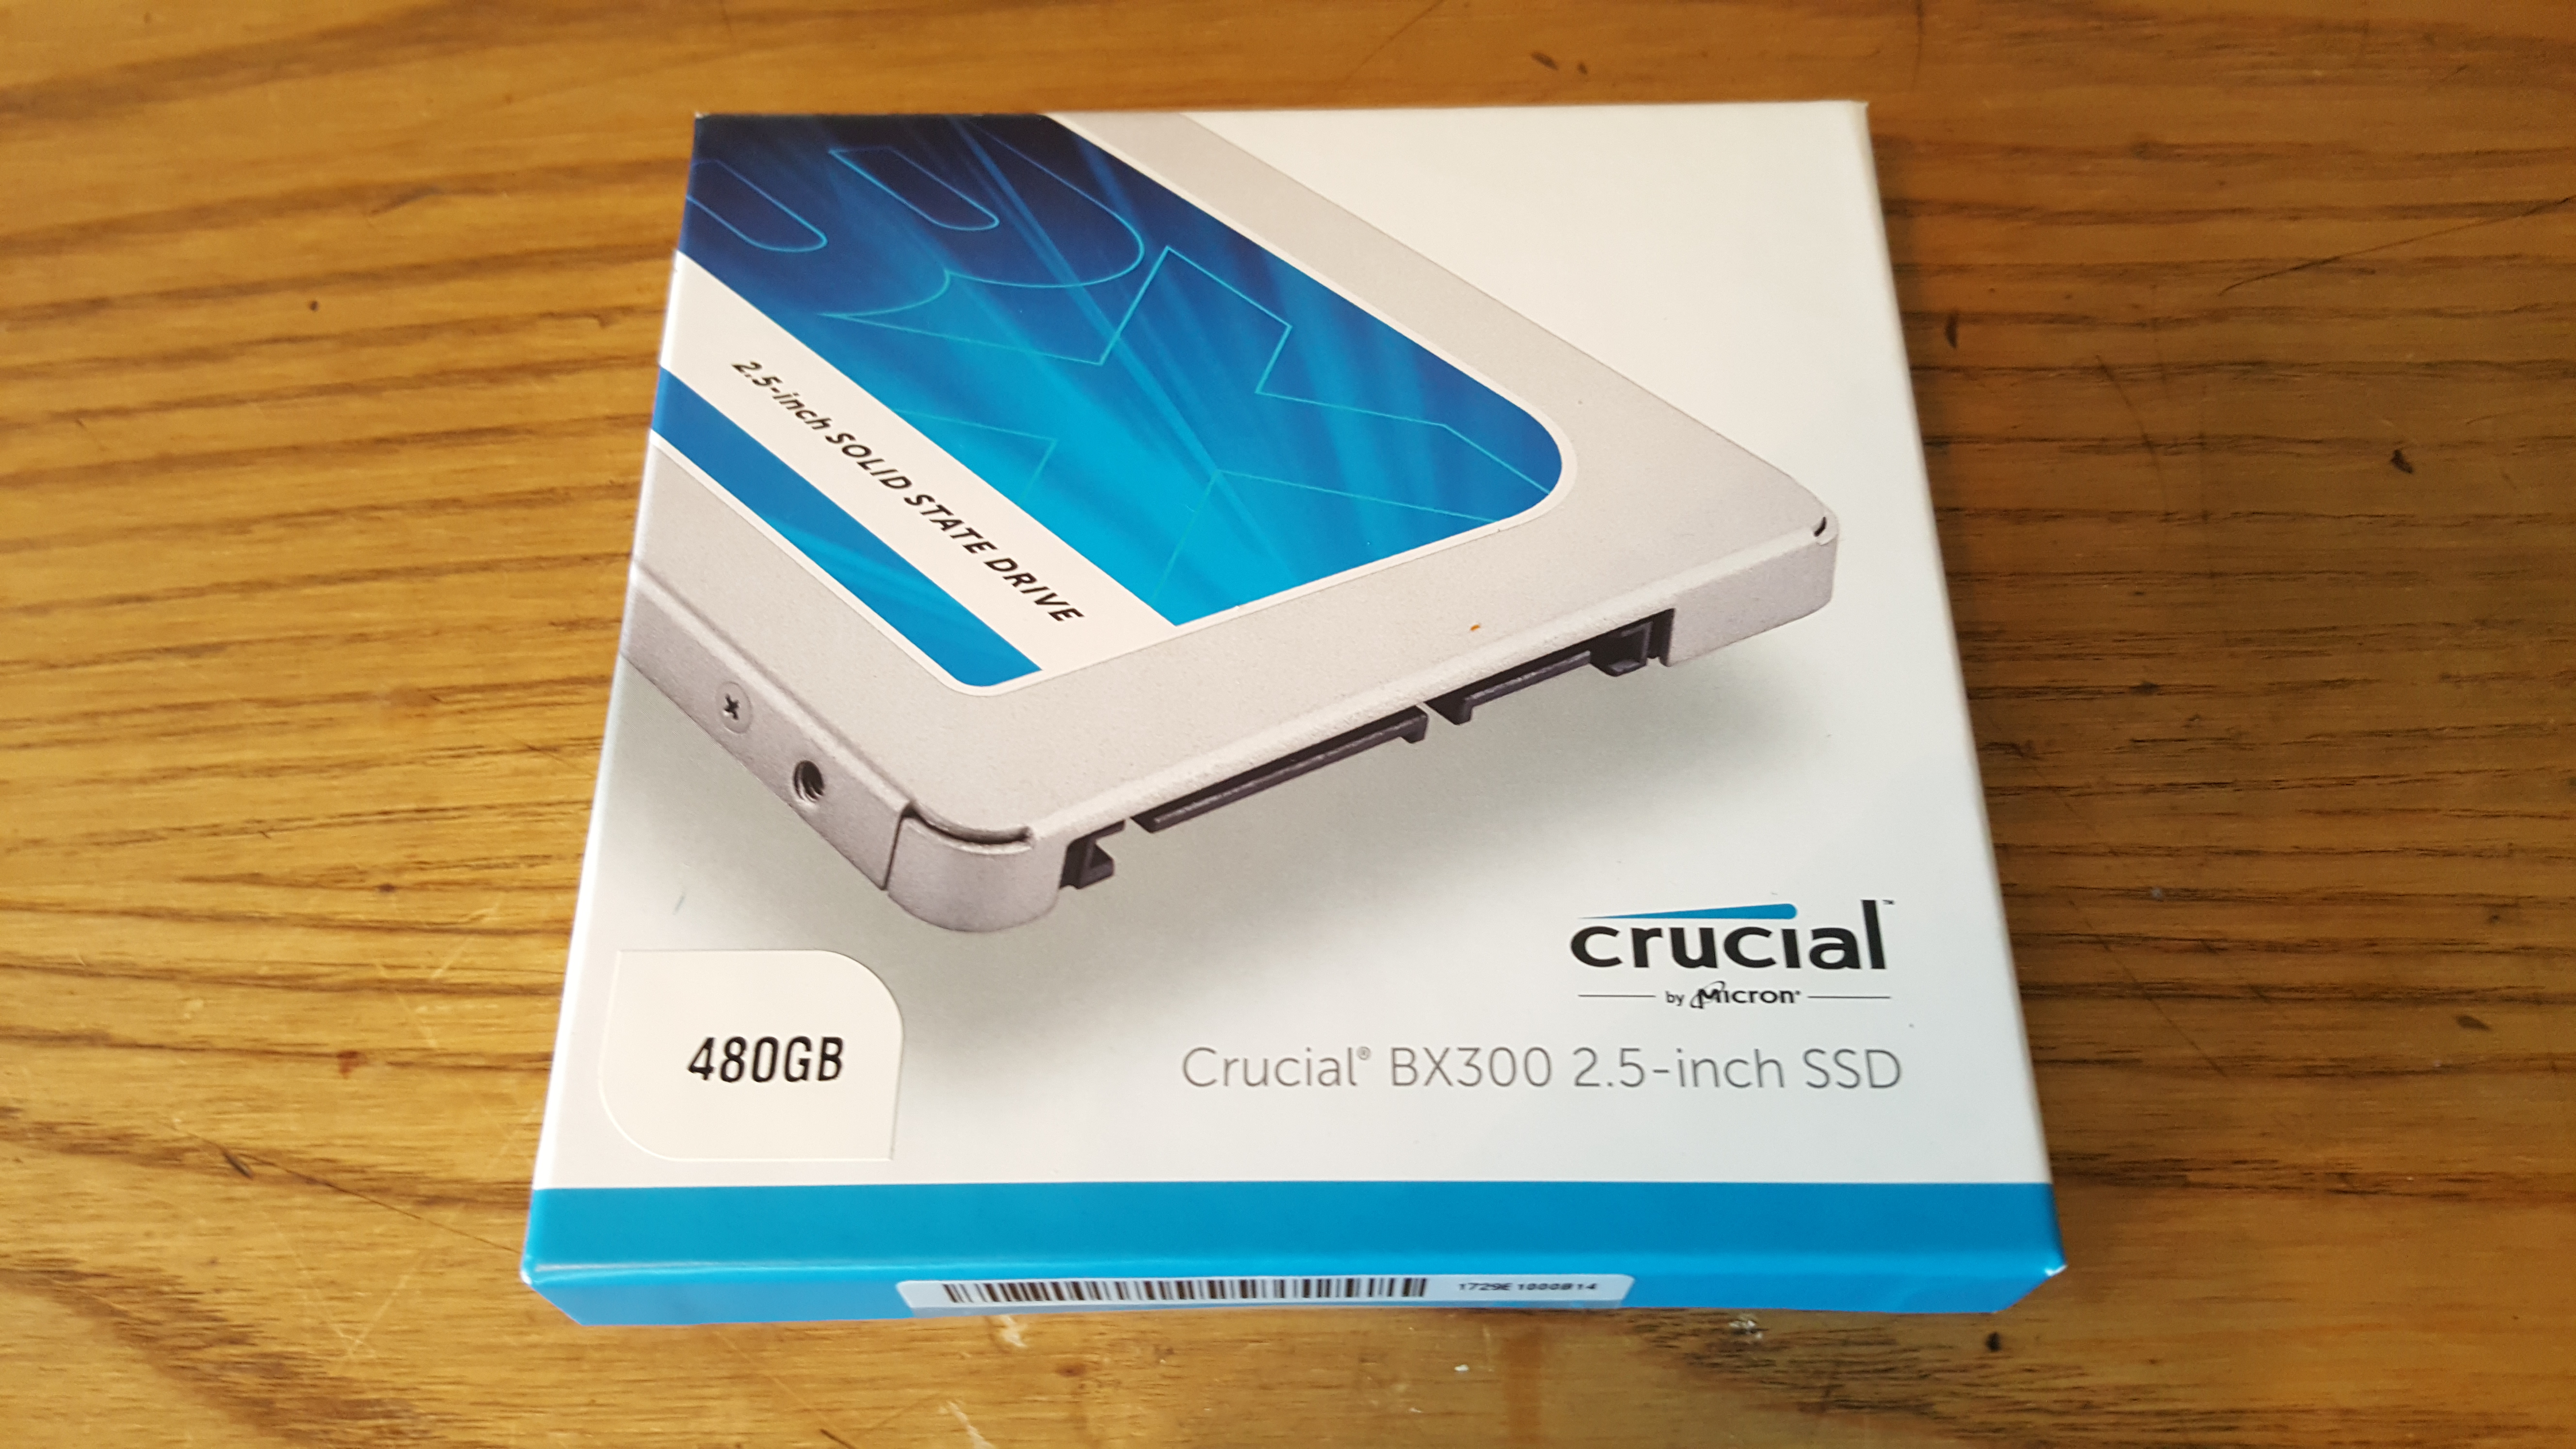
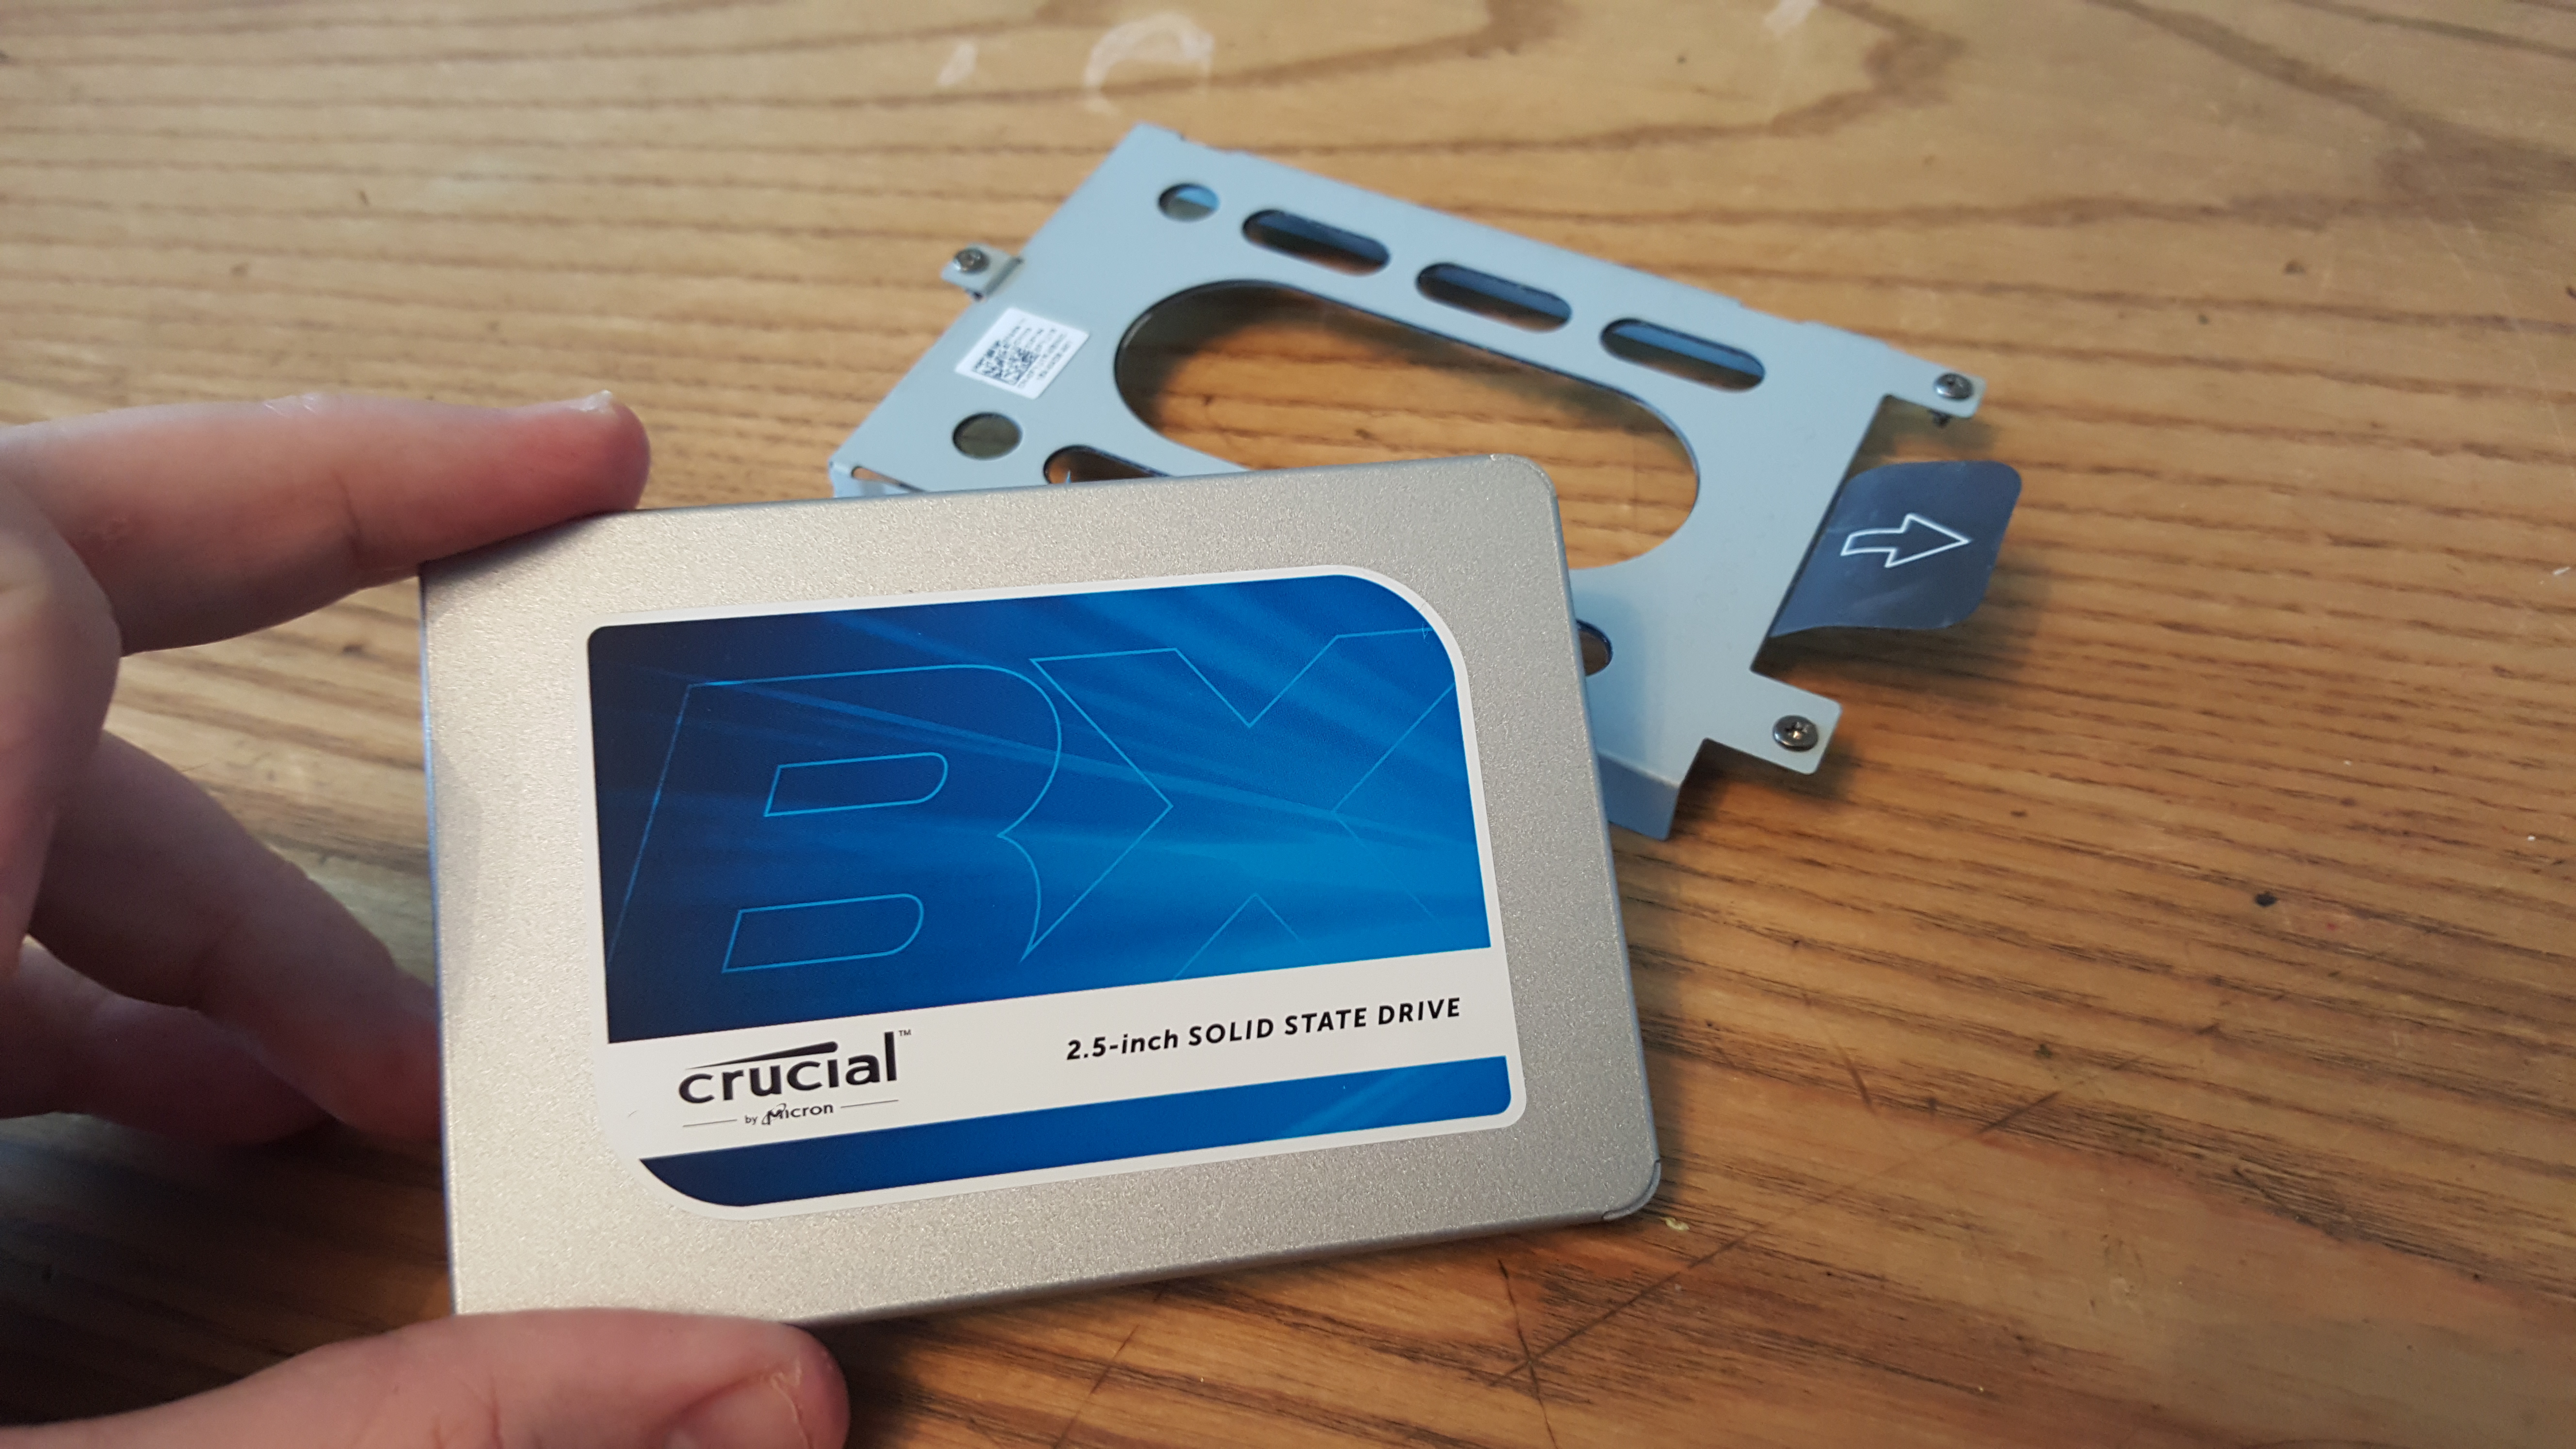
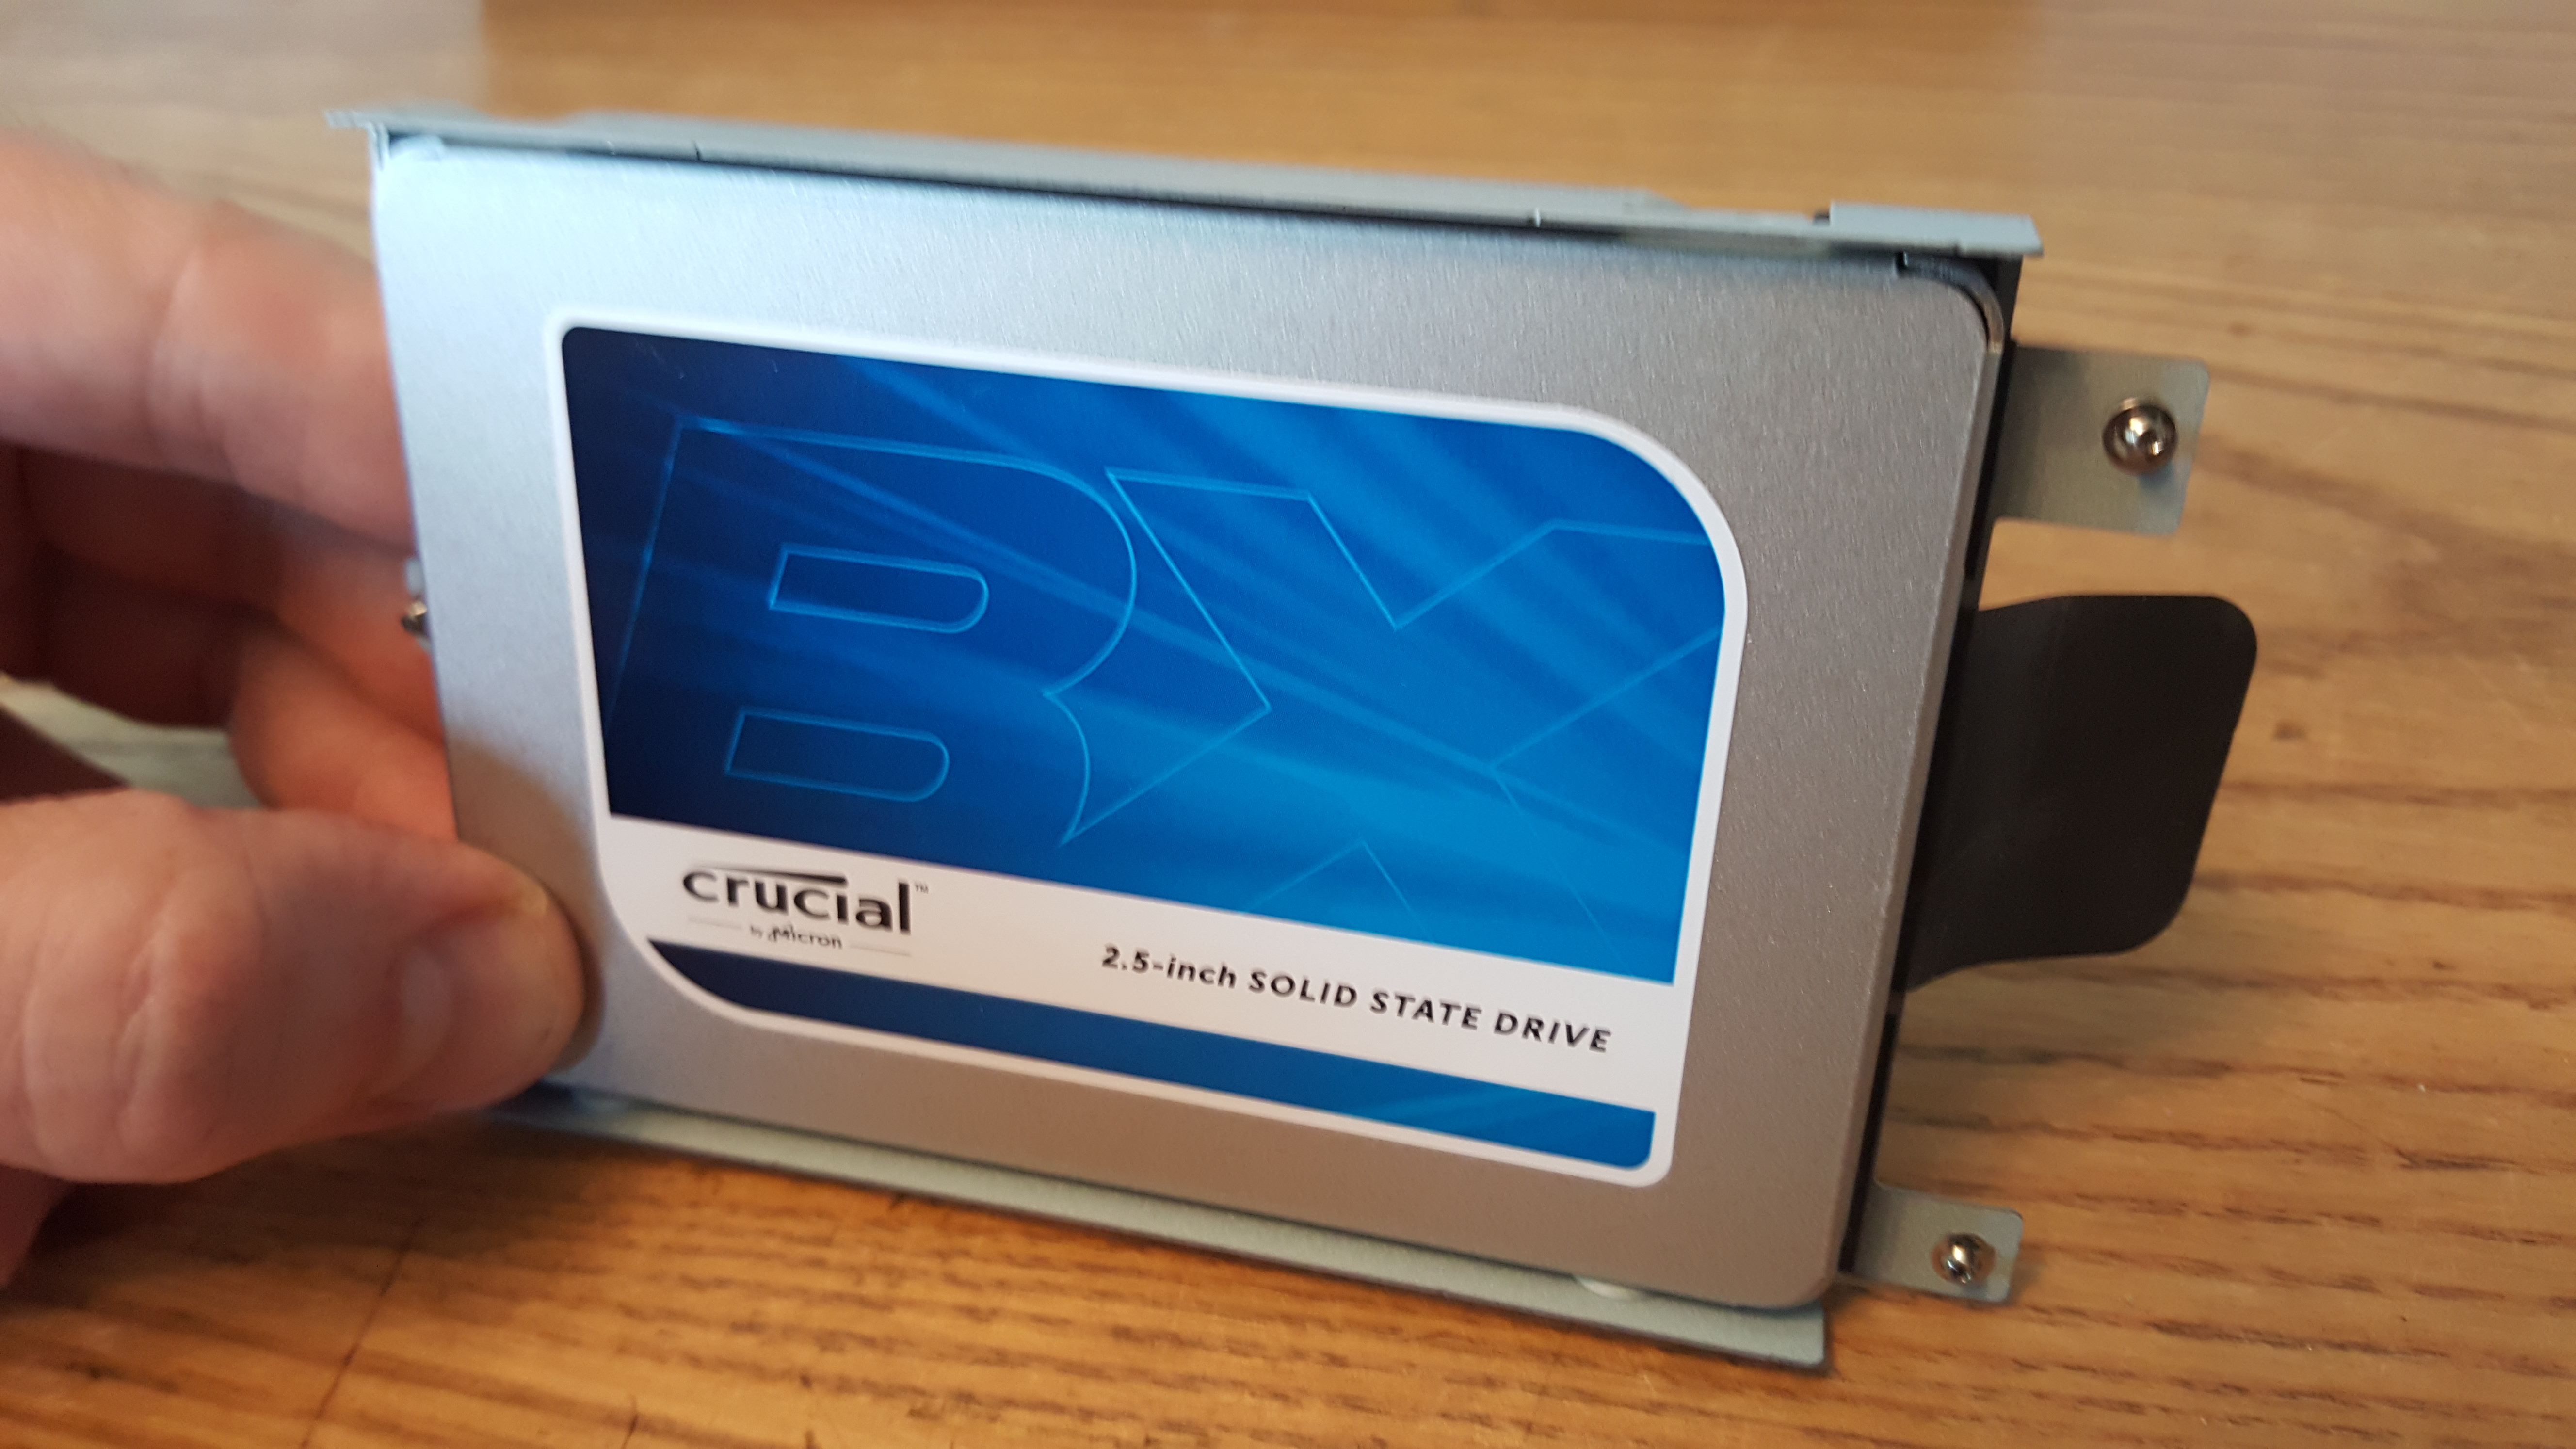
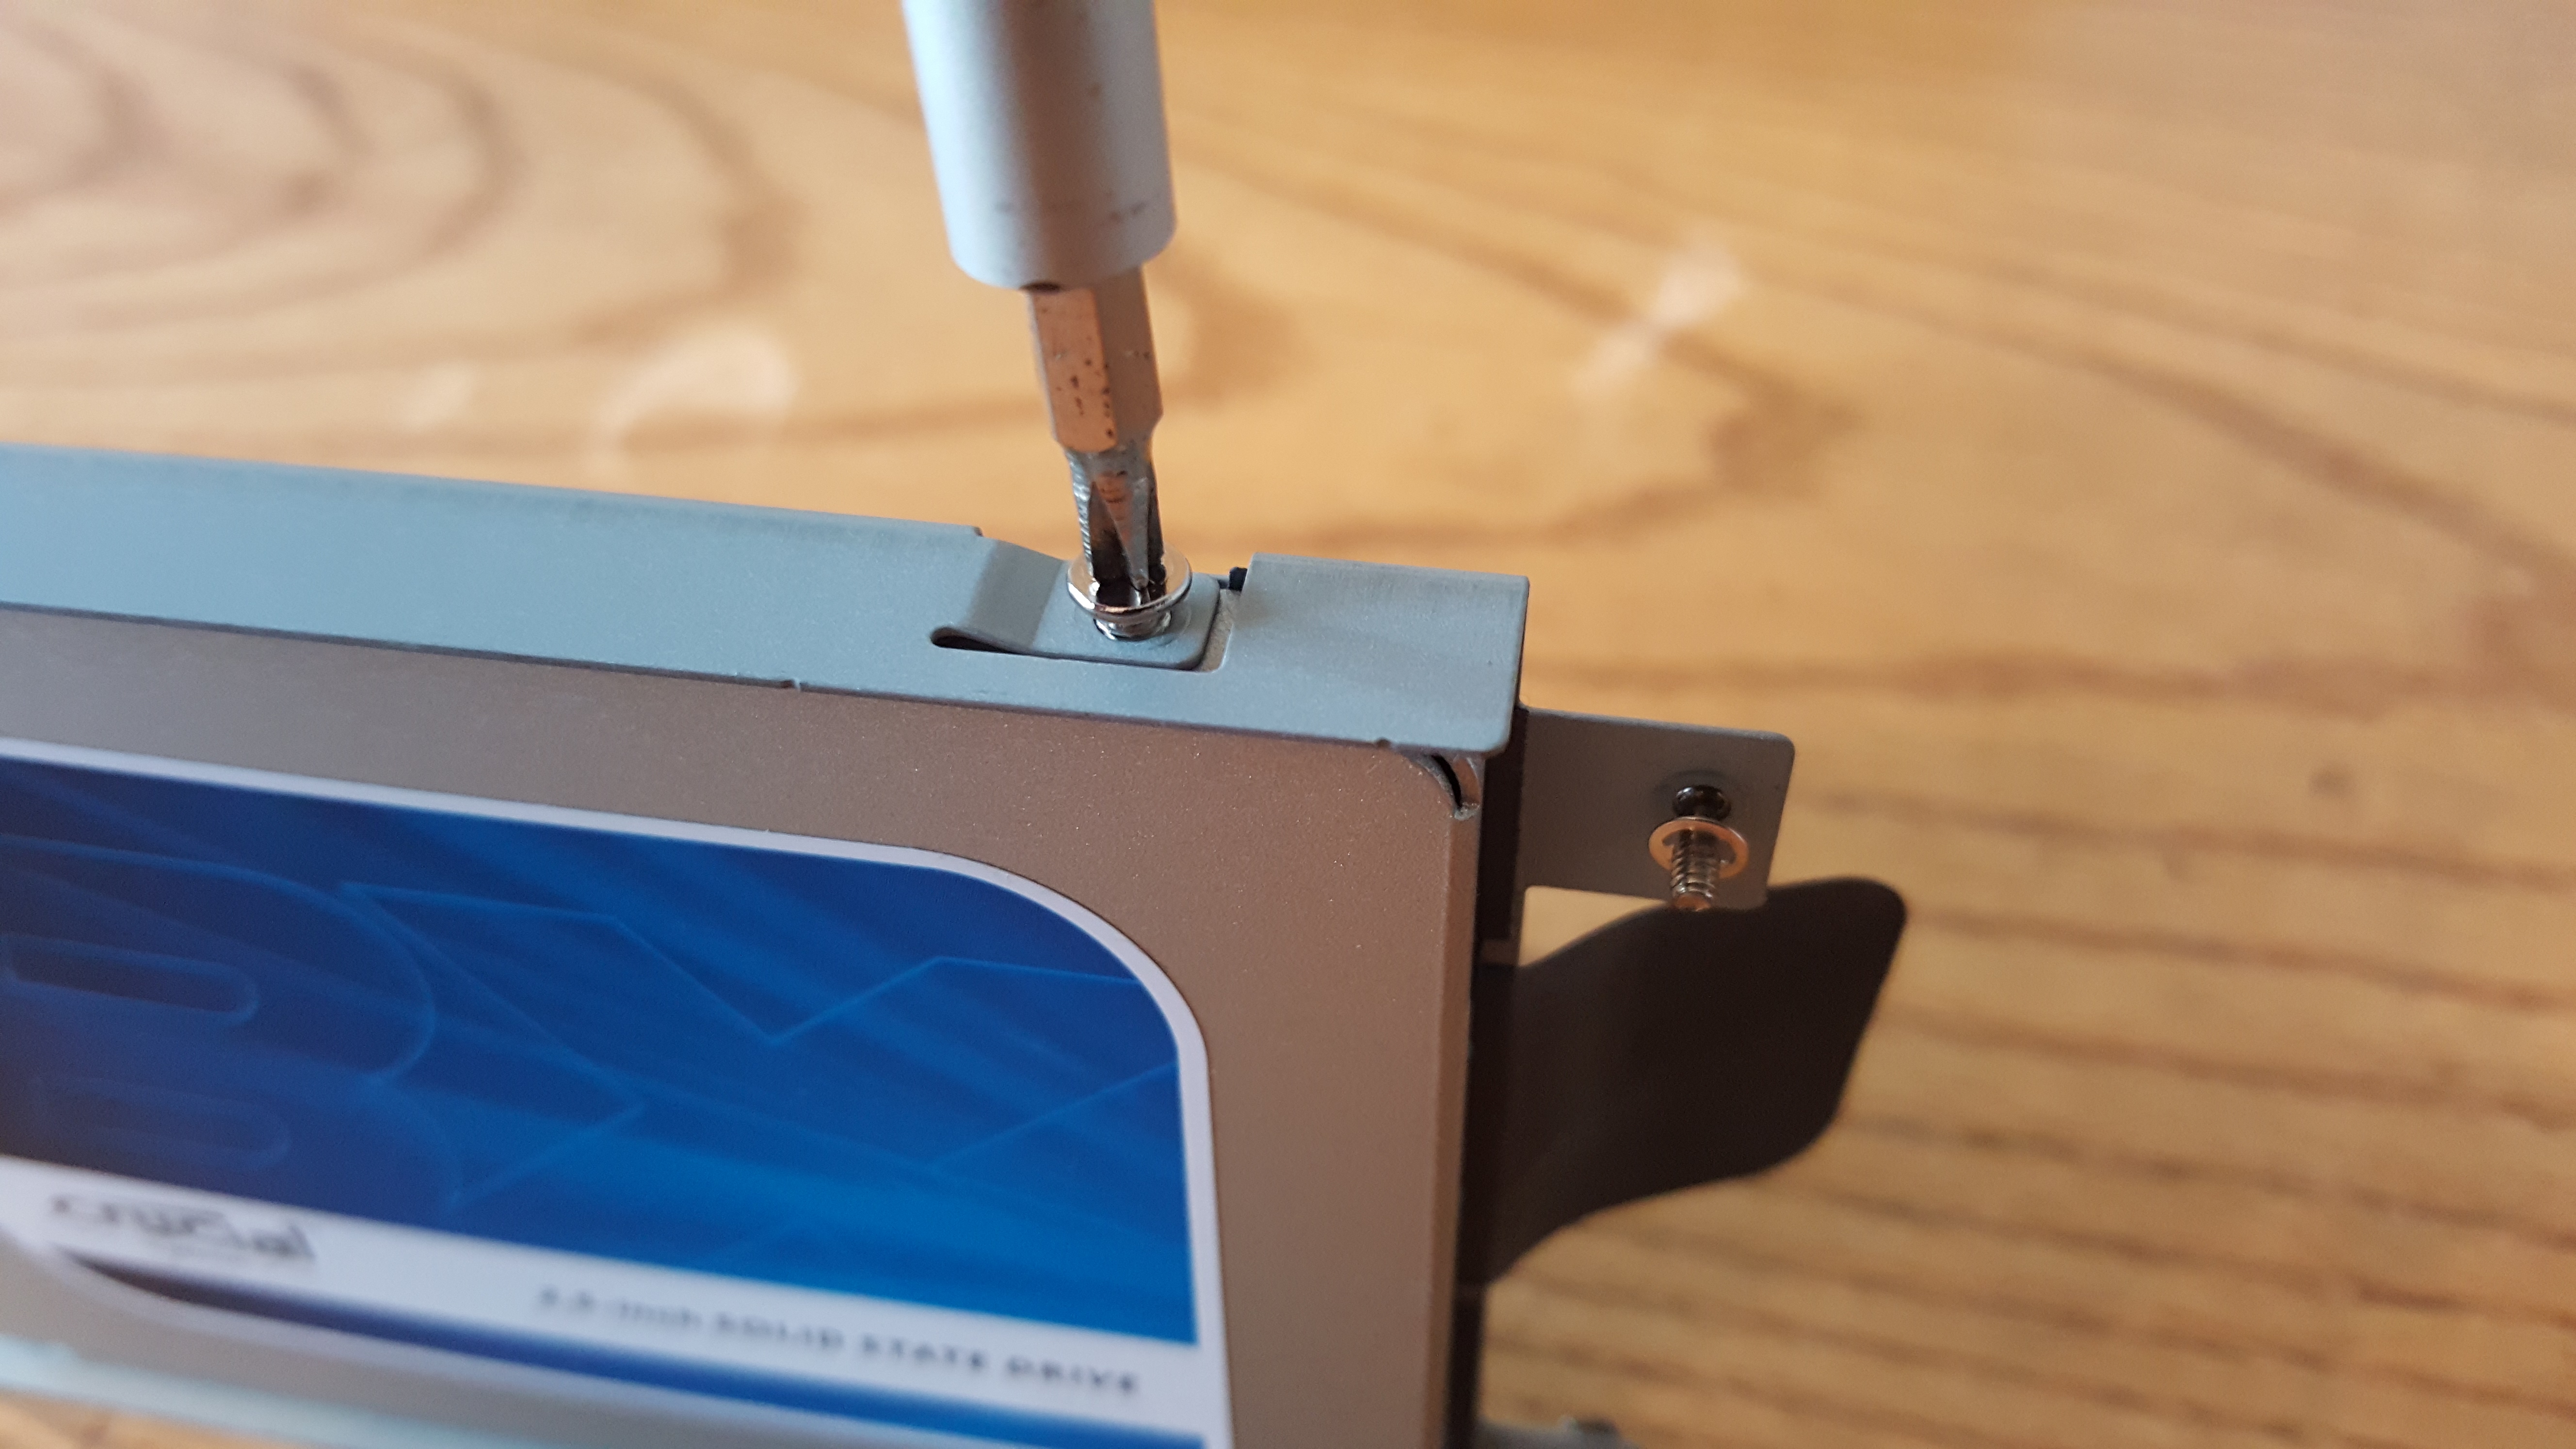
Start by placing the SSD in the hard drive caddy and screw it in place with its four screws (at this point make sure you are screwing the drive in the correct orientation as otherwise you'll go to snap it back in the system and discover you have unscrew everything to flip the drive).
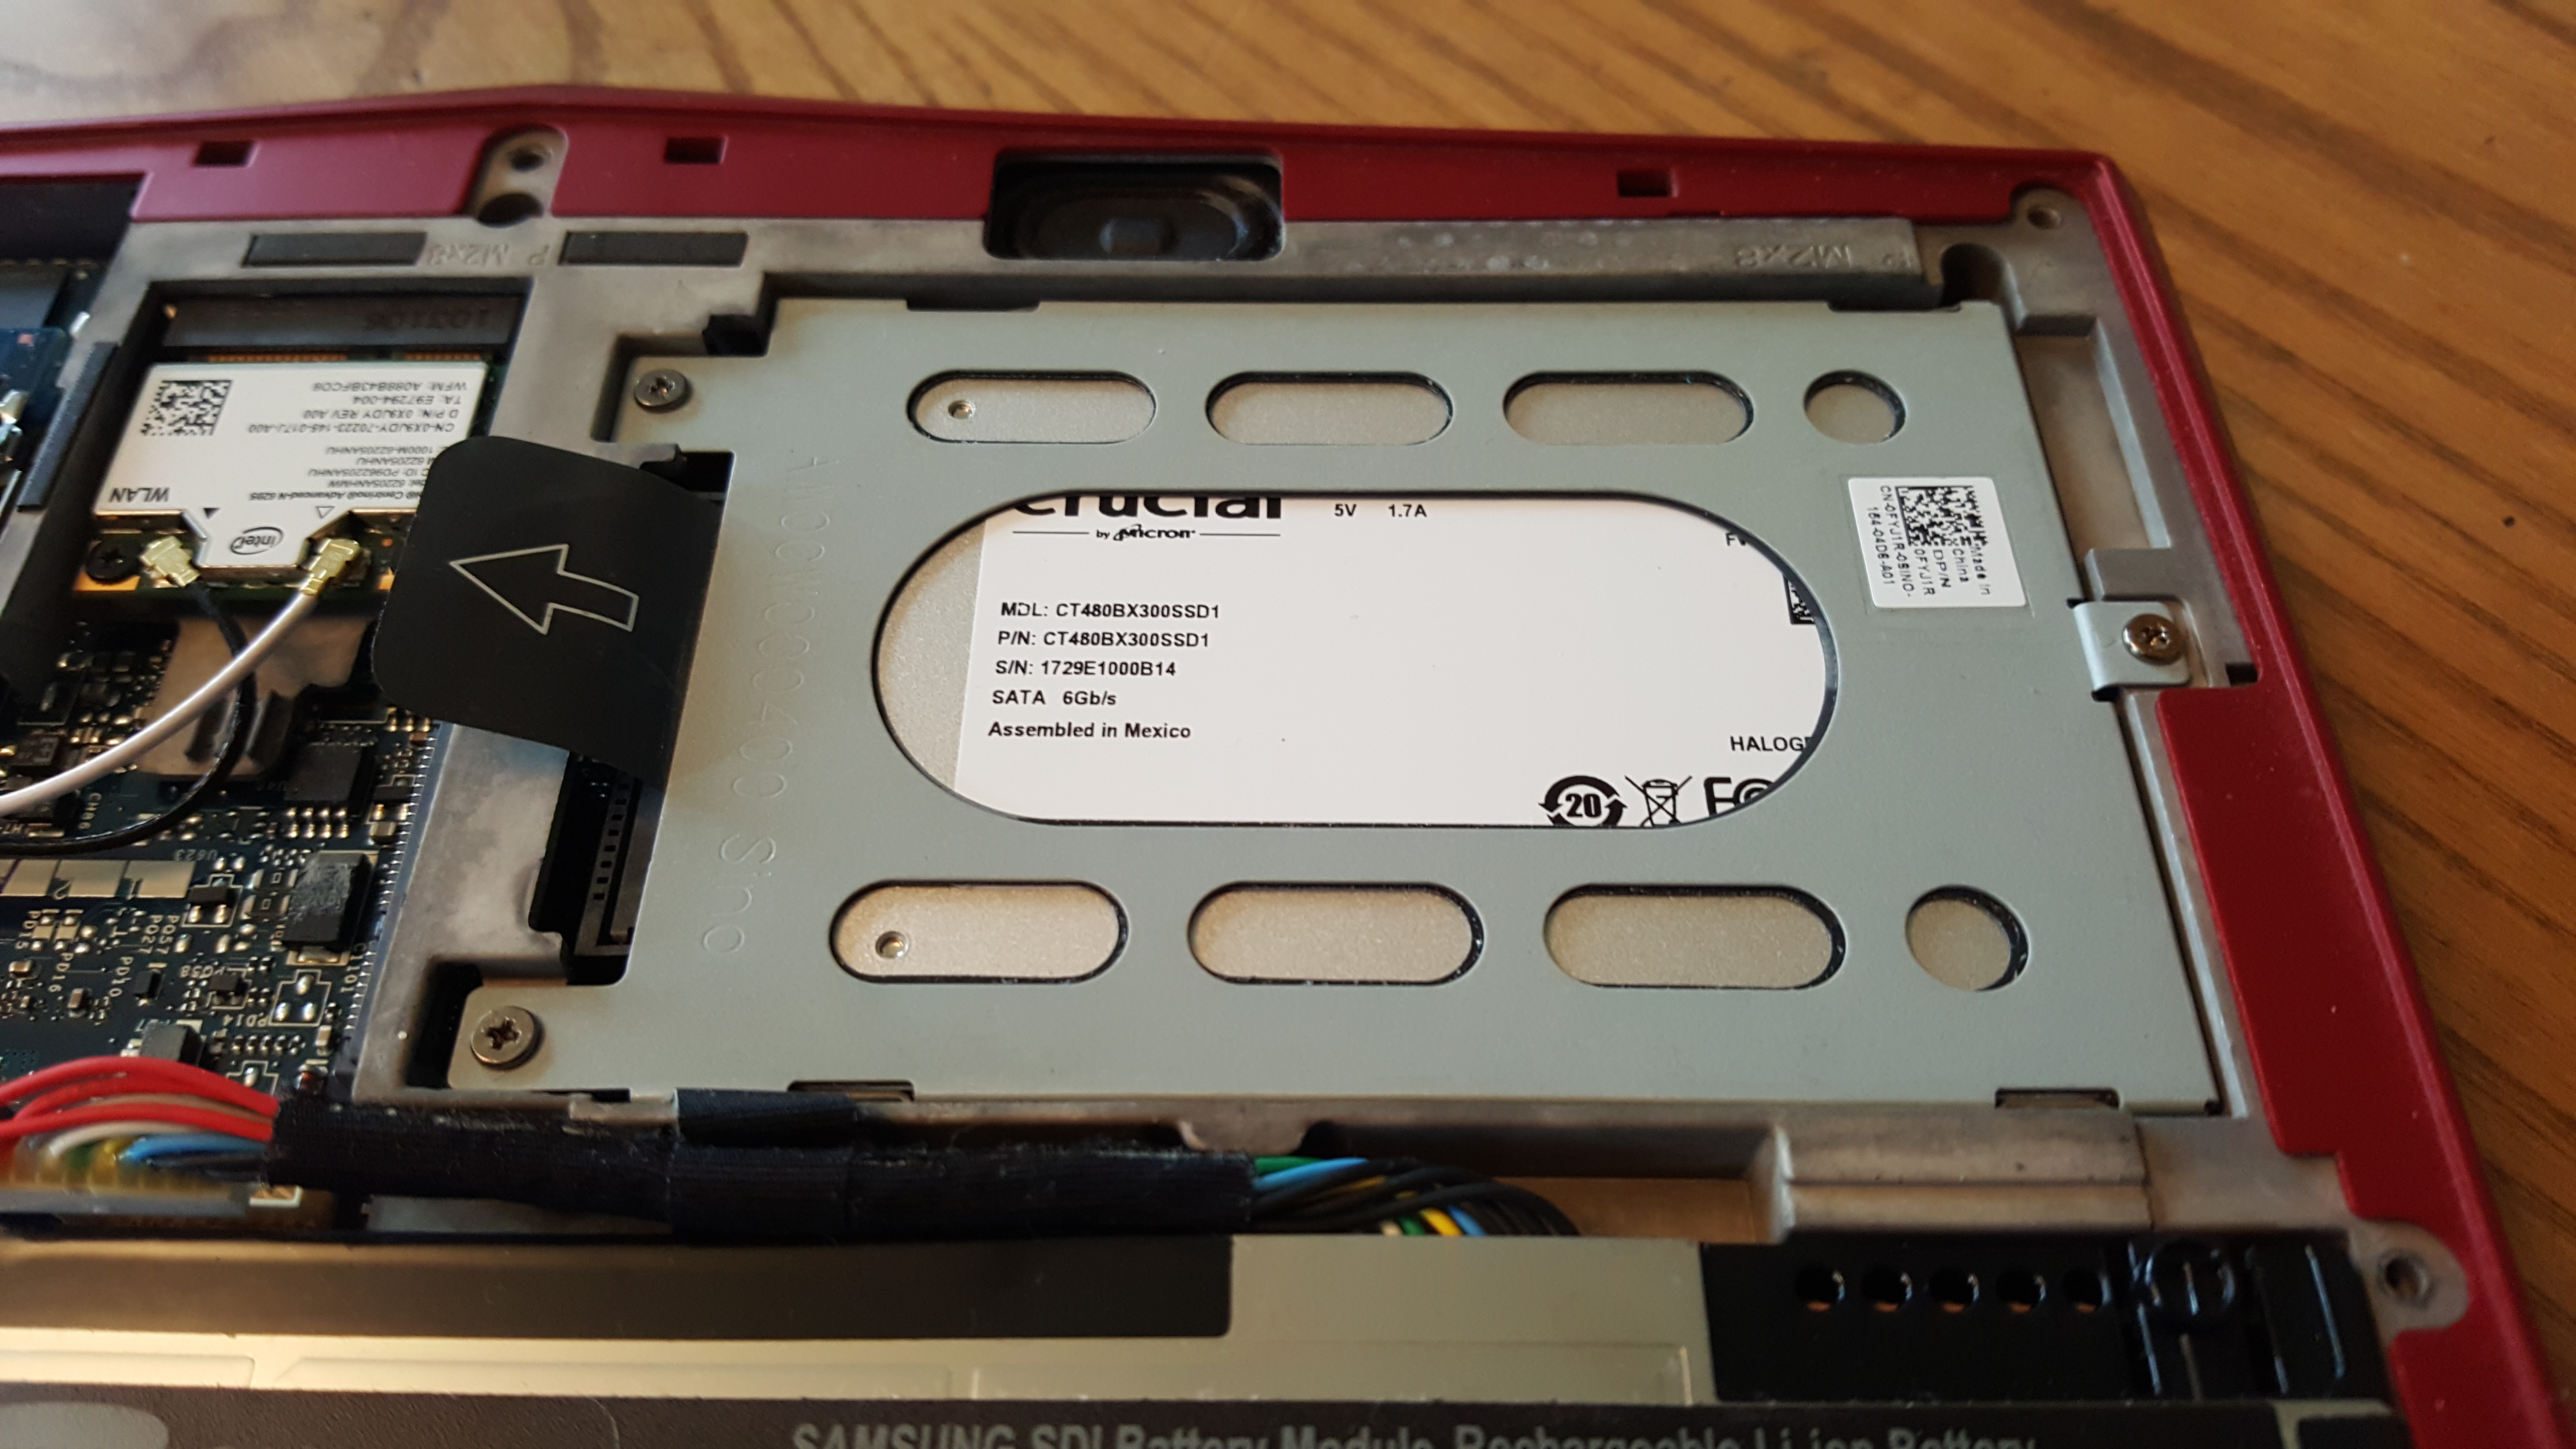
Then once the SSD is in the caddy re-connect the right-angled connector and re-insert the caddy into the M11X R3, screwing it tightly back in place. Once the new drive is installed you can reconnect the system's battery and then proceed to replace the bottom plate, screwing it securely in place.
Re-installing Windows 10 off USB
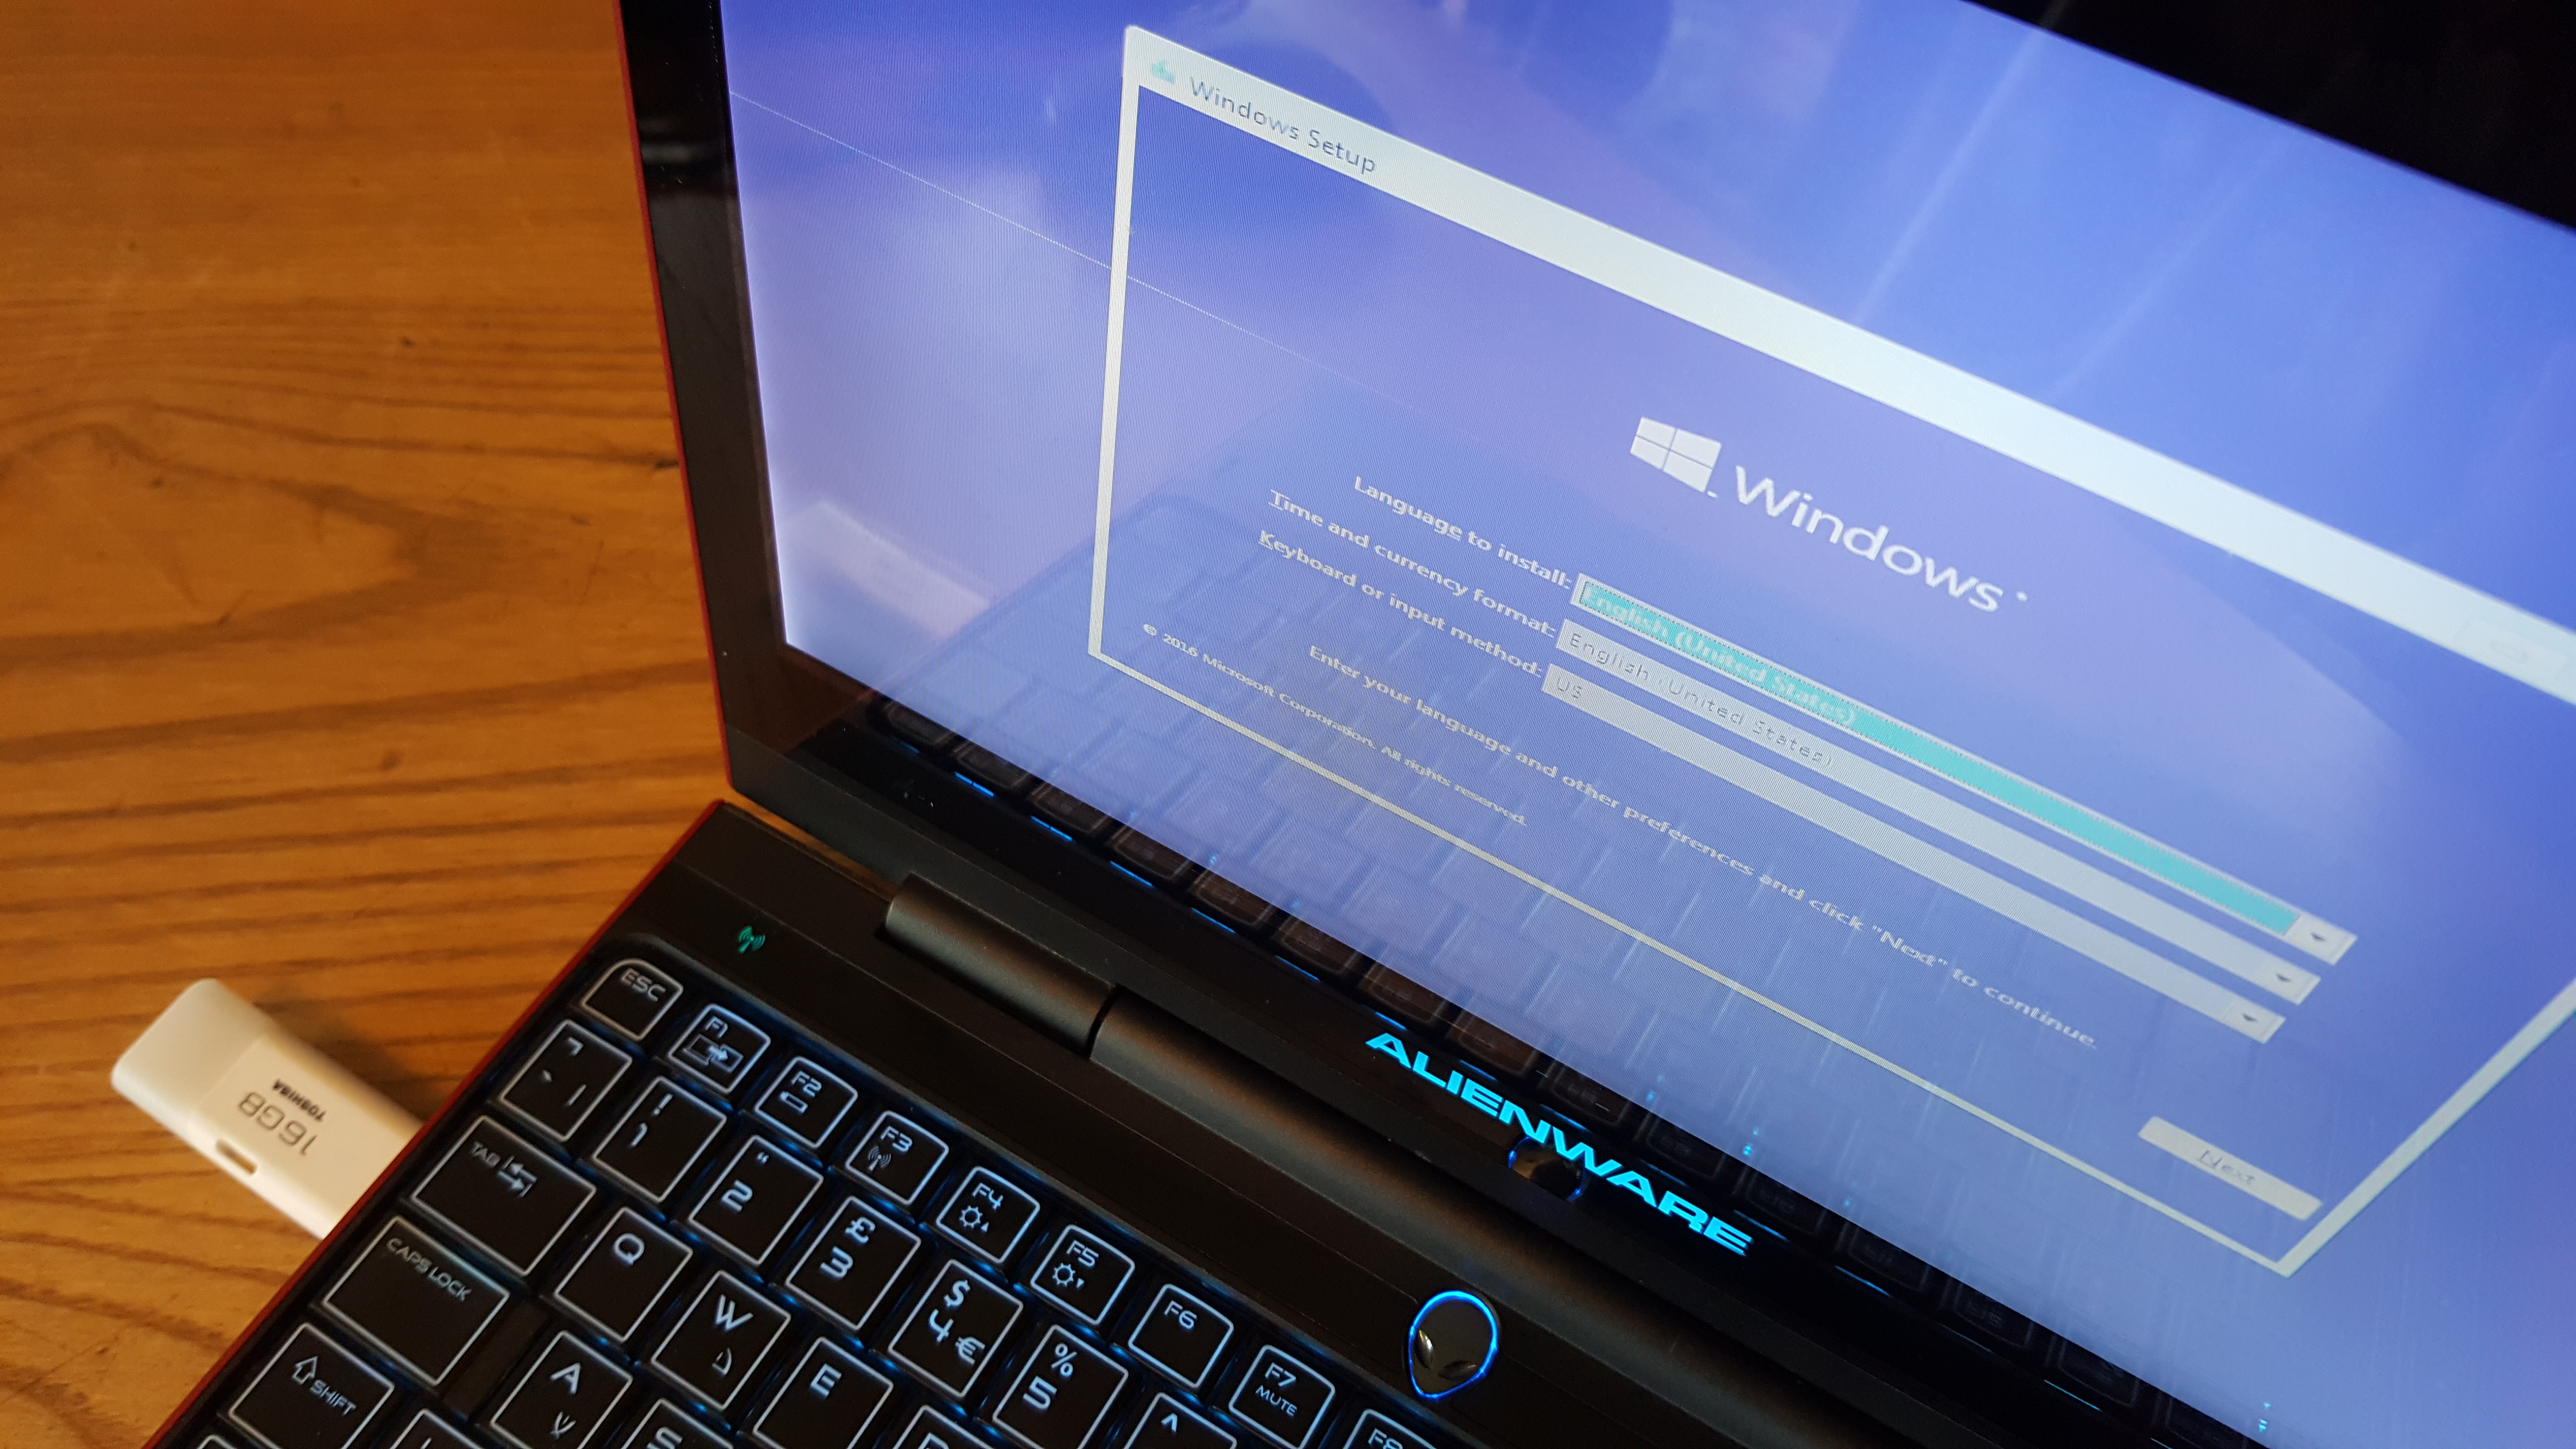
Ok, we're almost done. All we have to do now is re-install Windows 10 from our Windows 10 installation USB drive. Plug in the drive and then, with the charger connected to the system, boot it up. Now in most cases here the system will fire up and, in the absence of a version of Windows 10 to start on the SSD, will try to boot from CD and then USB. If this is the case then simply follow the onscreen instructions. If the system doesn't attempt to boot from USB, then restart the system and enter the bios (pressing F2 on Alienware; look for bios button prompts on other systems) and then prioritise USB in the system's boot order.
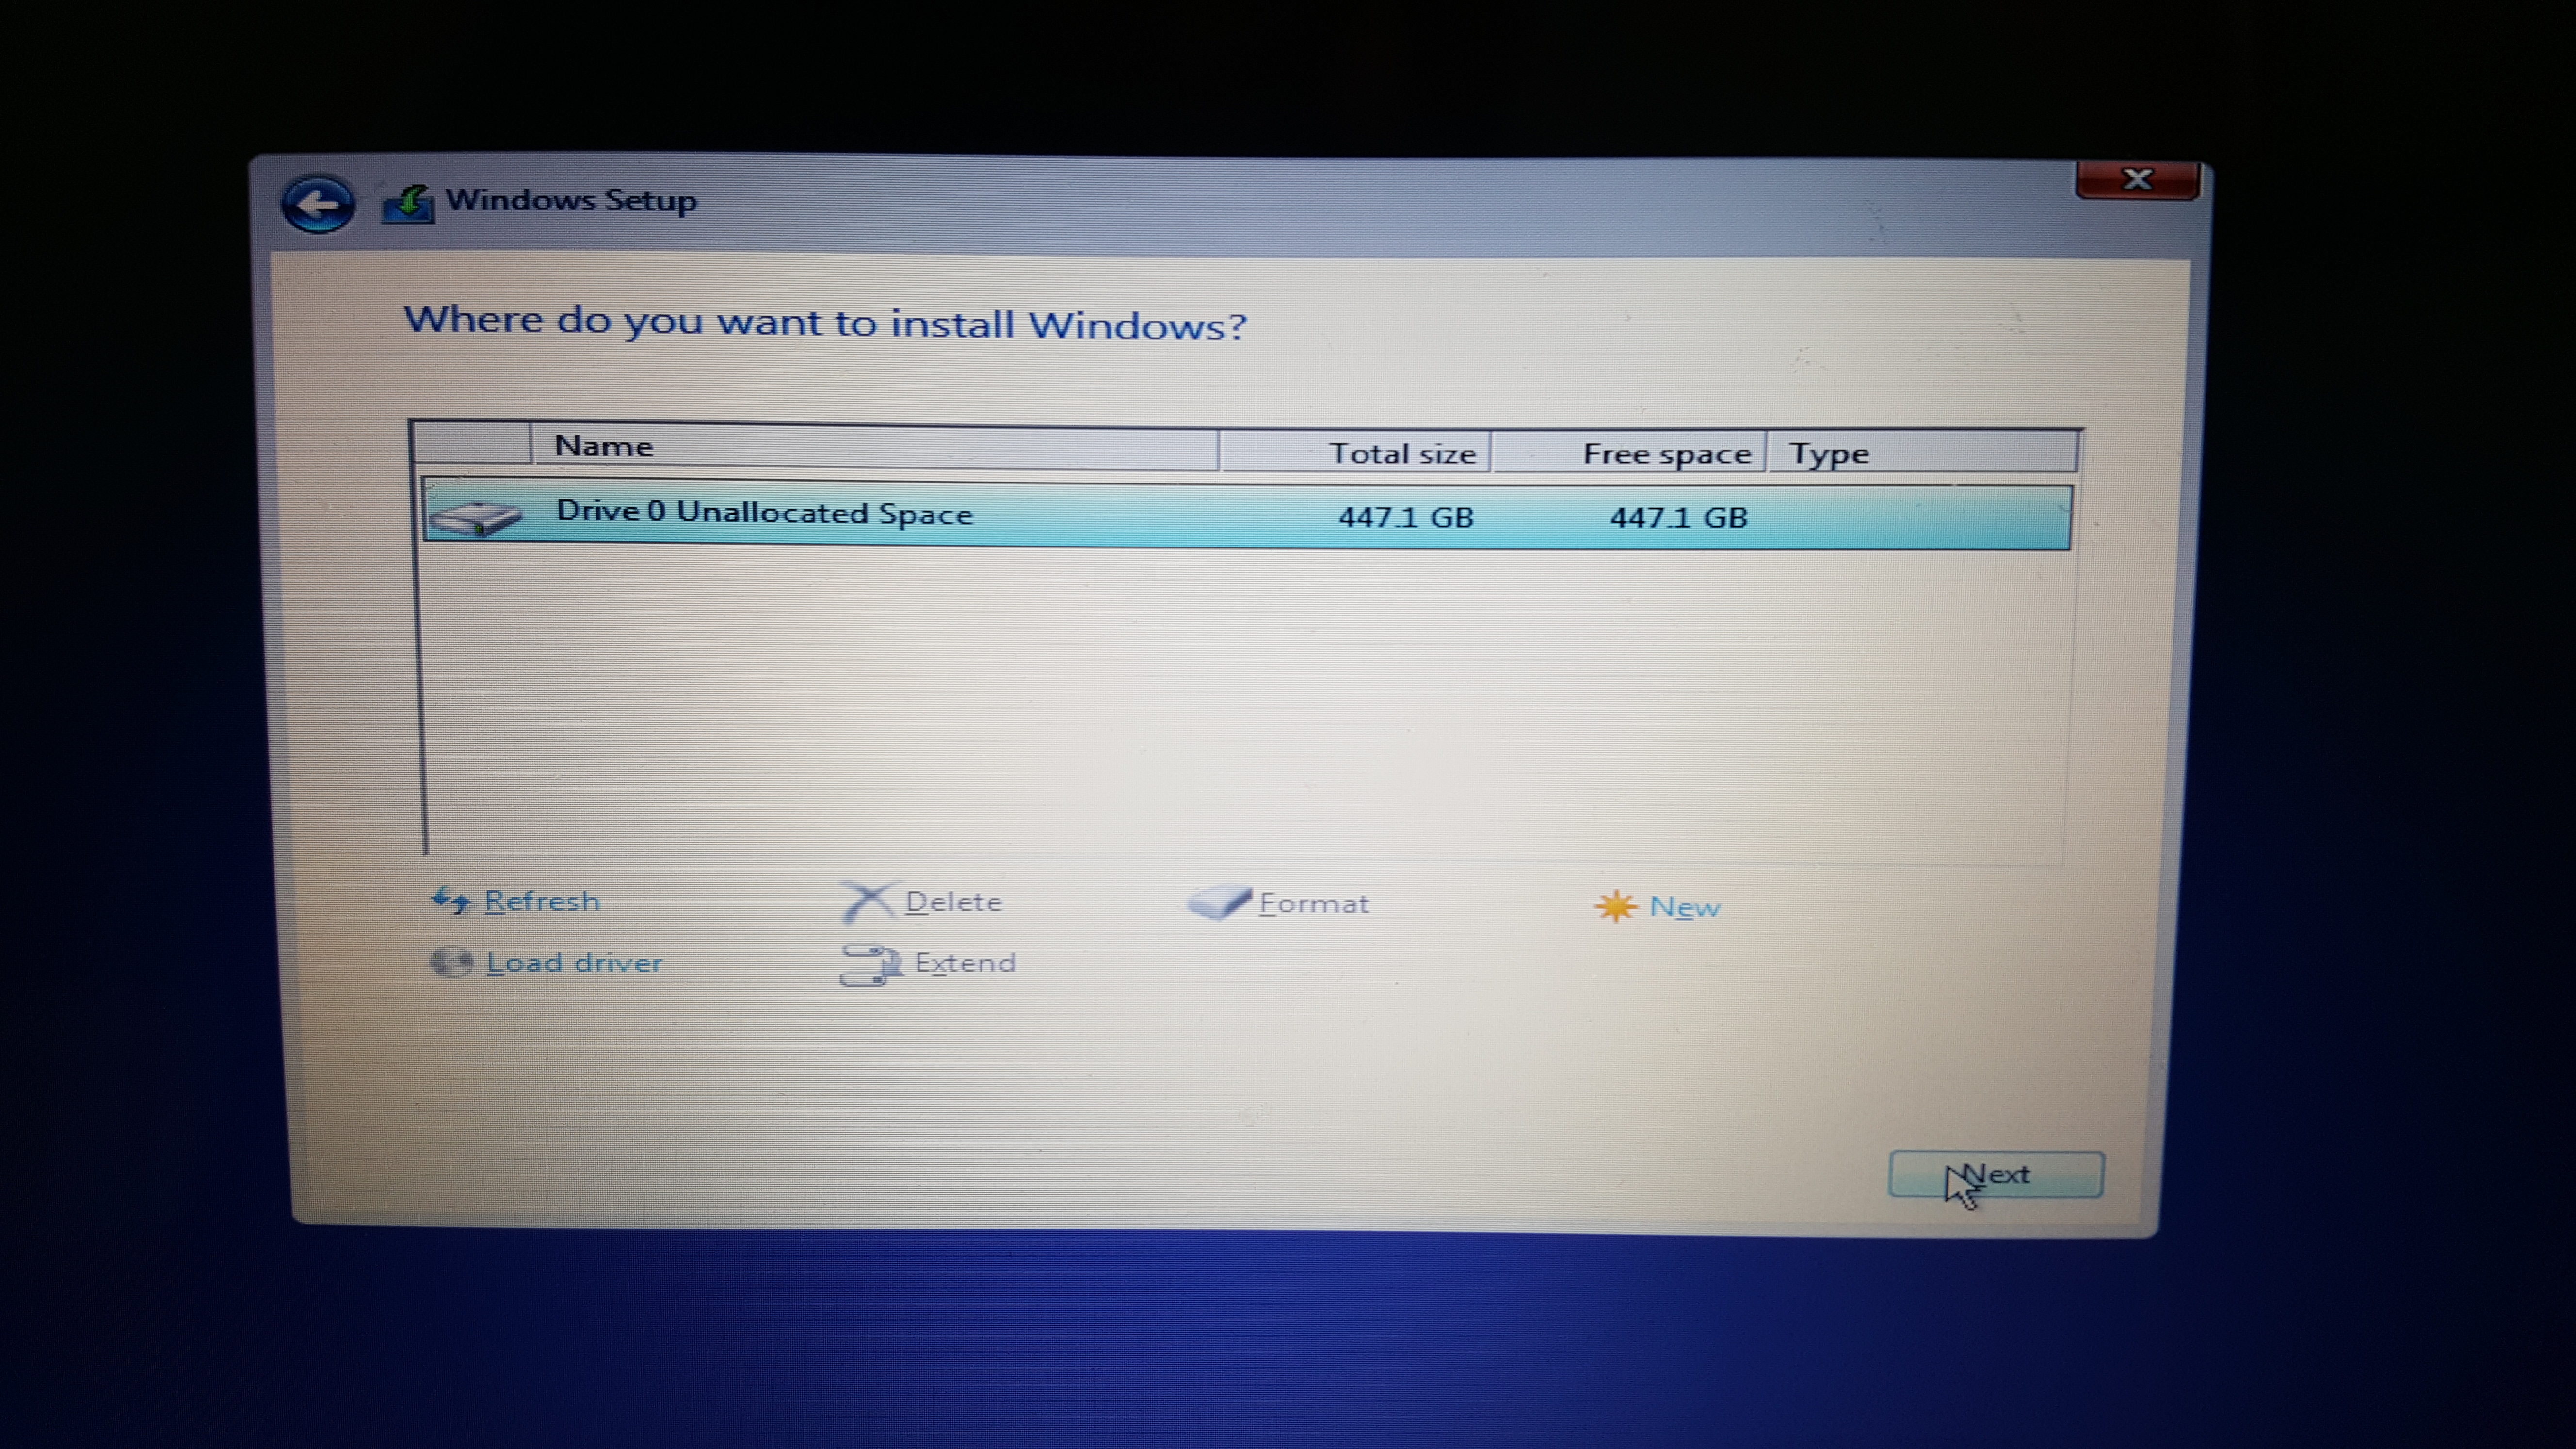
What follows is incredibly straight forward. Your USB version of Windows 10 will initialise and, after selecting the new SSD as the Windows 10 installation location, you can go and put the kettle on and have a cuppa while reading T3.com, as the OS will proceed to install rapidly.
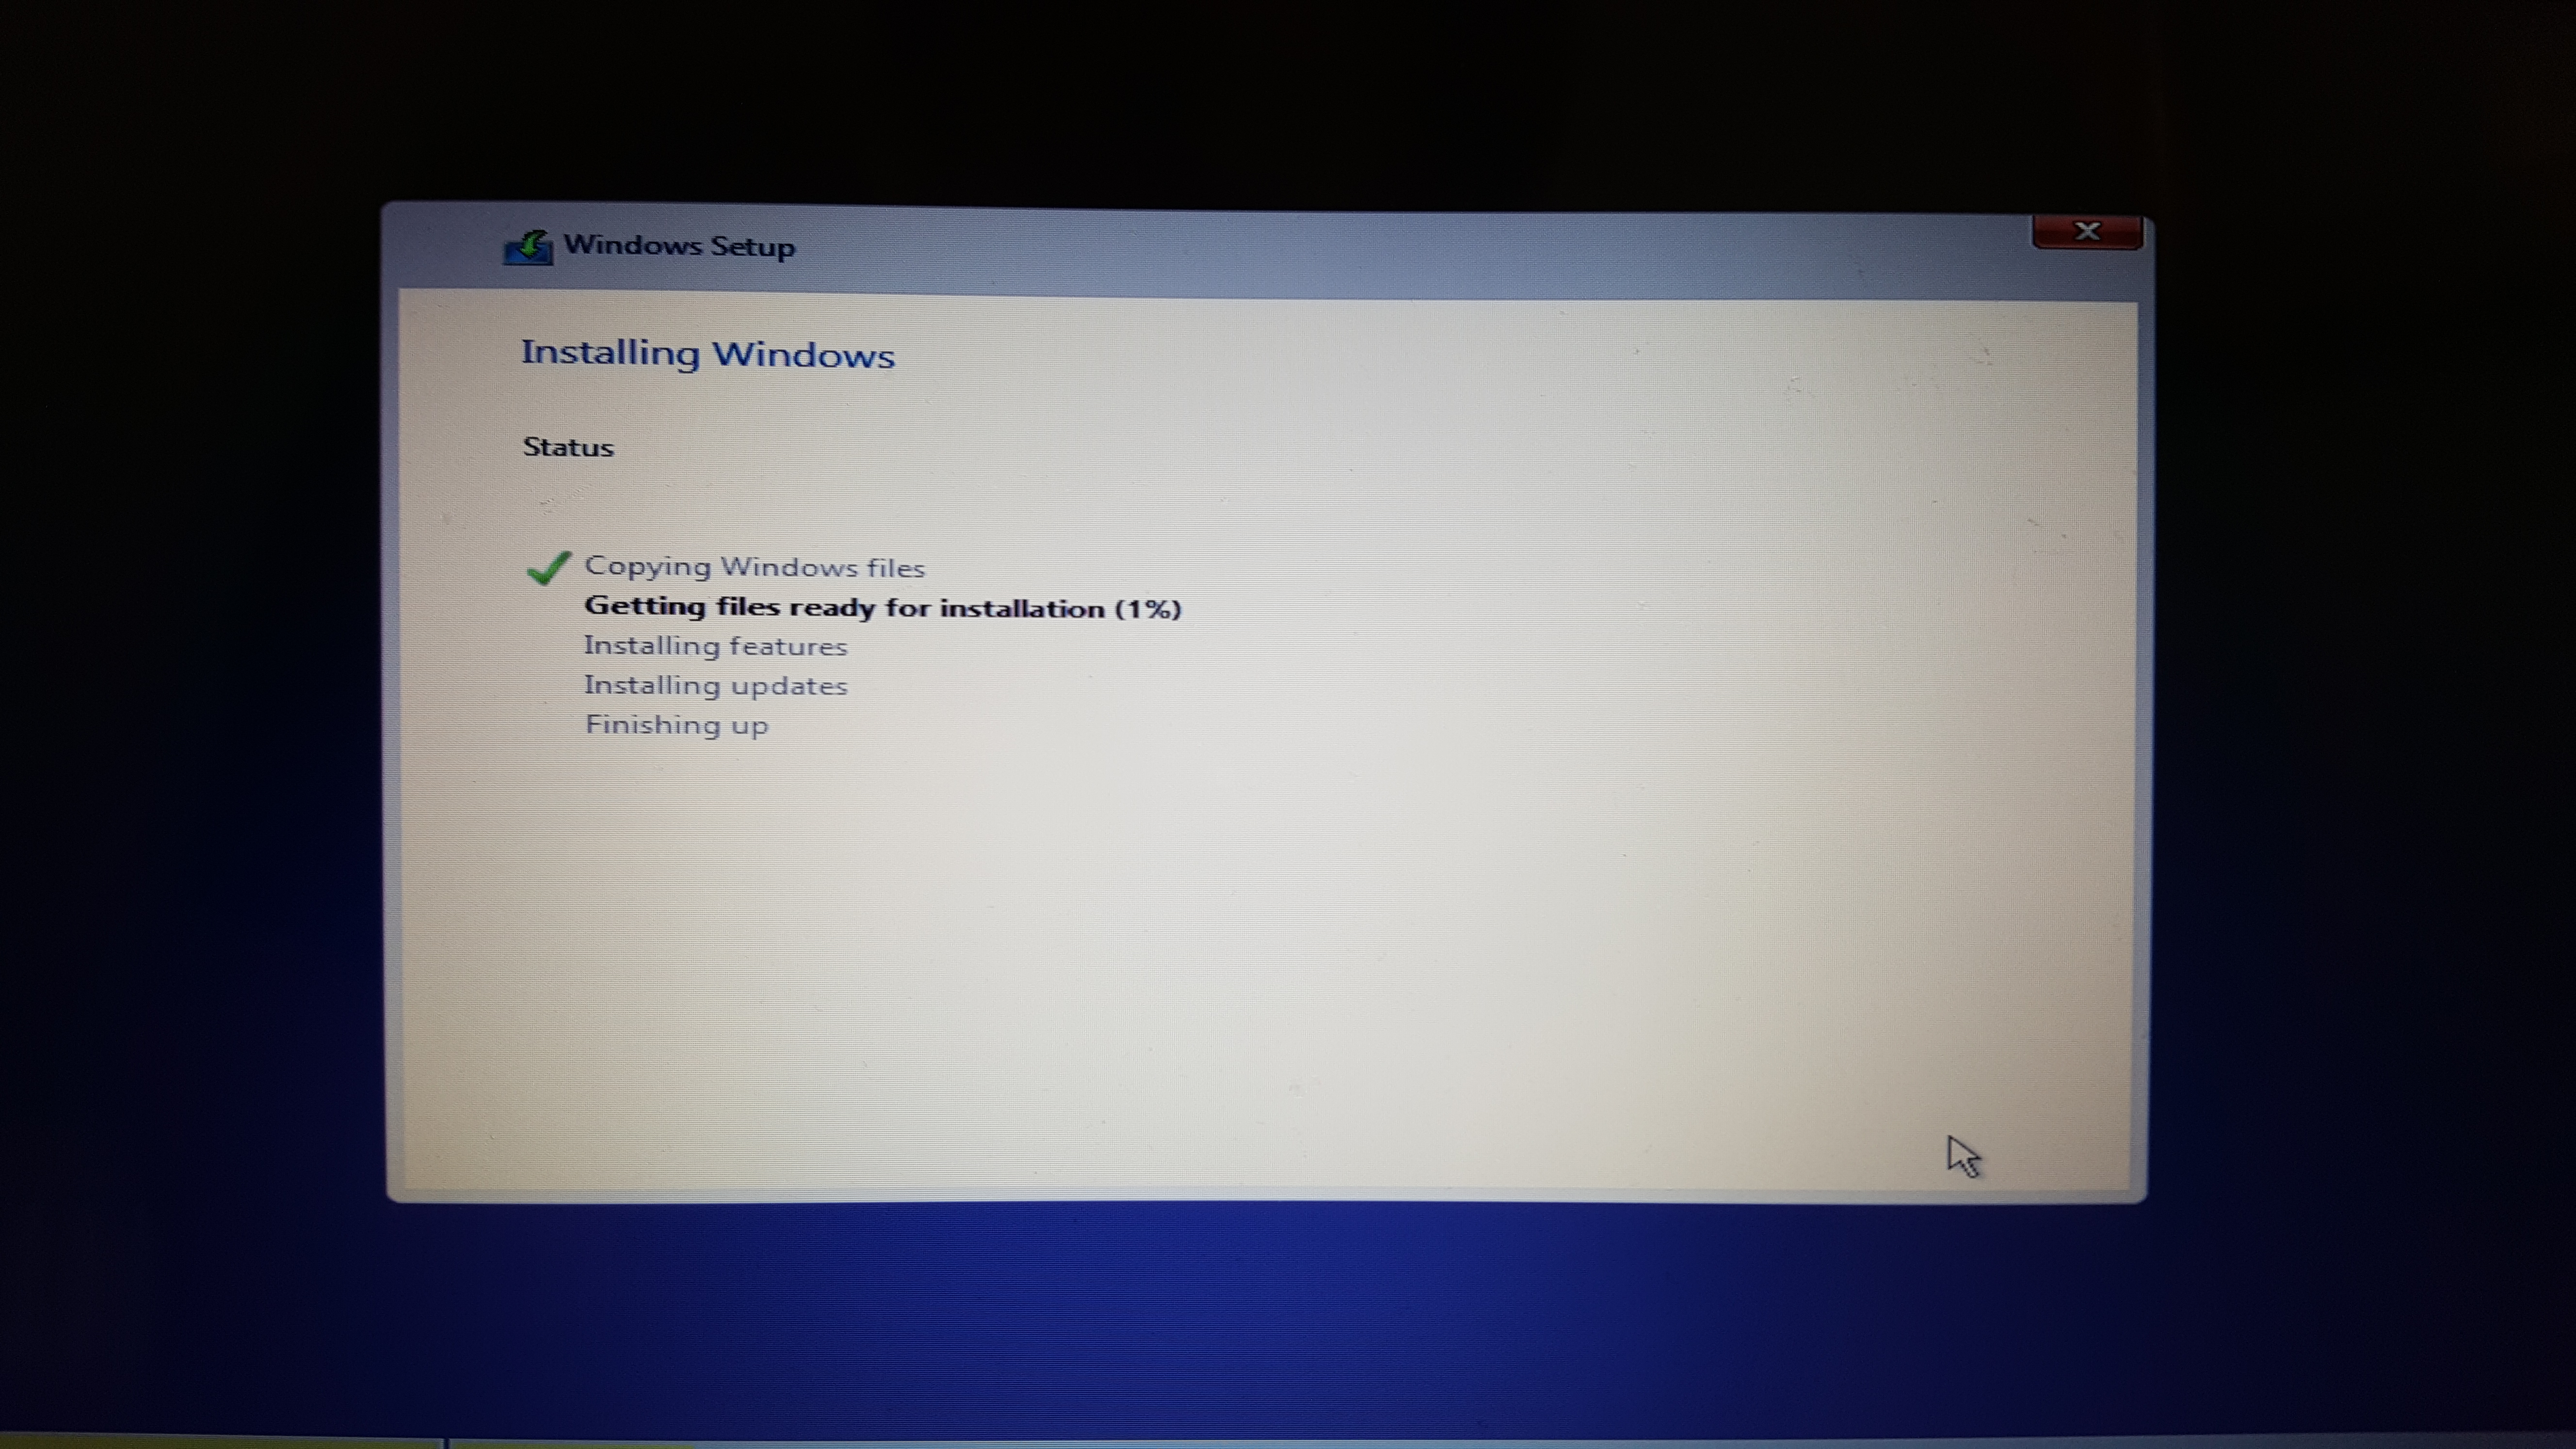
After the initial Windows 10 files have been installed and you've set up Internet connectivity, Windows 10 will download its latest update too.
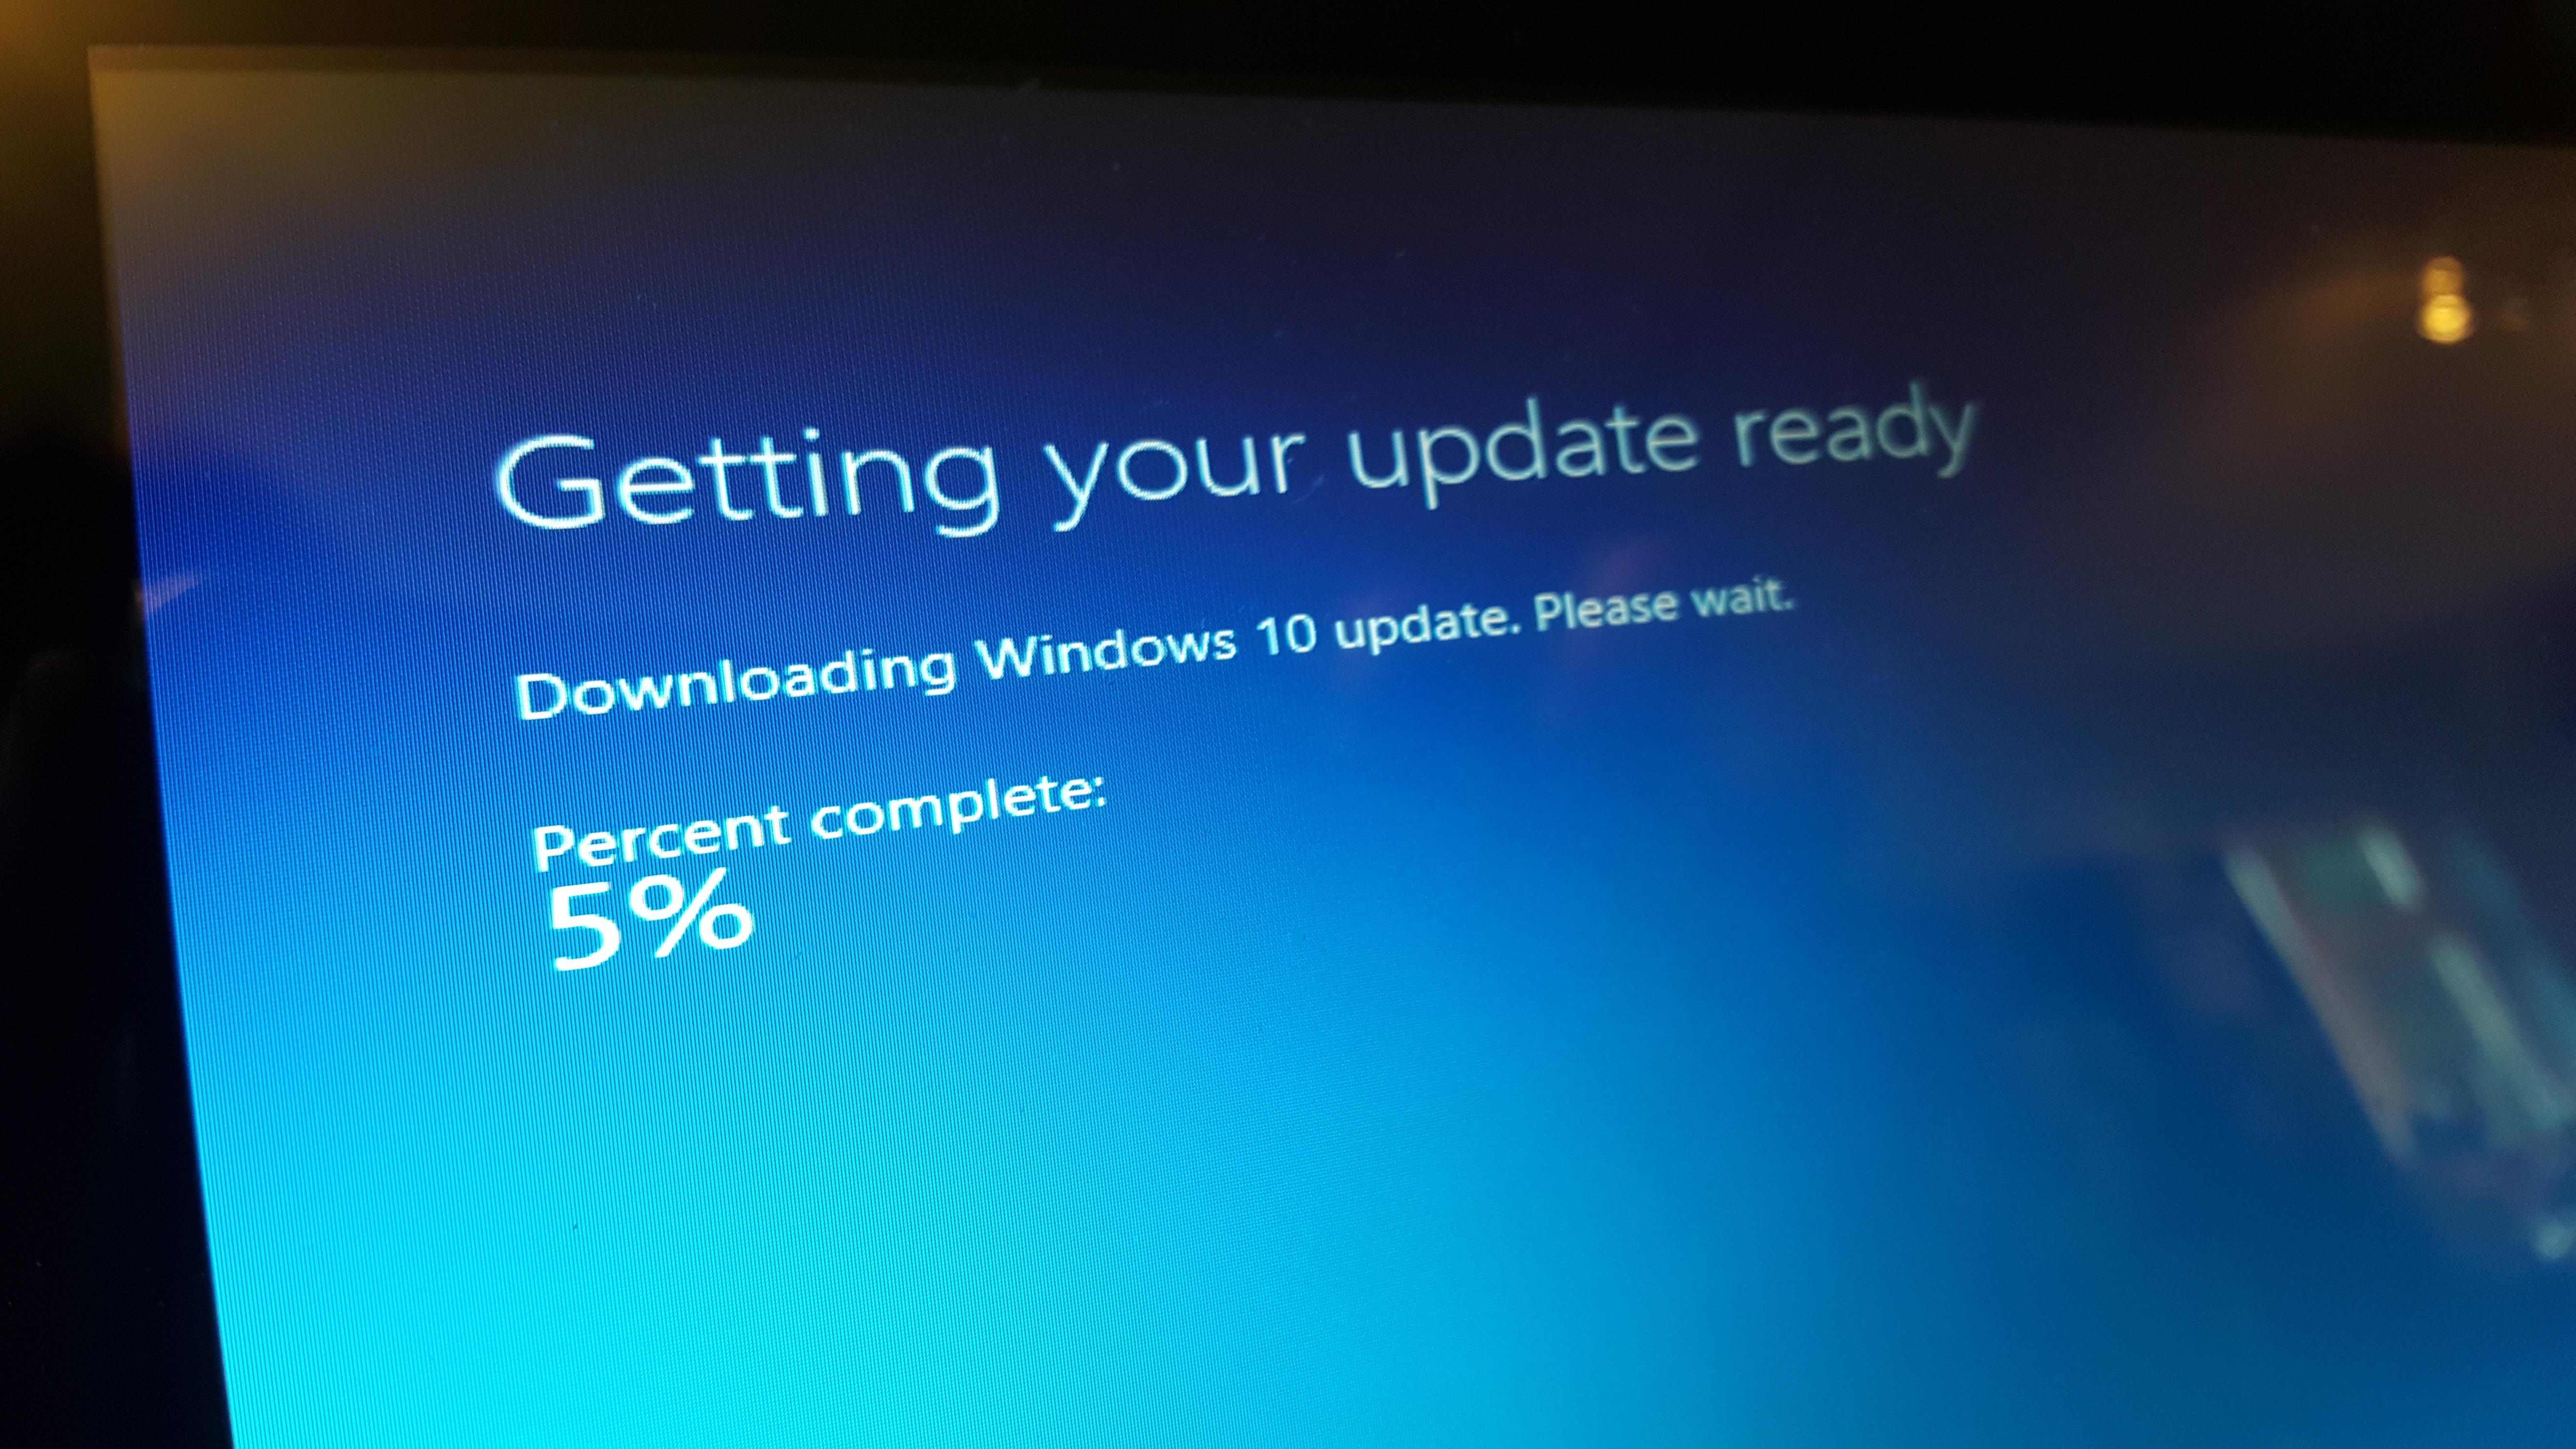
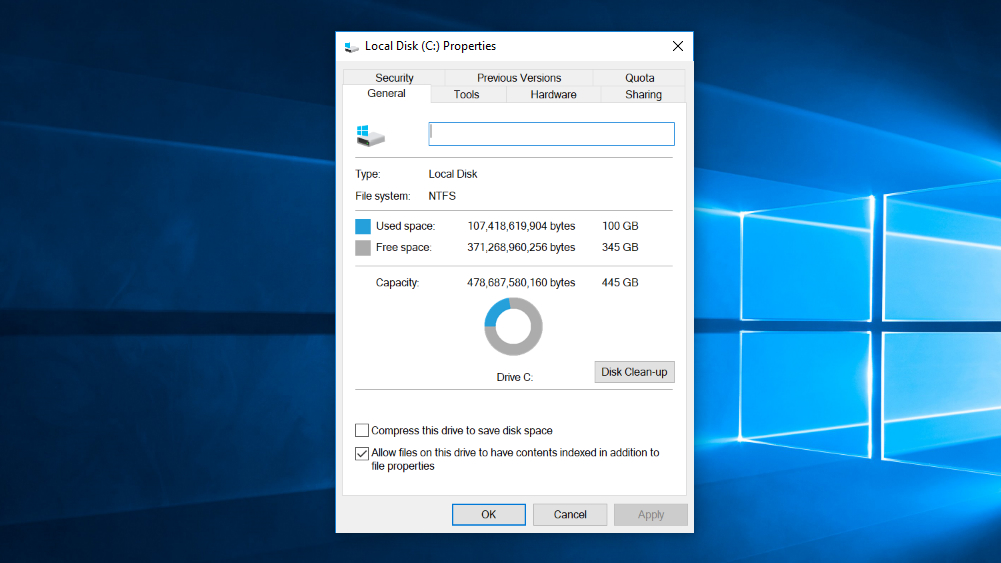
Once the update has completed you'll be kicked into Windows 10 proper and, after checking your hard drive has configured properly in Device Manager and its Local Disk properties, you can go ahead and re-install any drivers and personal files from your USB backup, before proceeding to install all your key applications (in the case of this primarily gaming-orientated system Steam and GOG).
The only other thing to do?
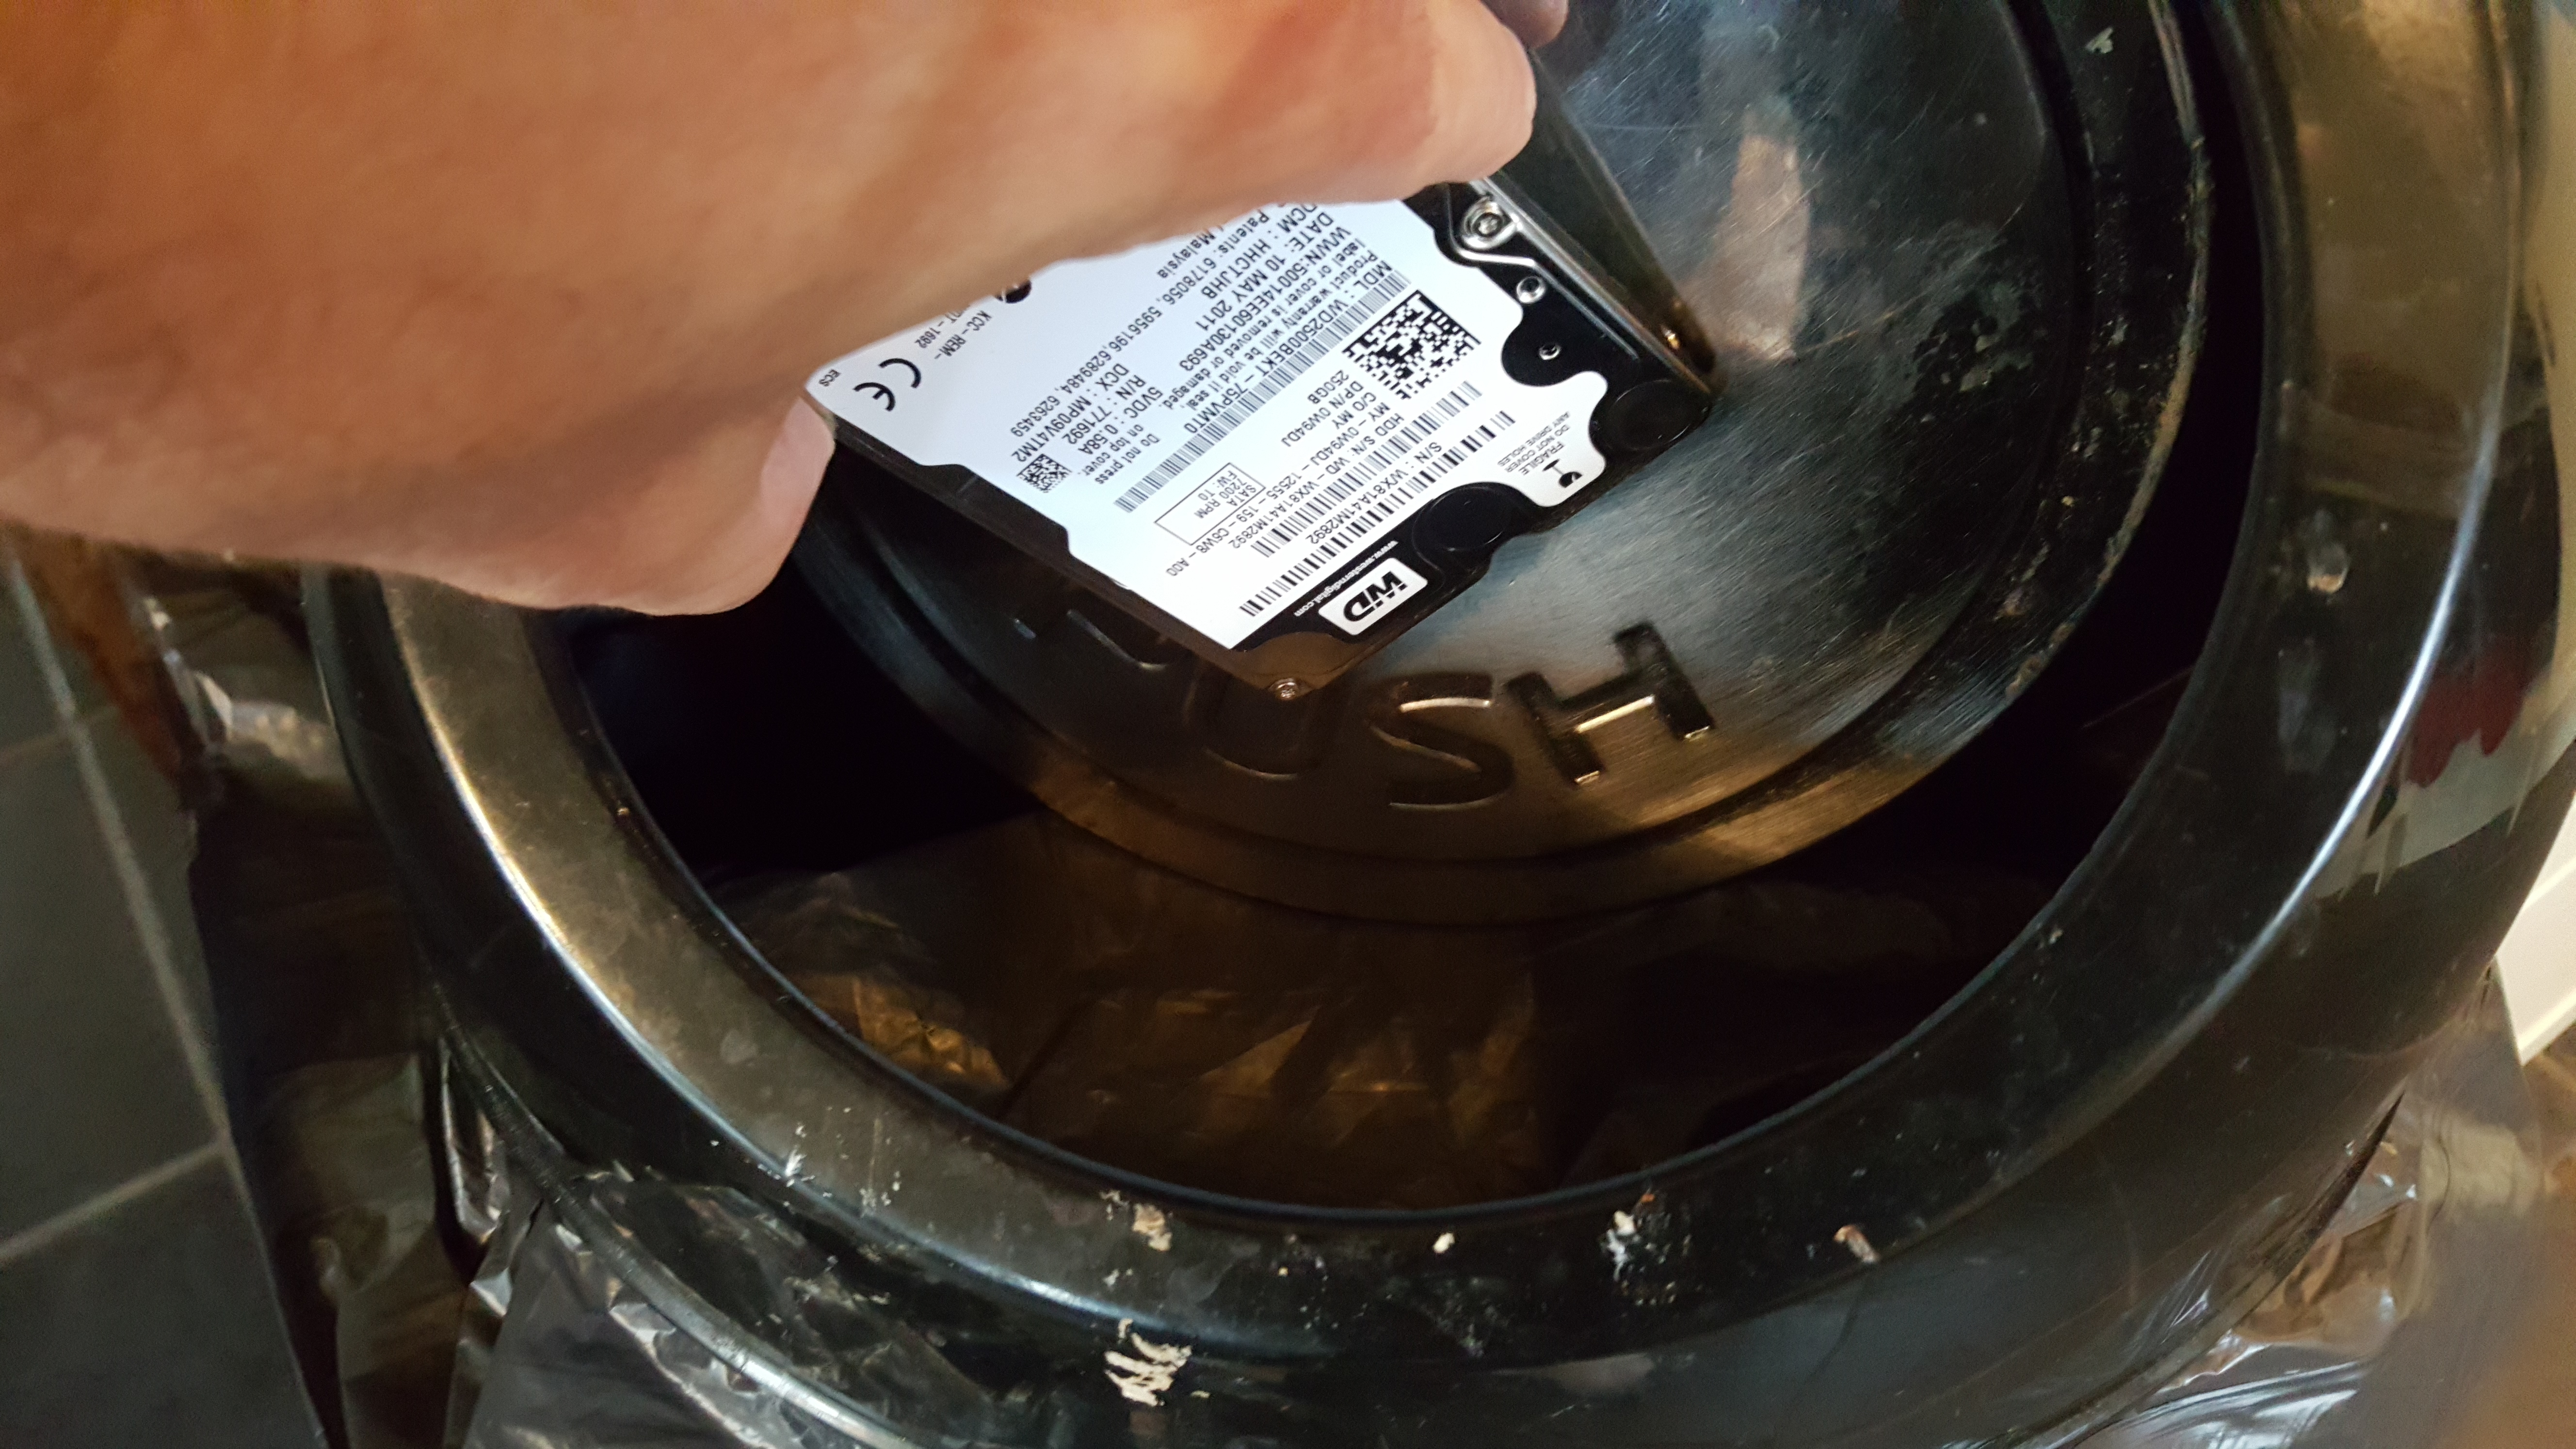
Bin the old HDD!
Rob has been writing about computing, gaming, mobile, home entertainment technology, toys (specifically Lego and board games), smart home and more for over 15 years. As the editor of PC Gamer, and former Deputy Editor for T3.com, you can find Rob's work in magazines, bookazines and online, as well as on podcasts and videos, too. Outside of his work Rob is passionate about motorbikes, skiing/snowboarding and team sports, with football and cricket his two favourites.

