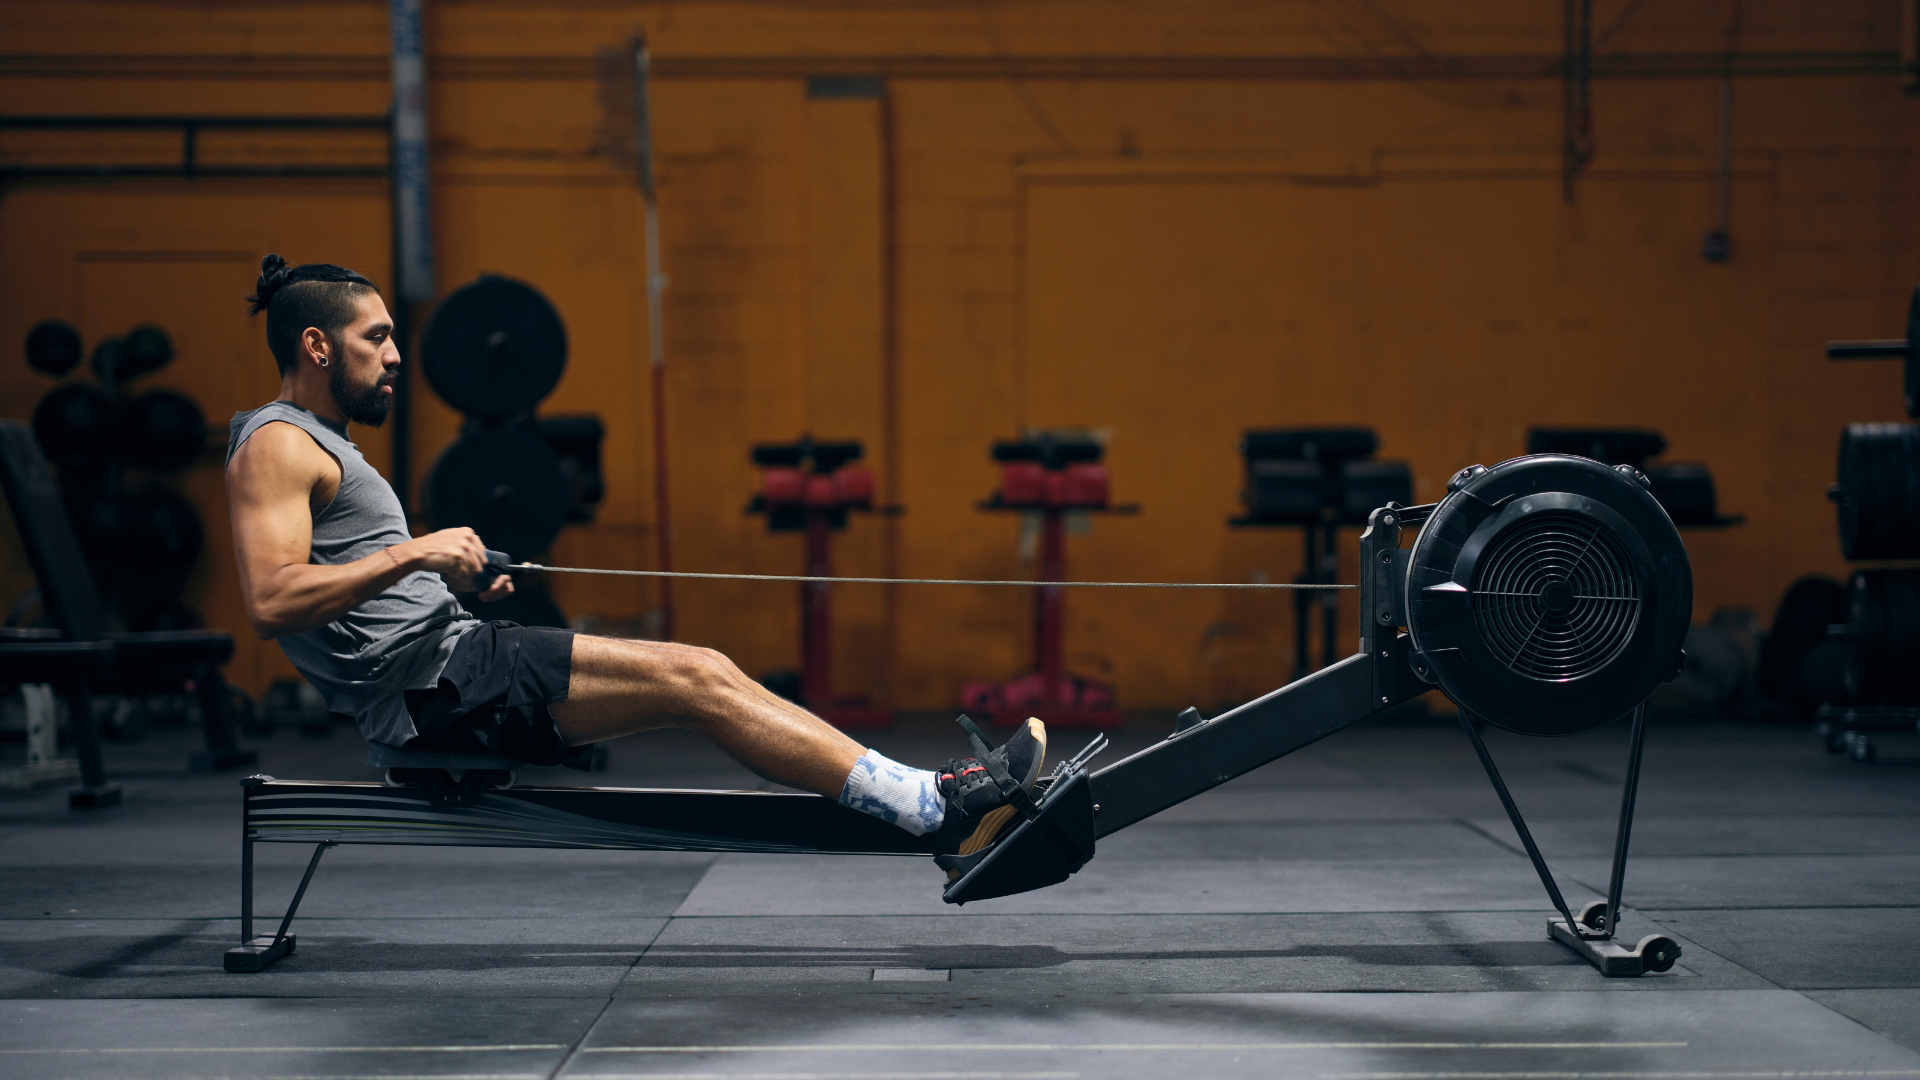

Knowing how to use the rowing machine can be a daunting experience if you’ve never used it before – do you just hop on and pull with your arms, or do push with your feet first? Many just make it up as they go along. While you may not need bouts of strength or athletic experience to use this bit of equipment, what it does require is good technique, that’s at least if you want an effective workout and aren’t planning on injuring yourself.
There's so many benefits from adding the rowing machine to your workout, but if you don’t know how to row properly the chance of maximising these are slim. Below we break down exactly how to use the rowing machine, from setting it up through to the row technique itself.
How to set-up properly
Right, before you even begin trying to row, you need to make sure you’ve set up on it correctly. If your setup is poor, your row will probably mirror this or, at the very least, you’re going to be uncomfortable. Here’s how to do it…
1. Set your damper
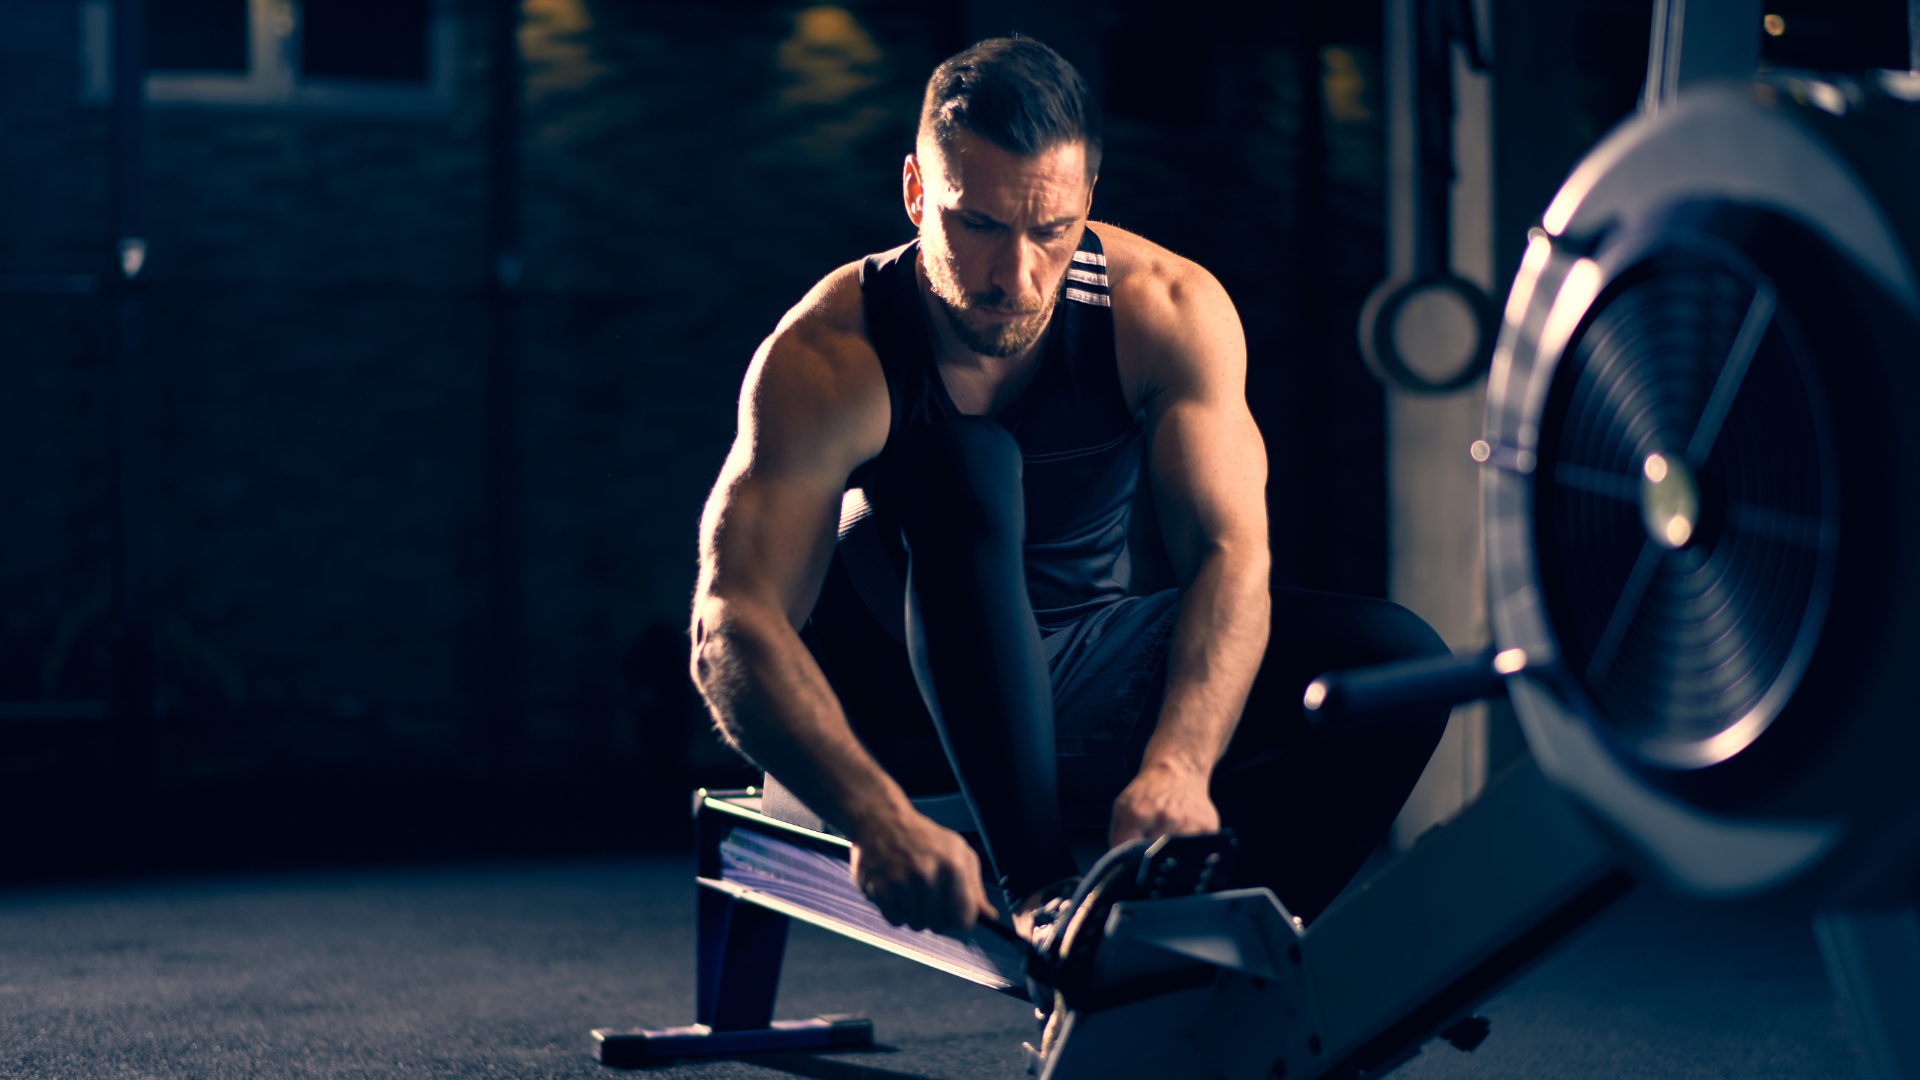
Before you even sit down on the rower you need to adjust the damper setting. One of the most common mistakes with the rowing machine is people thinking the damper is resistance level (1 being easy and 10 being hard), but it’s not. The damper controls how much air is let in and out of the flywheel, 10 opens up the casting and allows in lots of air so the flywheel spins slower, whereas one closes the casting and lets in the least so it spins faster. Concept2 says it’s better to think of the damper as gears on a bike. The best way to find a good damper setting for you is to experiment, so play around.
2. Get your booty on the seat and strap your feet in
You don’t just want to sit anywhere on the seat, according to Jane Erbacher from Erg Army, you want to find the middle of the seat with the top of your hamstrings. By sitting in this position you’ll find your posture is far better, so you can row with more power. You then want to strap your feet in. Make sure you’ve adjusted the footstretcher to fit your feet correctly, so that the strap goes over the ball of your foot.
Sign up to the T3 newsletter for smarter living straight to your inbox
Get all the latest news, reviews, deals and buying guides on gorgeous tech, home and active products from the T3 experts
3. Pick up the handle
When grabbing the handle, you want your little finger to be over the widest part of it, so it’s about shoulder-width apart. This will create a nice engagement through your shoulders and back. In regards to thumb placement going under or over the handle, this is a debated discussion, but most people go with thumbs under the handle. Also, don’t squeeze the life out of the handle as it will place tension through the shoulders and forearms, causing you to fatigue faster. Keep it relaxed for a more fluid stroke.
How to row, correctly
Now that you’re set up on the rowing machine you’ll want to make sure your row technique is on point, to help you get the most out of it. It’s a full-body movement, but a lot of people rely solely on their arms to row. If that’s you, you’re missing a trick. Here’s how you do it…
Step 1: The catch
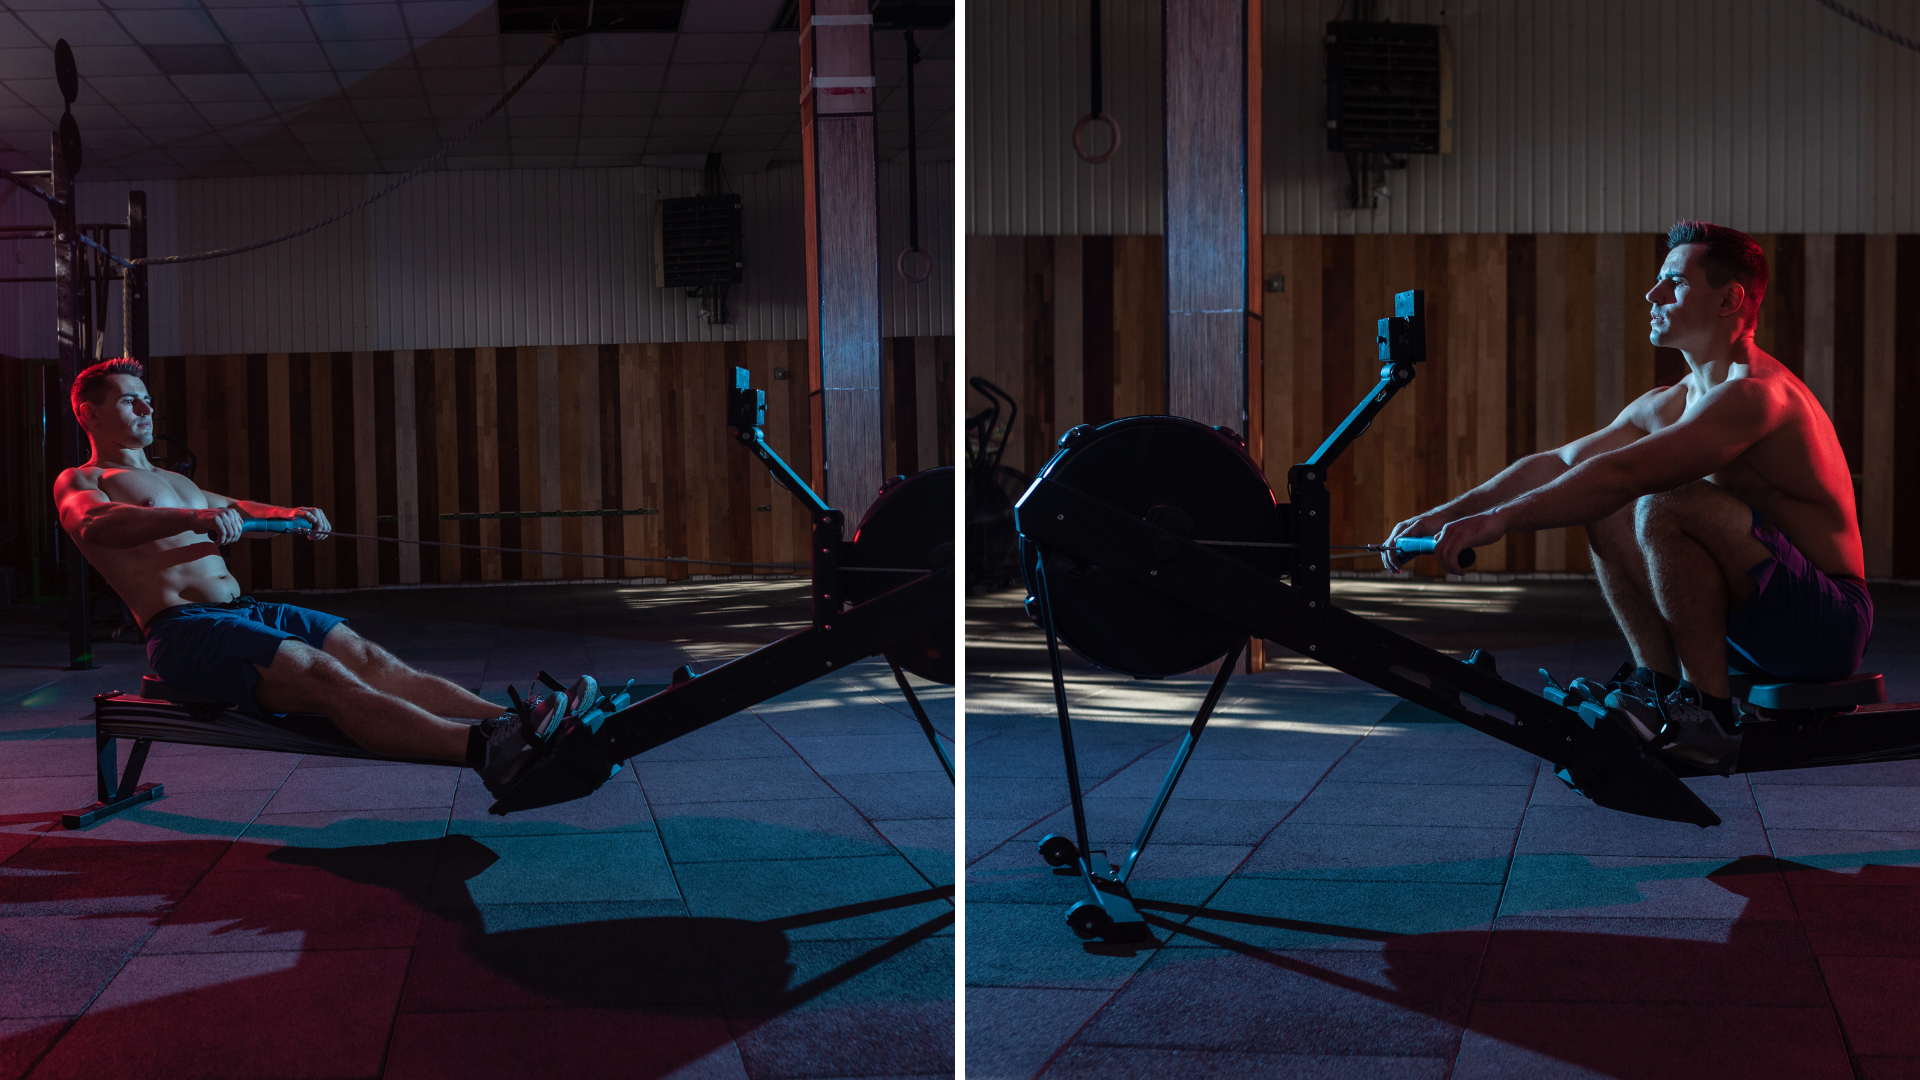
This is actually what the starting position of your row is called. In an Instagram video Jane explains that this is very similar to the bottom position of a deadlift, so your arms are nice and long out in front of you, your body is slightly hinged forwards and your lats and core are engaged.
Step 2: The drive
This begins with the legs. You’re going to push through your whole foot to drive your legs backwards. Once they’re fully extended and the back is in a vertical position, finish with your arm pull, drawing the handle into the botton of your rib cage. Don’t swing the handle up to your neck, you want it to remain in a straight line. This will help your row feel smoother and keeps the flywheel moving at a consistent speed.
Step 3: The recover
In the same video Jane says the recovery phase should follow this order: arms, body, and then legs. So, start by beginning to straighten your arms, then lean your body forward slightly and finish by bending your legs to bring your body back to the catch position. Try doing this slowly first so you master the correct movement, then you try adding in more speed and that's your row.
Now that you know exactly how to use the rowing machine, why not give this simple rowing machine workout from Hyrox Master Jake Dearden a go? It's an interval-style workout, so it's great for boosting your aerobic capacity and, over time, will help build your speed too.

Bryony’s T3’s official ‘gym-bunny’ and Active Staff Writer, covering all things fitness. She recently completed her Level 3 PT qualification with the PFCA to bring a deeper understanding of training techniques, fitness trends, and wellness advice to her writing. In her spare time, you will find her in her natural habitat - the gym - where her style of training is a hybrid of bodybuilding and powerlifting. Bryony loves writing about accessible workouts, nutrition and testing innovative fitness products that help you reach your fitness goals and take your training to the next level.
-
 3 overrated shoulder exercises, according to a fitness expert (and what to do instead)
Sculpt 3D shoulders whilst minimising injury with these three alternative exercises
By Bryony Firth-Bernard Published
-
 Polar’s new subscription feature lands in the shadow of Garmin’s Connect+ rollout
PR genius or timing disaster? Polar’s new Fitness Programme adds adaptive training to its ecosystem
By Matt Kollat Published