

On the 8 September a rather large box arrived at the house. Normally when you see these kinds of Lego-branded boxes they’re, well, full of smaller sets.
But this is one set – an epic challenge from Lego – the brand new Ultimate Collectors Series Millennium Falcon! Set number 75192 to be precise. All £650 of it and, naturally, a challenge we were very happy to accept of course.

We knew it was going to be a lengthy build, of course - there are 7,541 pieces after all - but it’s not until you get it out of the cardboard outer and stand it on a table that you really see it in all its glory – the box is simply ginormous (83 cm x 60 cm x 22cm) and is heavy as well as bulky at around 13kg.
Put it this way, we wouldn't recommend going to buy it from a store and going home on the bus.
Unboxing the Lego Star Wars UCS Millennium Falcon


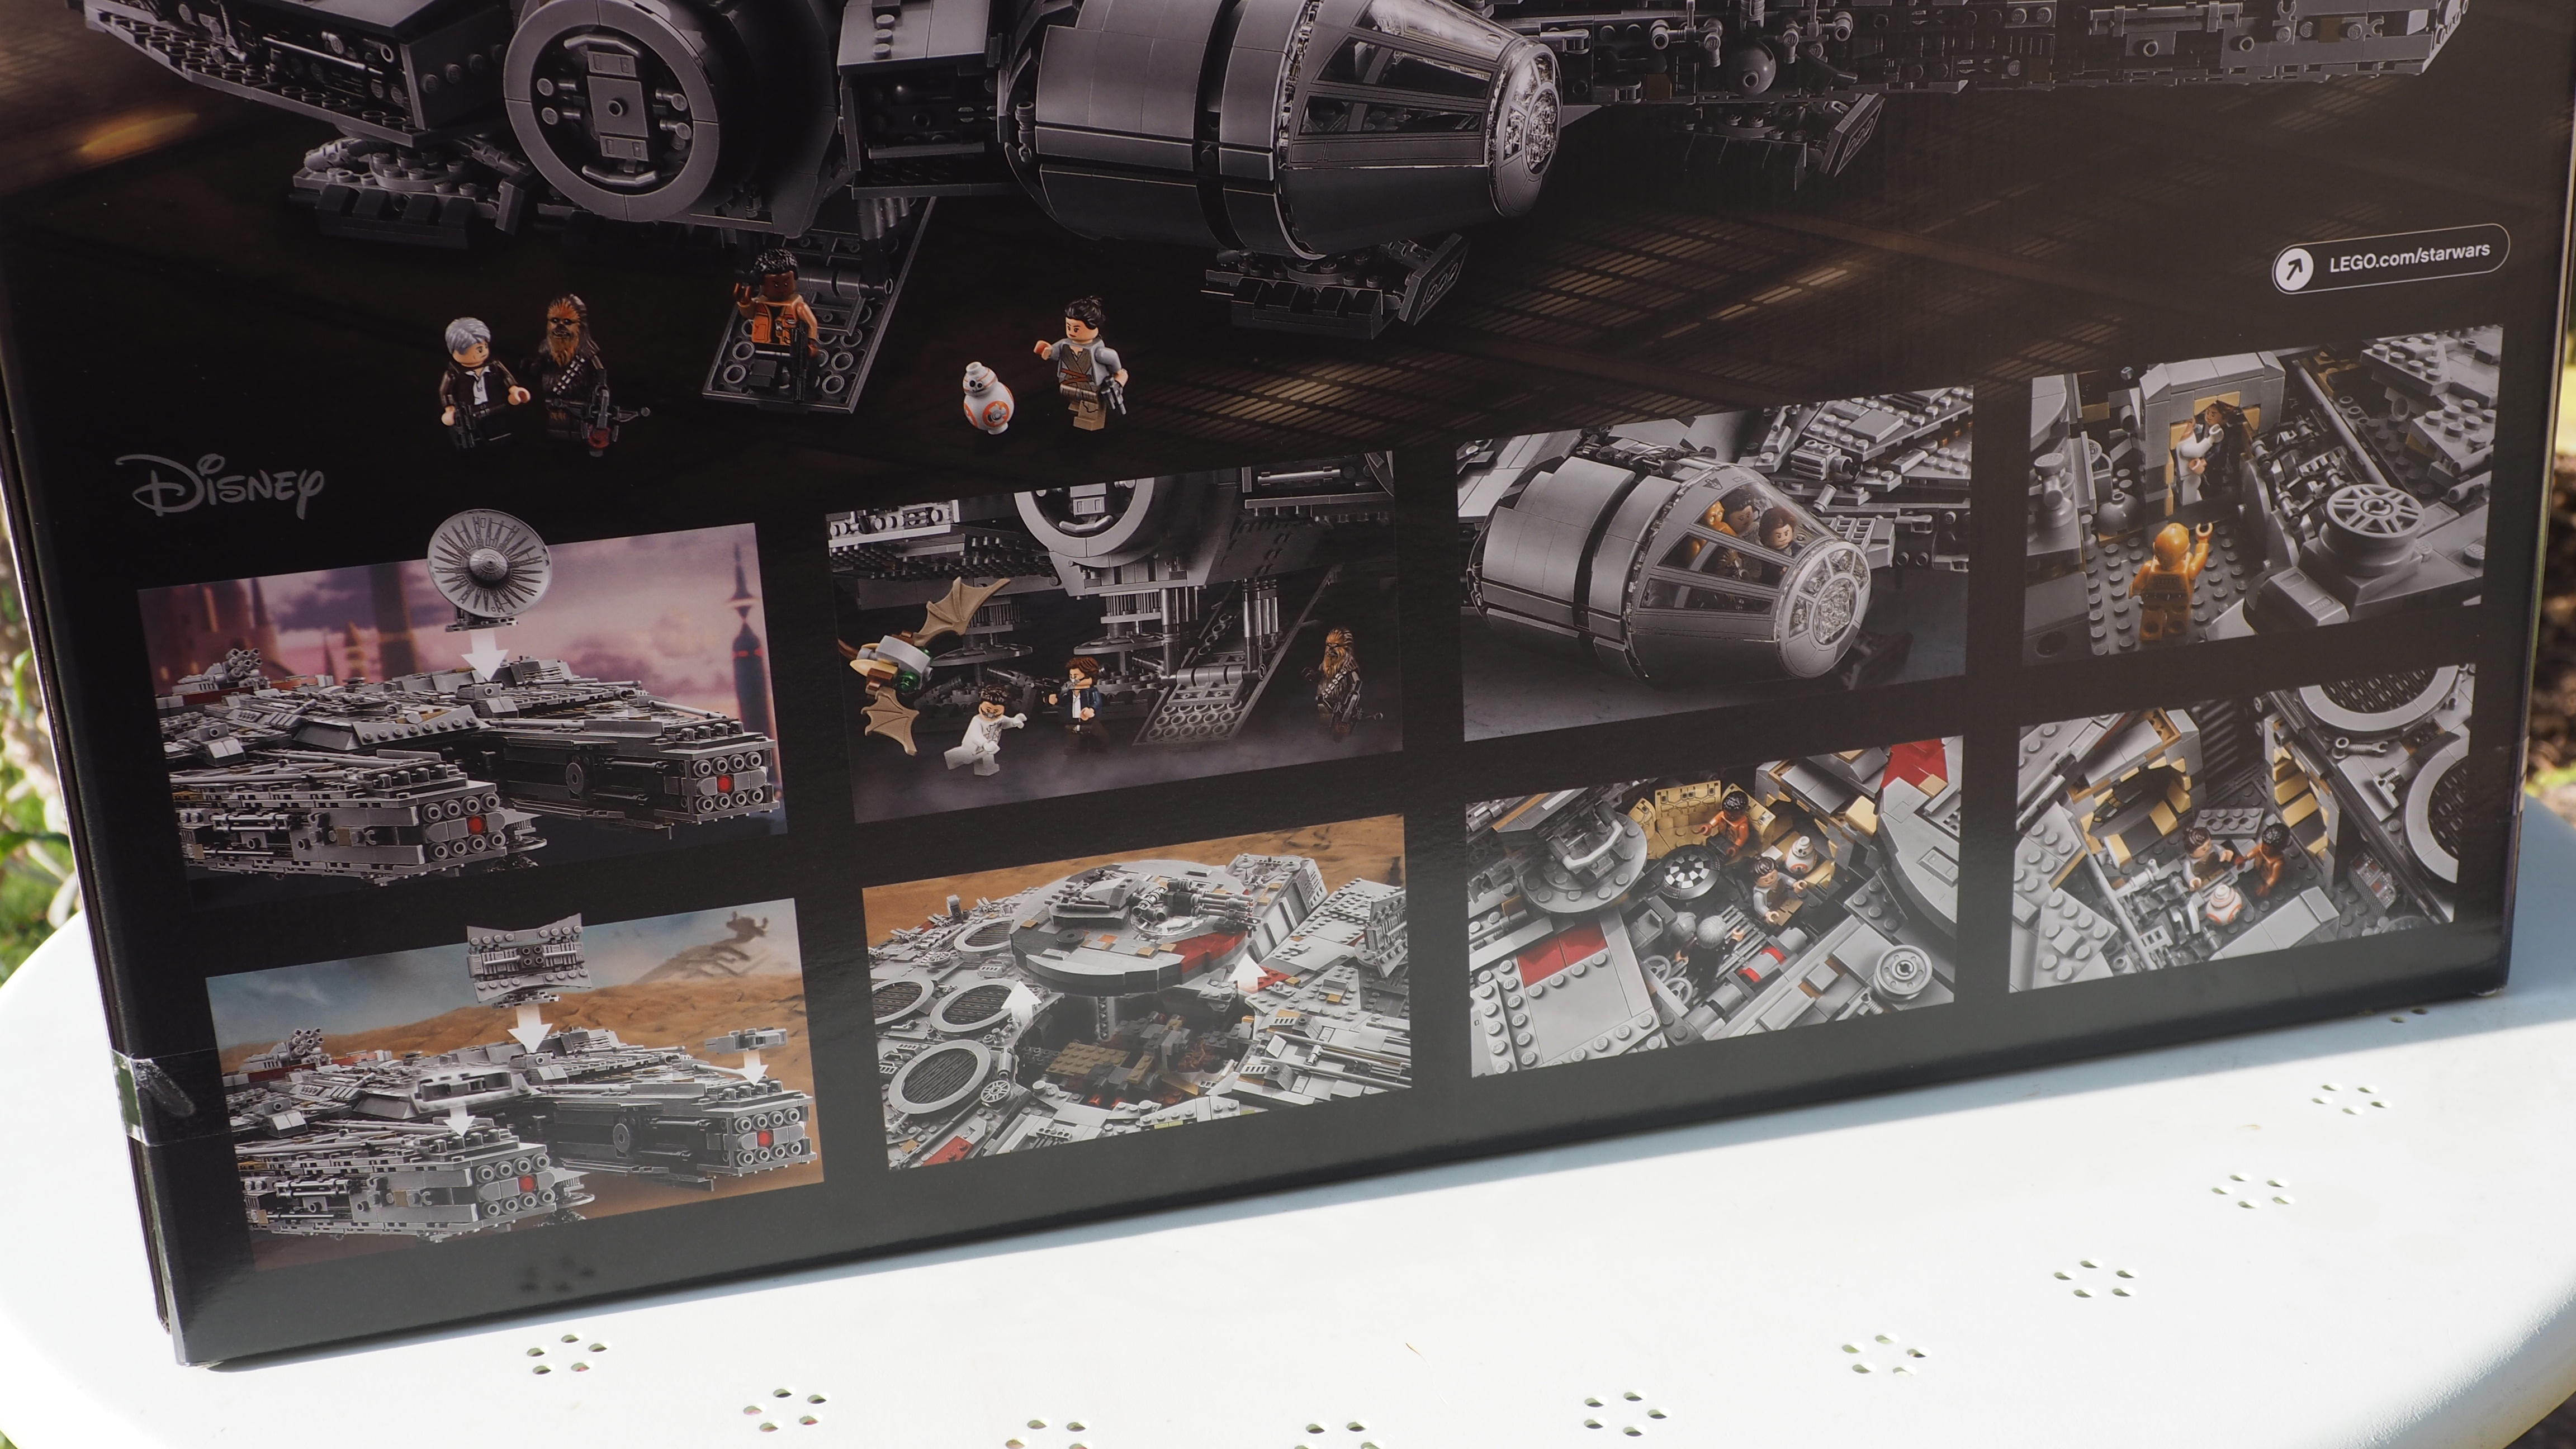
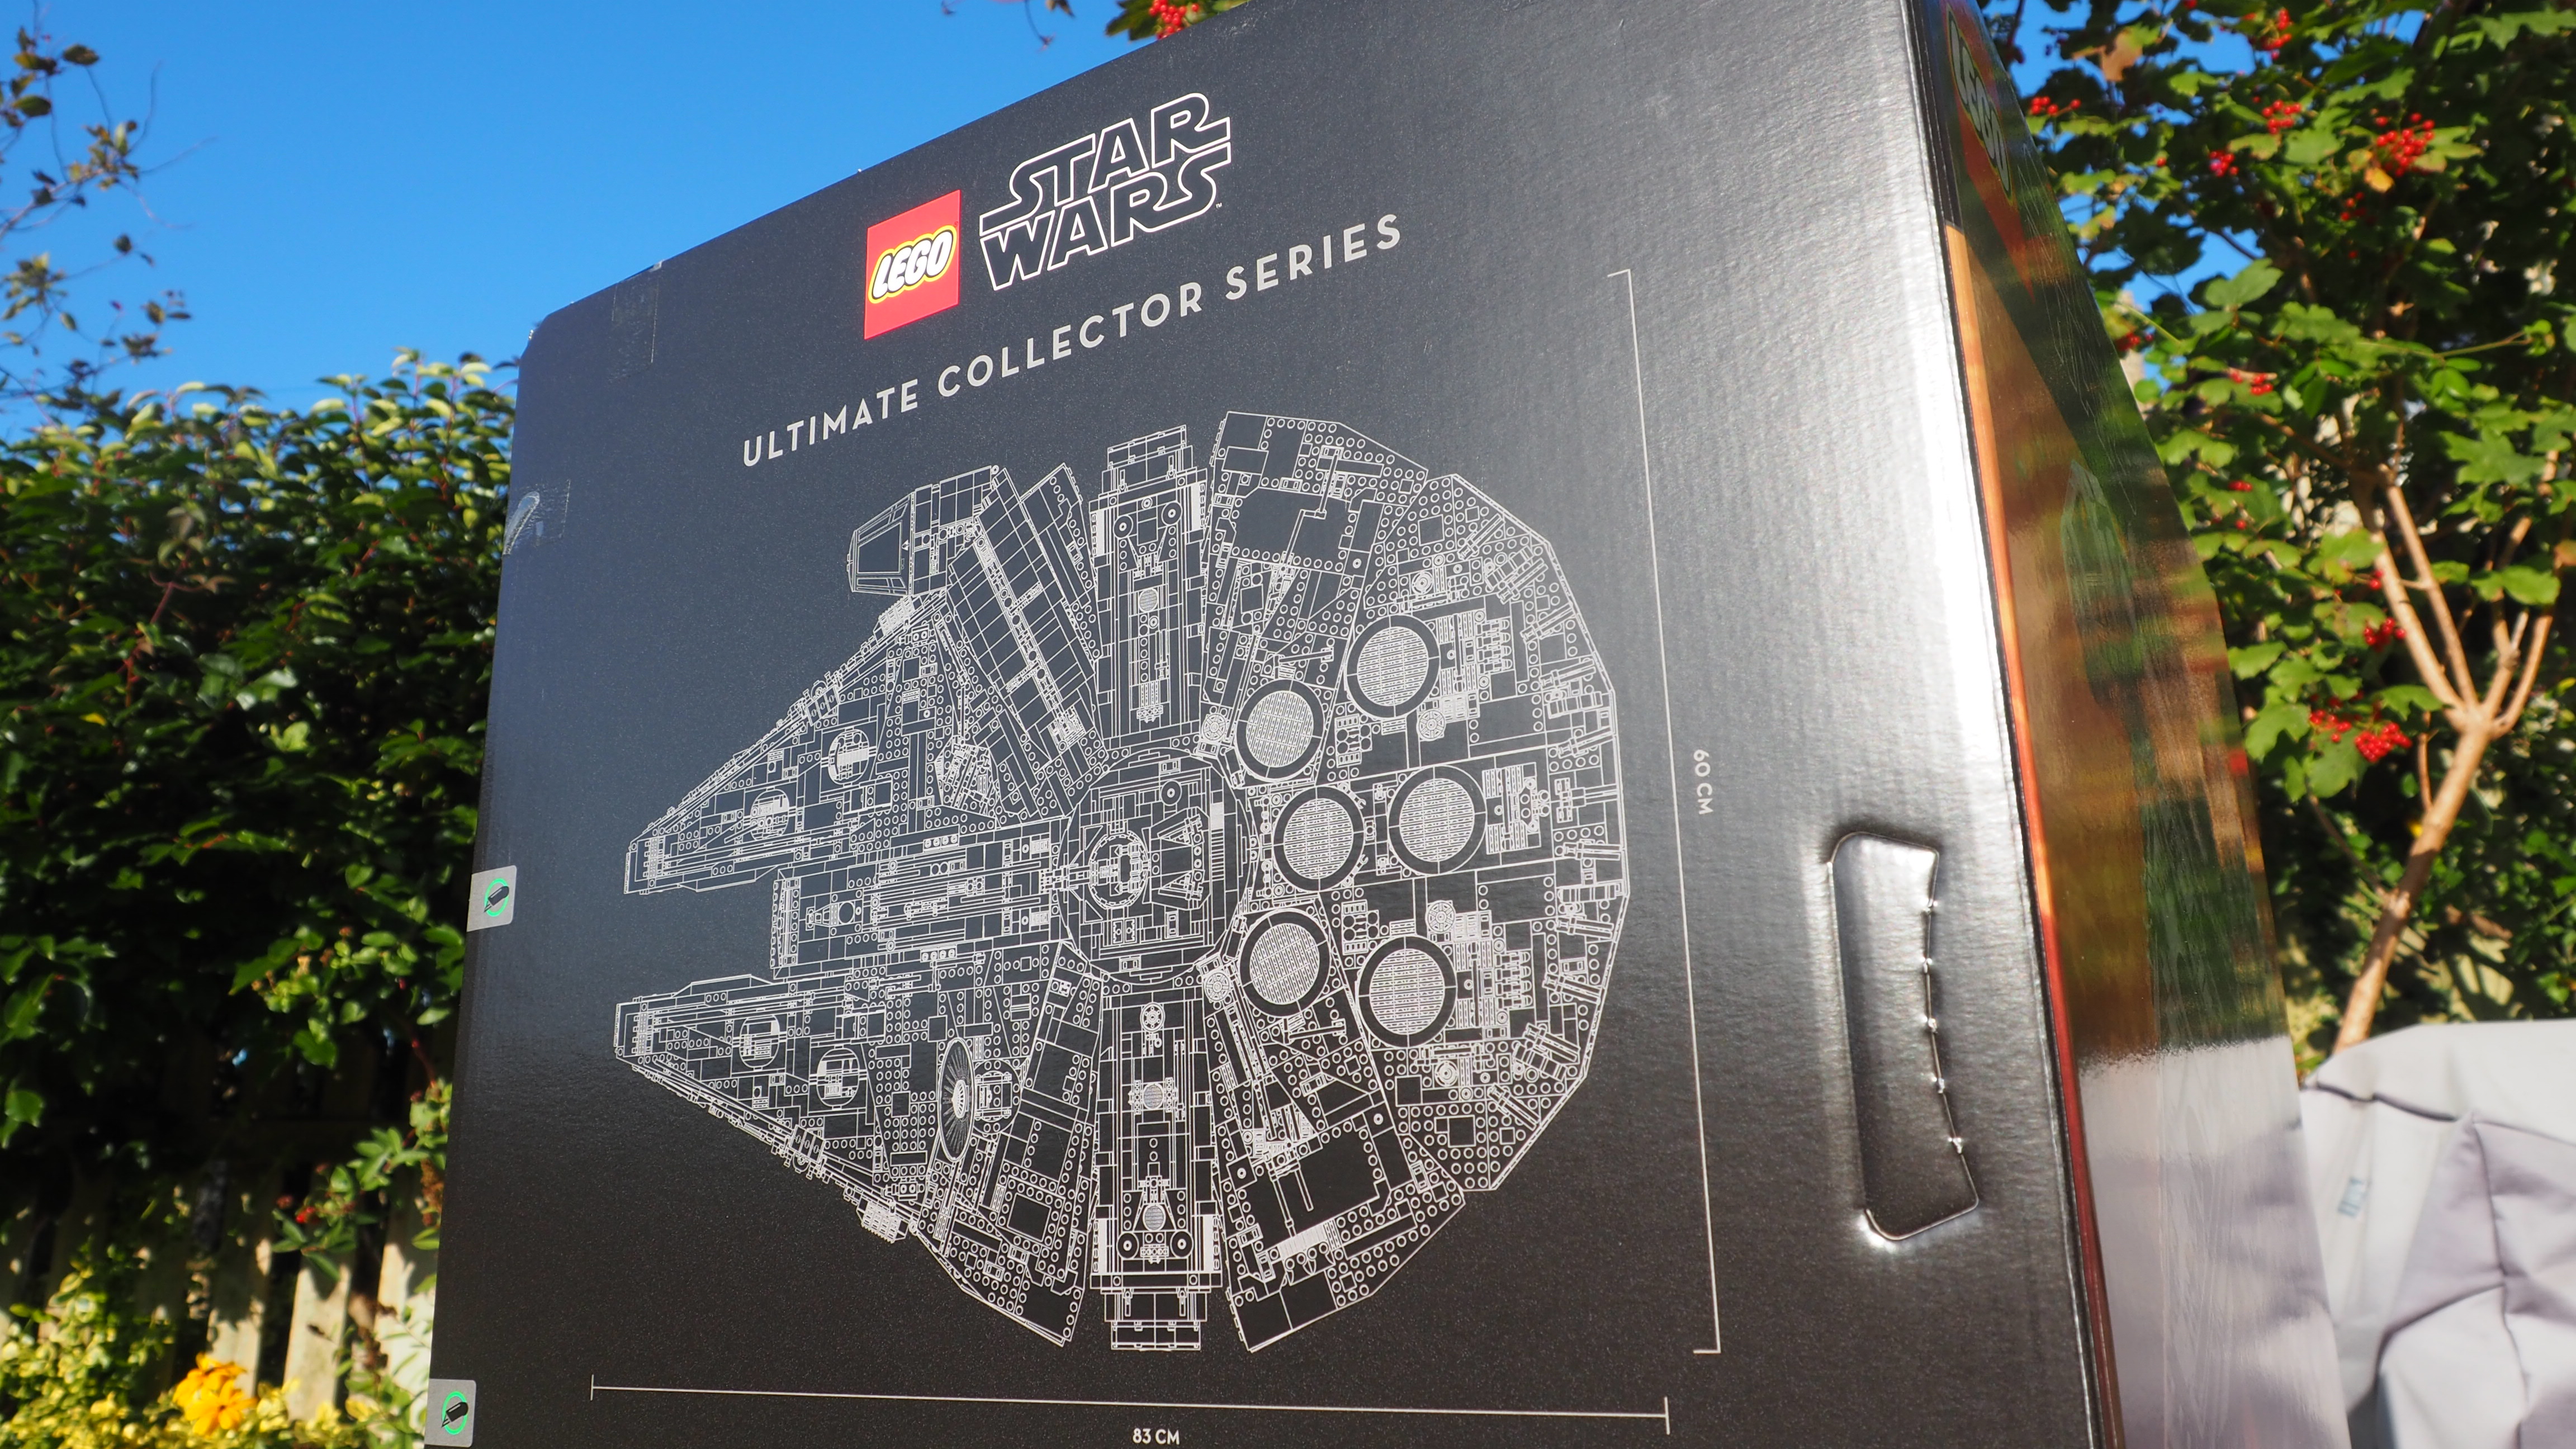

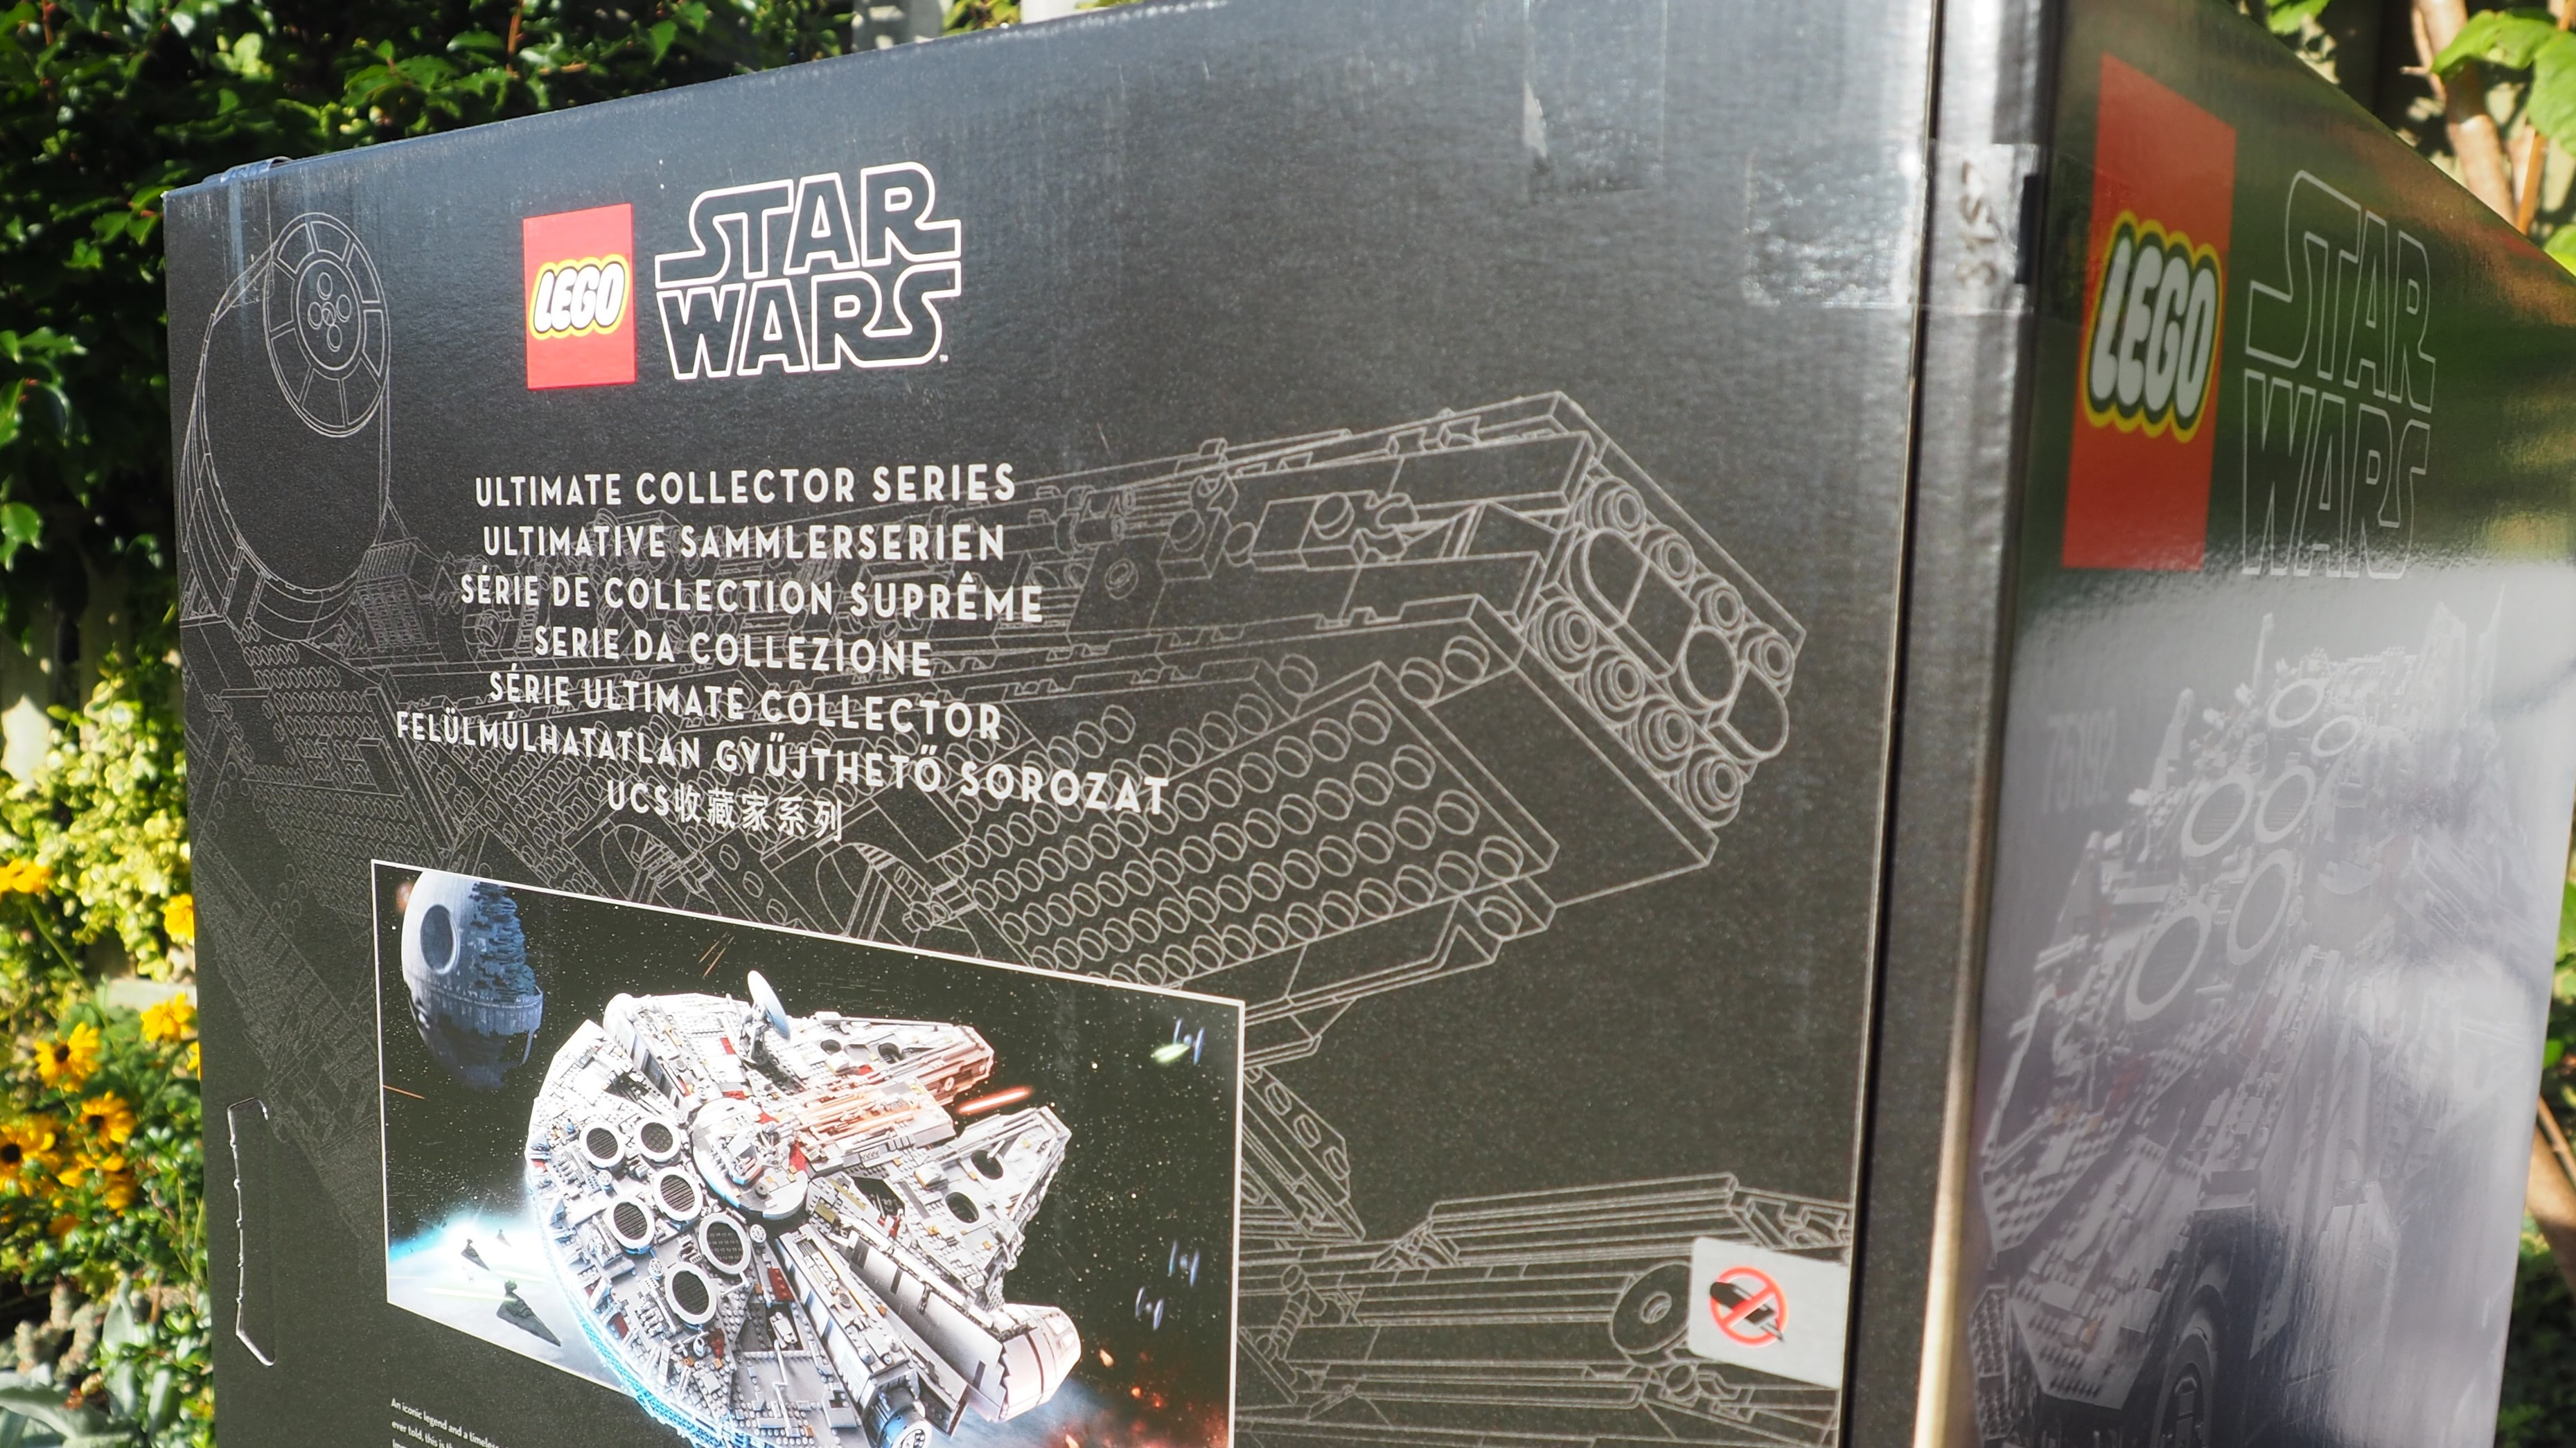
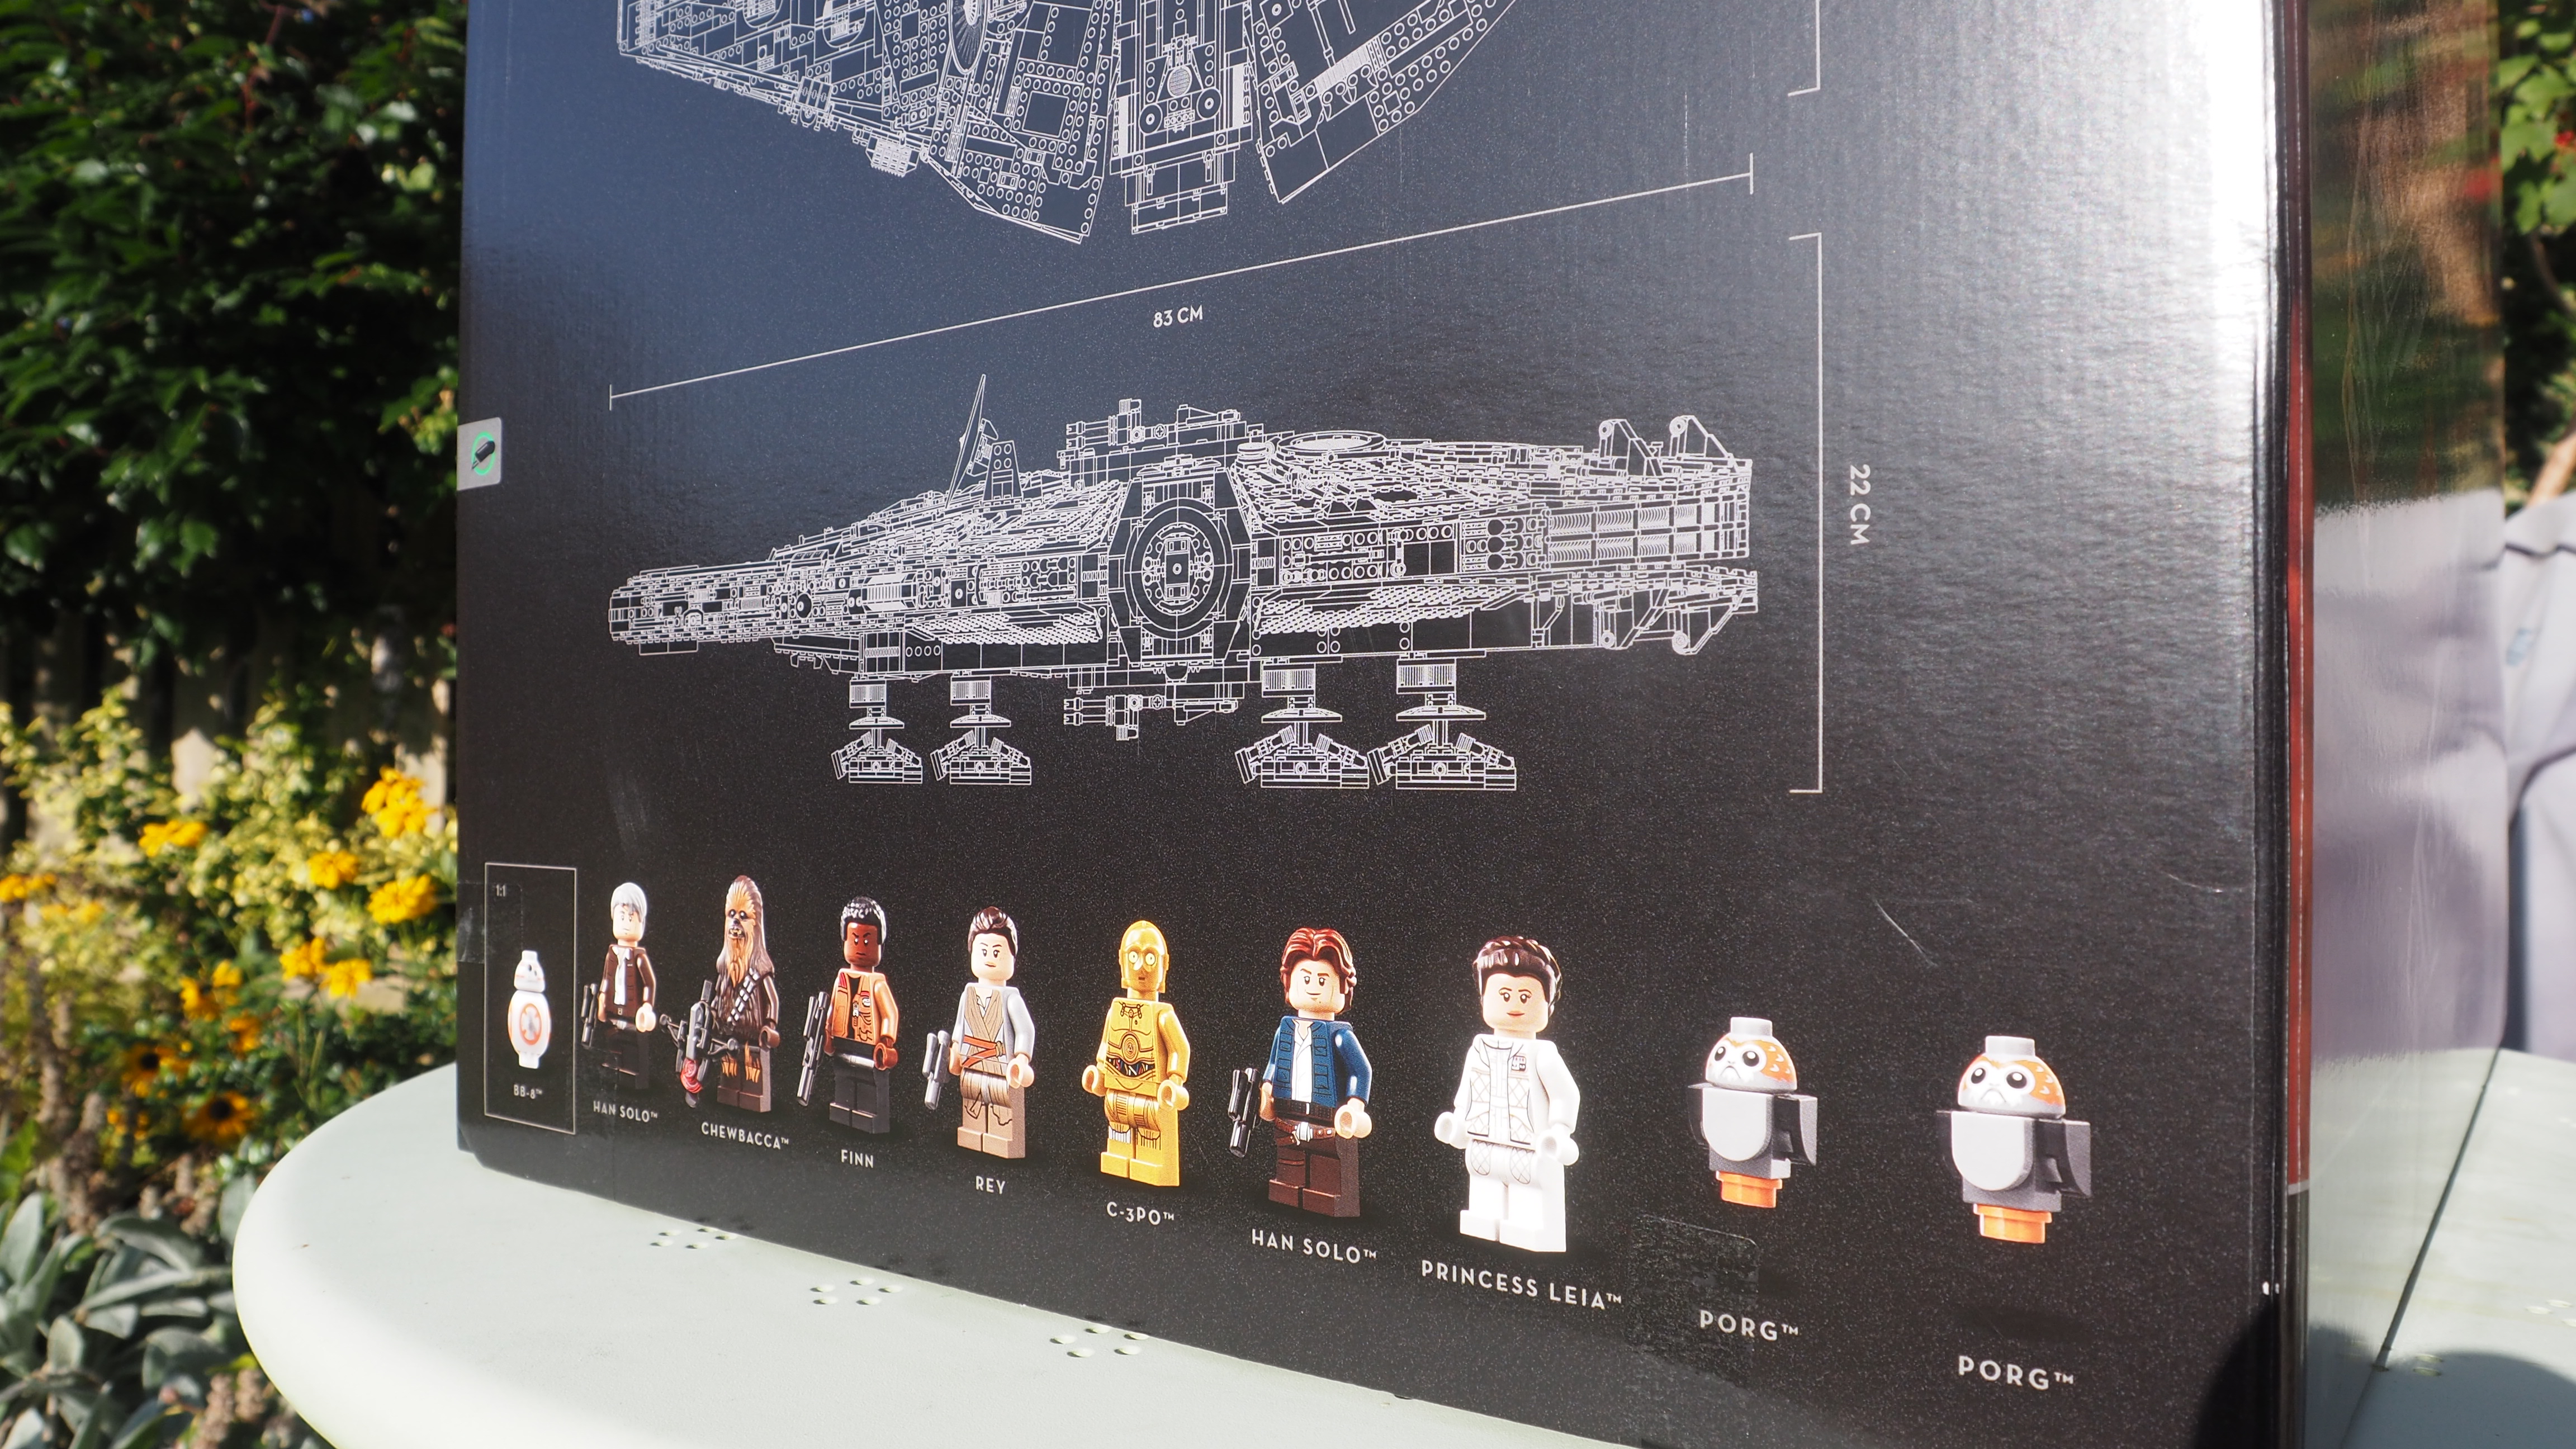
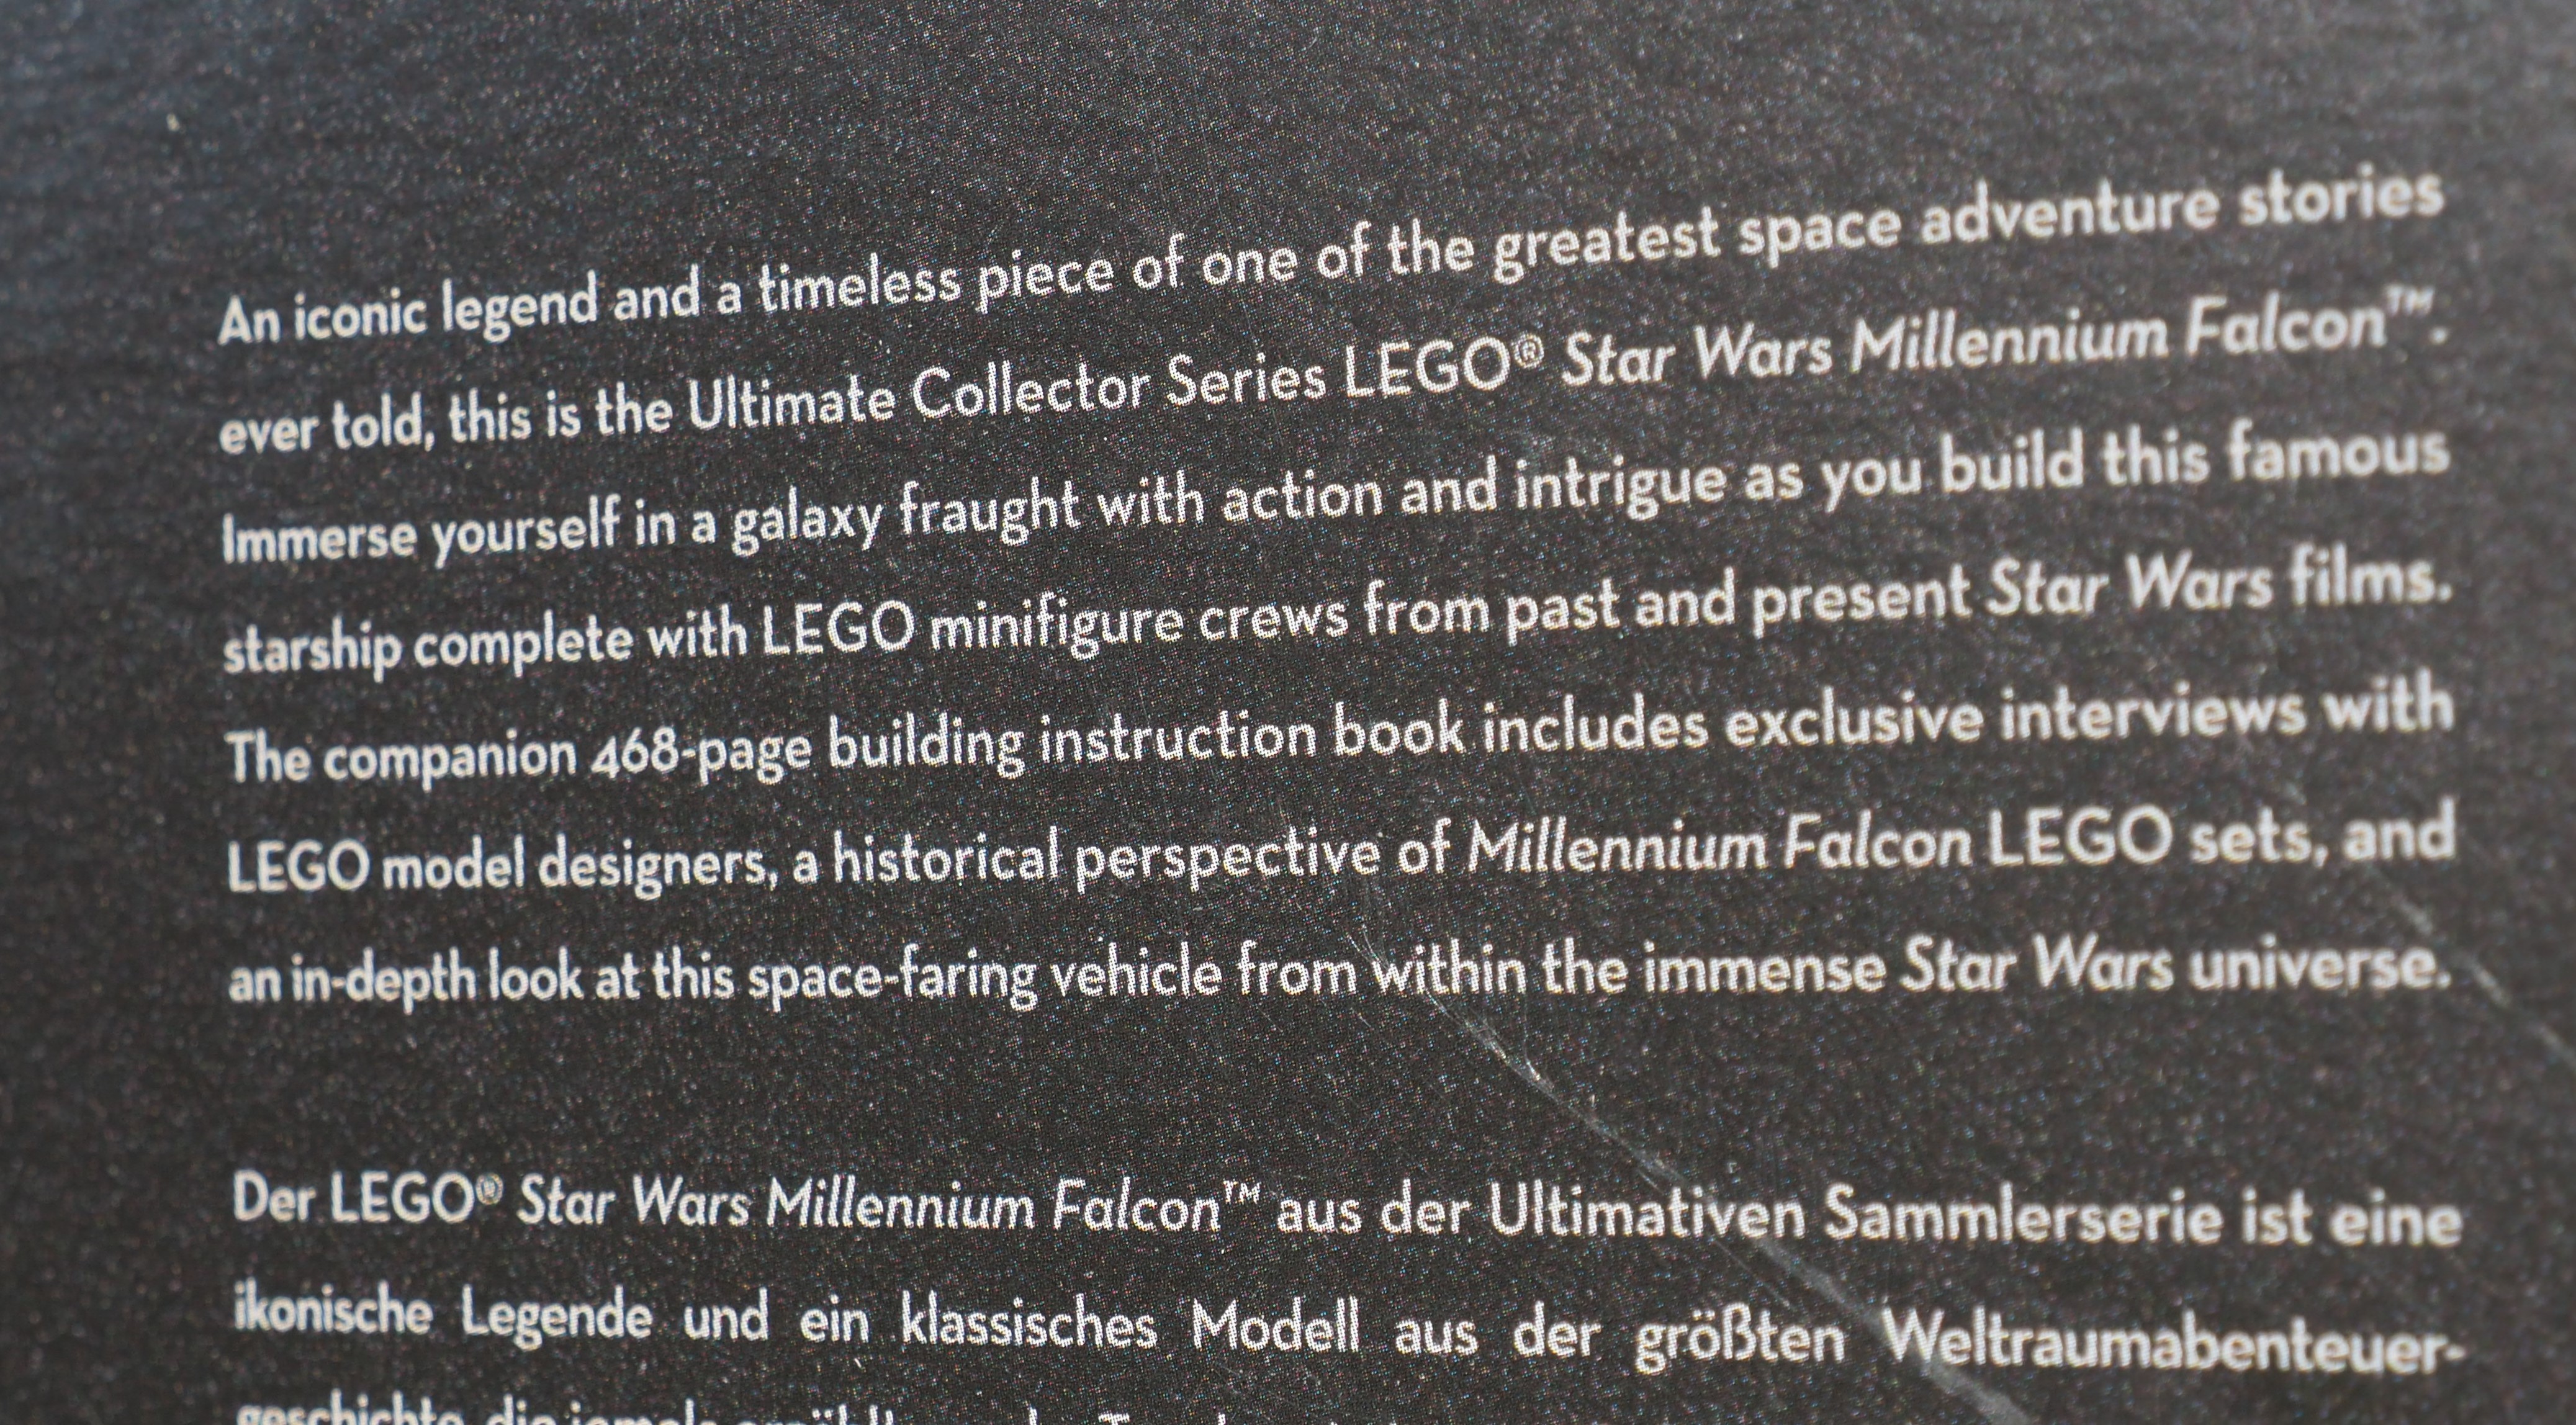
Lego UCS Millennium Falcon details
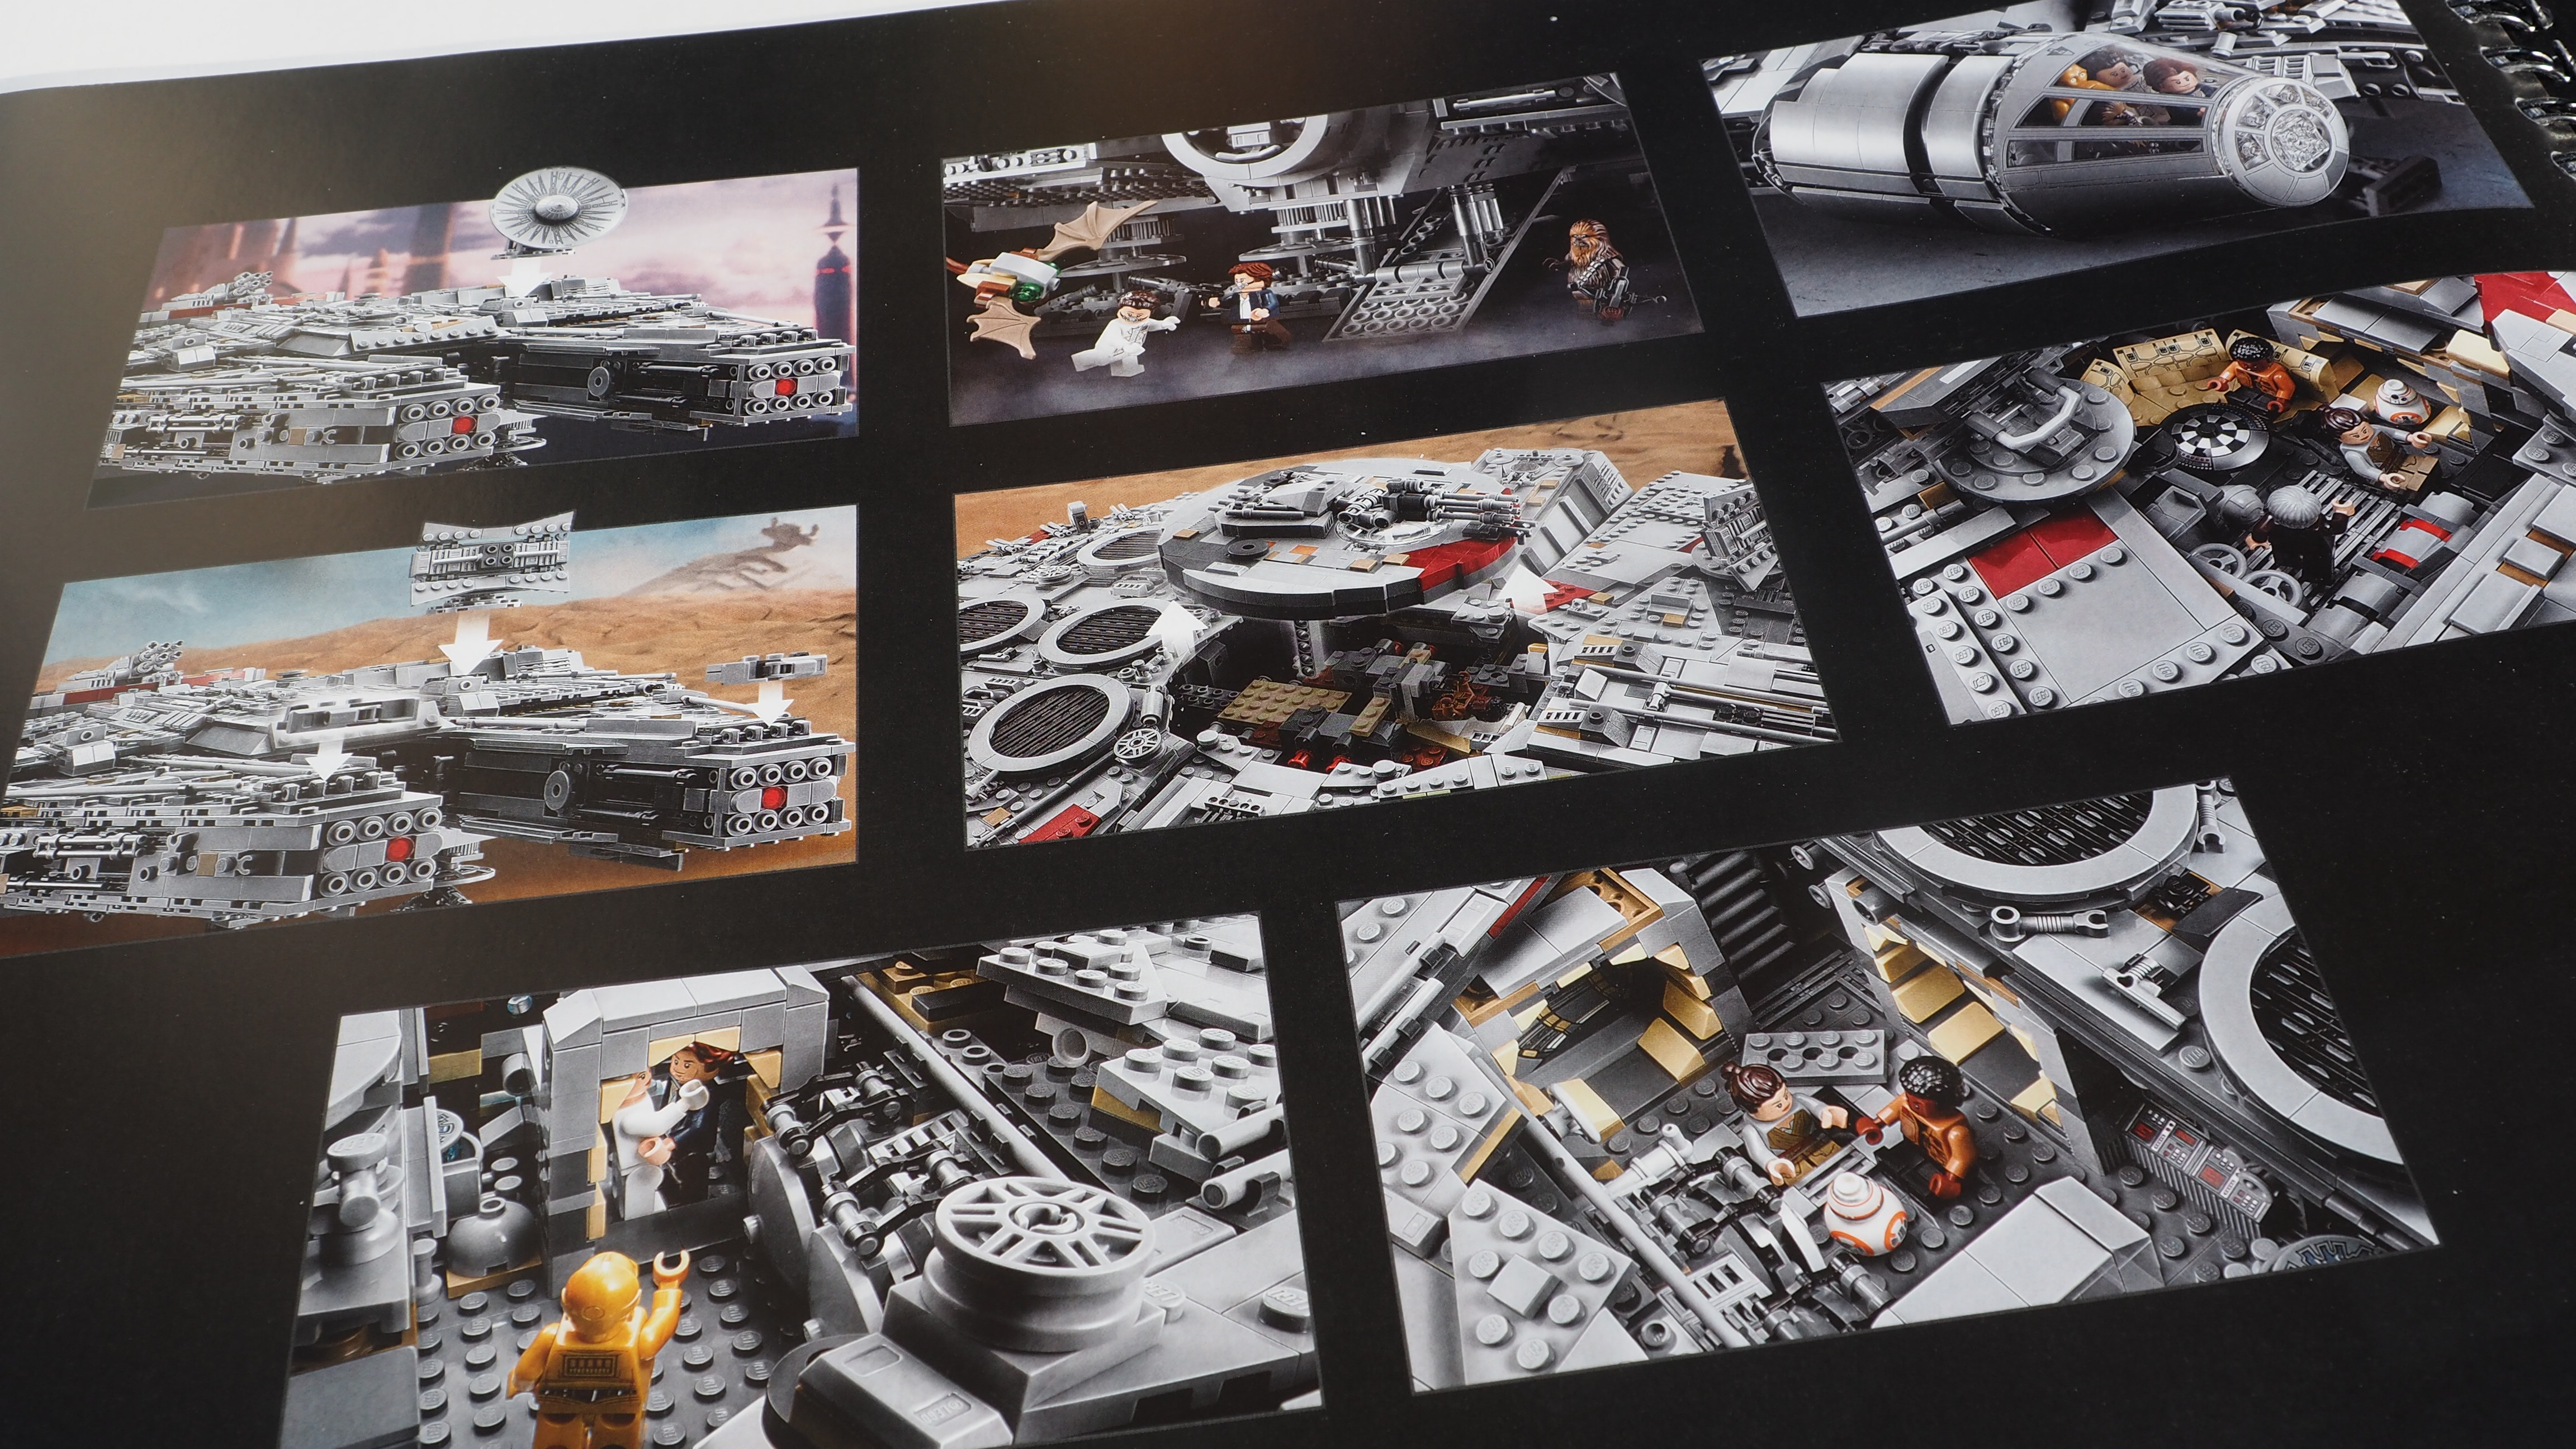
The Lego UCS version of Han Solo’s super-fast modified YT-1300 features include a sensor dish, upper and lower quad laser cannons, seven landing legs, lowering boarding ramp and hidden blaster cannon. The cockpit can seat up to four minifigures, includes a detachable canopy, and the outer panels can be removed to reveal the detailed interior. The main hold has seating for additional minifigures, a Dejarik holographic game and an engineering station with a turning seat for a minifigure. Make your way to the rear compartment to monitor the hyperdrive from the console. There’s even a hidden floor compartment, two escape pod hatches, an access ladder to the gunnery station seat, and a detachable hull panel with a fully rotating quad laser cannon.
It won’t surprise you that as a set it is absolutely stunning and even as you complete the first couple of hundred steps you’ll marvel at the huge amount of detail here and the design ingenuity that has gone into the biggest retail Lego model ever.
You won't be building this more than once because to get it apart again would be a mammoth undertaking in itself.
Quite how the Lego design team worked it all out is one thing, but then to distil such a complex model into clear instructions must have been a hell of a challenge.
Sign up to the T3 newsletter for smarter living straight to your inbox
Get all the latest news, reviews, deals and buying guides on gorgeous tech, home and active products from the T3 experts
Back to the packaging. According to the label on the side, our Falcon was created in the Lego factory on 31 July. It’s rated as 16+. If you have an advanced builder that’s 10+ they could probably help you, but the steps can be repetitive and with no end in immediate sight (!) we’d say a lot of young builders will get bored.
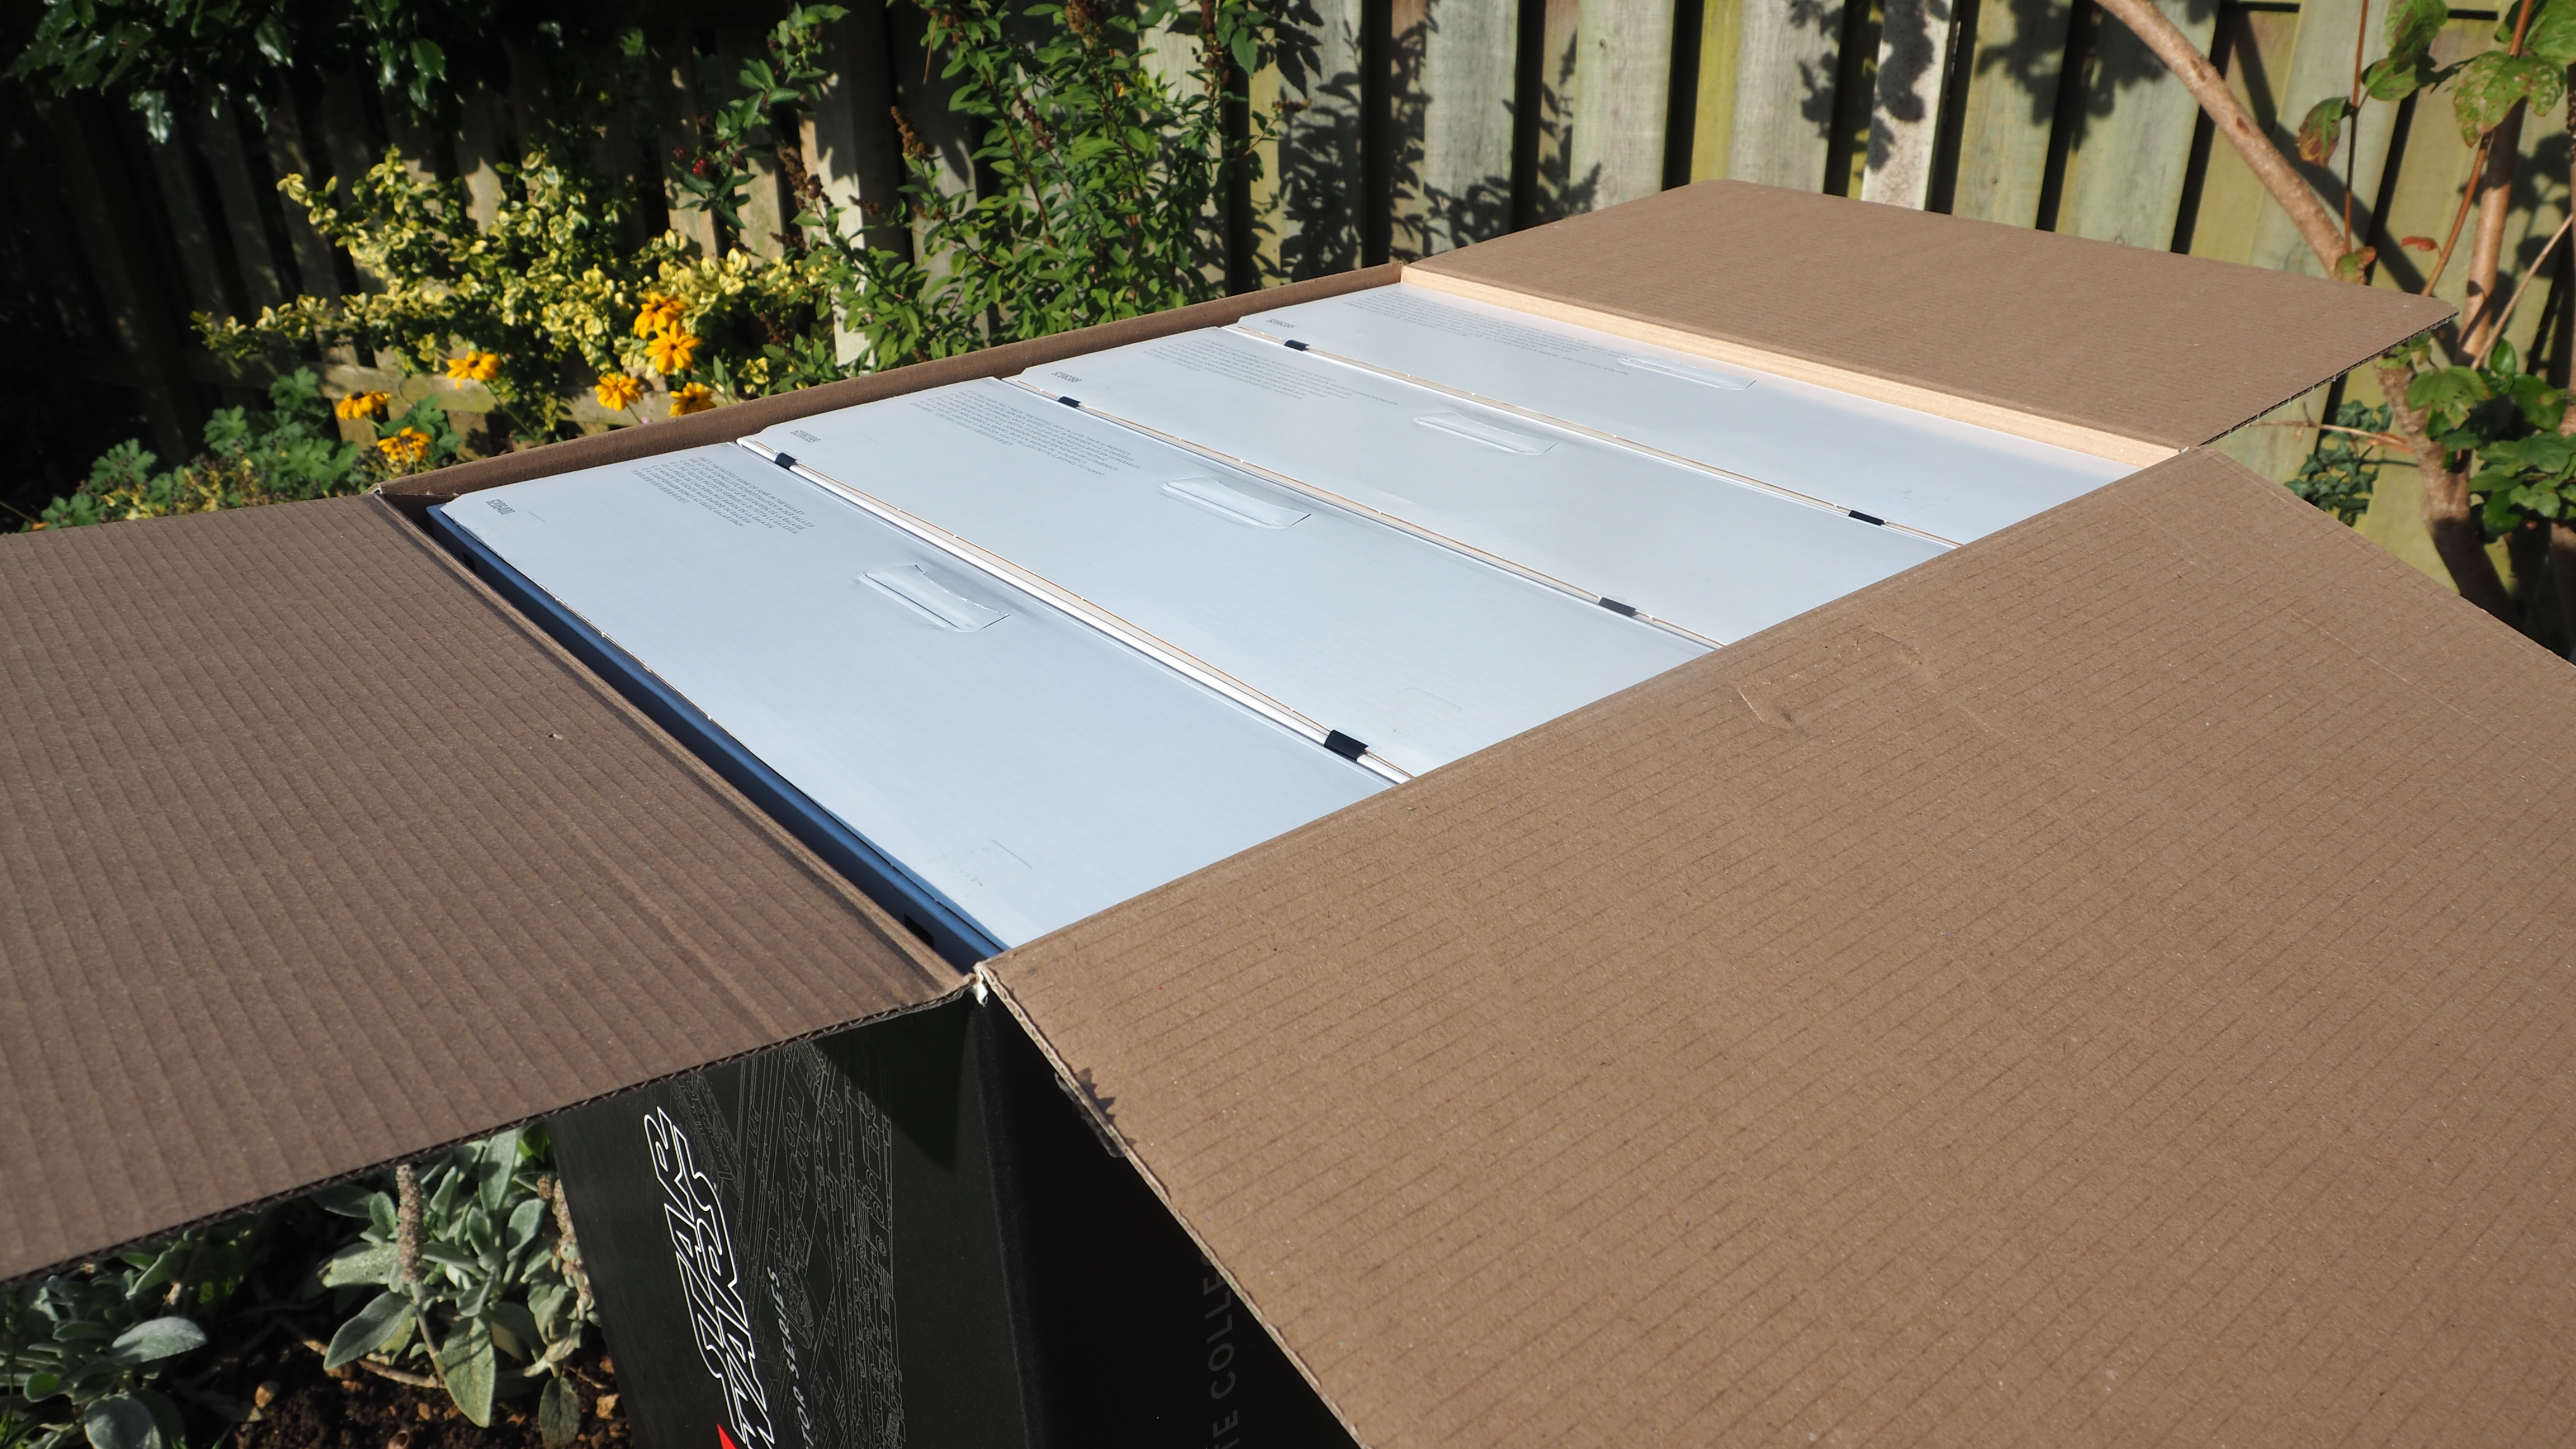
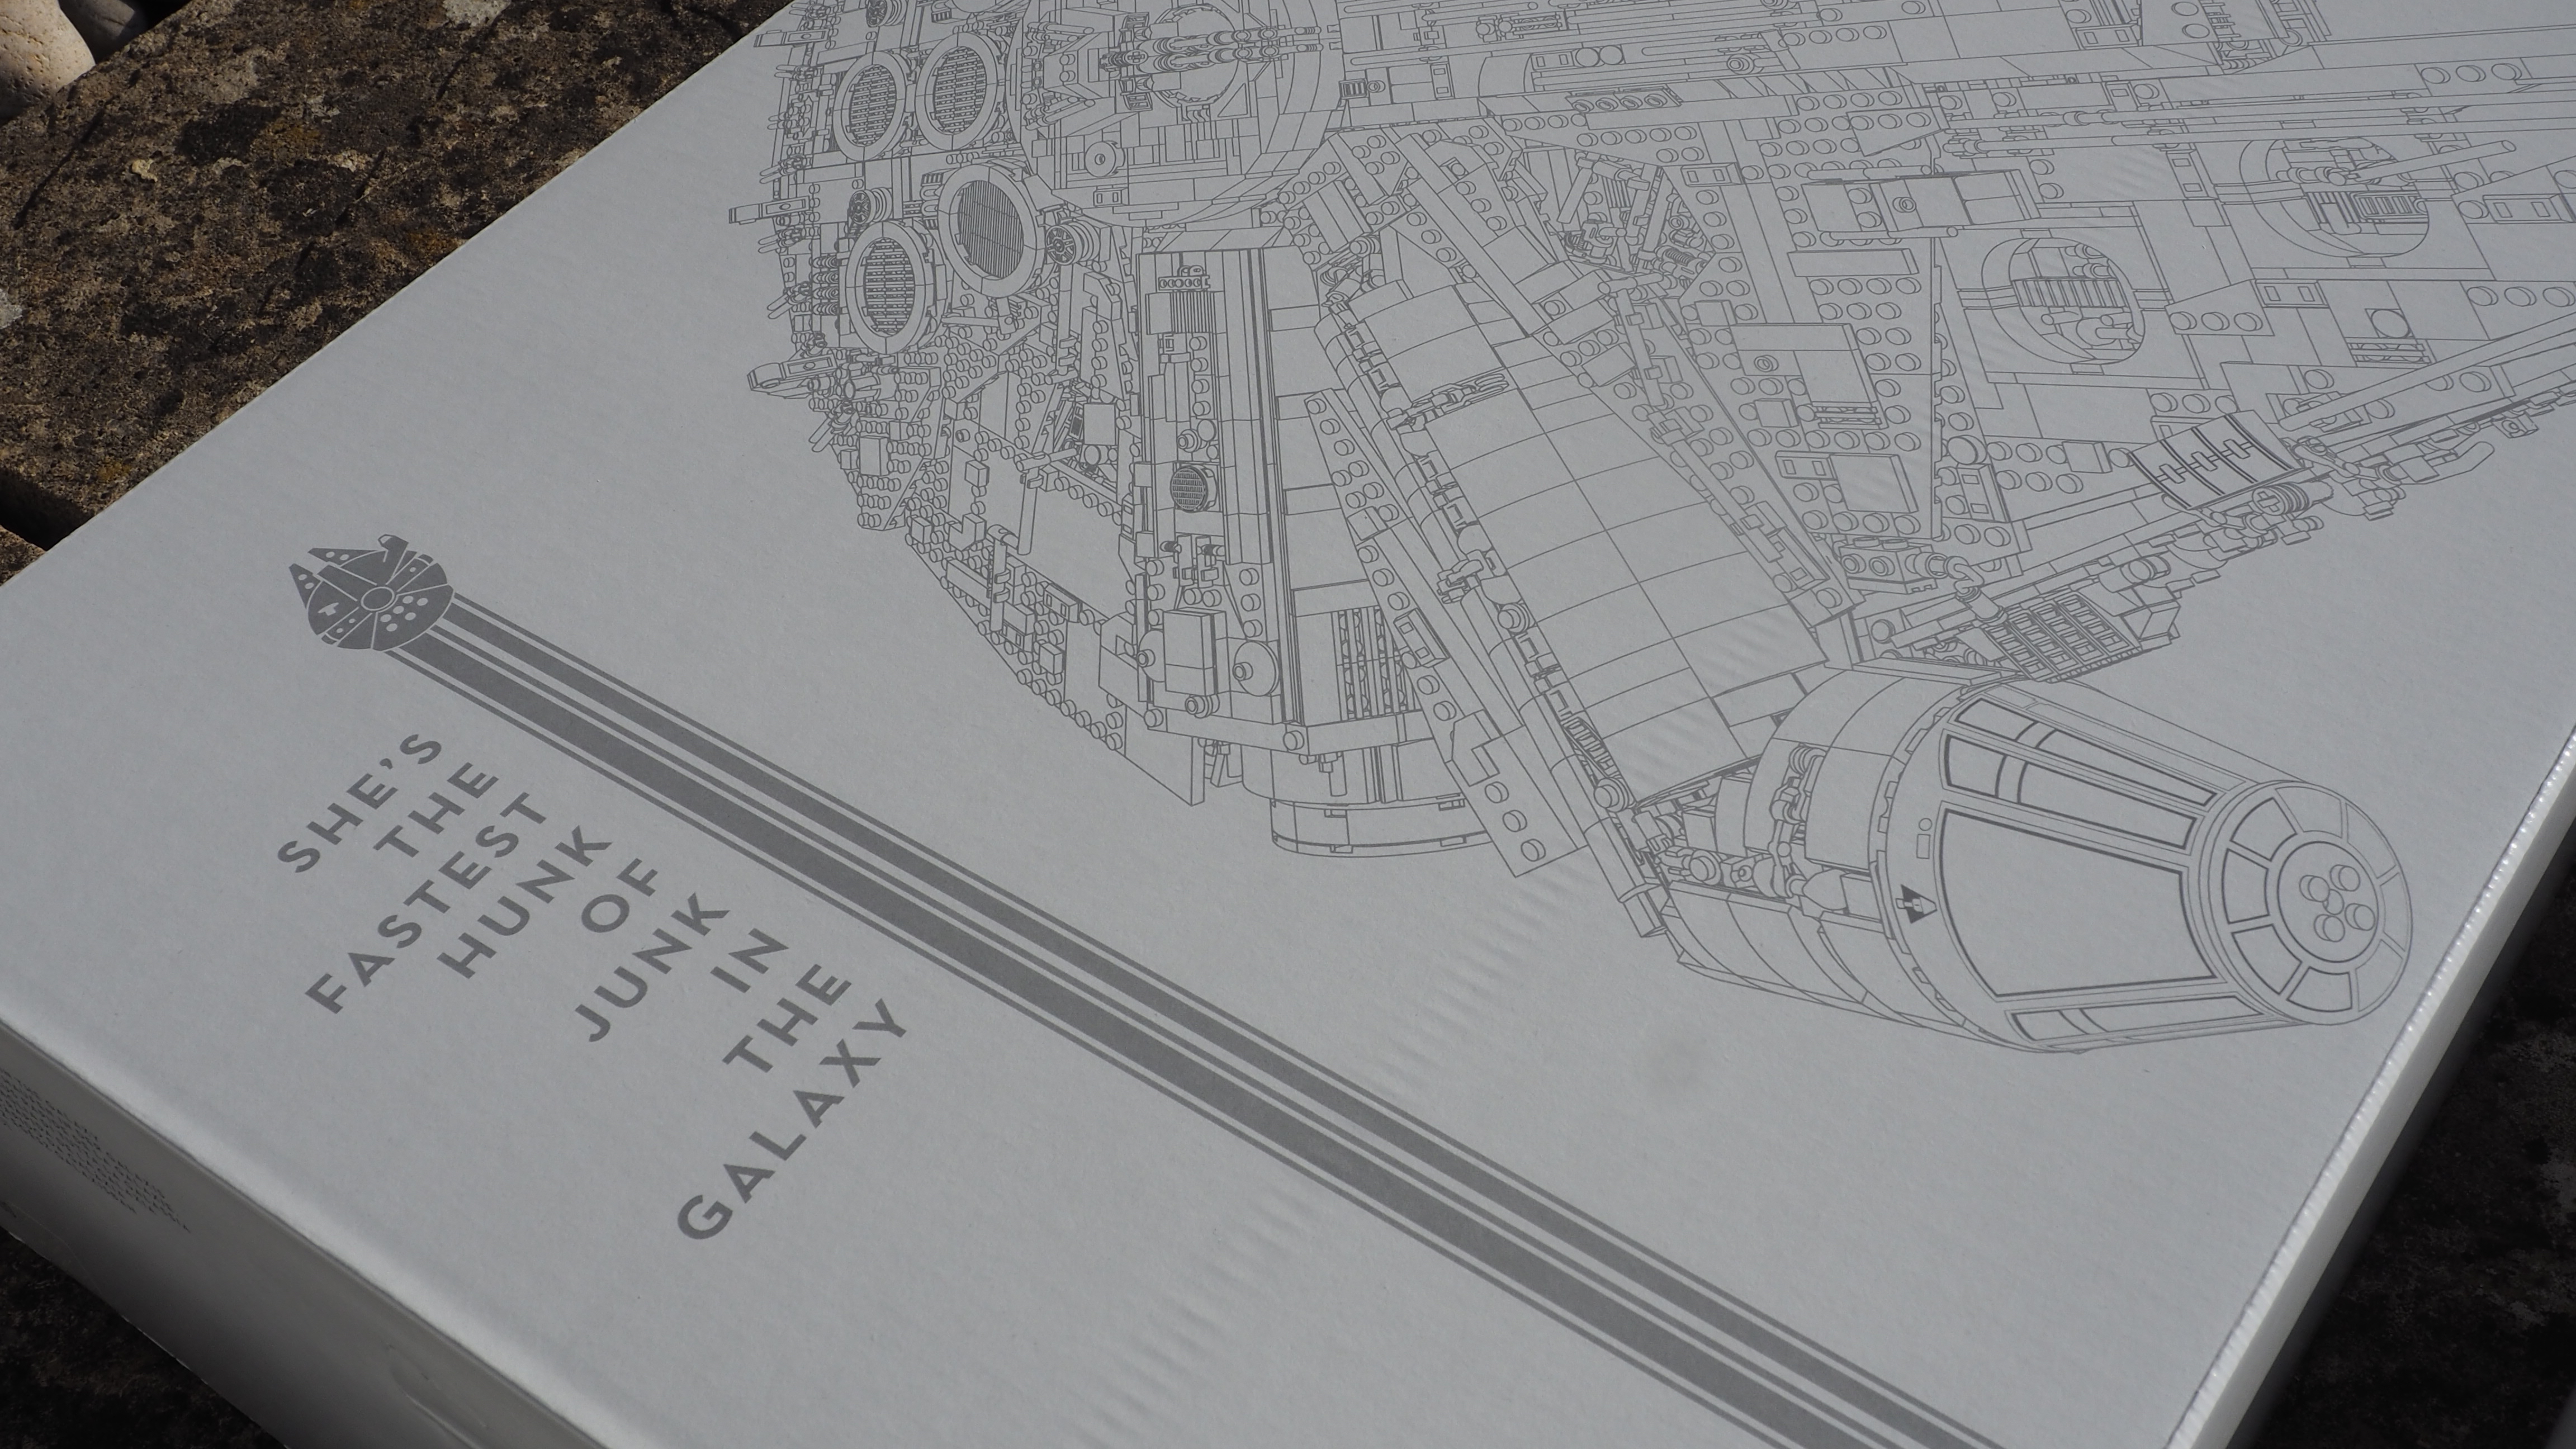
Inside, there are four large white boxes (each with its own Star Wars quote about the Falcon) plus a cardboard tray that holds the 466 page instruction manual (this is the weightiest part).
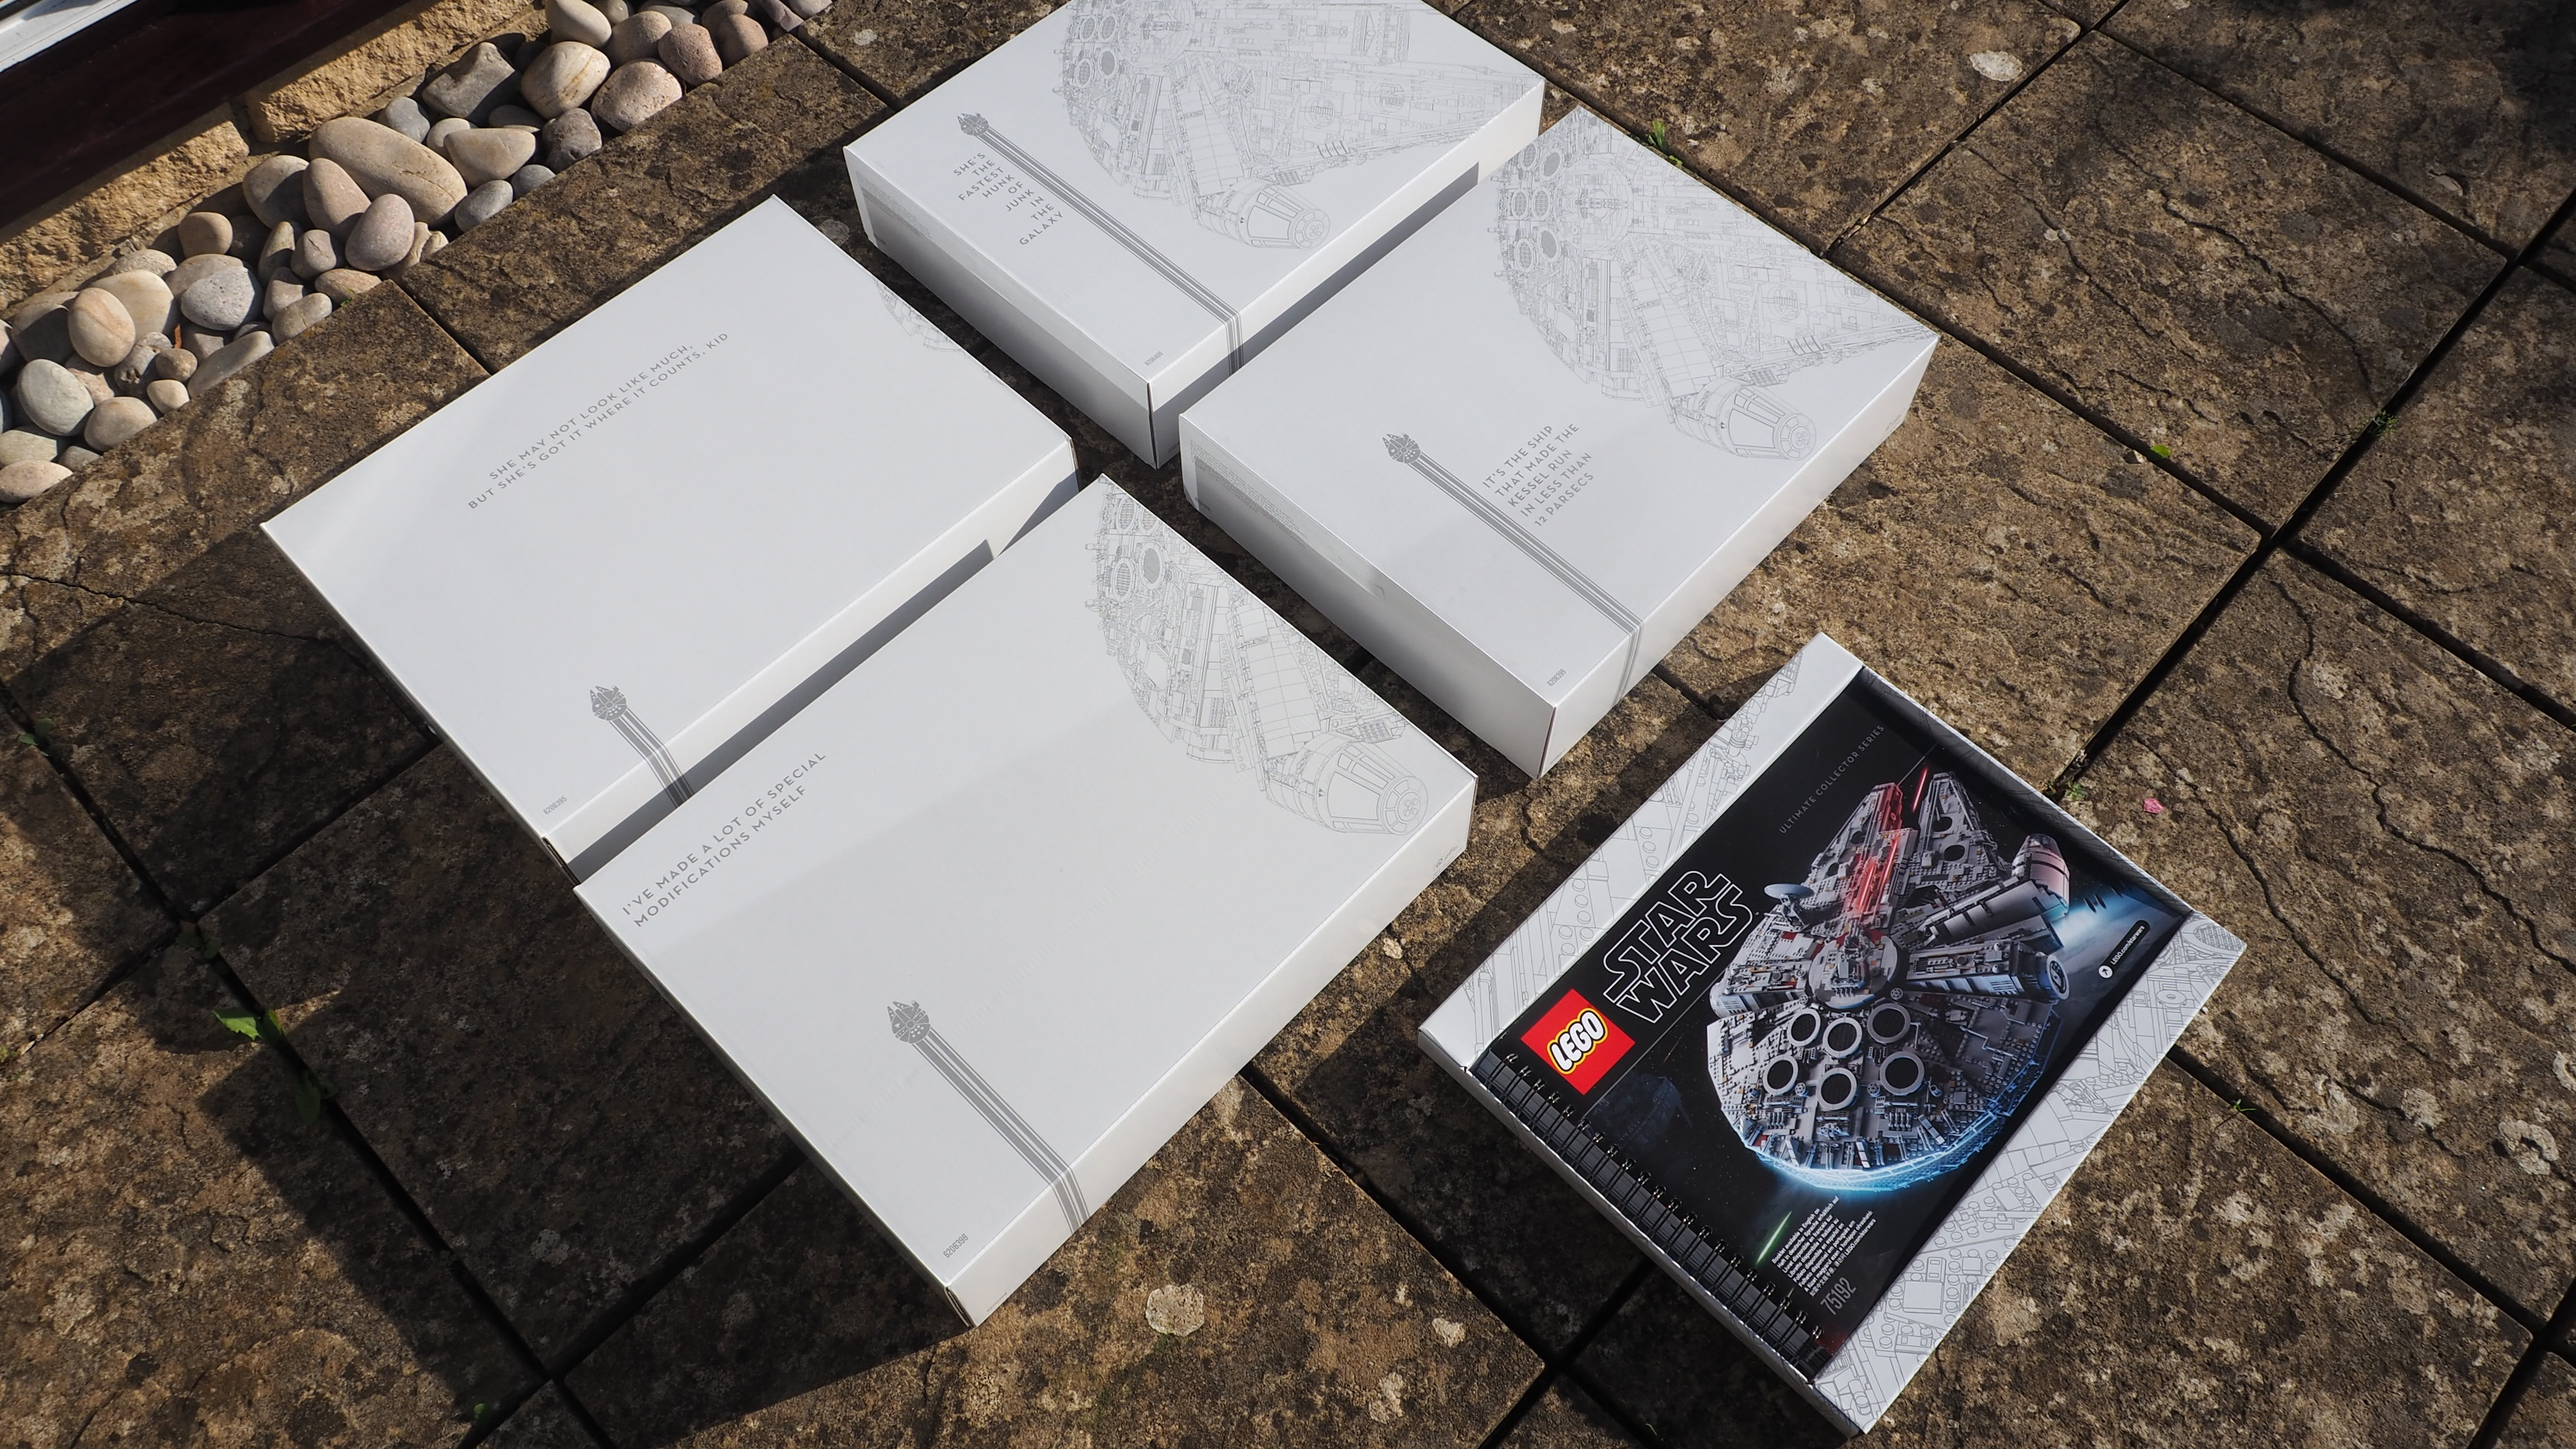
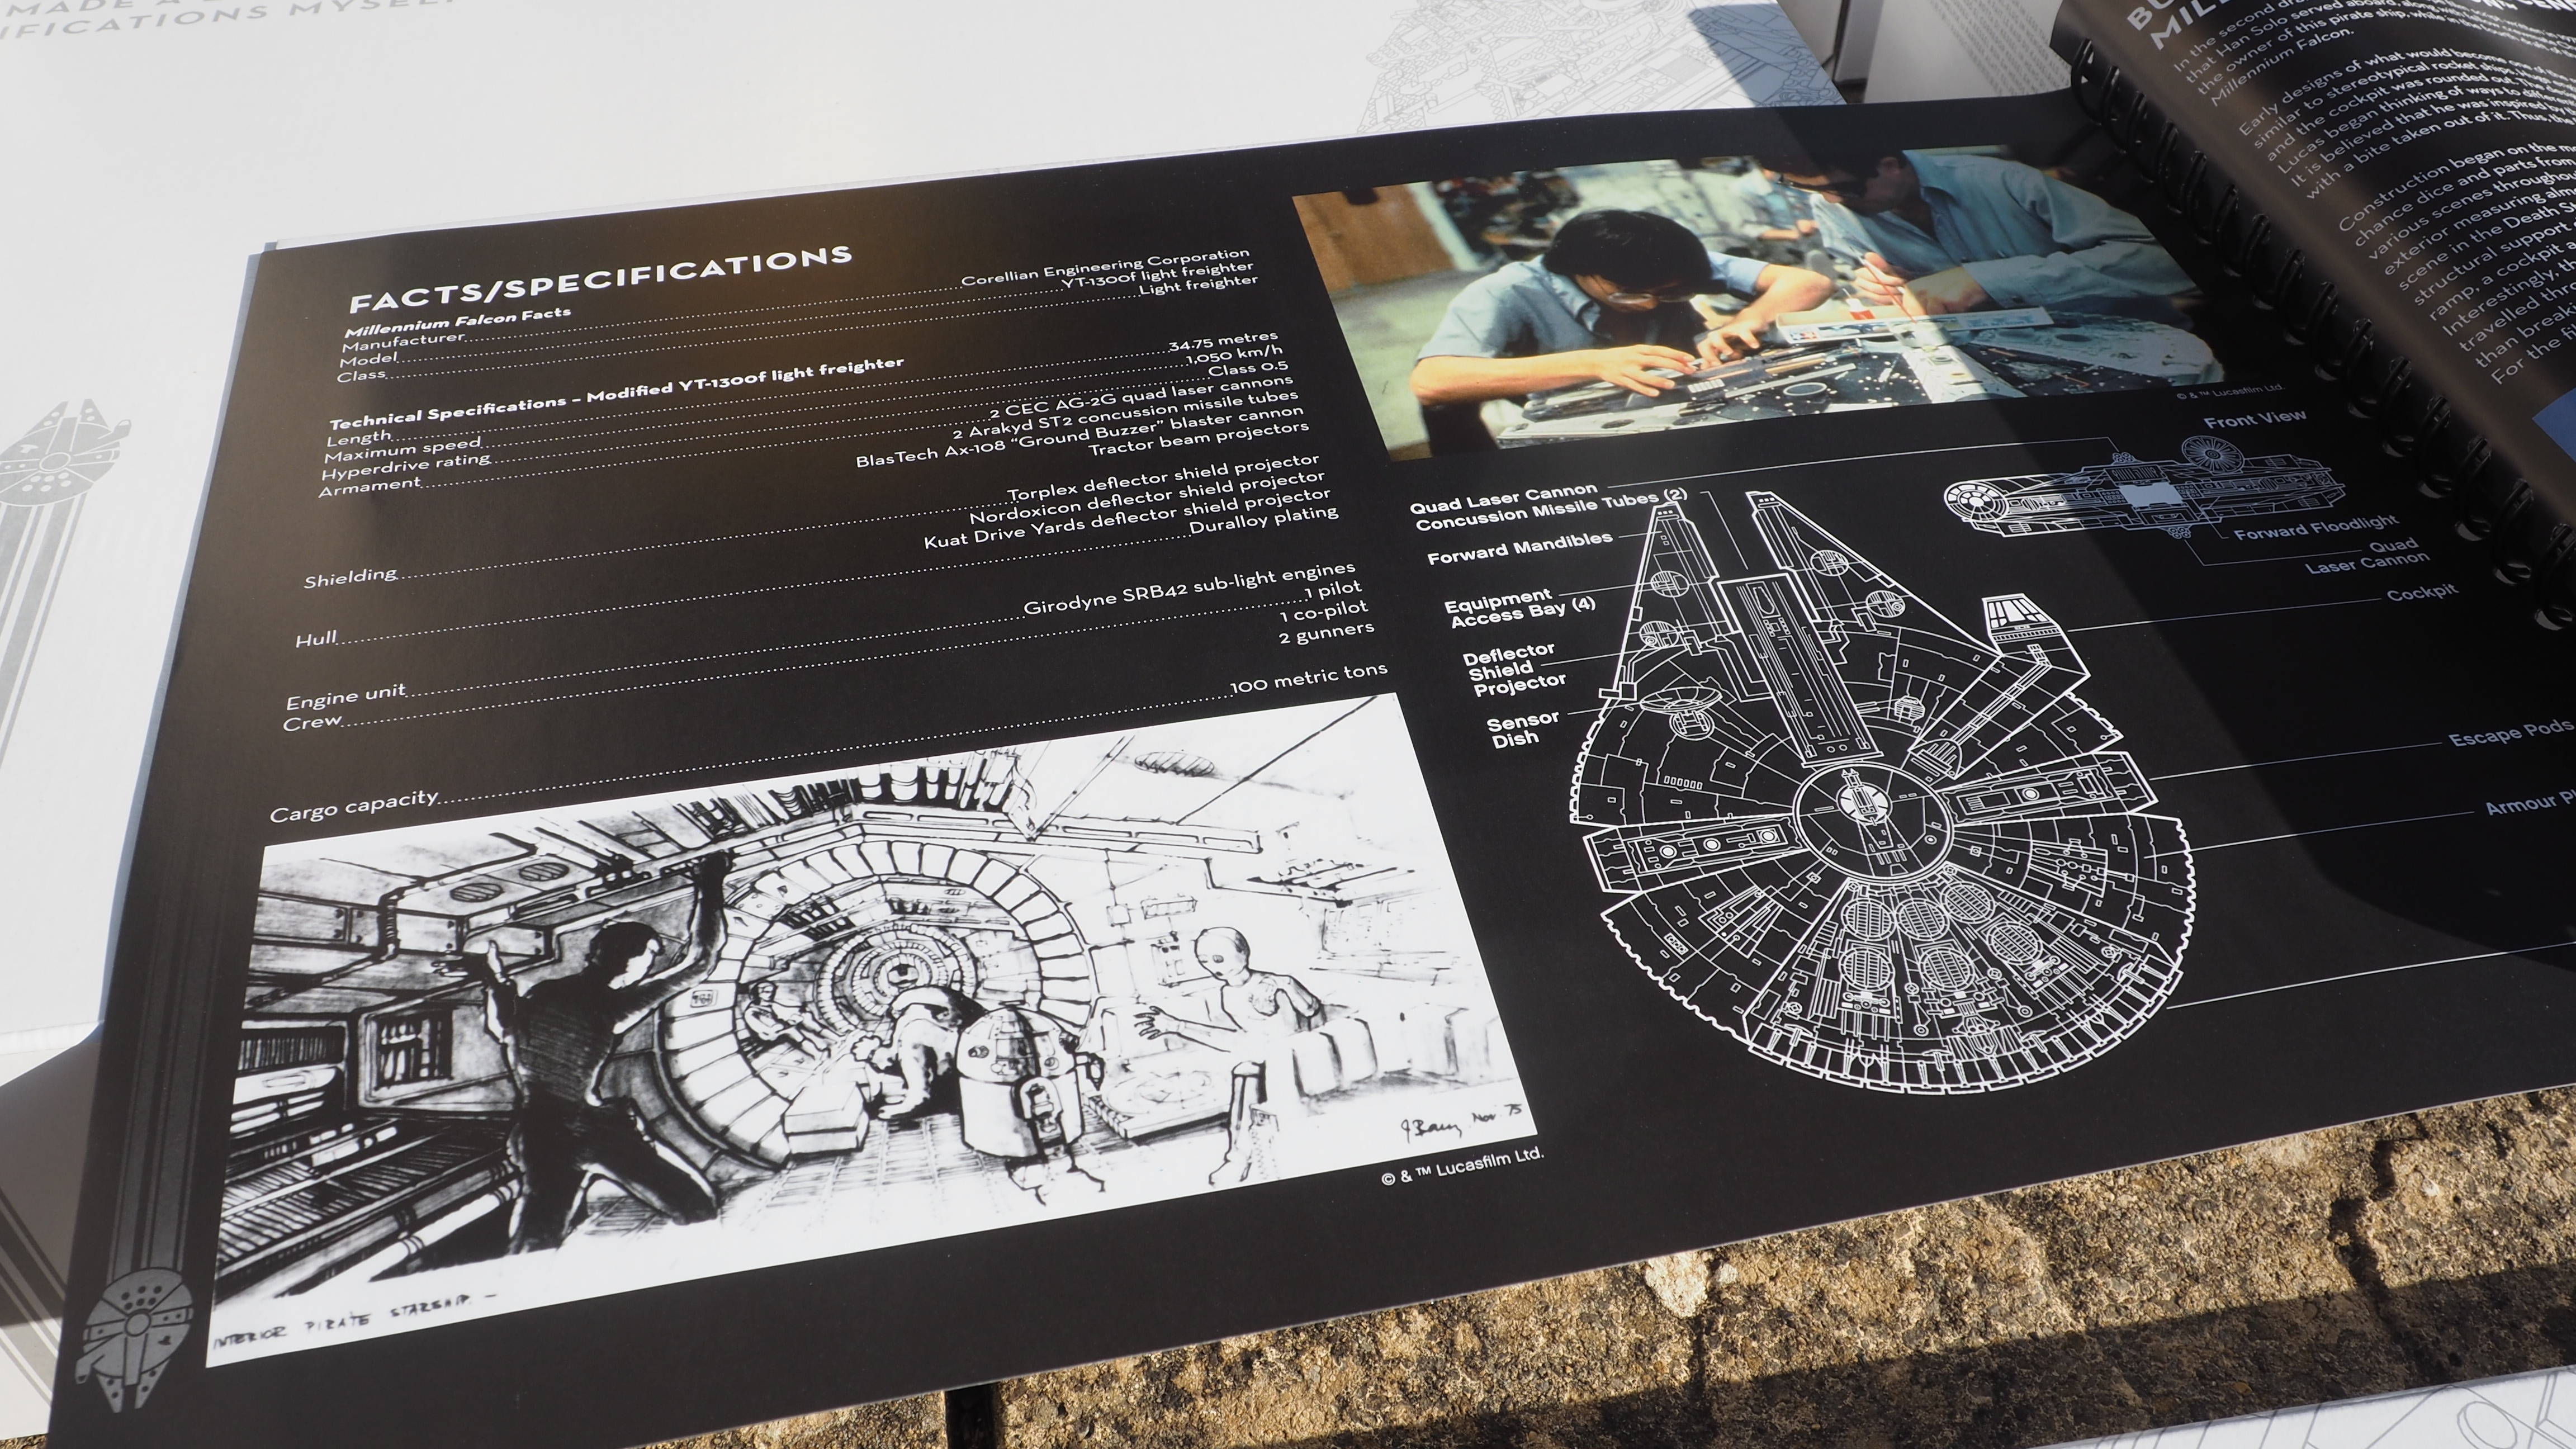
The instruction manual is simply huge and quite difficult to move around. In addition to the 1,379 steps, there are pages talking about the design of the model, specs of the craft, as well as showing the previous Lego Star Wars Millennium Falcons.
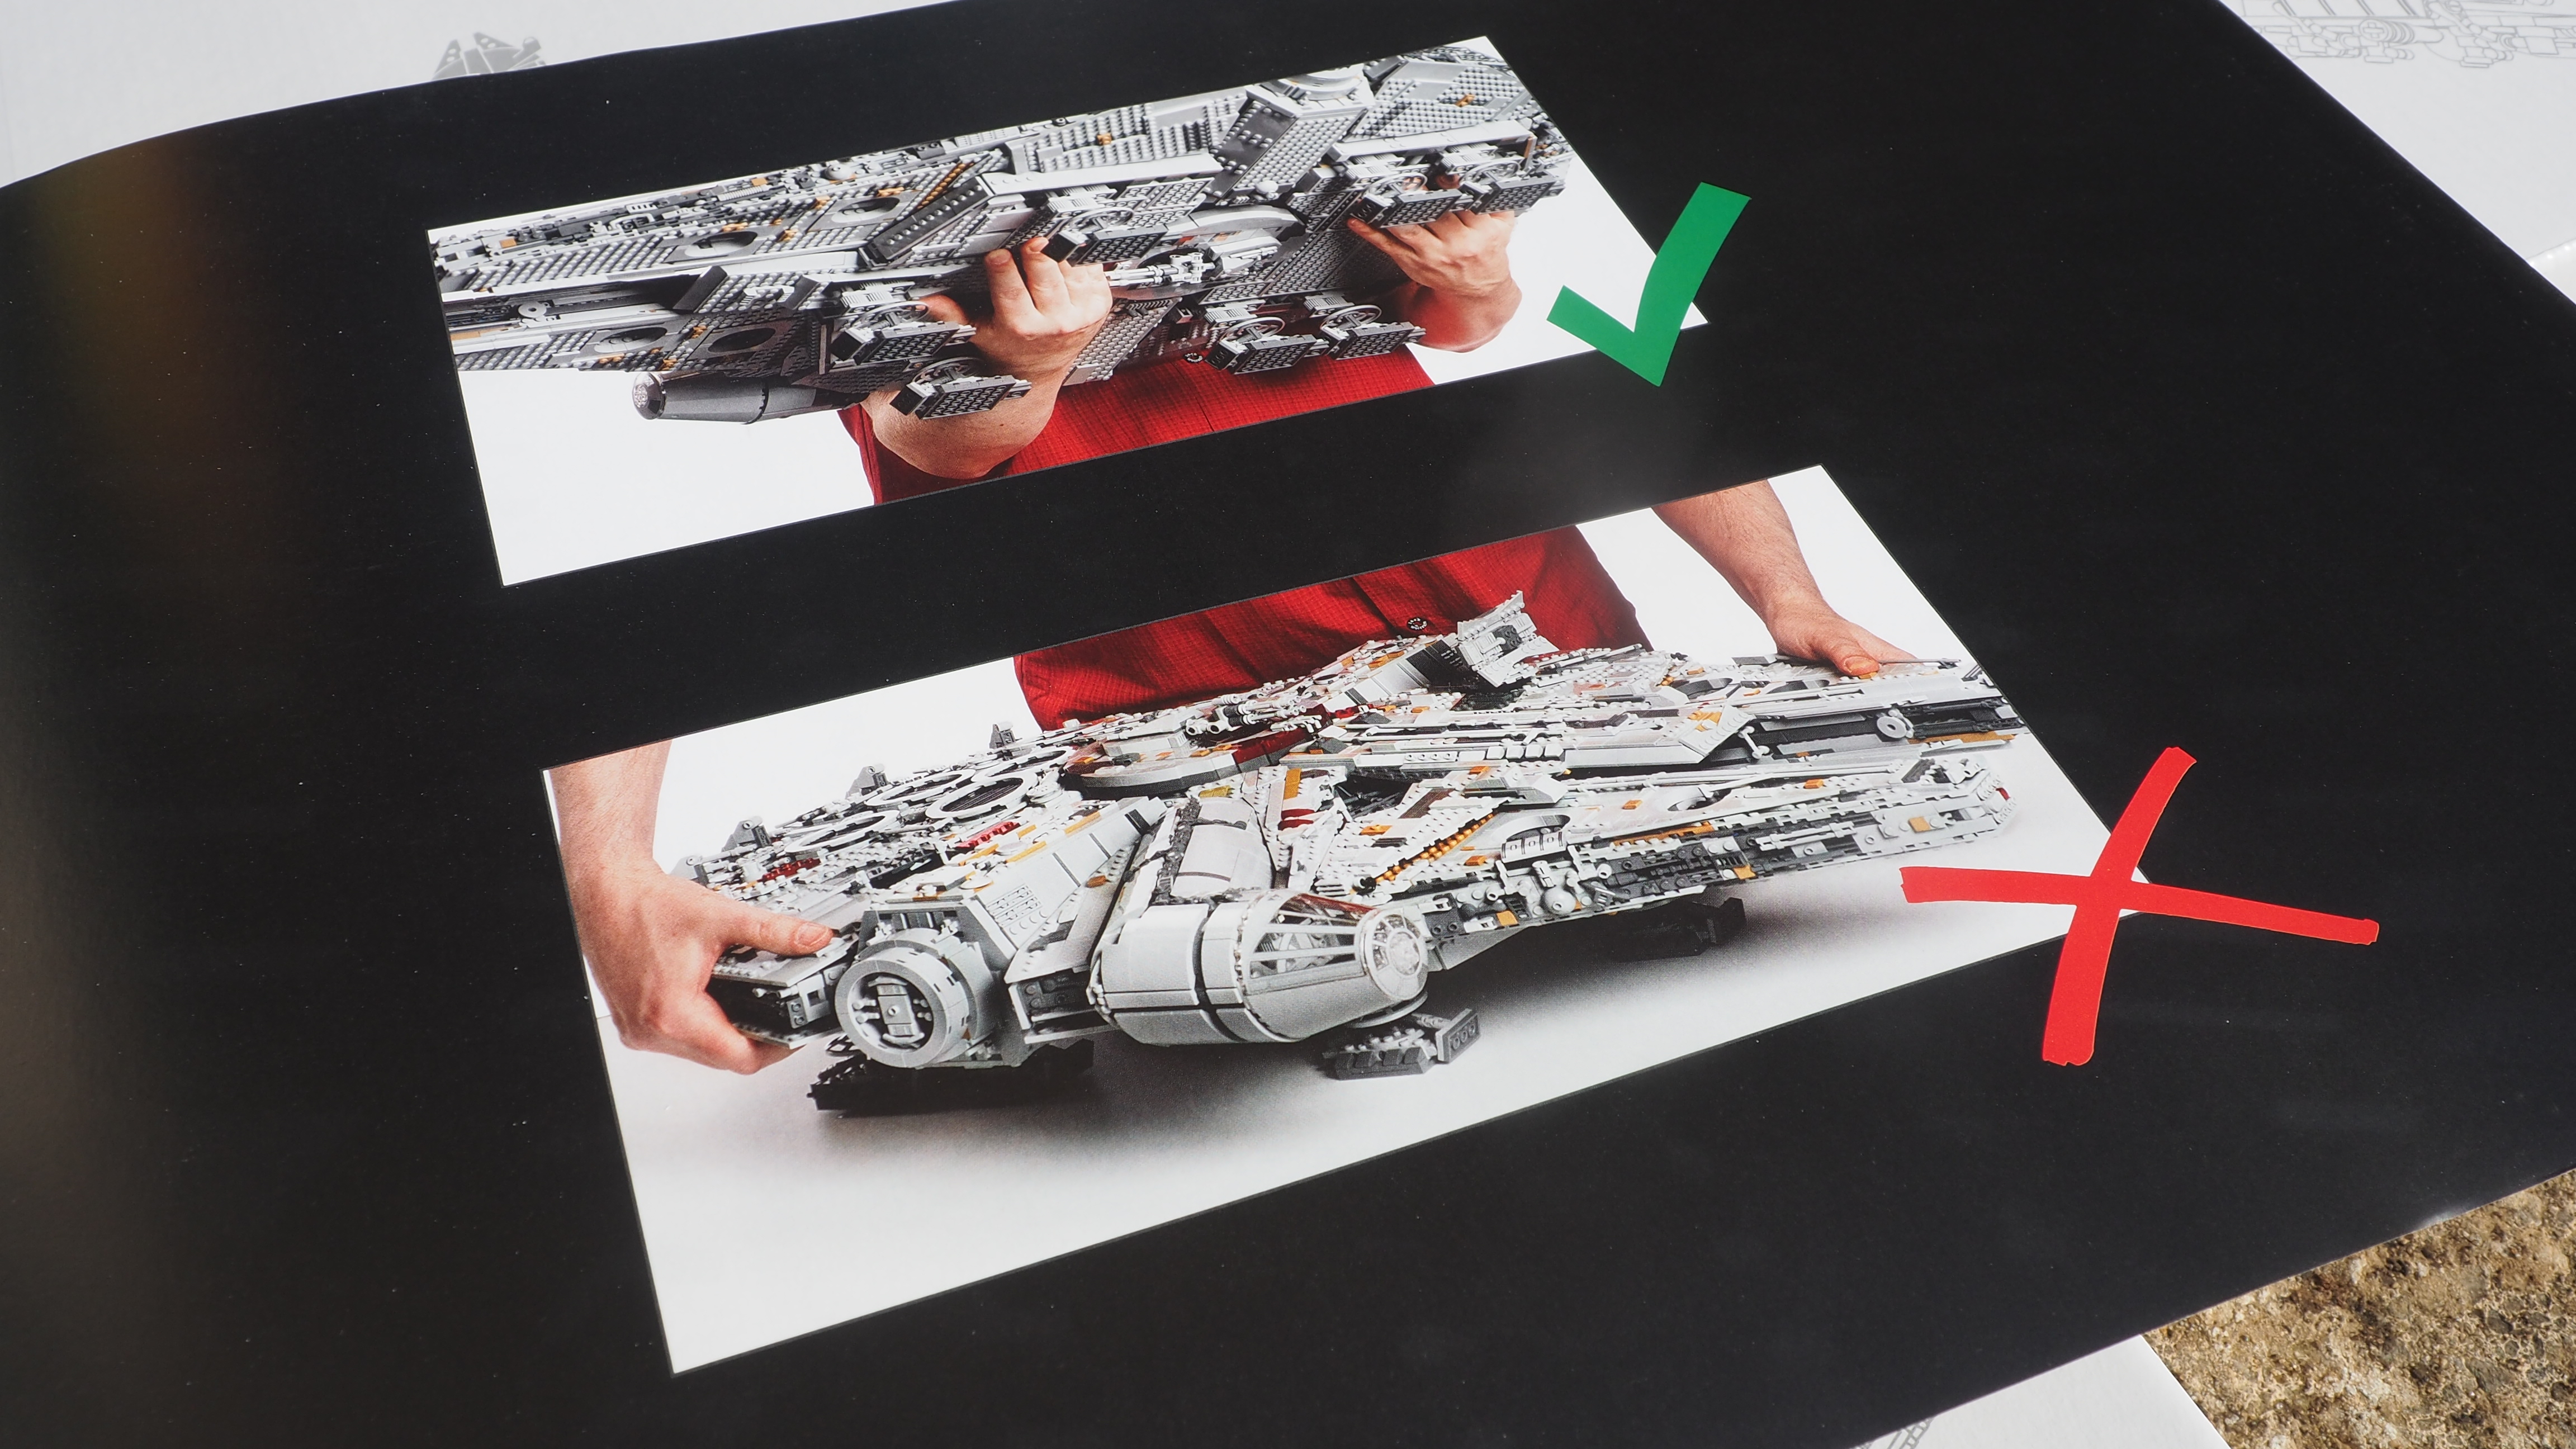
There's even a handling guide to show you how to pick the finished model up!
If there’s one criticism of this huge tome, it would be that it would be good to separate the written stuff from the instructions. With the best will in the world you’re going to be flicking through, leaning on and moving the instruction book during the building process and it’s inevitable there will be a tiny bit of wear.
Lego Star Wars UCS Millennium Falcon instructions
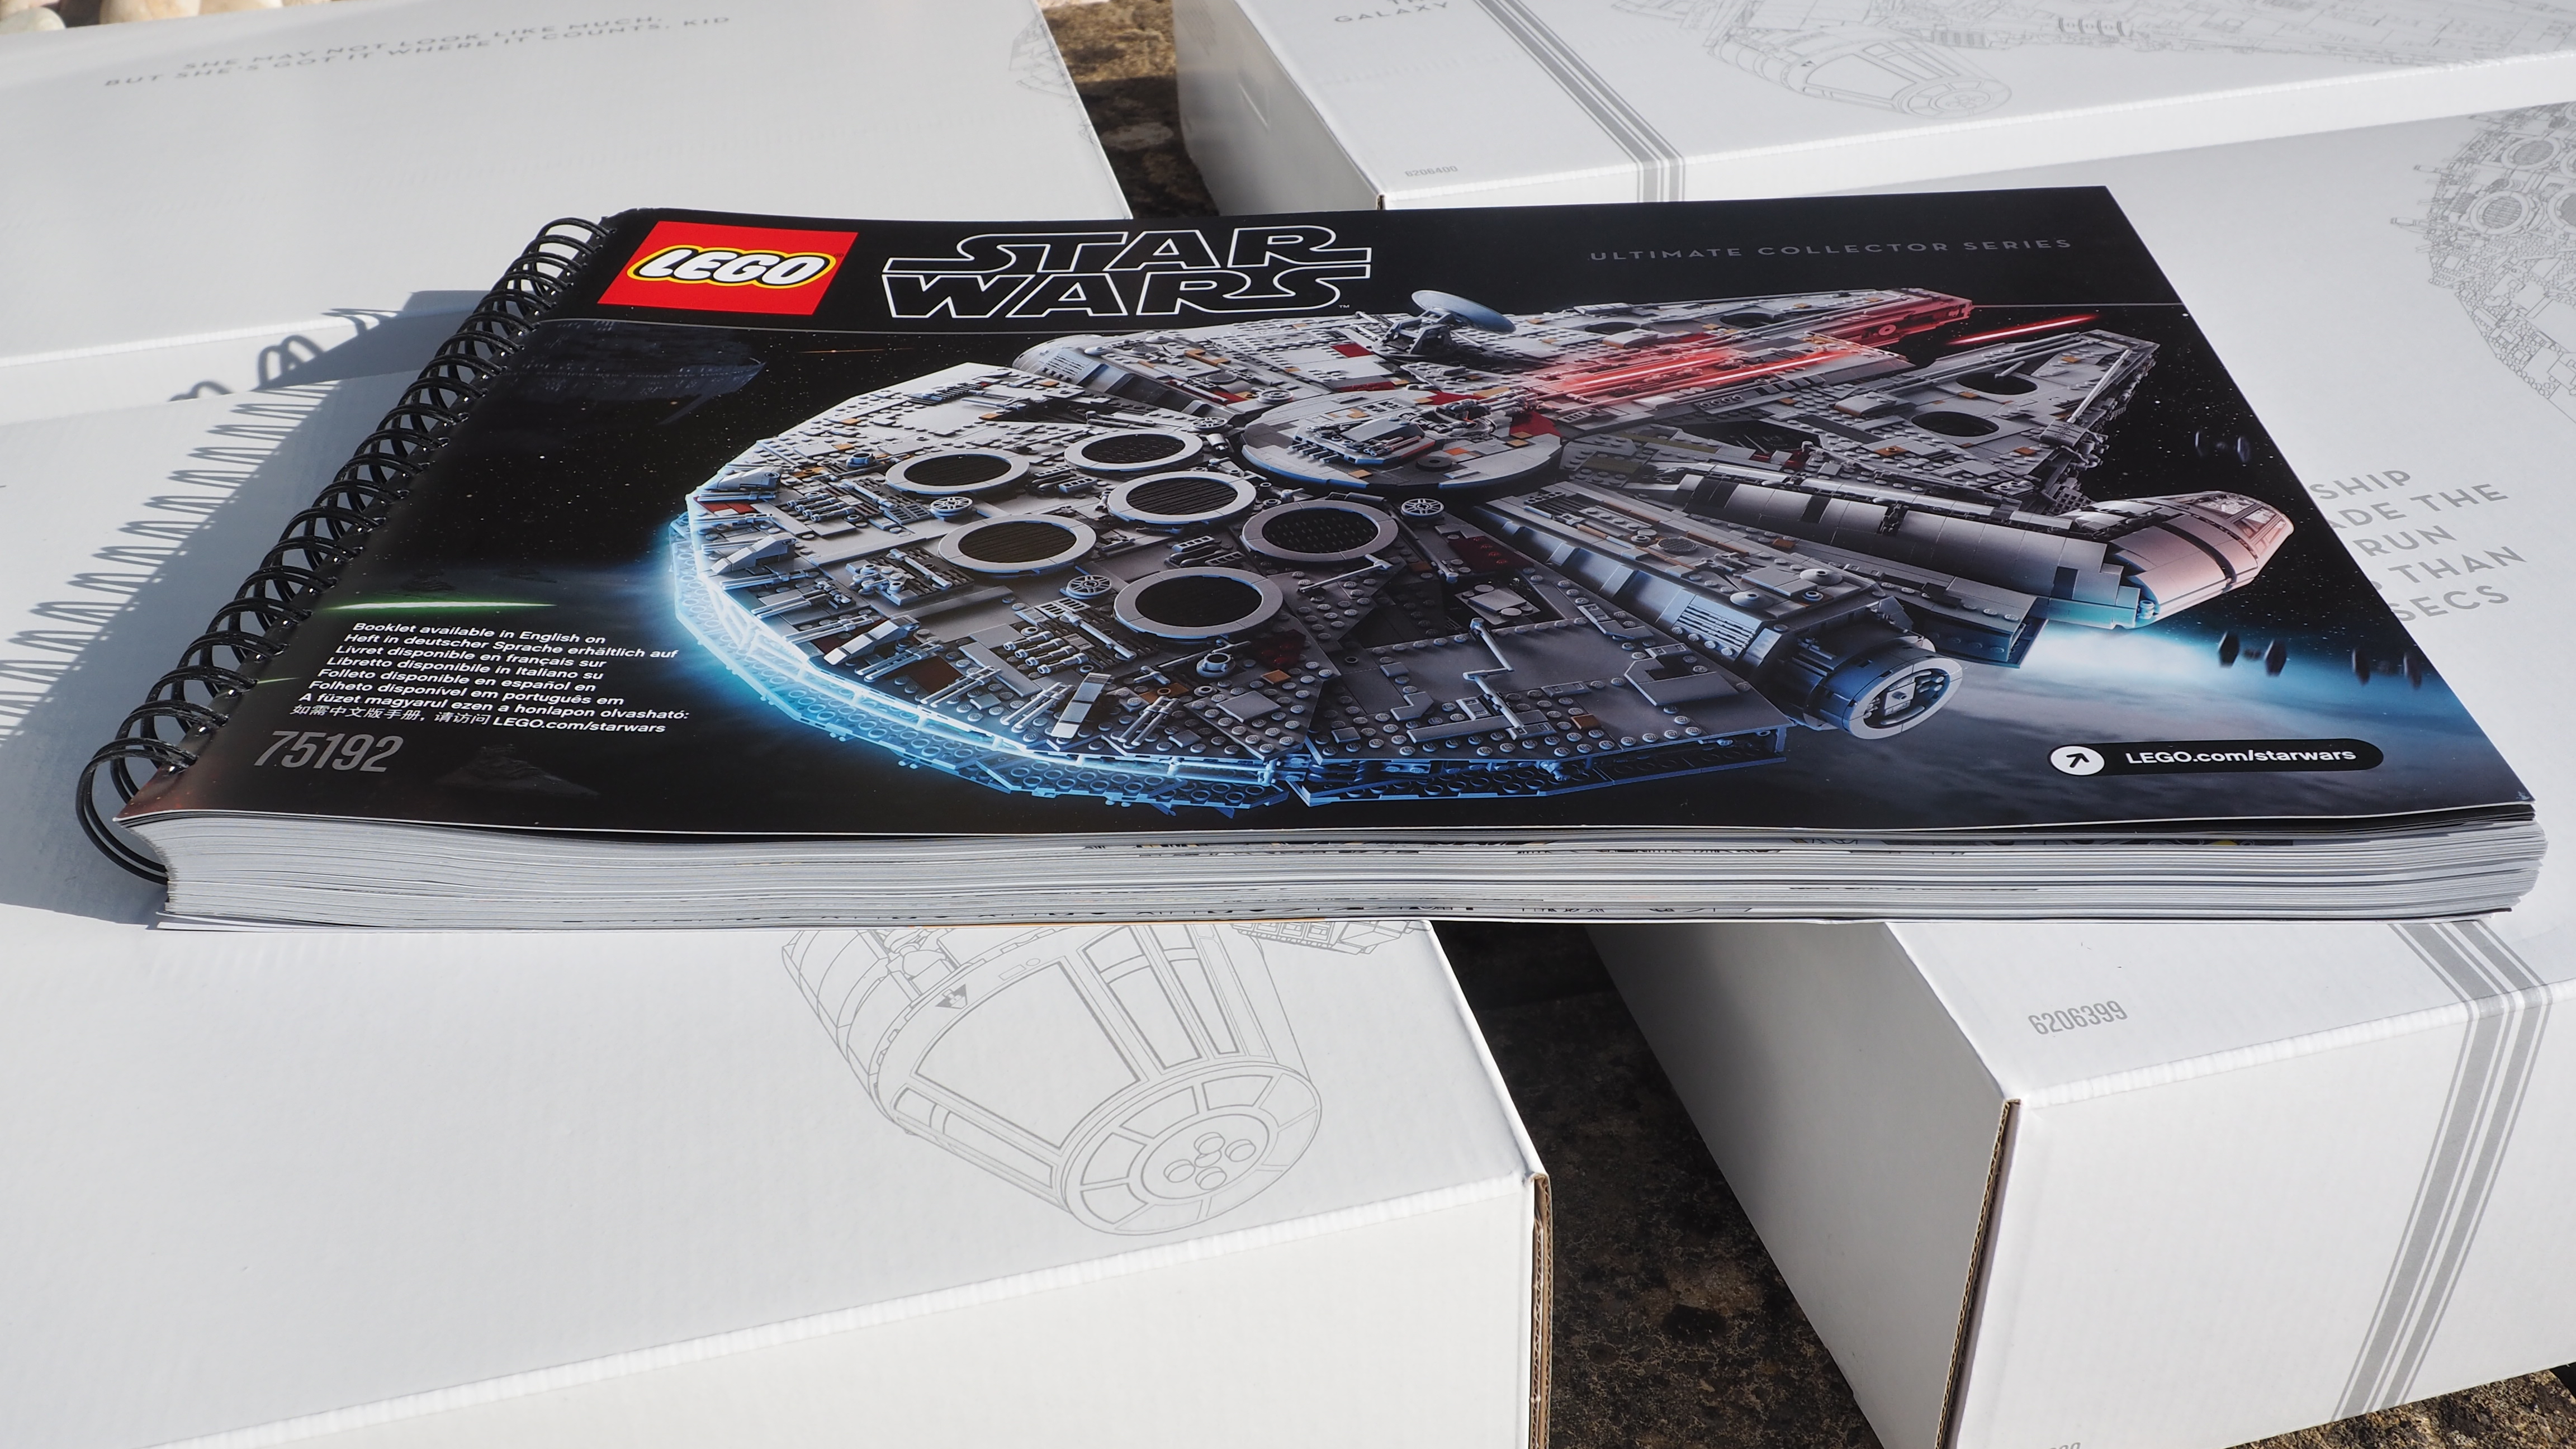
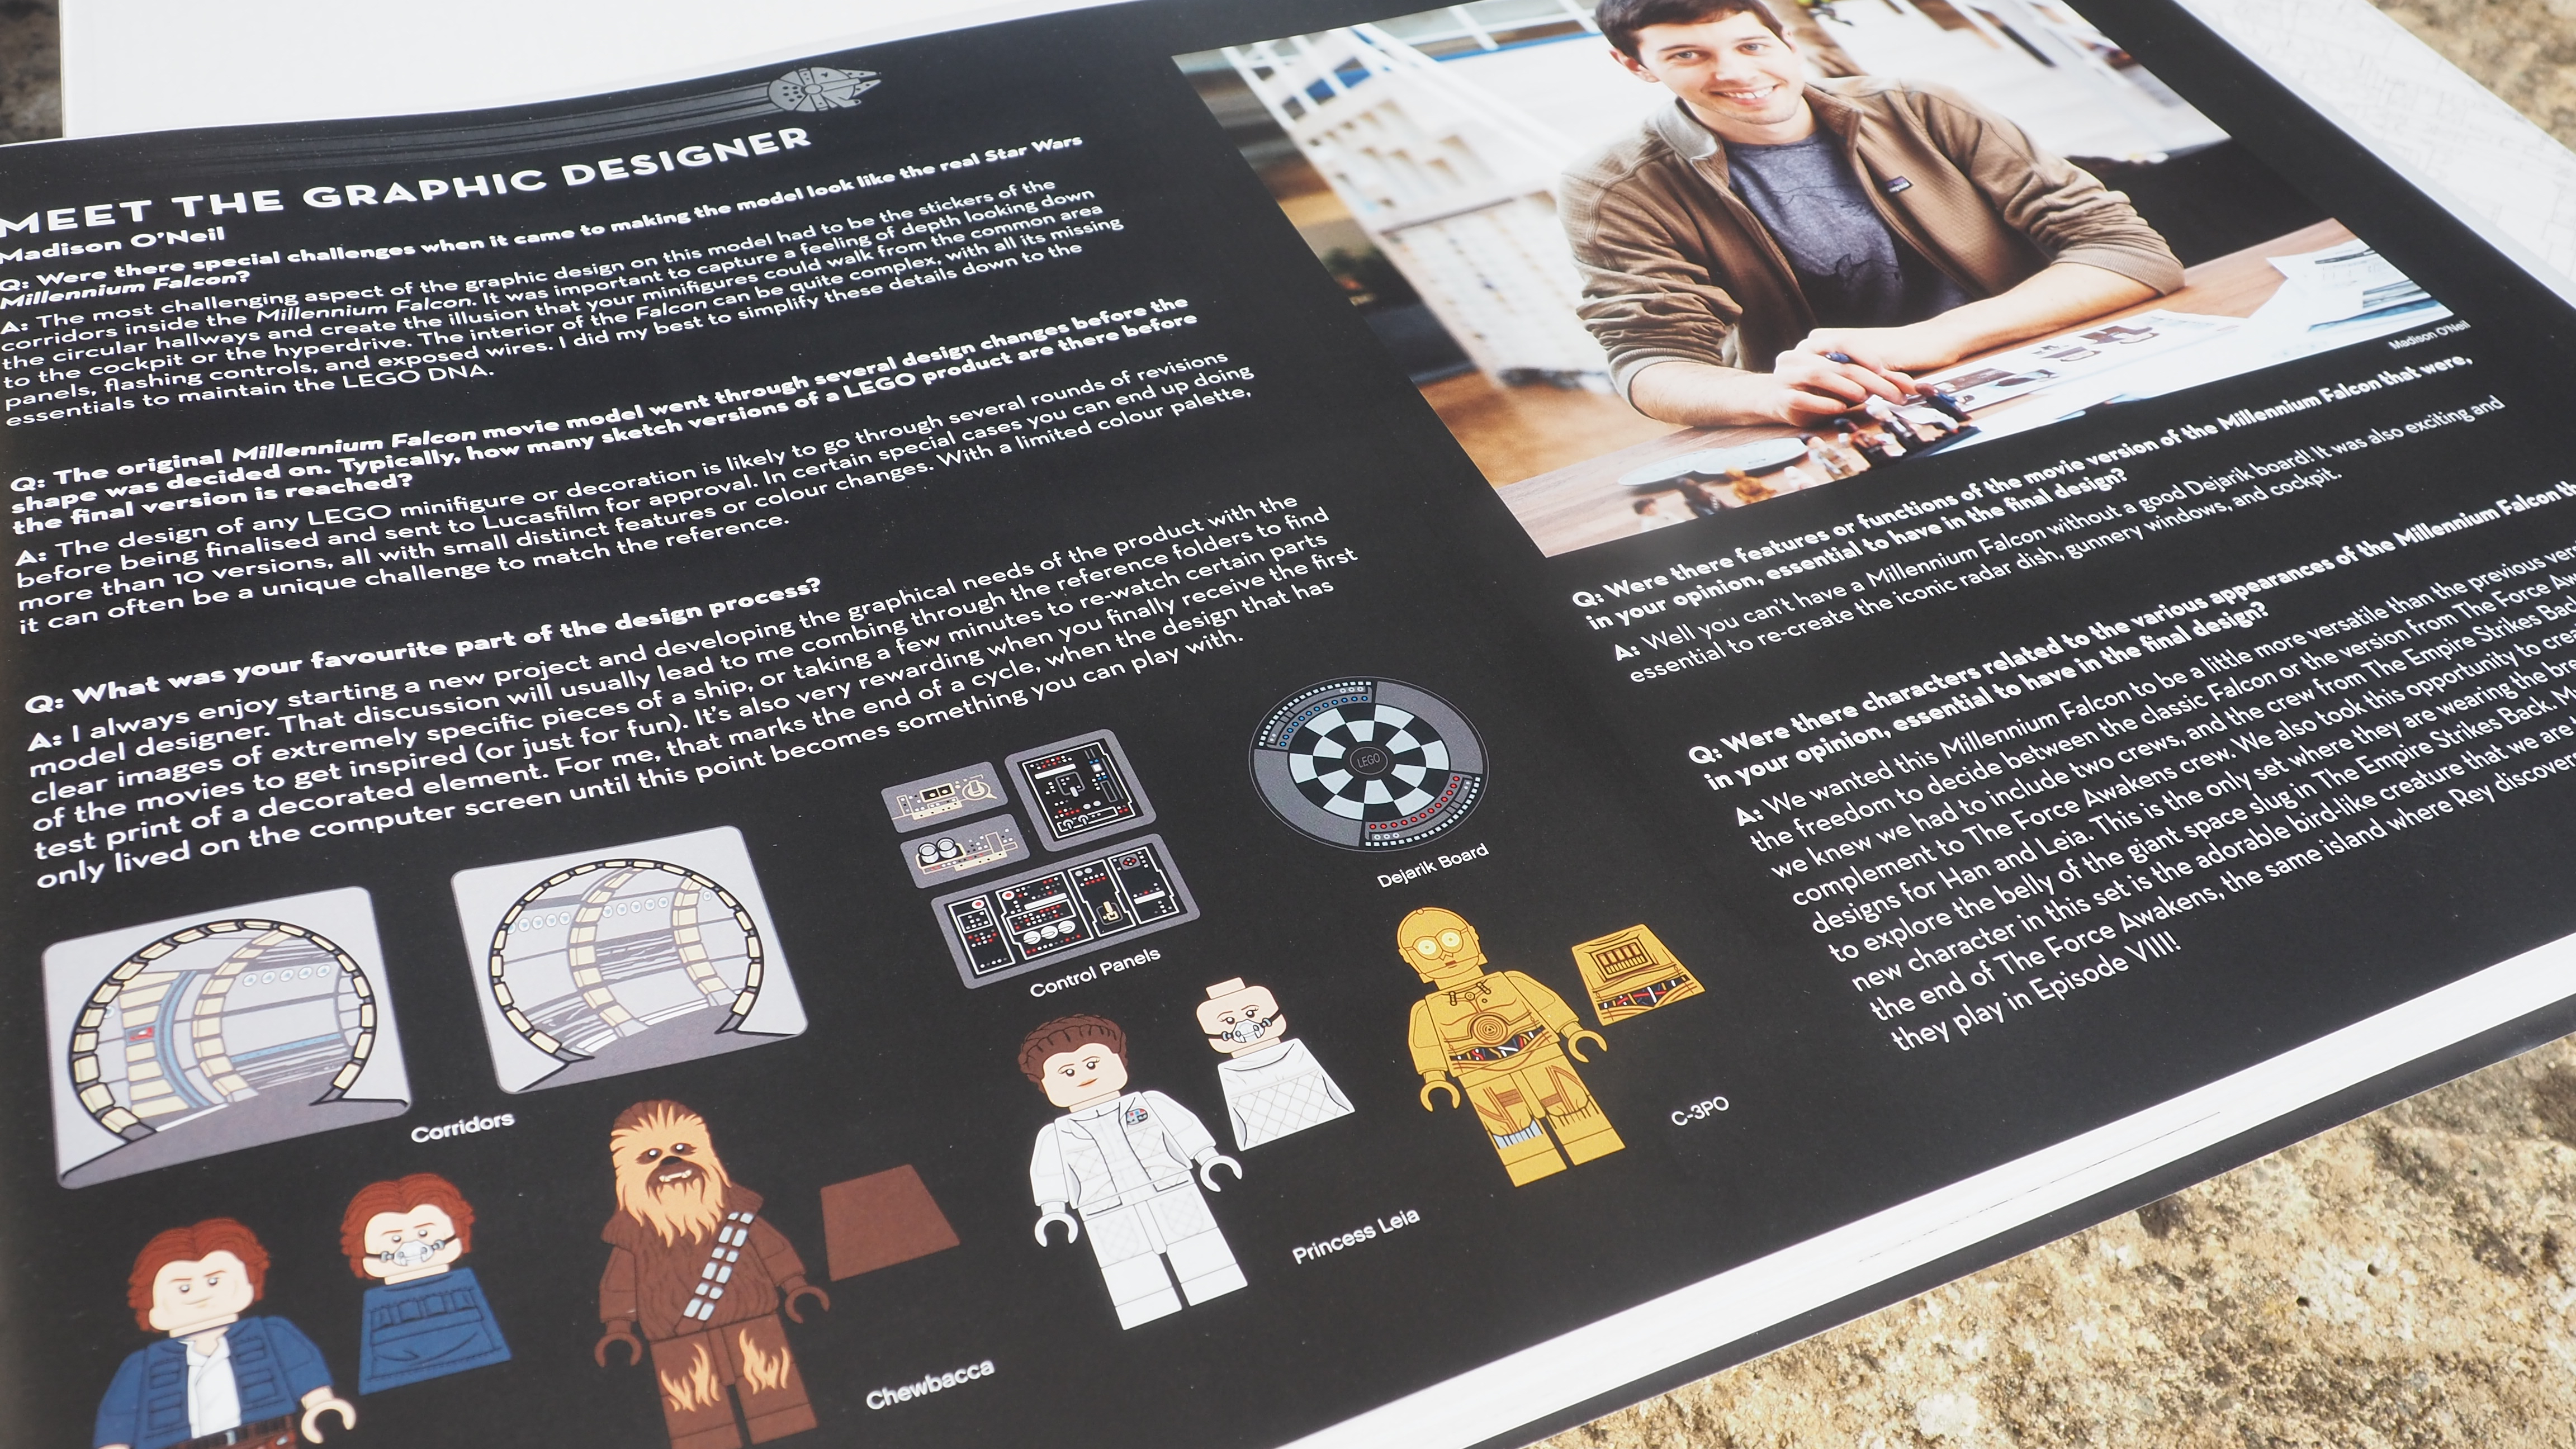
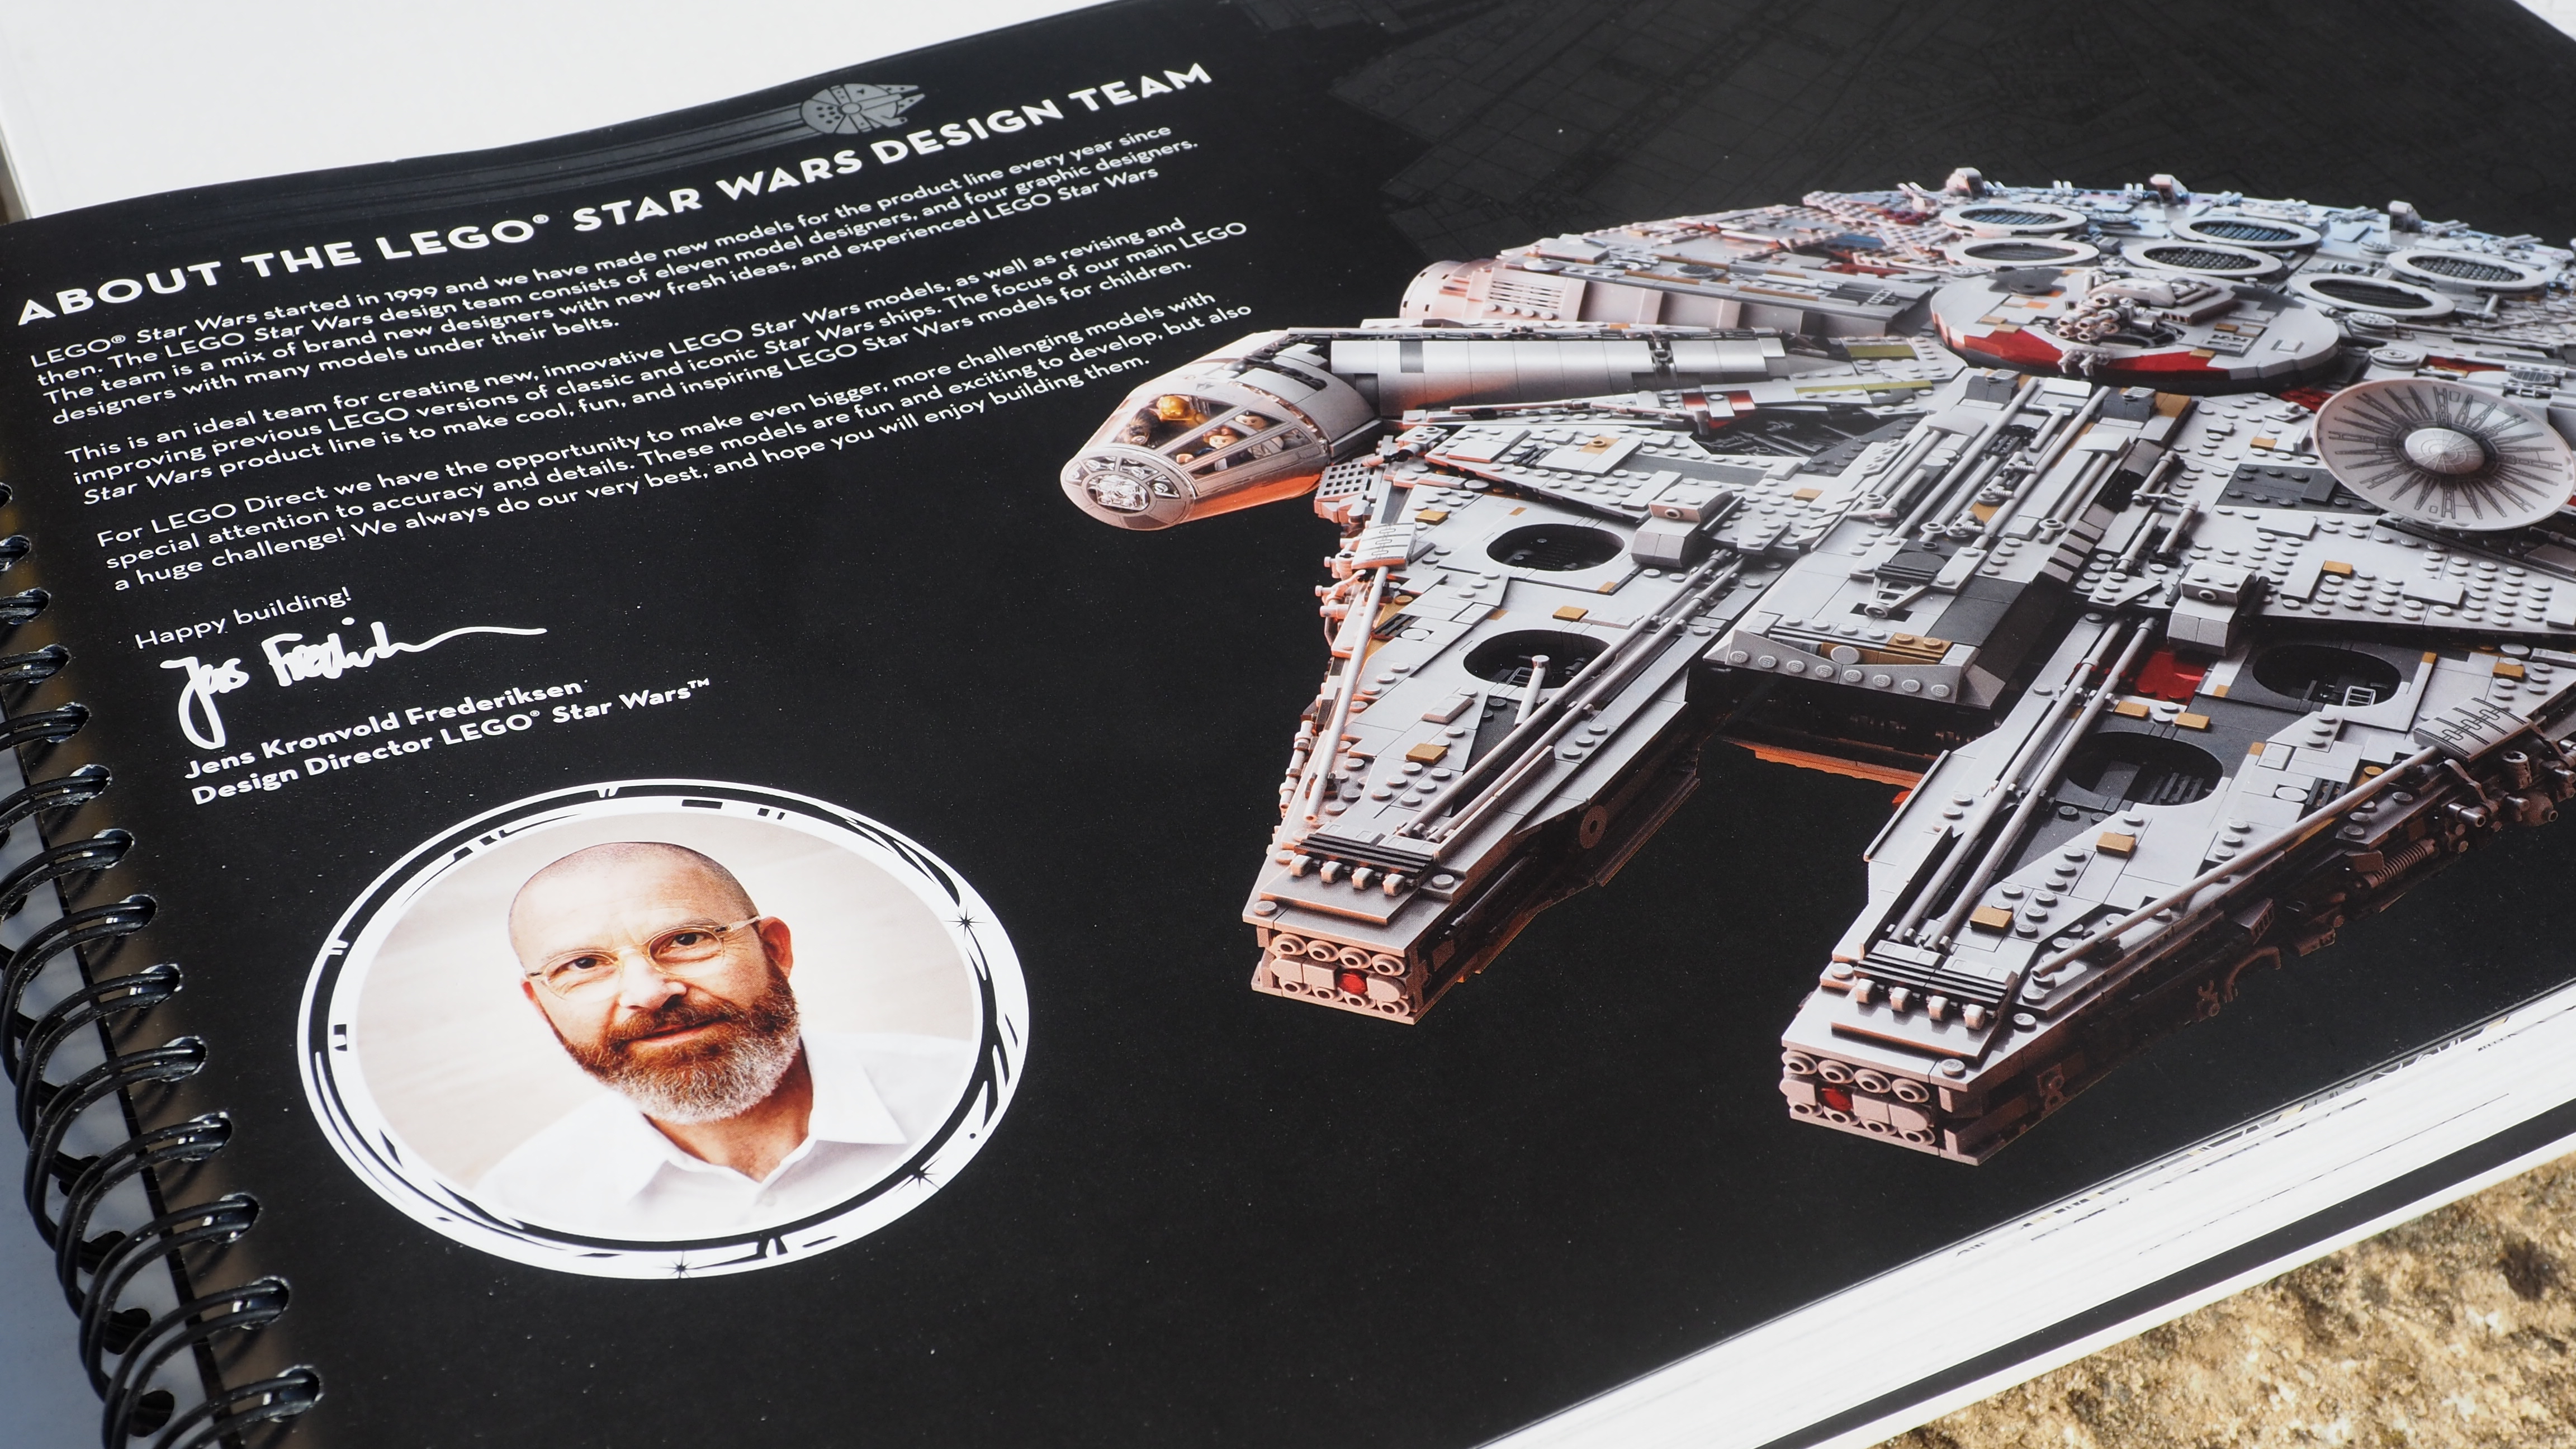
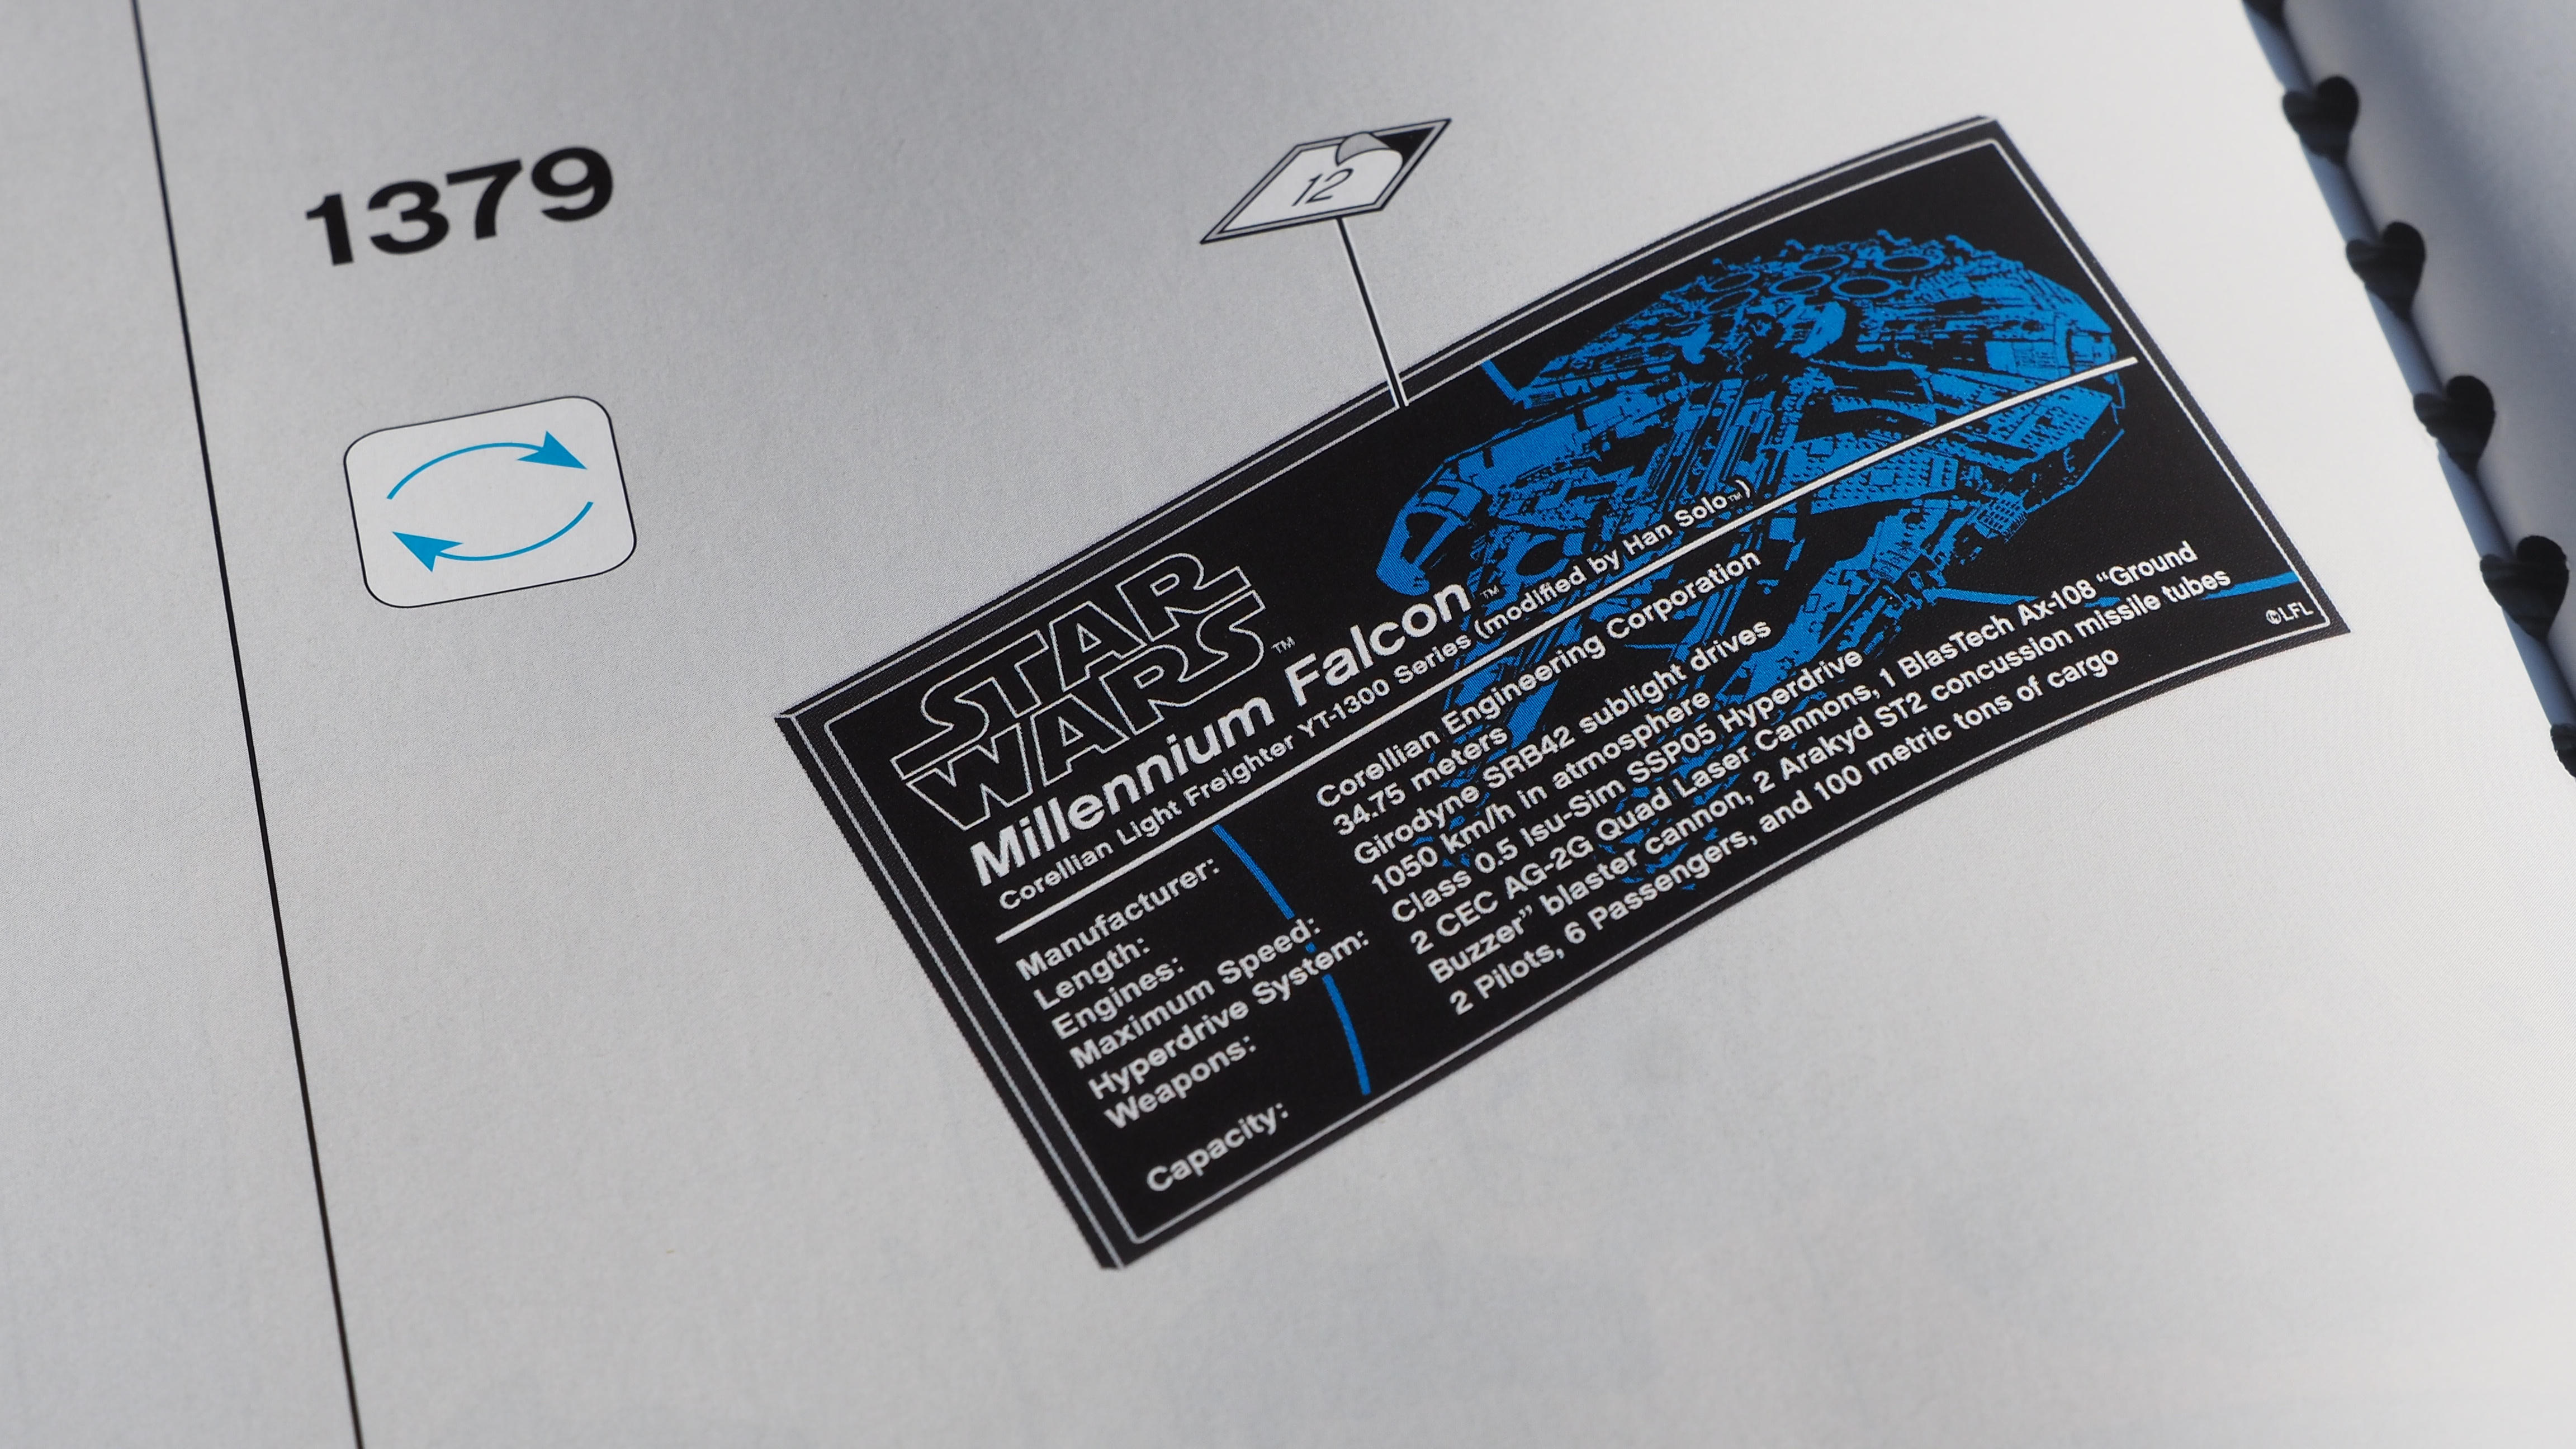
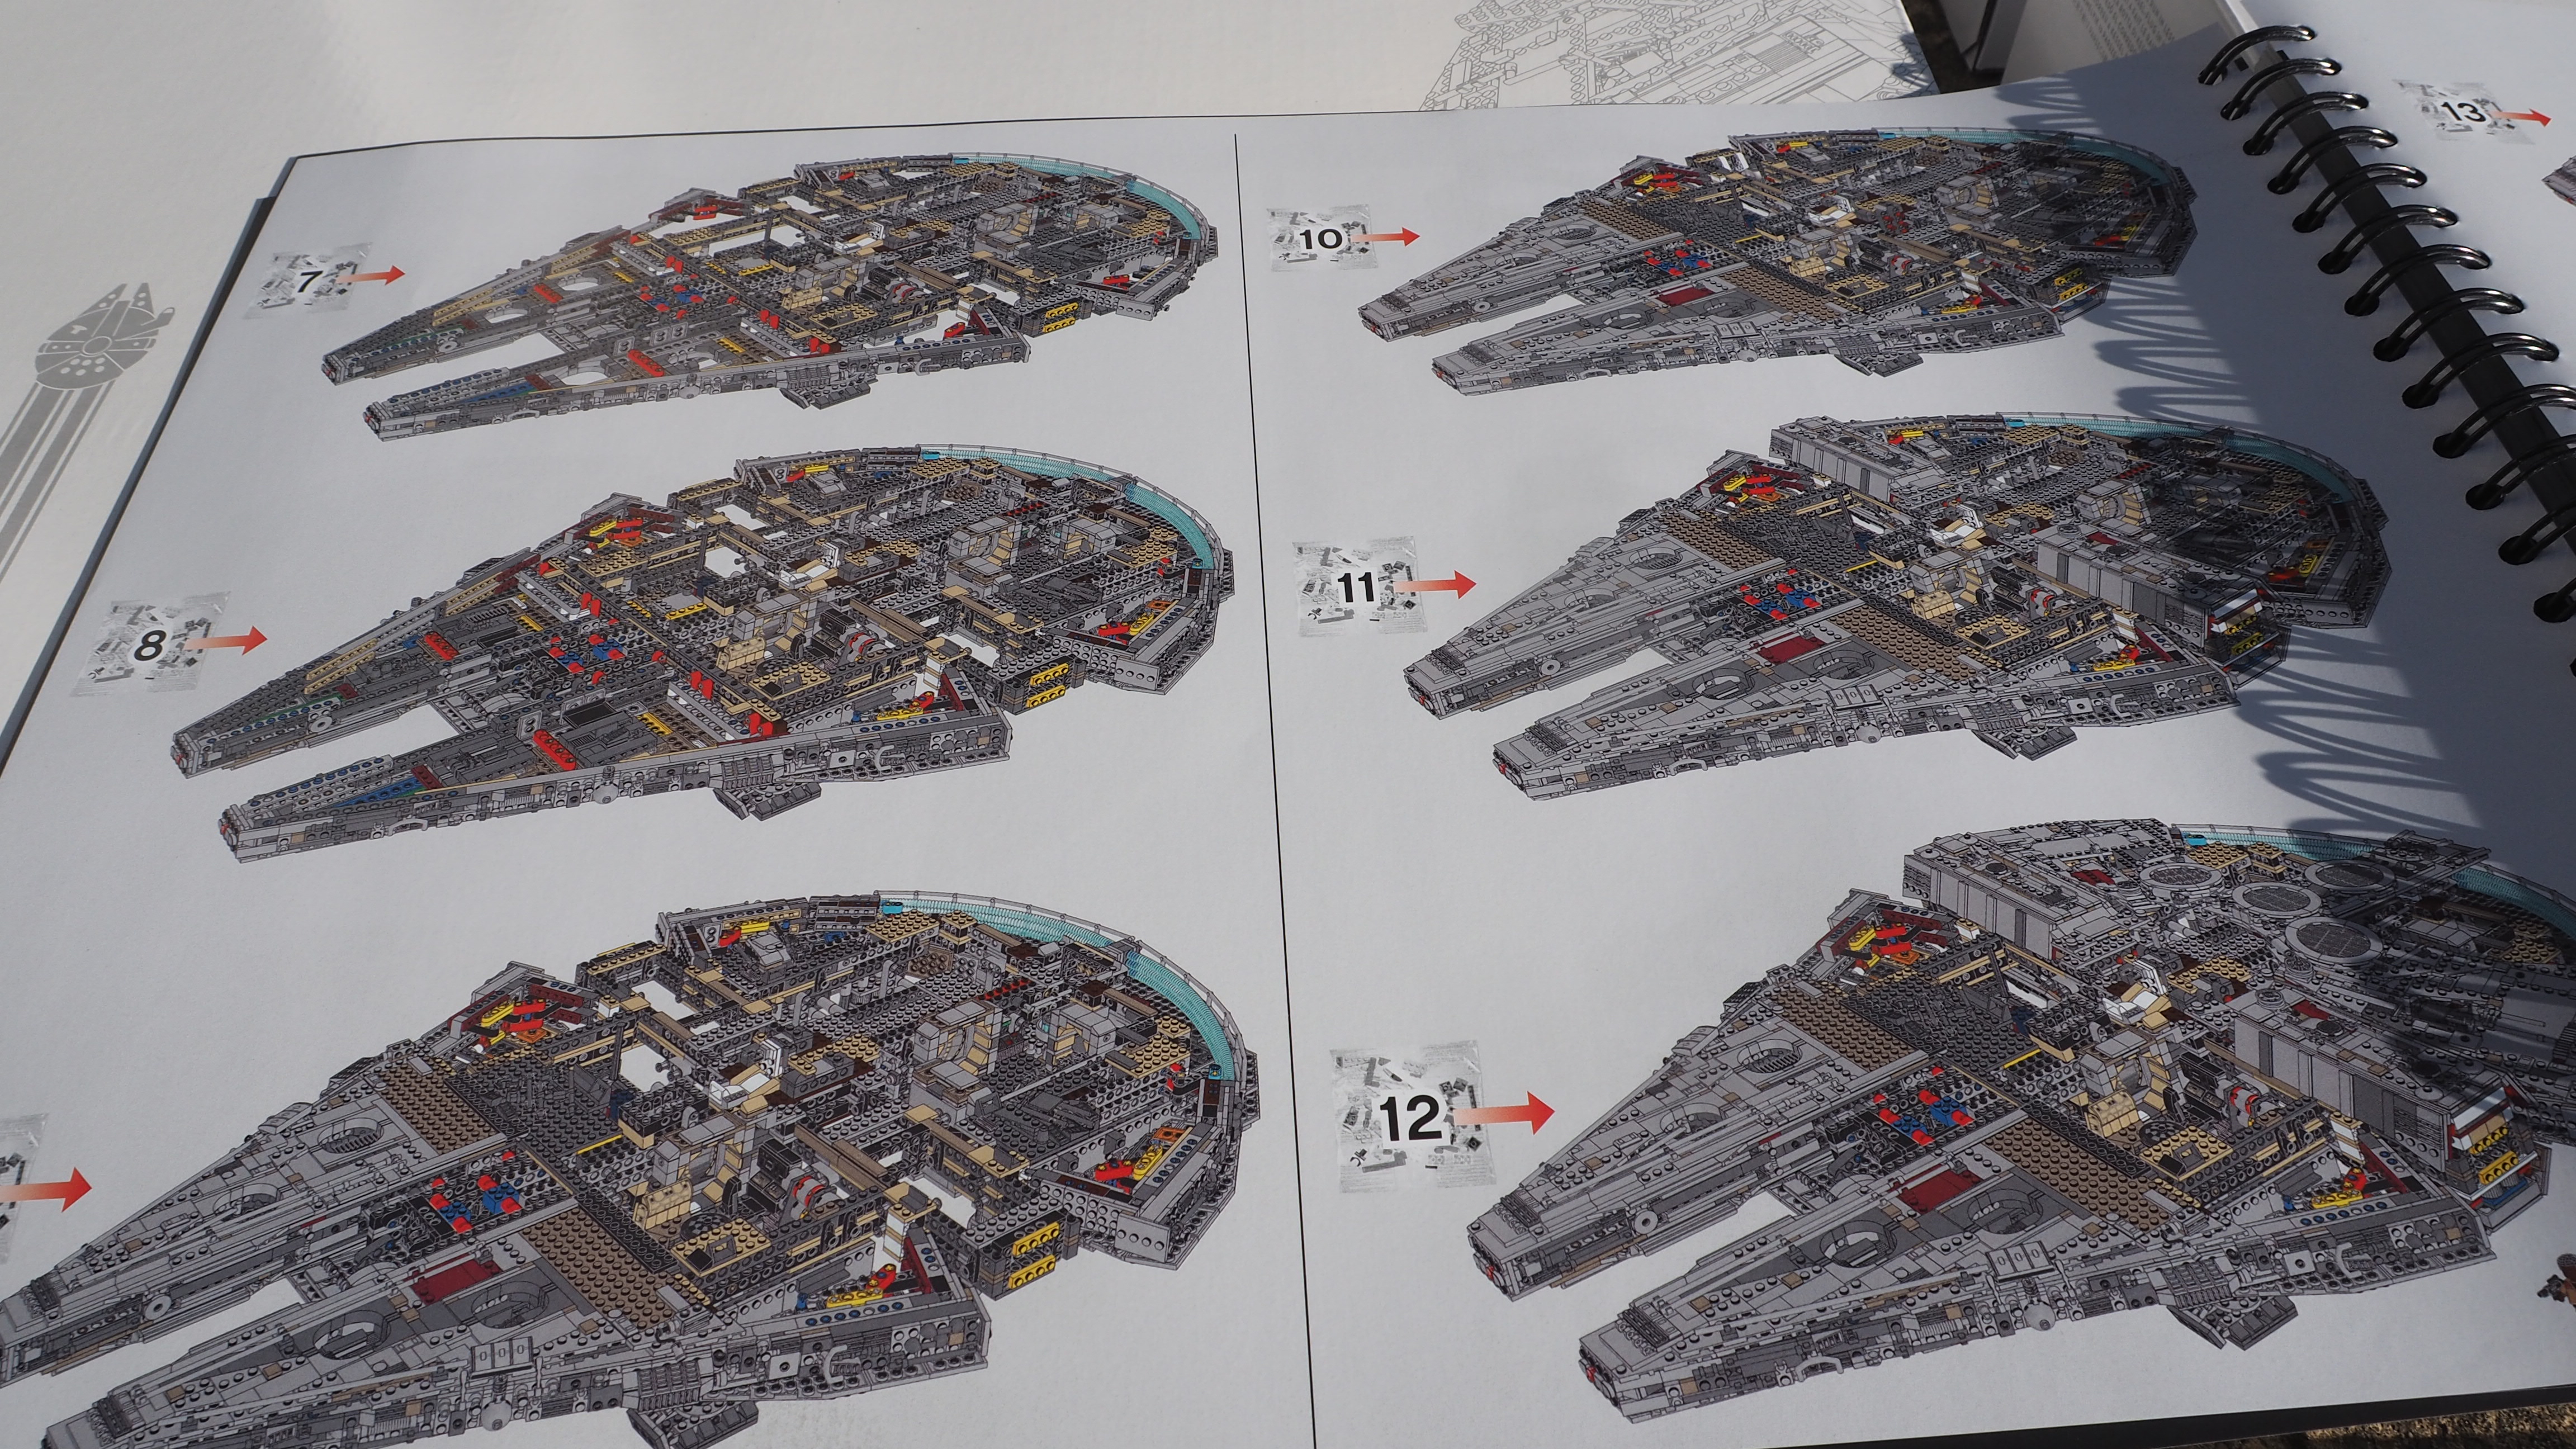
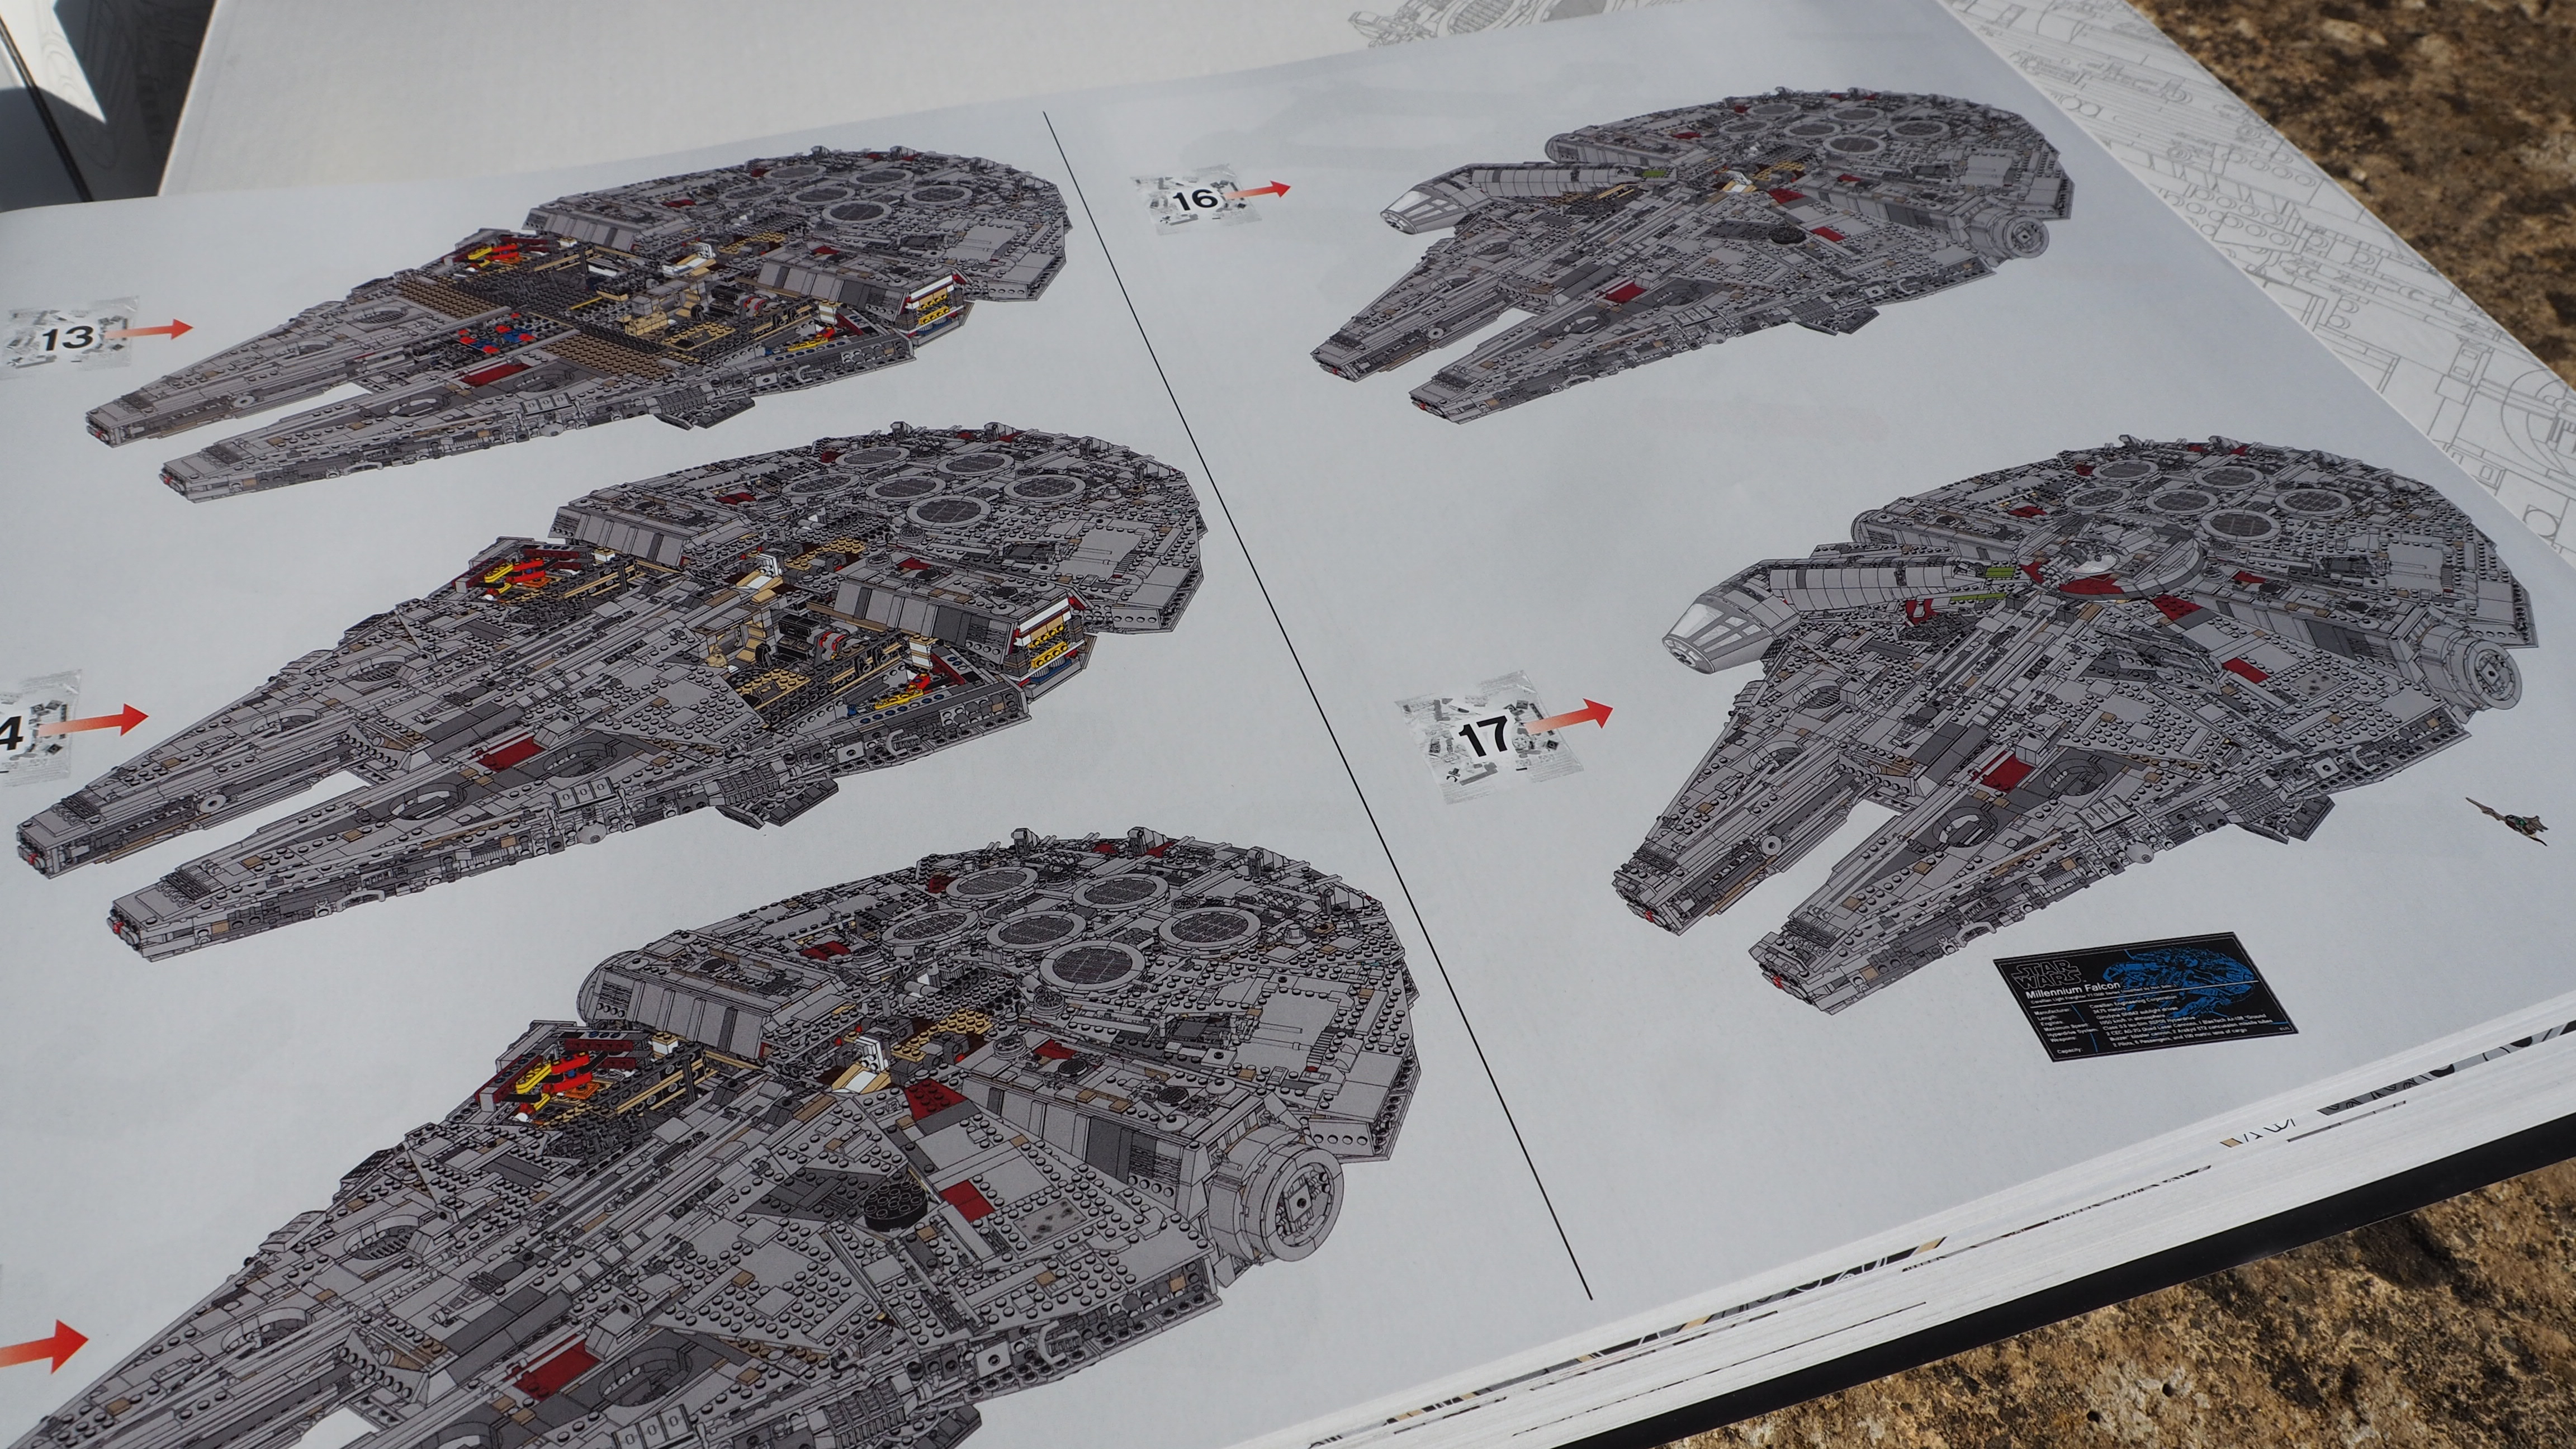
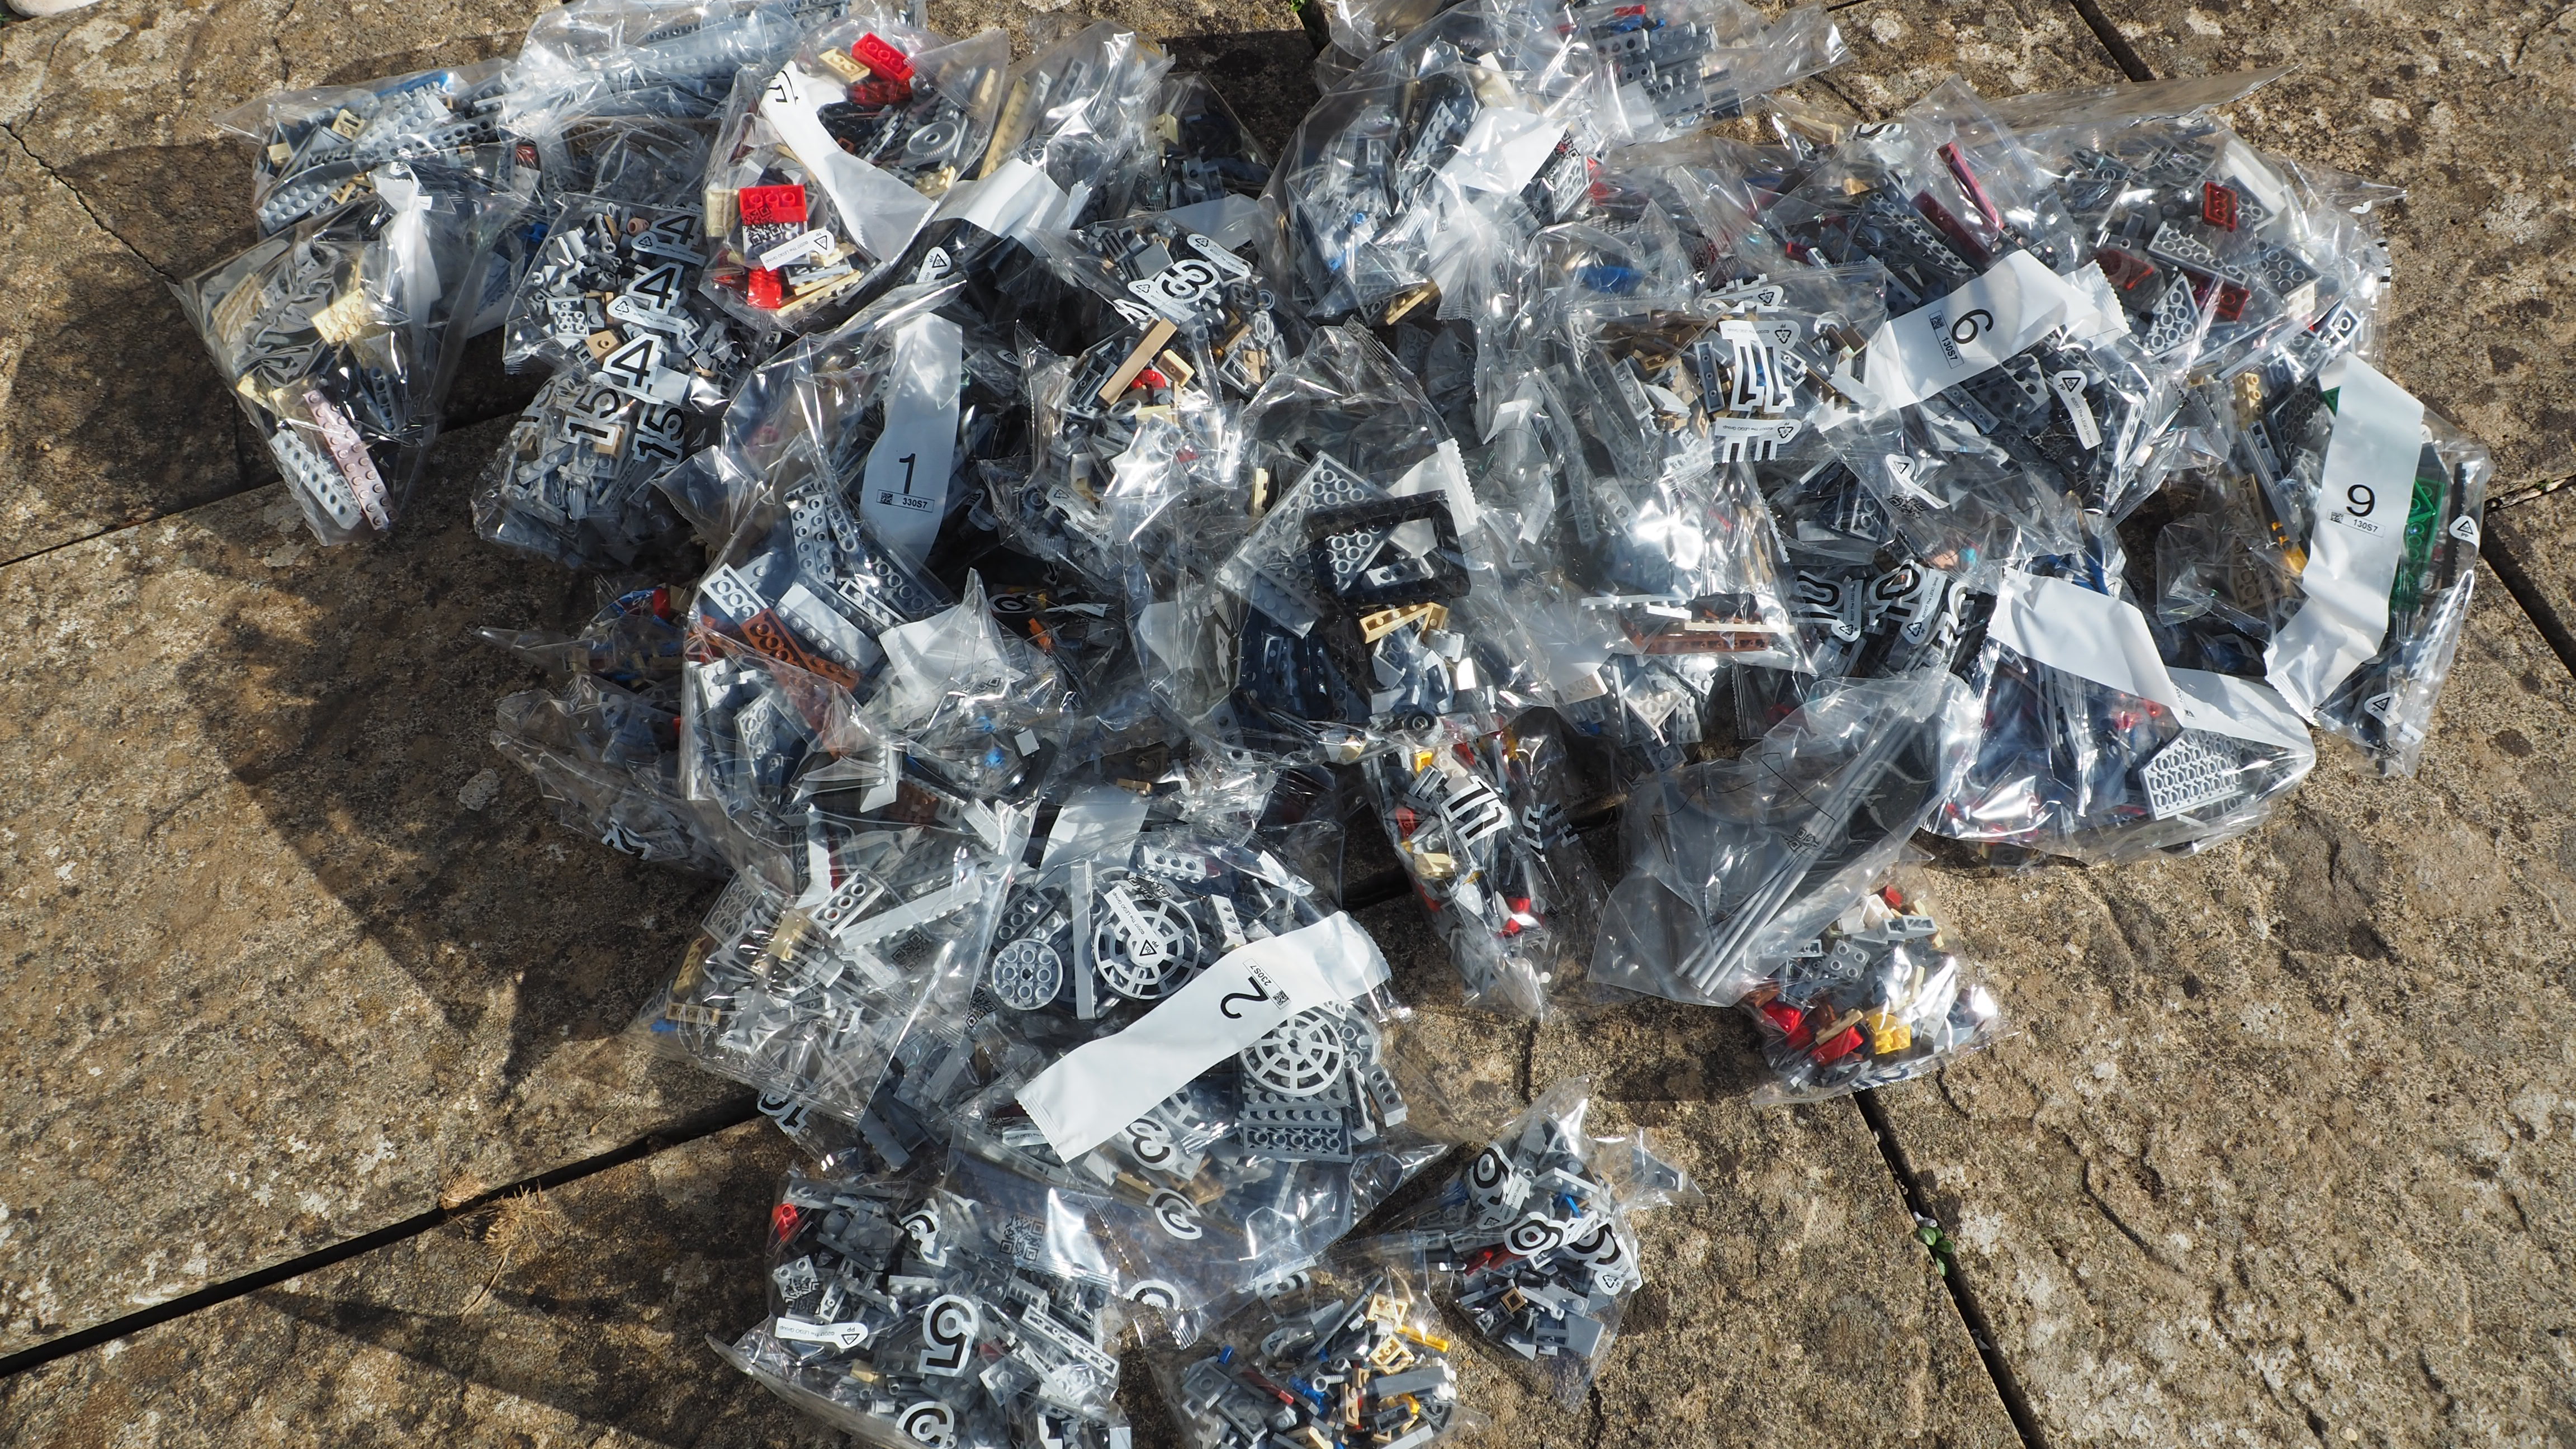
Each of the four white boxes has numbered bags inside – 17 lots representing the 17 stages of the build which are all separated out in the instruction manual.
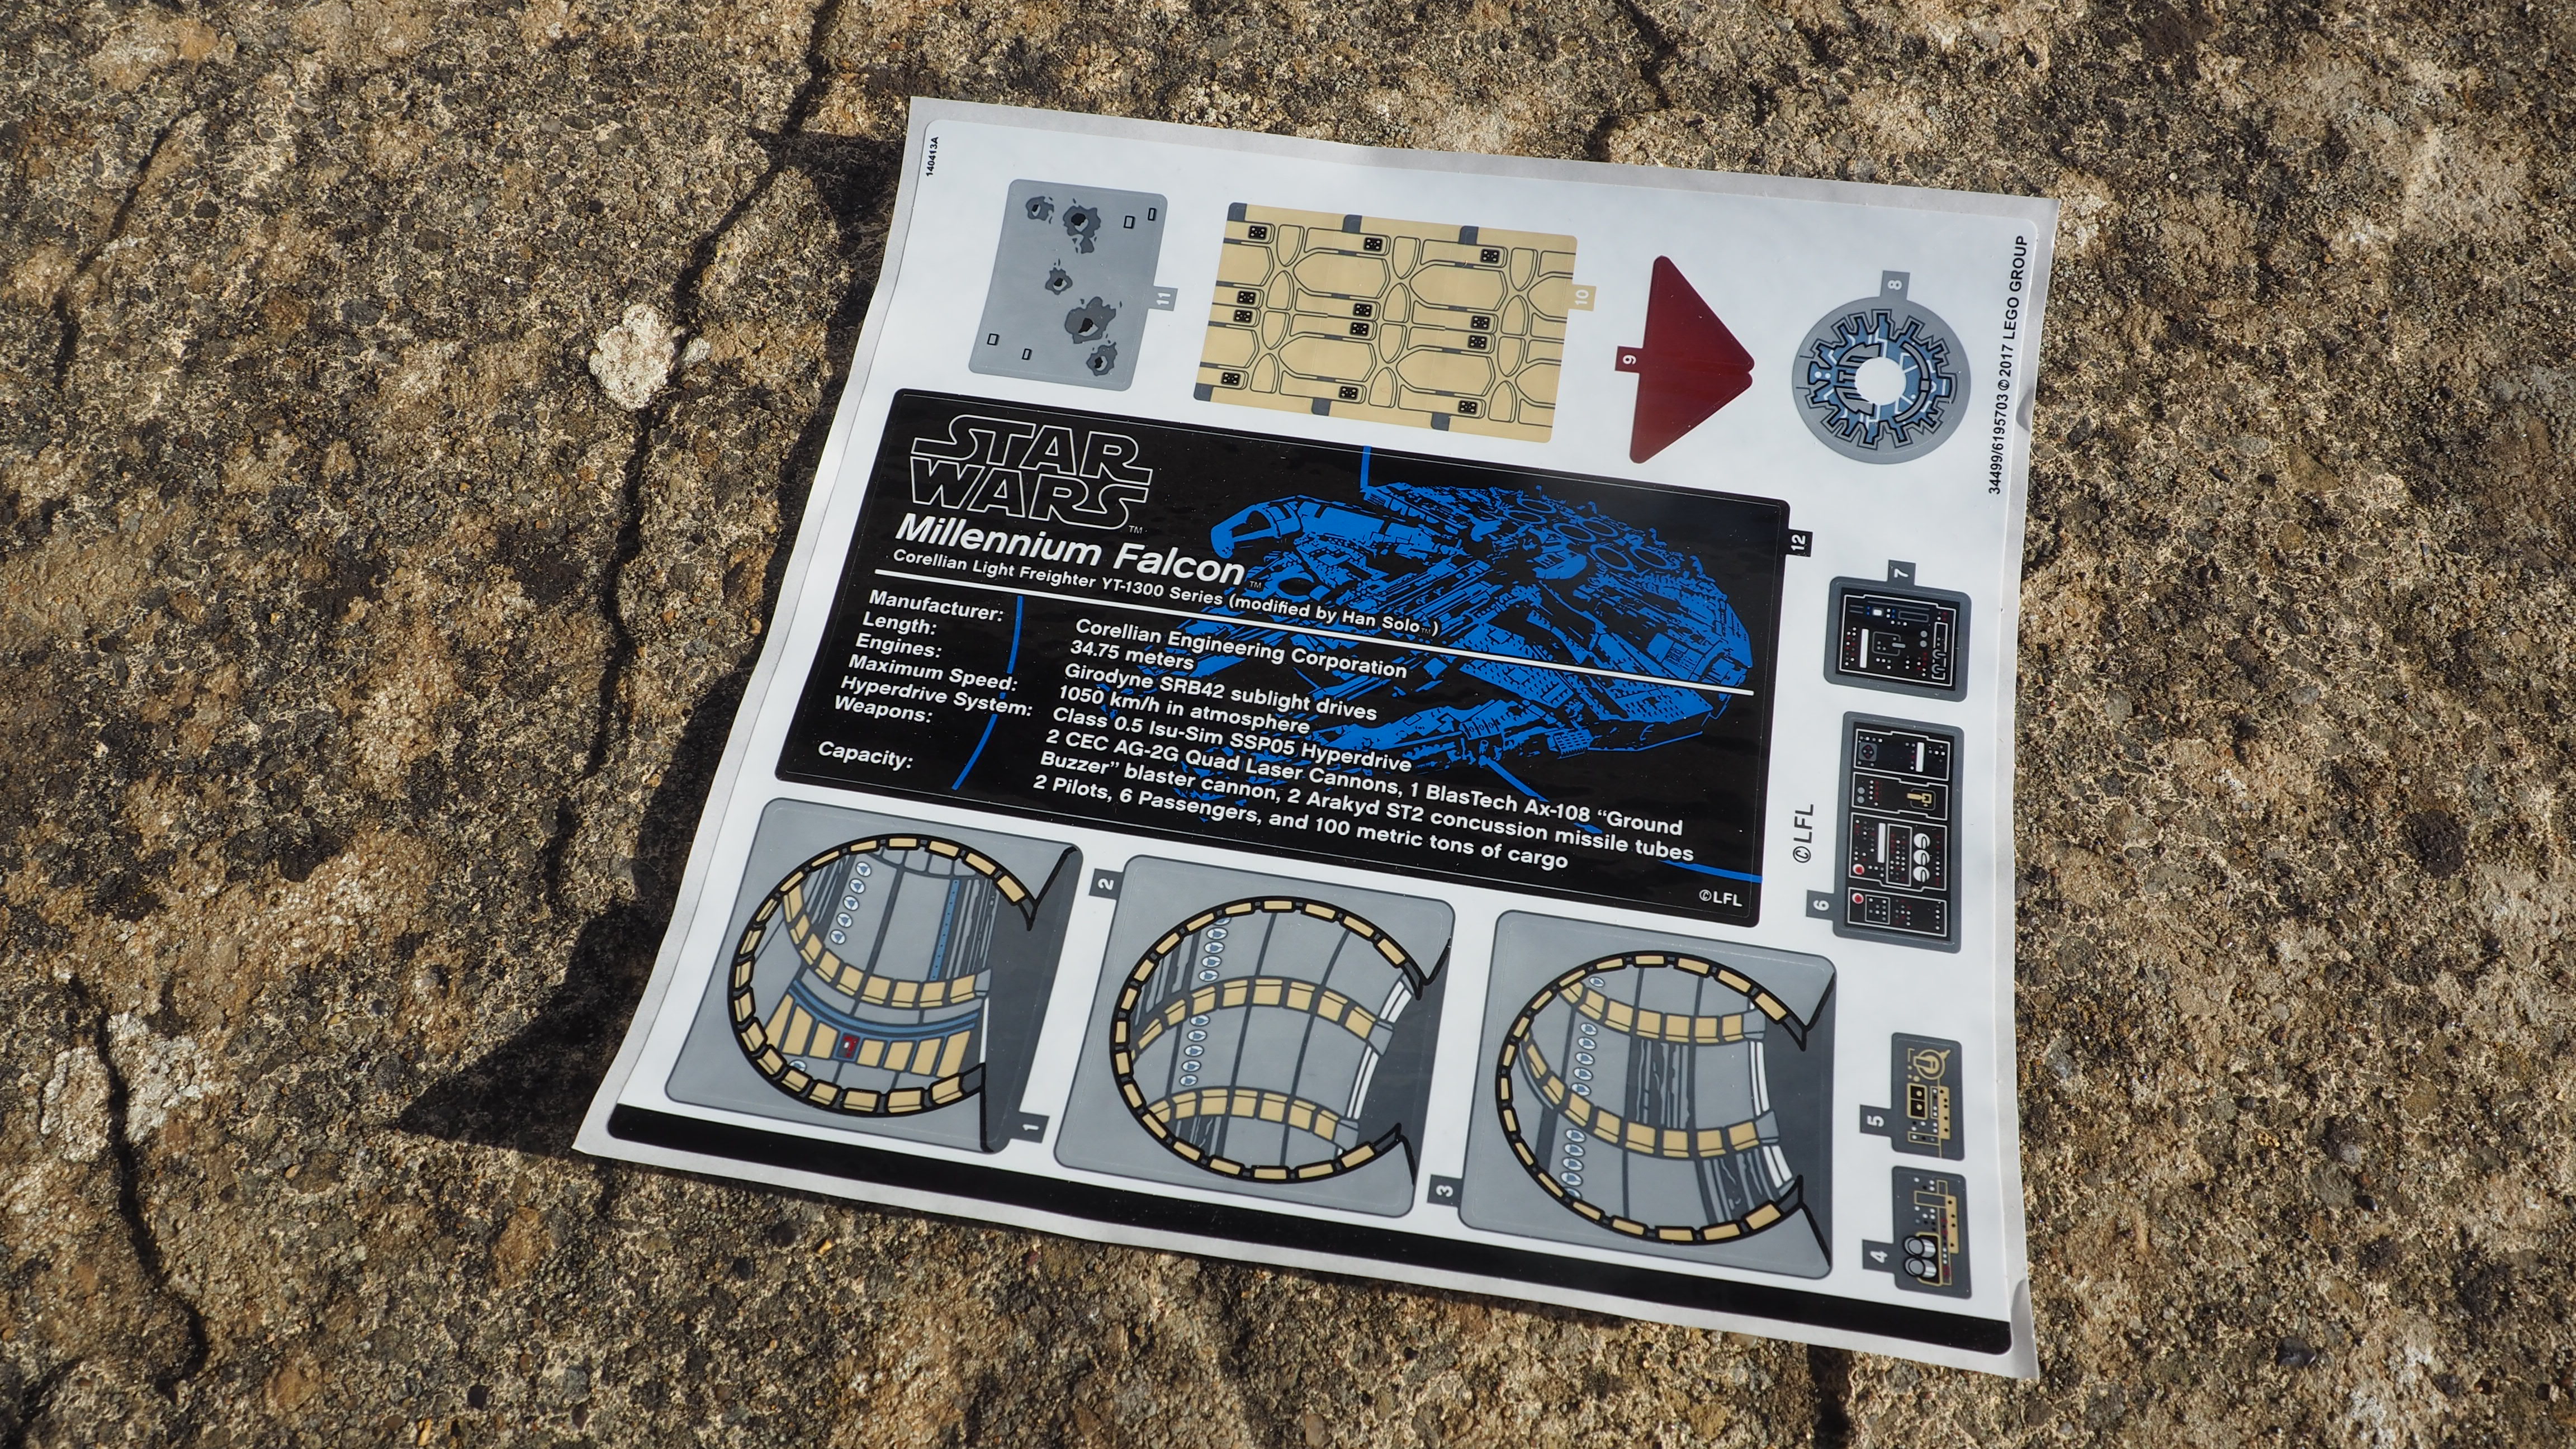
Plus there's also a single sticker sheet with some passageways (easy to apply we found) plus some console illustrations (not quite so easy). The designers have kept the stickers to an absolute minimum.
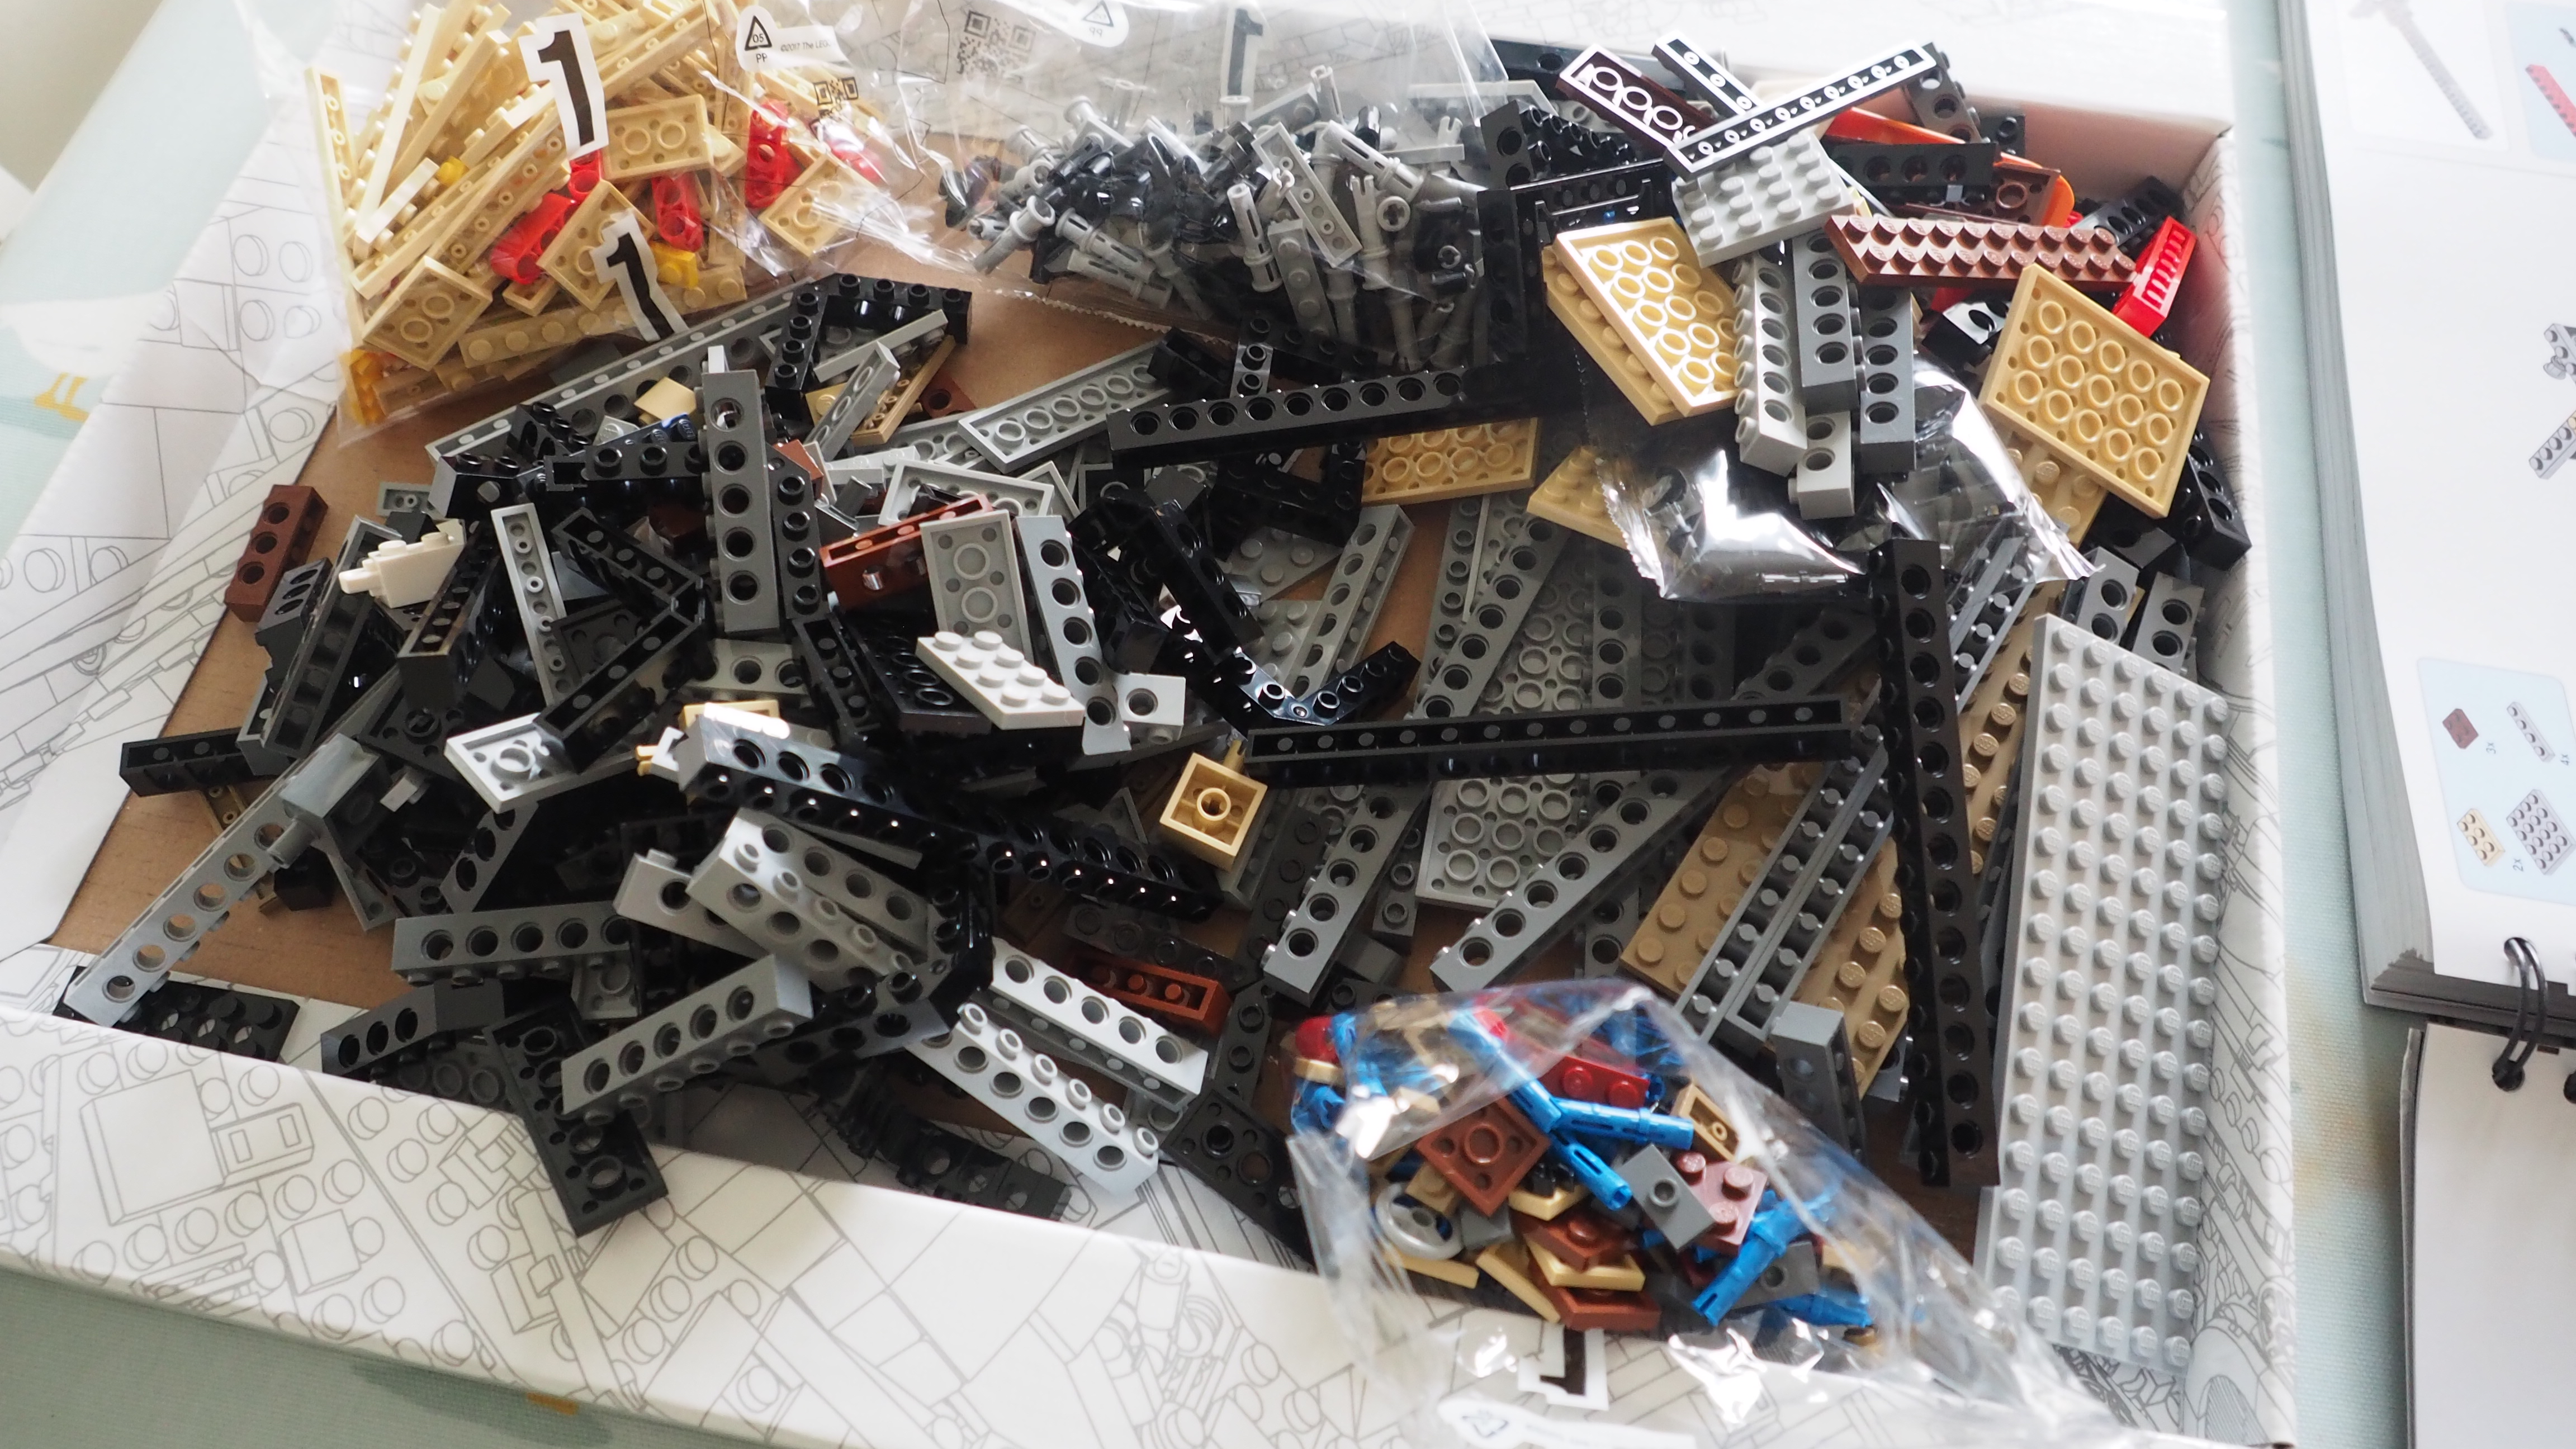
There are only a small number of unnumbered bags, which contained some of the larger Lego Technic beams that form the underpinning of the model, plus a bunch of larger plates for the first stage.
We pulled all the bags out of the boxes to show you just how much stuff there is here, but you wouldn’t do this normally of course. We’ve had a few people tweet us and say that they wouldn’t be taking theirs out of the box when they received it.
That’s a shame in our book as a lot of the joy of owning this set is surely in the building.
Assembly of the minifigures is scattered throughout the building stages and apart from the first stage – building the frame – the construction is quite varied. The initial phase - the first set of bags - seems very long, possibly because it's all structure rather than anything that actually resembles a Corellian freighter.

The crew contains figures from Episodes IV-VI as well as The Last Jedi and you can swap them out (in addition to the sensor dish) to create the Falcon from either trilogy.
The cardboard tray (the one the manual comes in) is quite useful for the build to hold the bigger pieces for each stage, although – sorry if we’re teaching you to suck Lego eggs here – it’s best if you get a few bowls and separate out the different bags.
For most of the stages there are so many pieces that you need to learn where you can get the different elements from, otherwise you will spend hours trying to find the right elements. Locating elements is a huge part of the time spent and it’s why you tend to speed up towards the end of each phase of building.
Our Lego Star Wars Millennium Falcon build diary
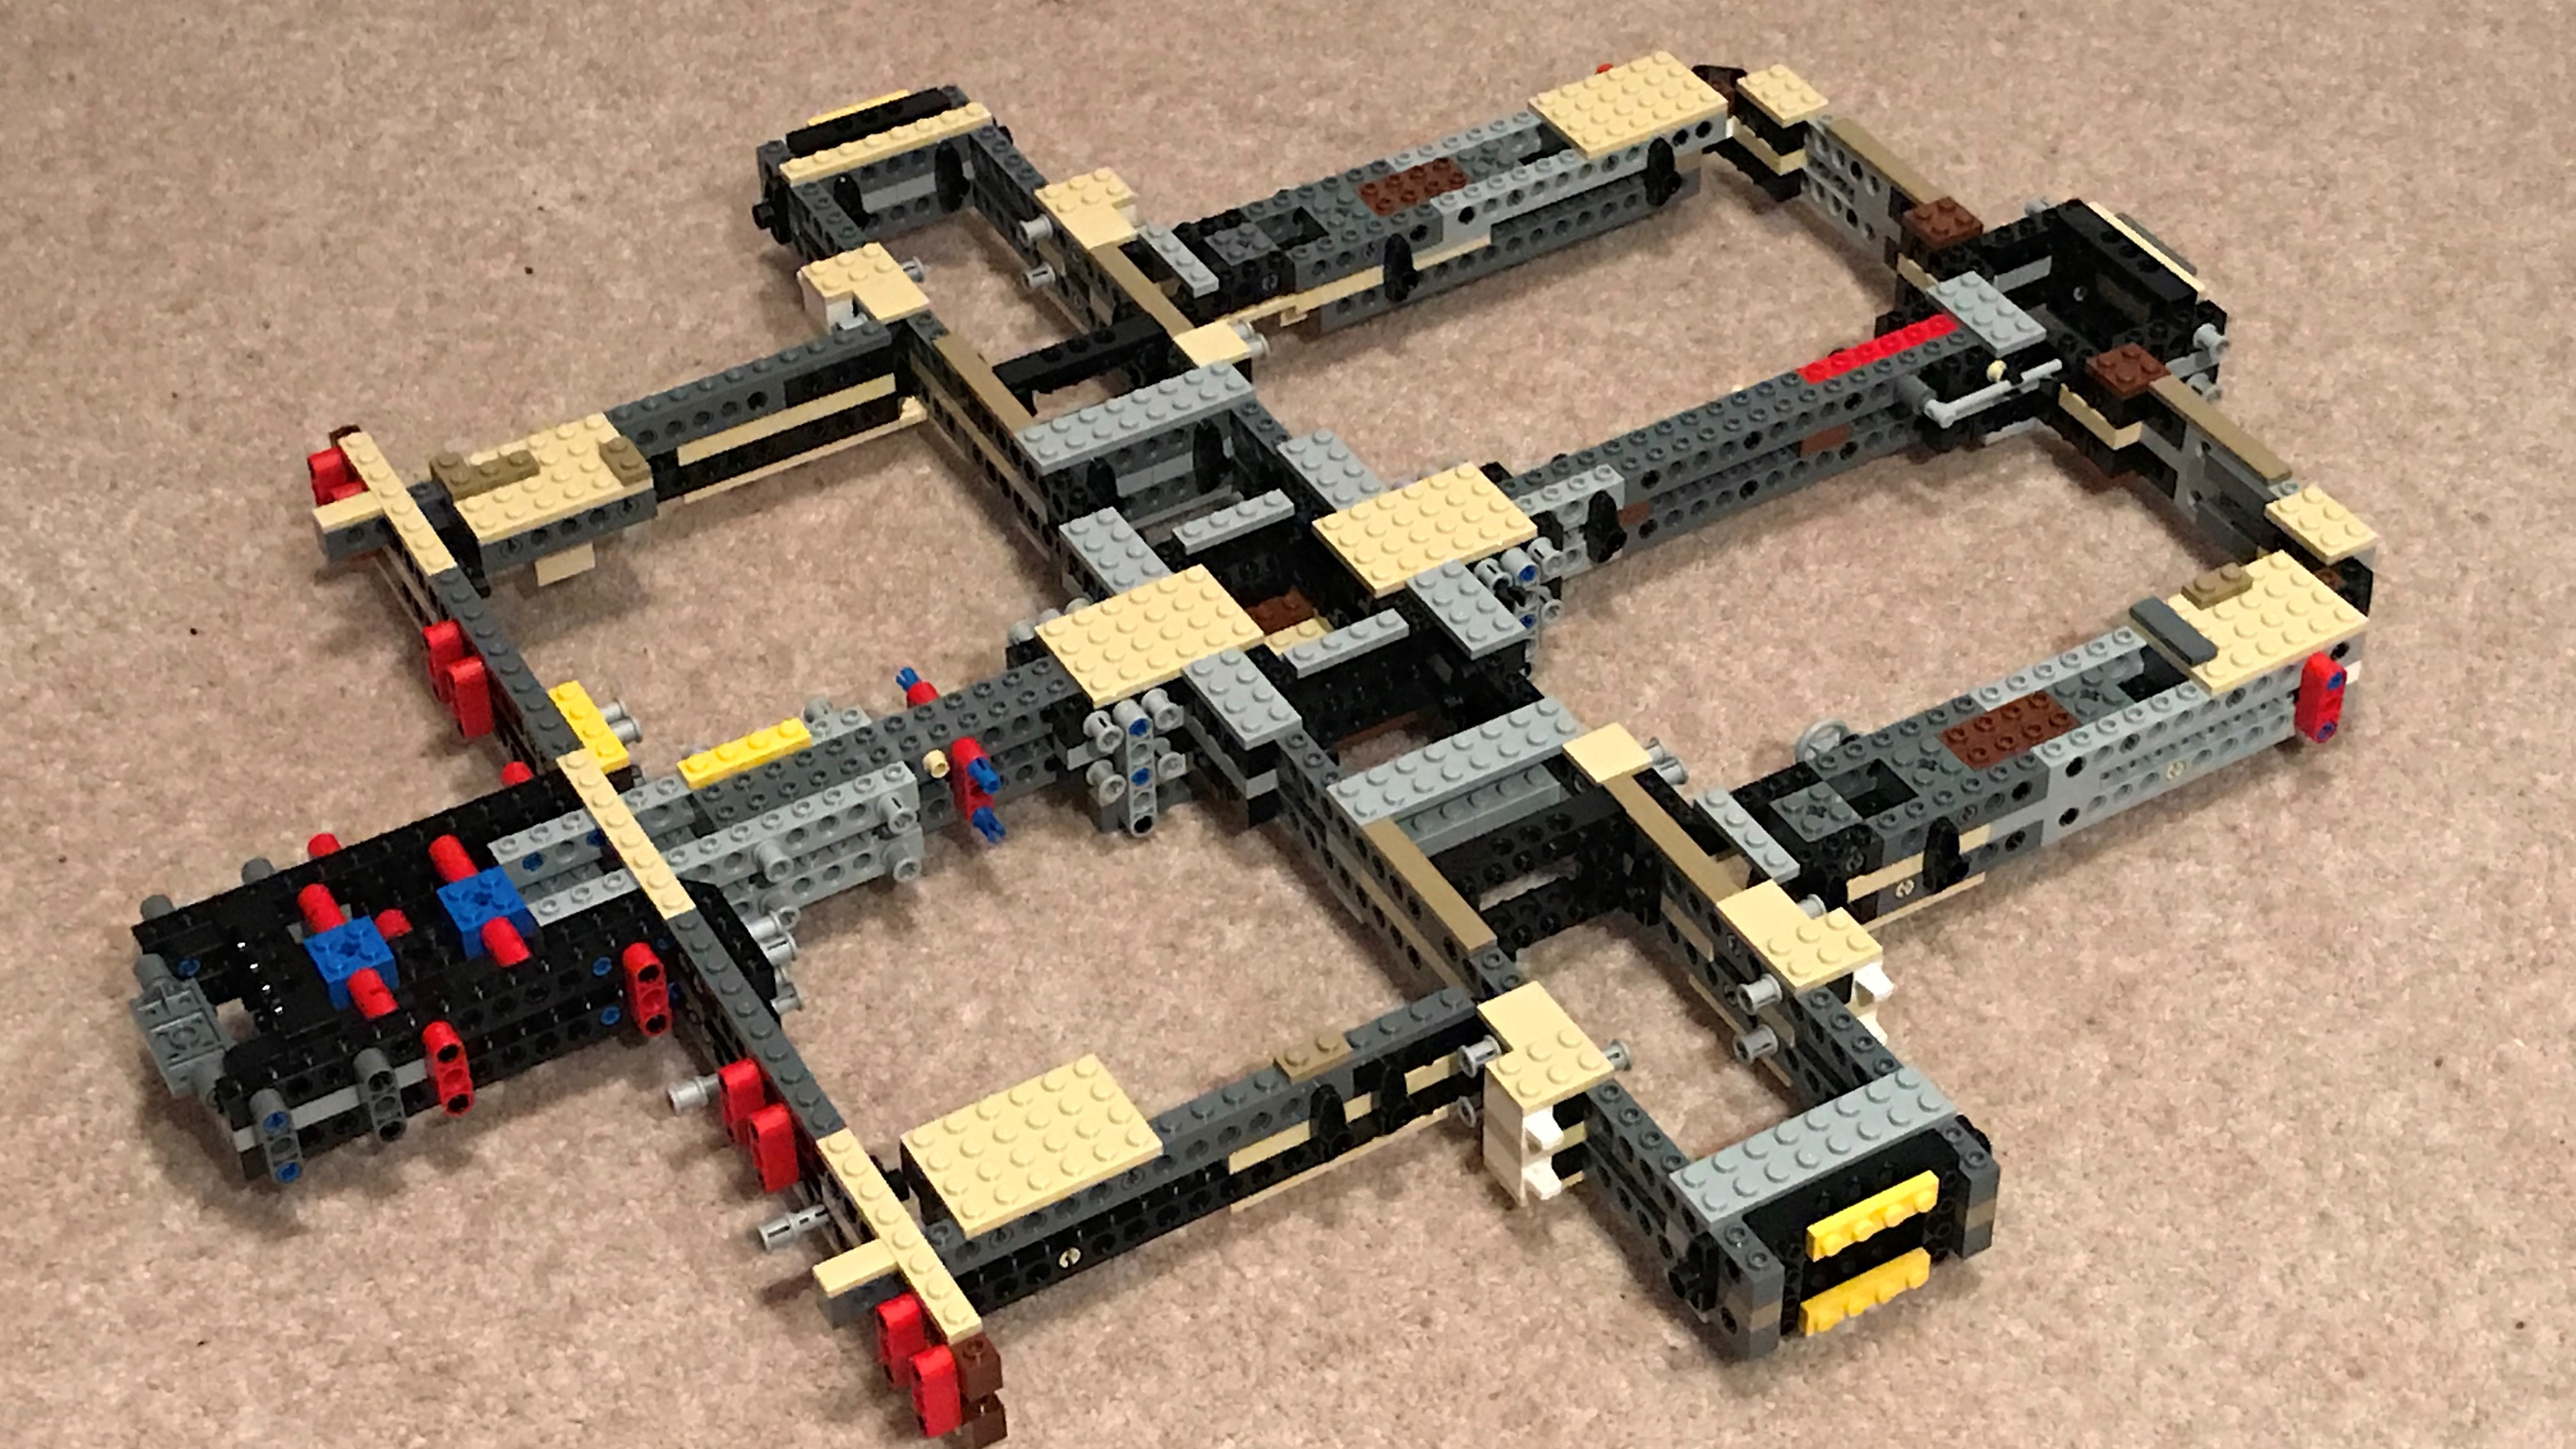
Here’s the model after stage one of the build, around 130 steps of Technic pins and beams last Sunday afternoon (stage 1). As you can see, there are four main areas, into which rooms are lowered when built in stage three and four (essentially the rooms hang off this frame).
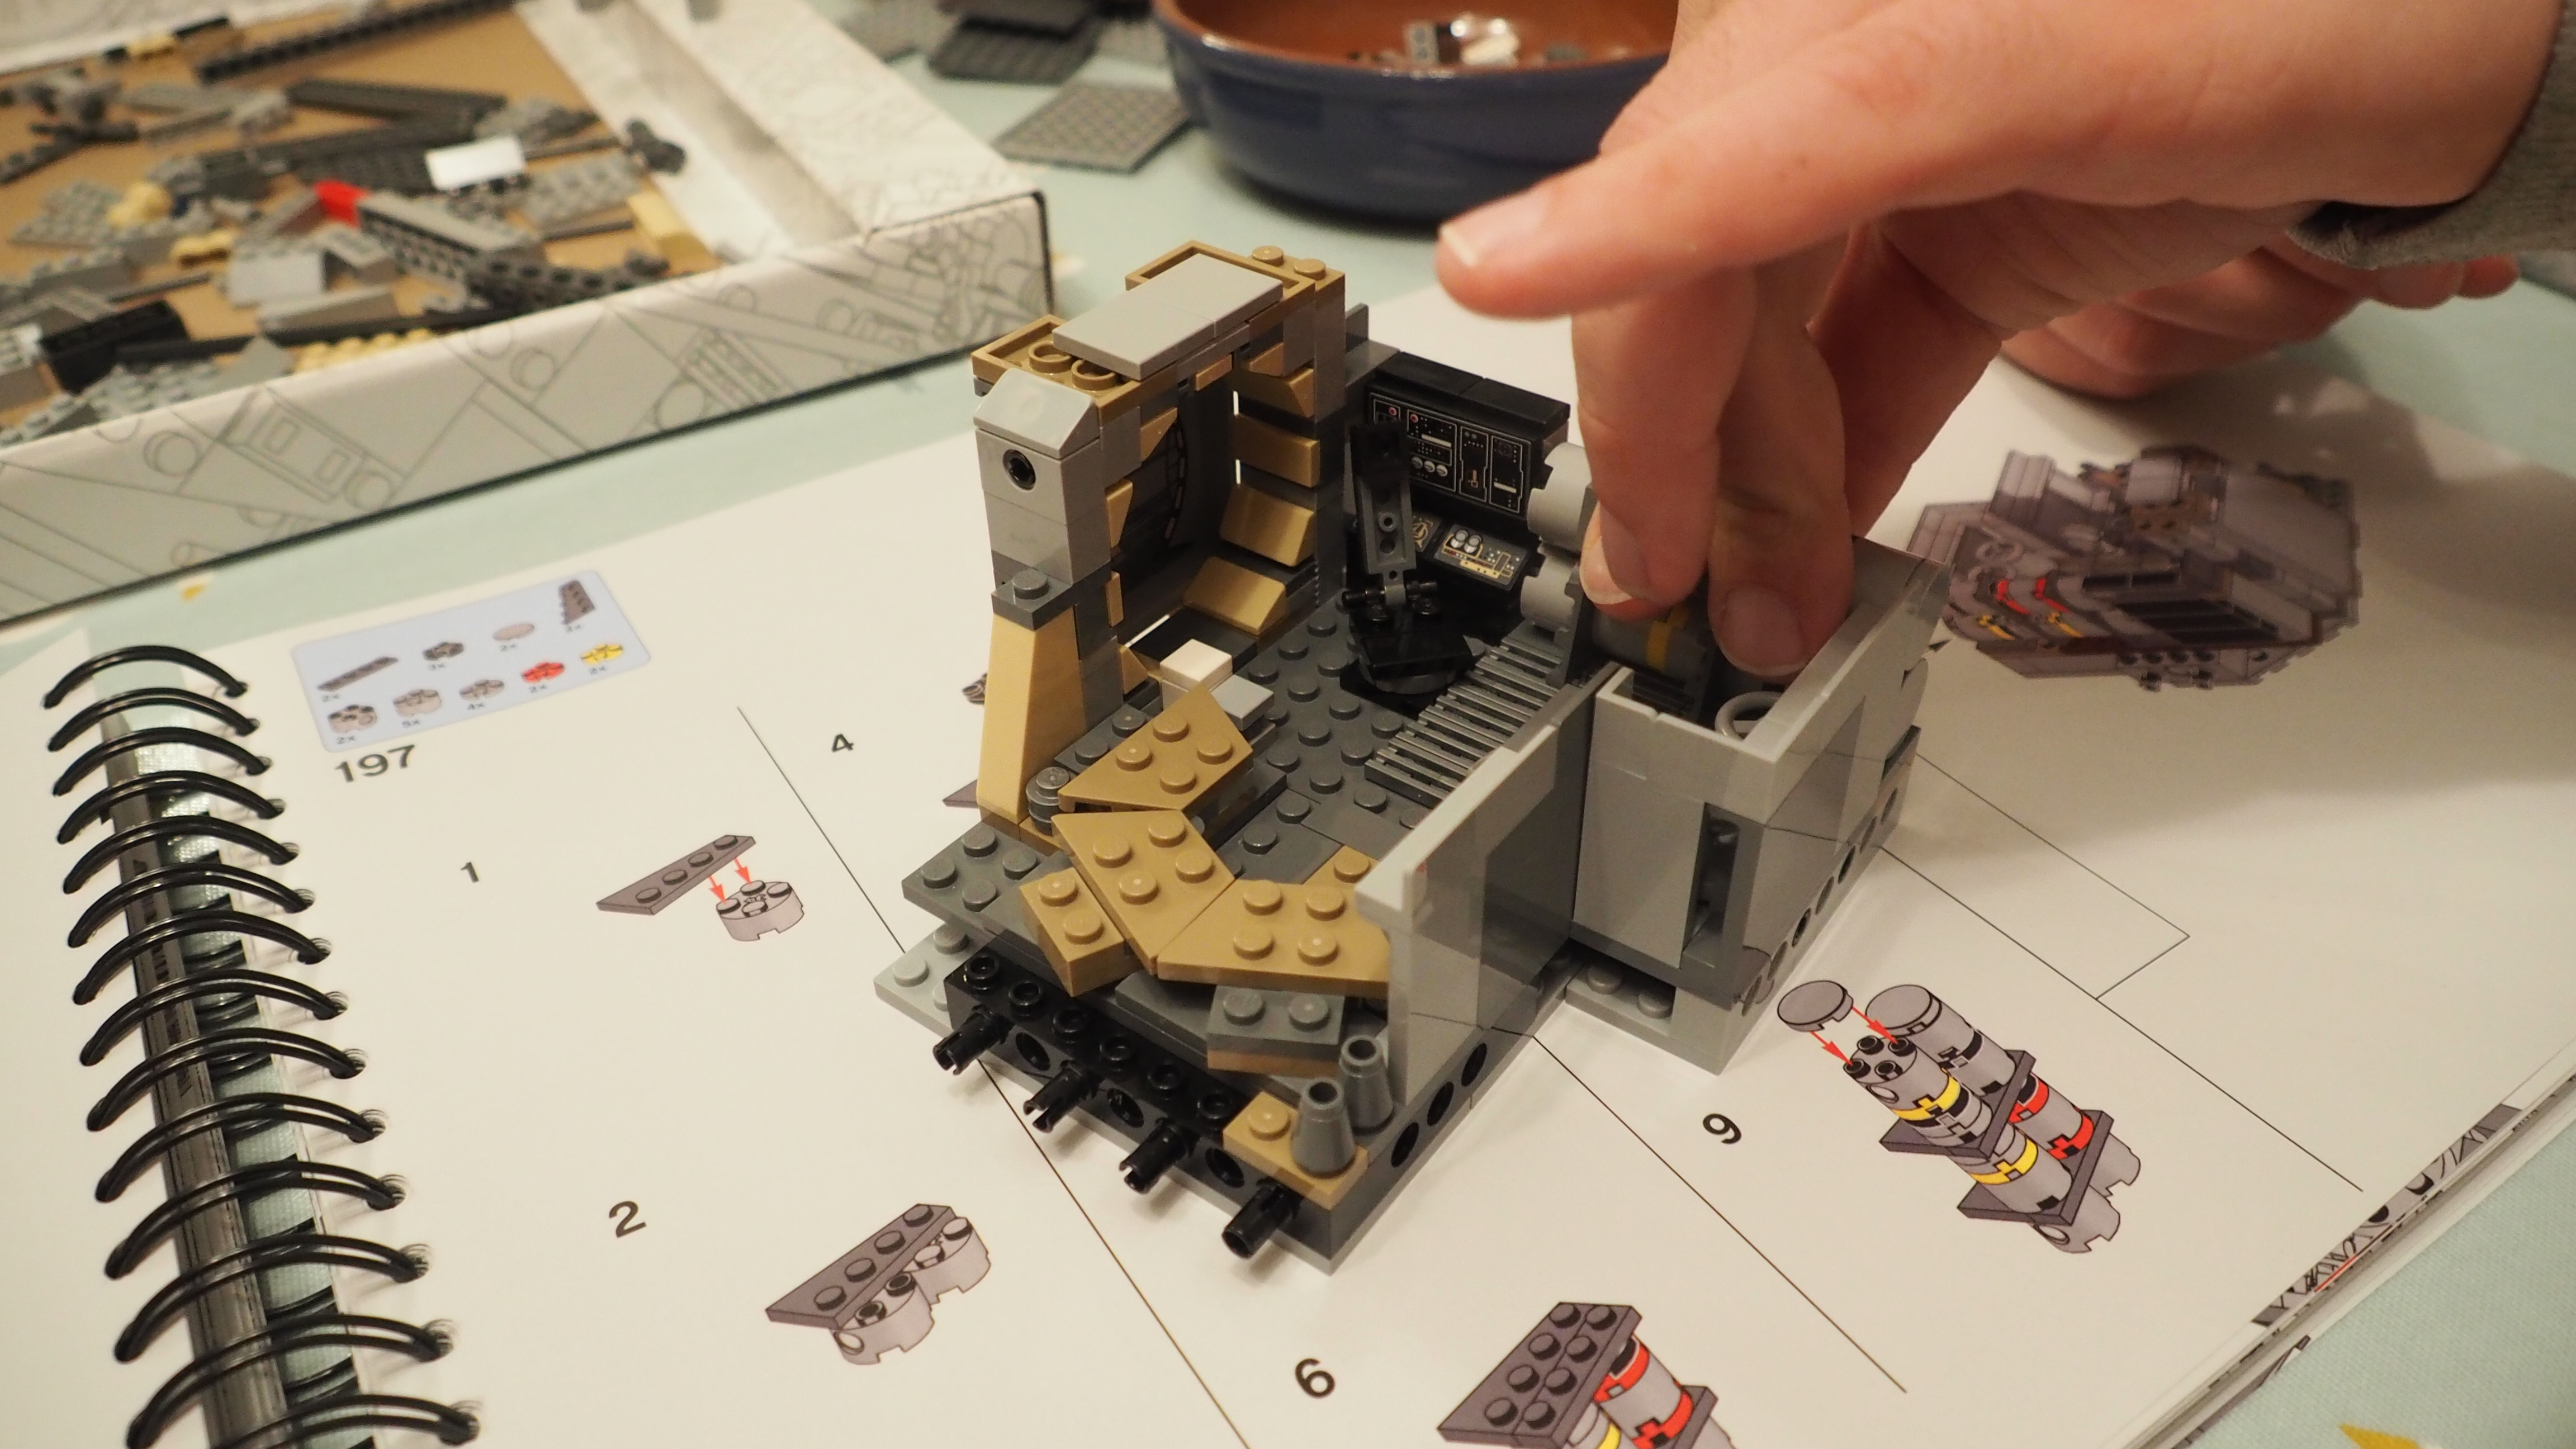
One of the rooms under construction in stage three.
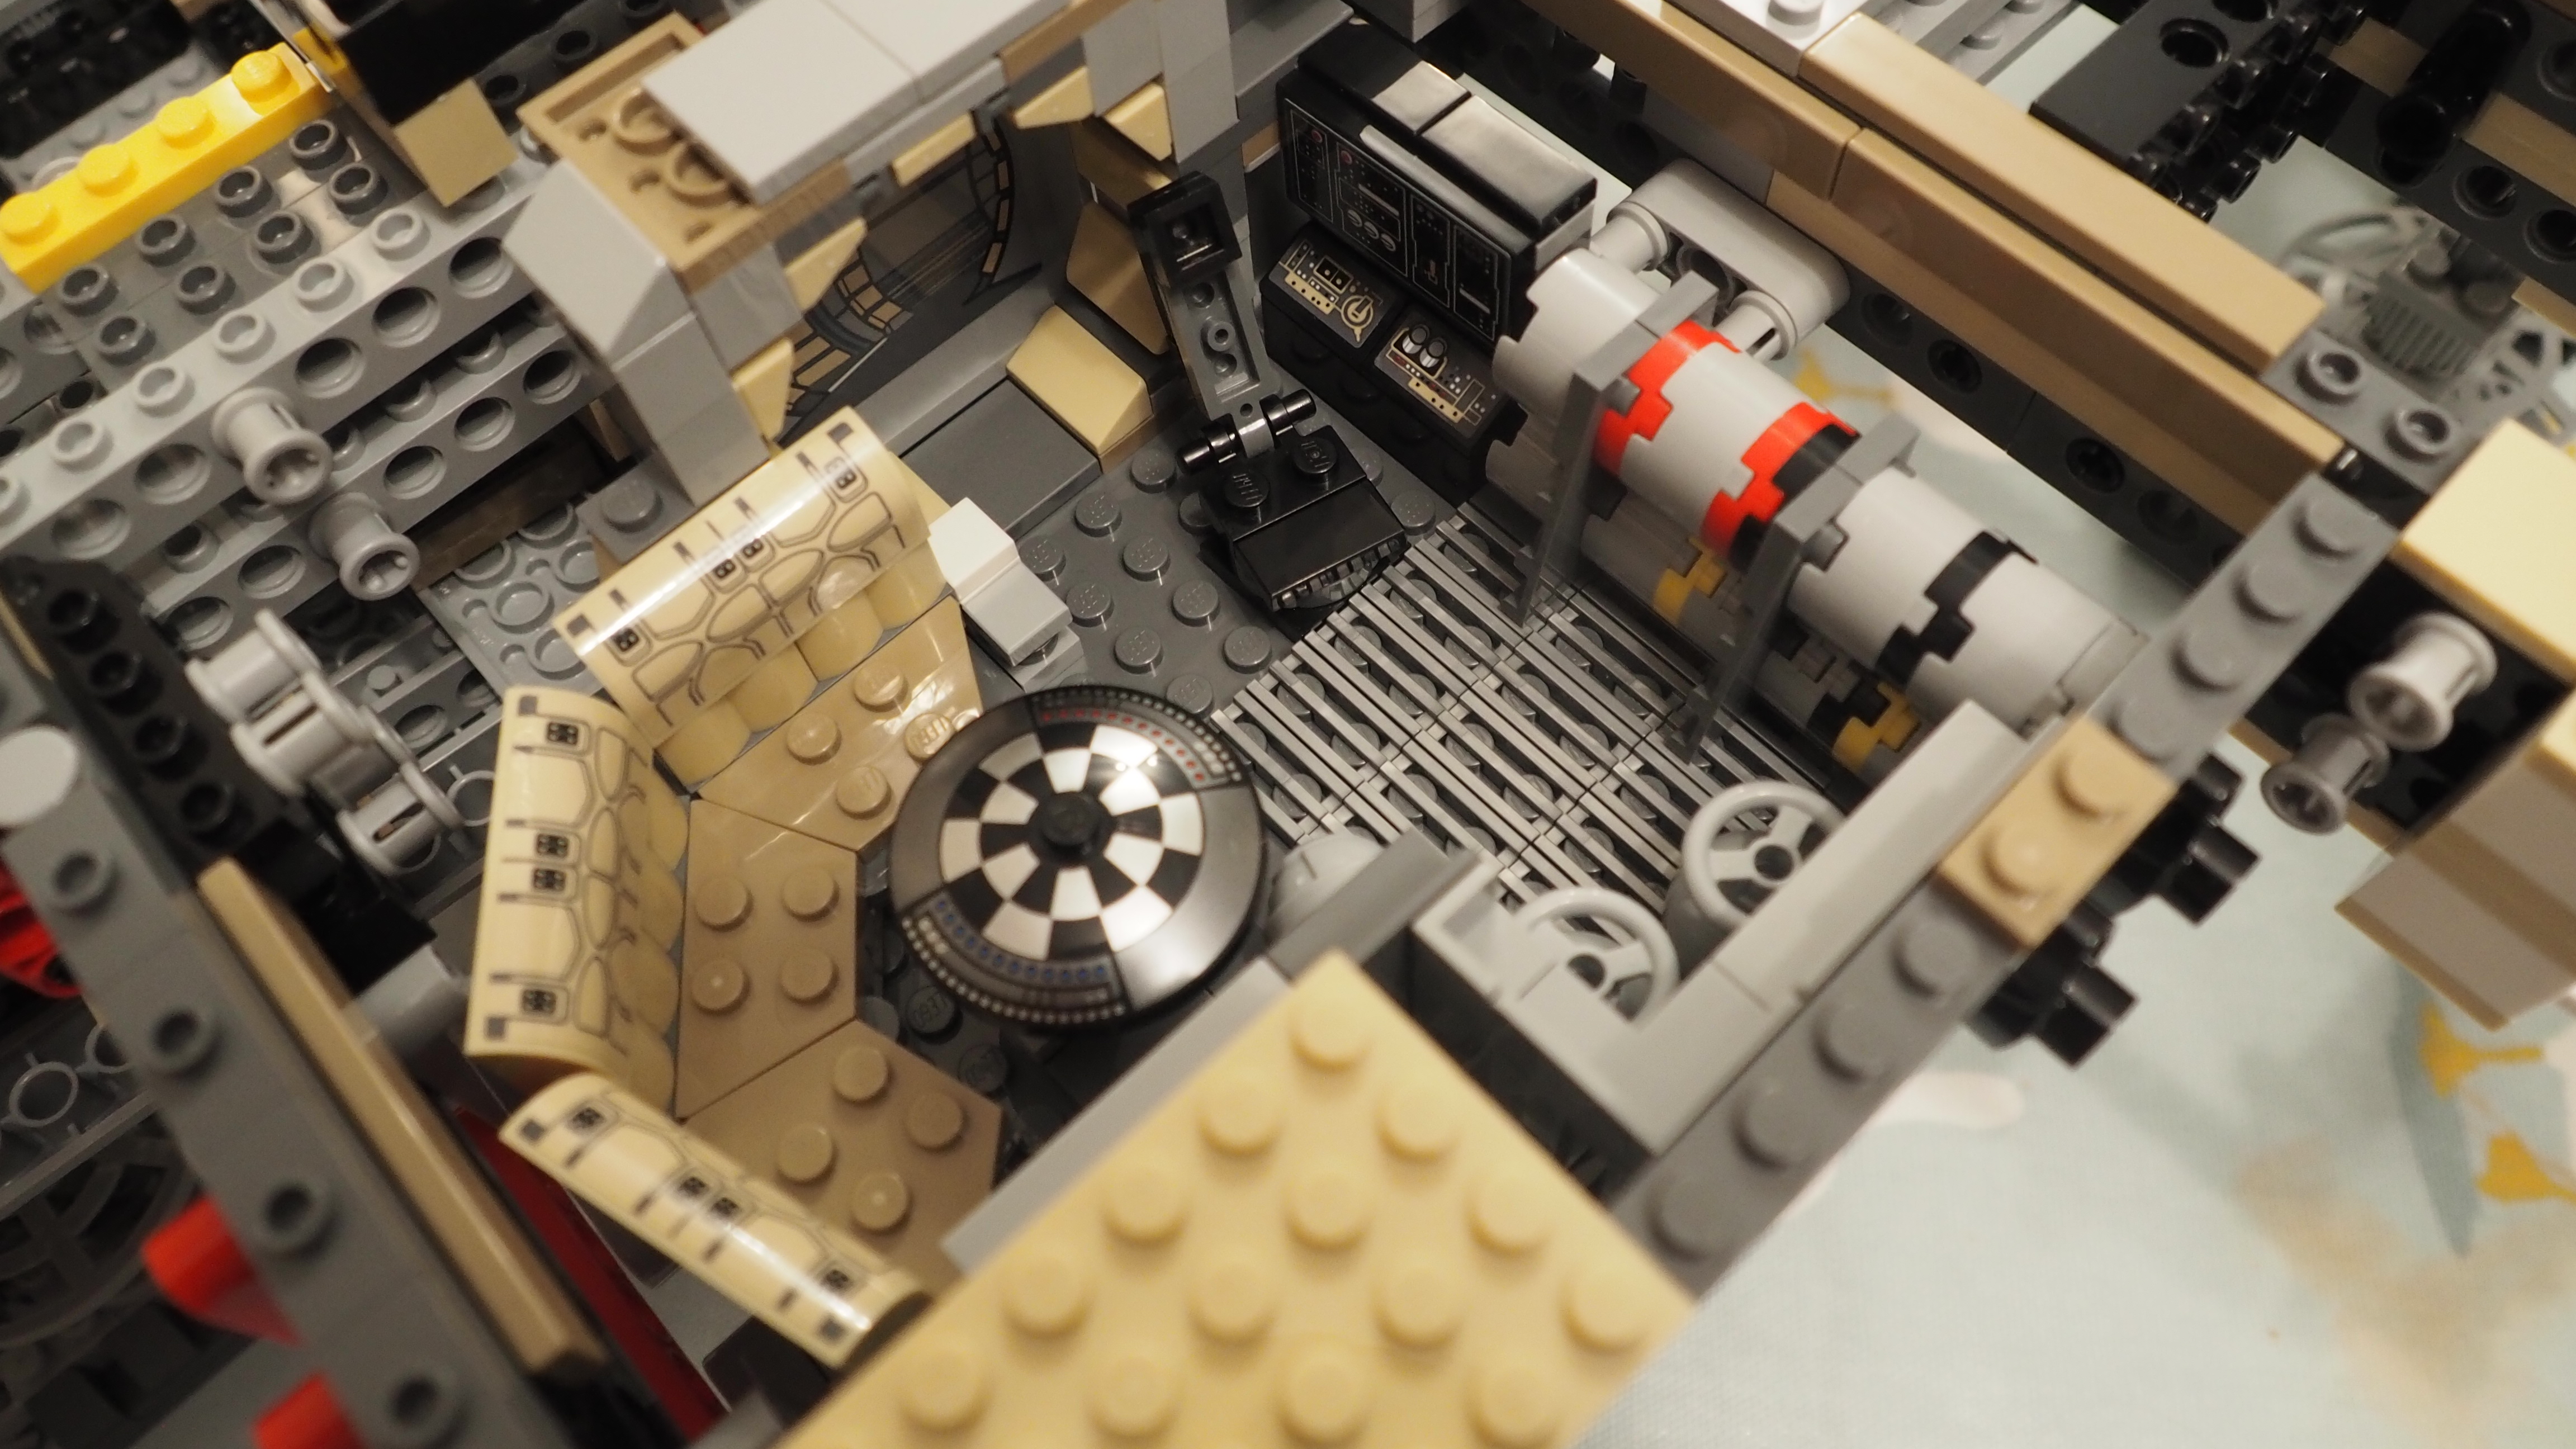
The stunning detail of the engineering station and additional seats.
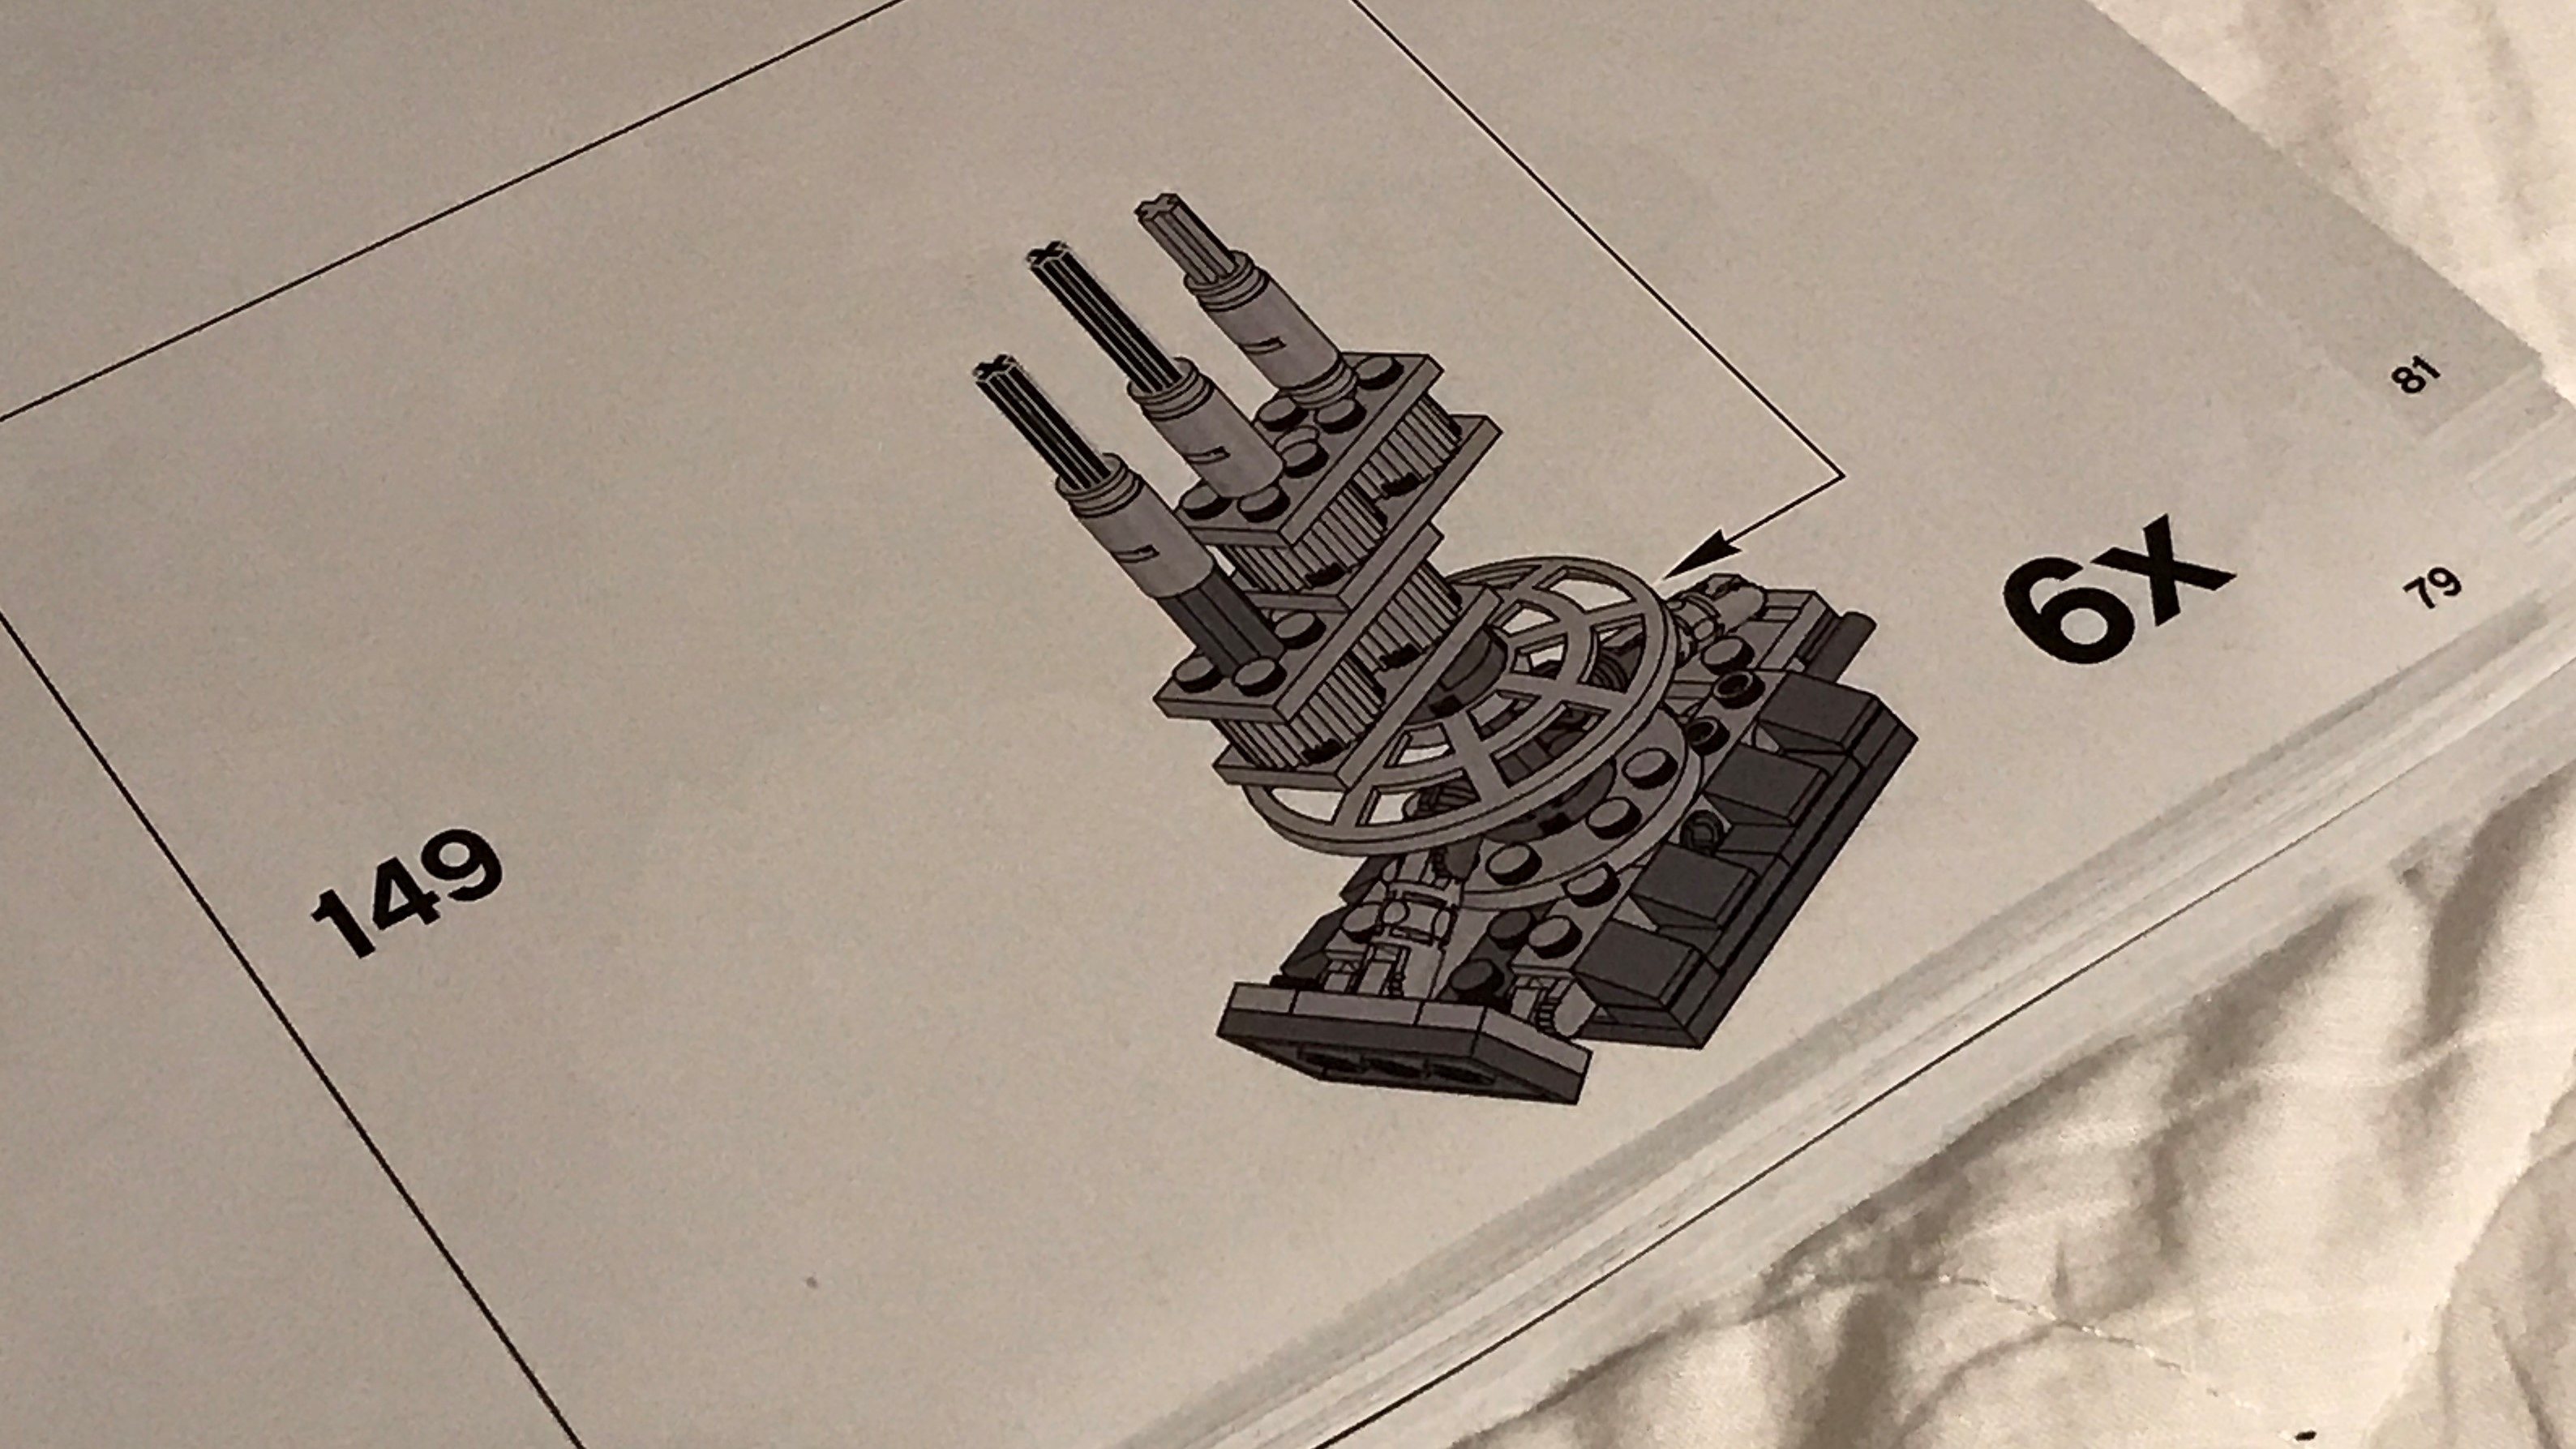
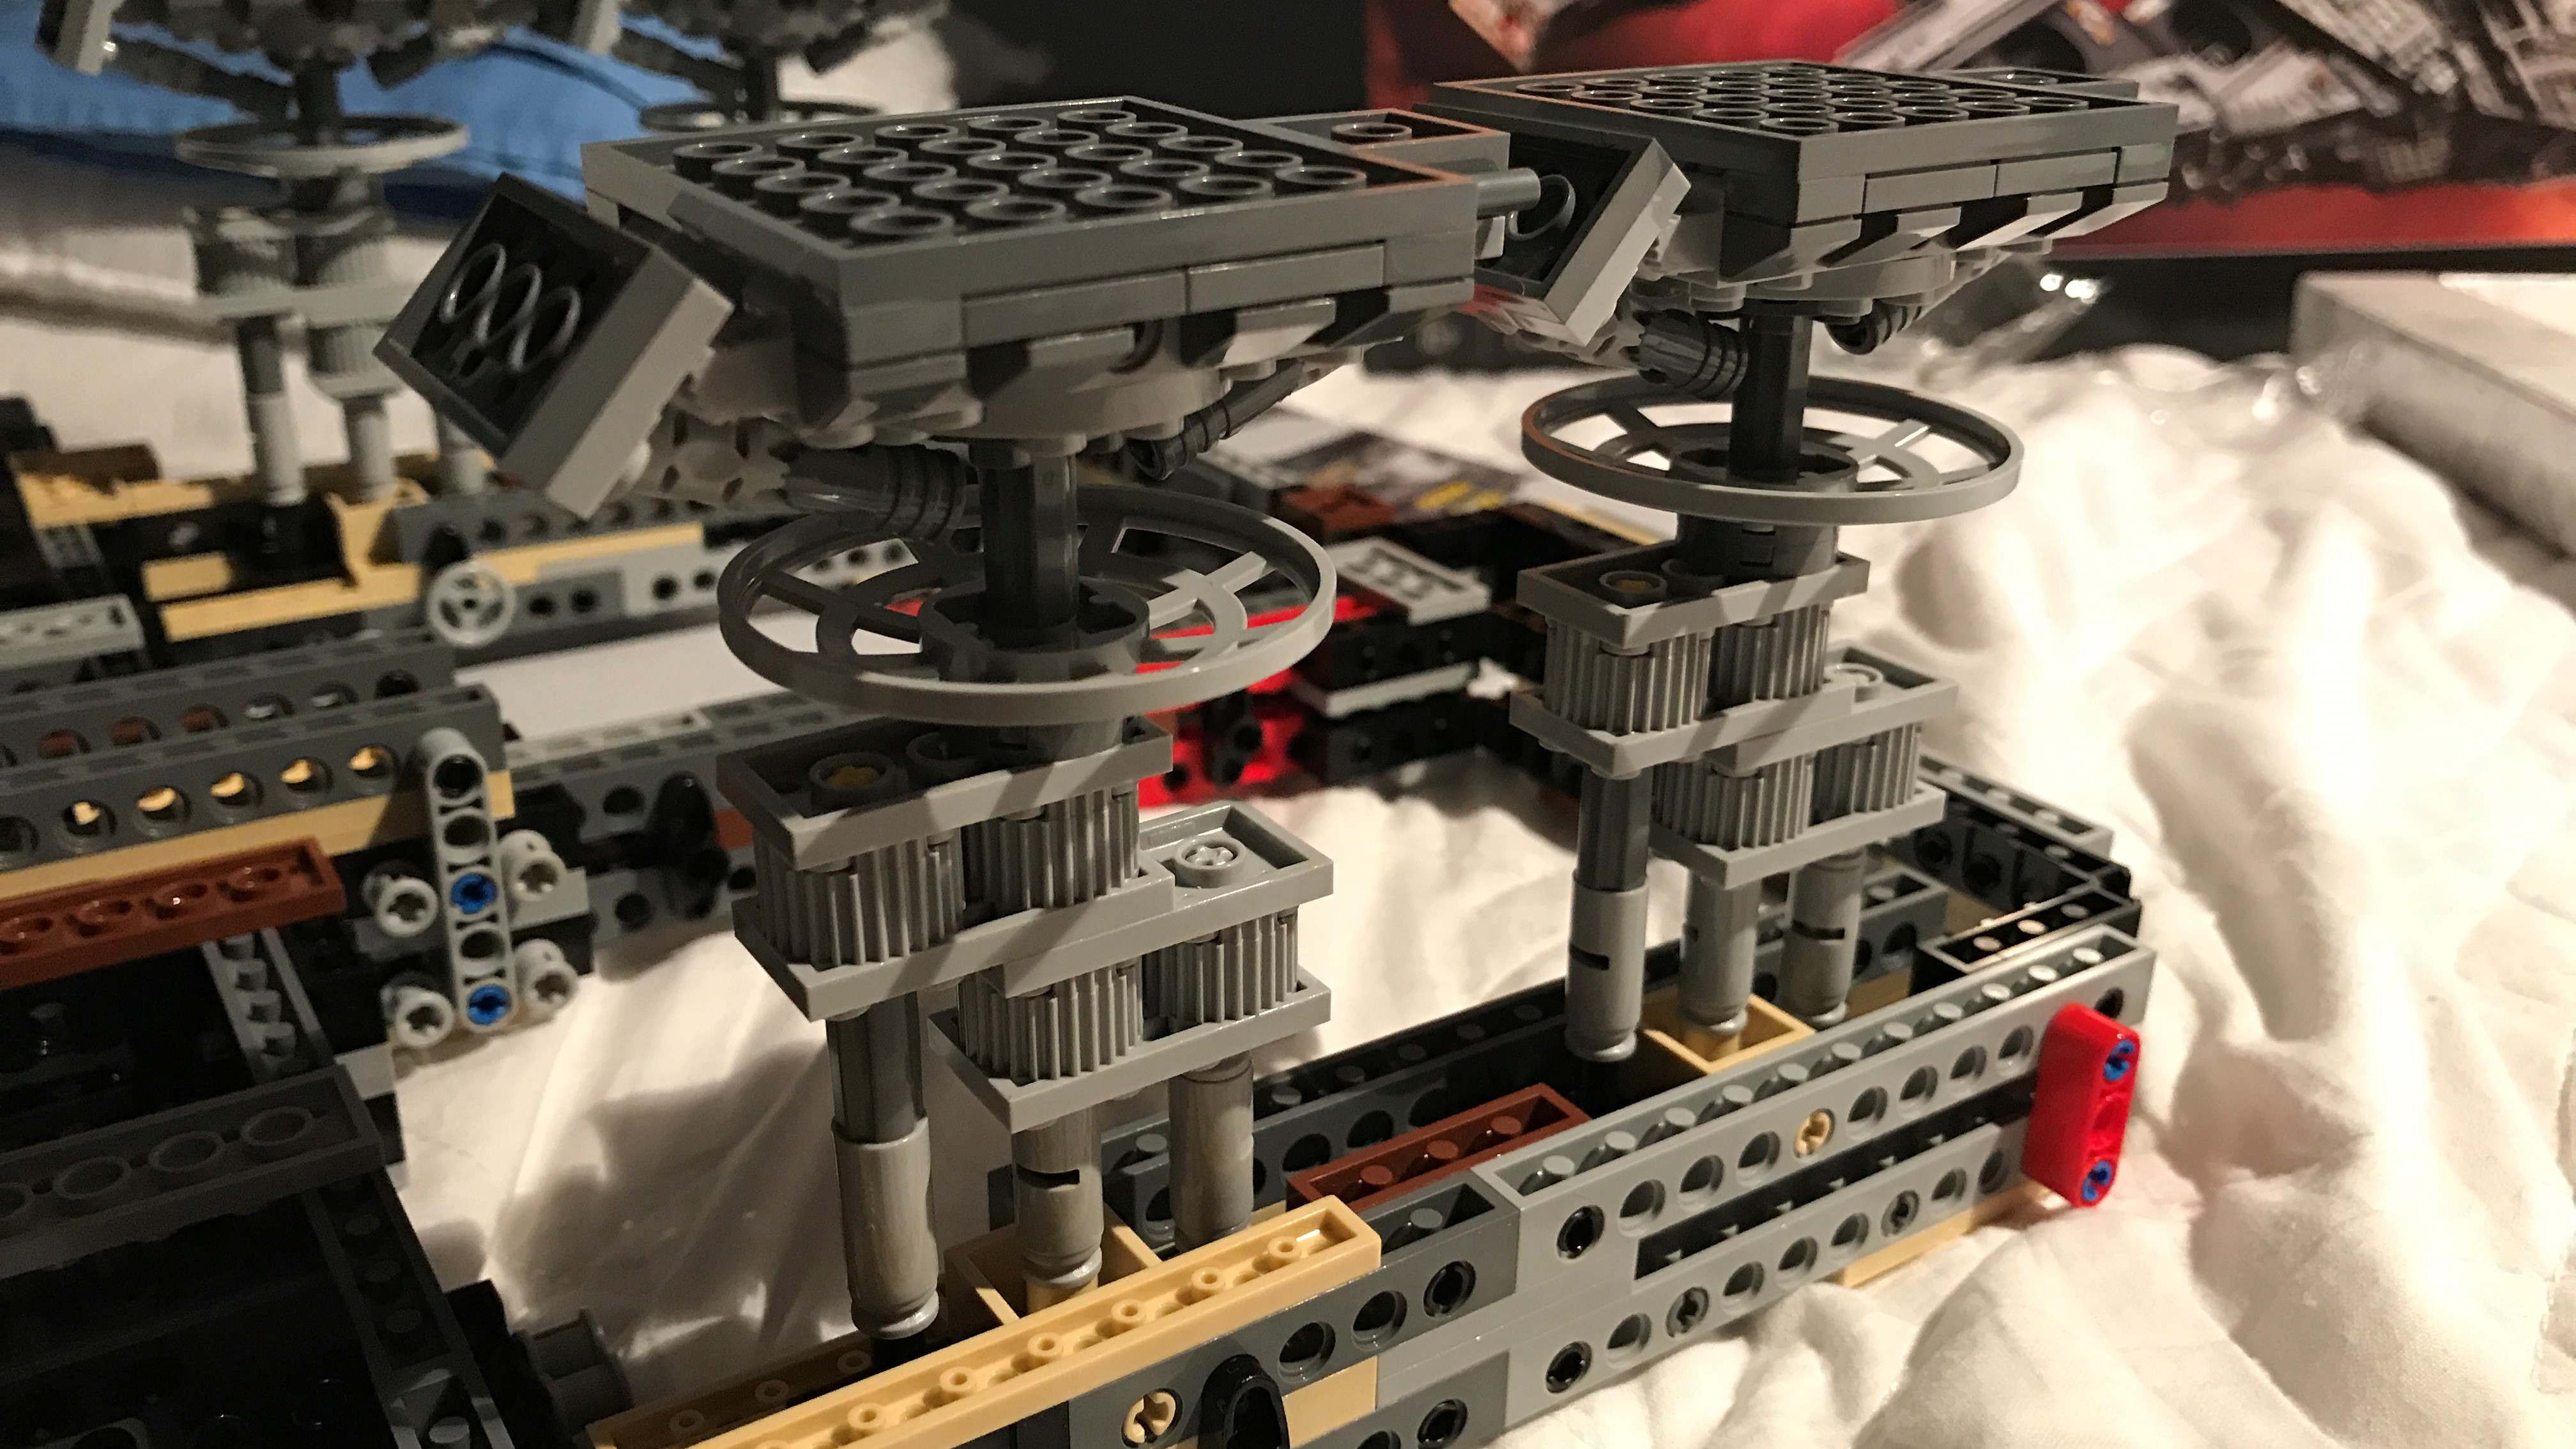
The feet were pretty arduous to put together seven times in total, mostly in stage two of building!
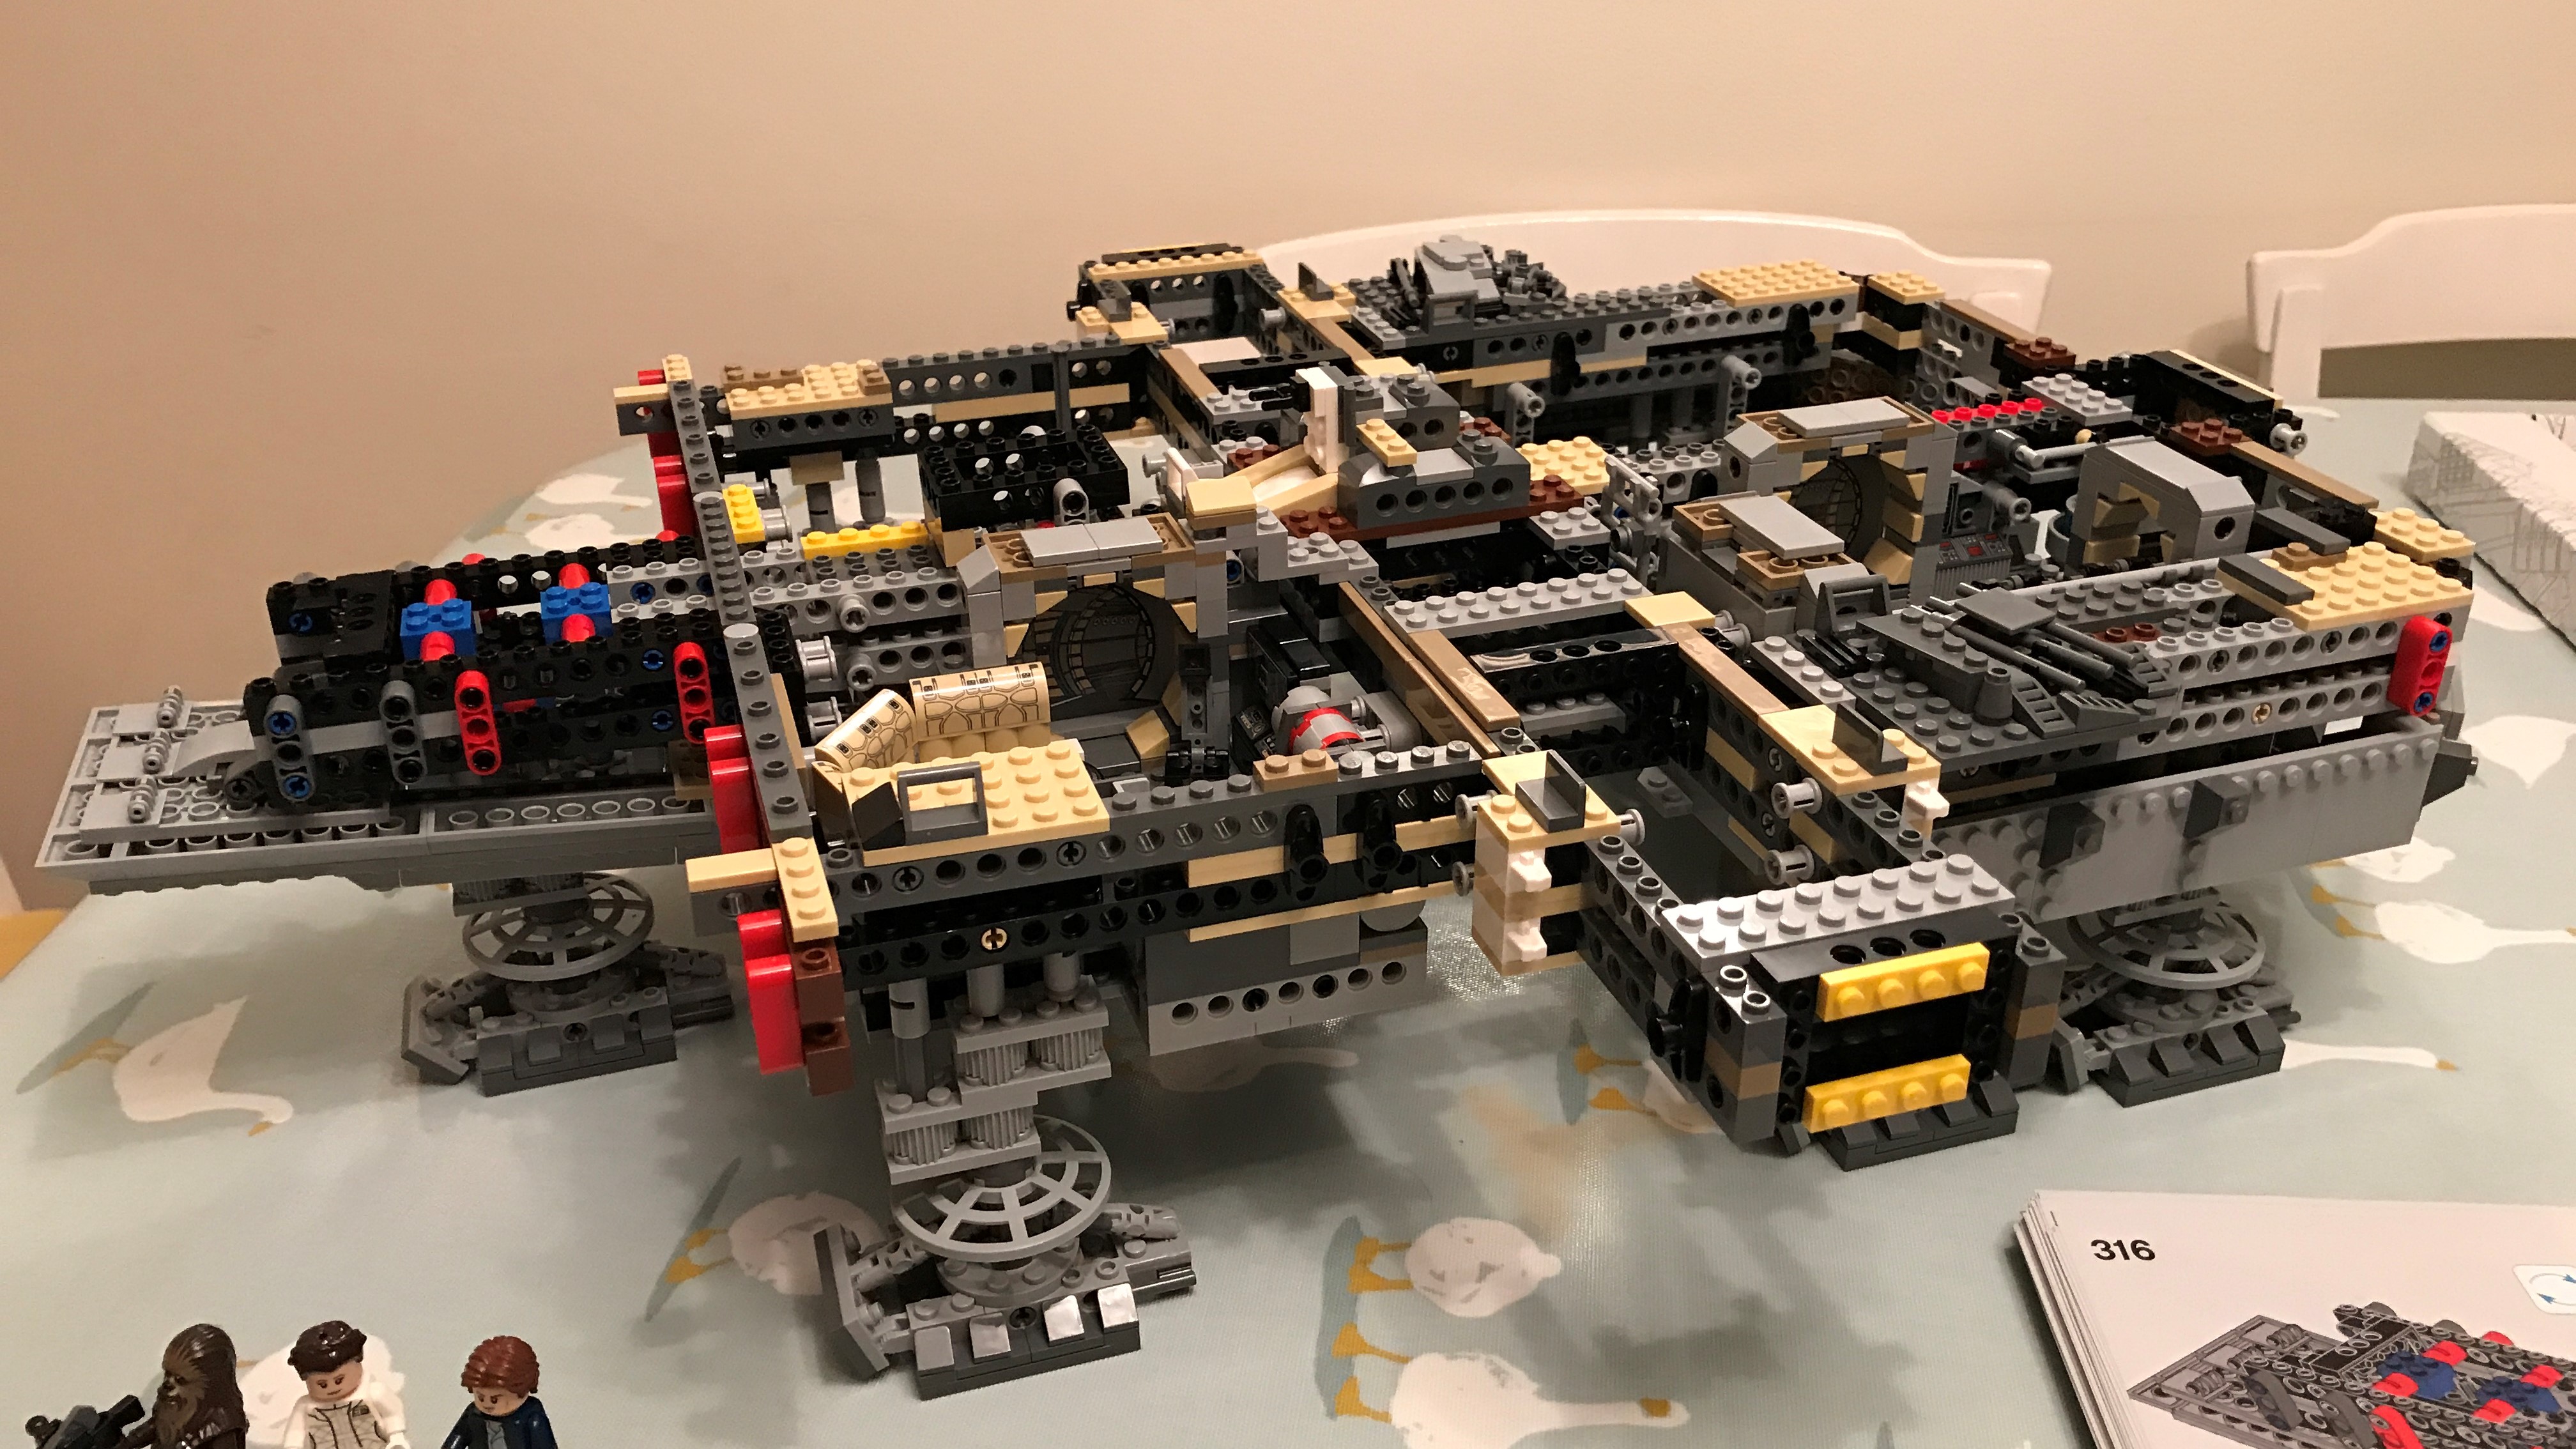
Here we are at step 316 - all four rooms are in, while the front undercarriage is also finished.
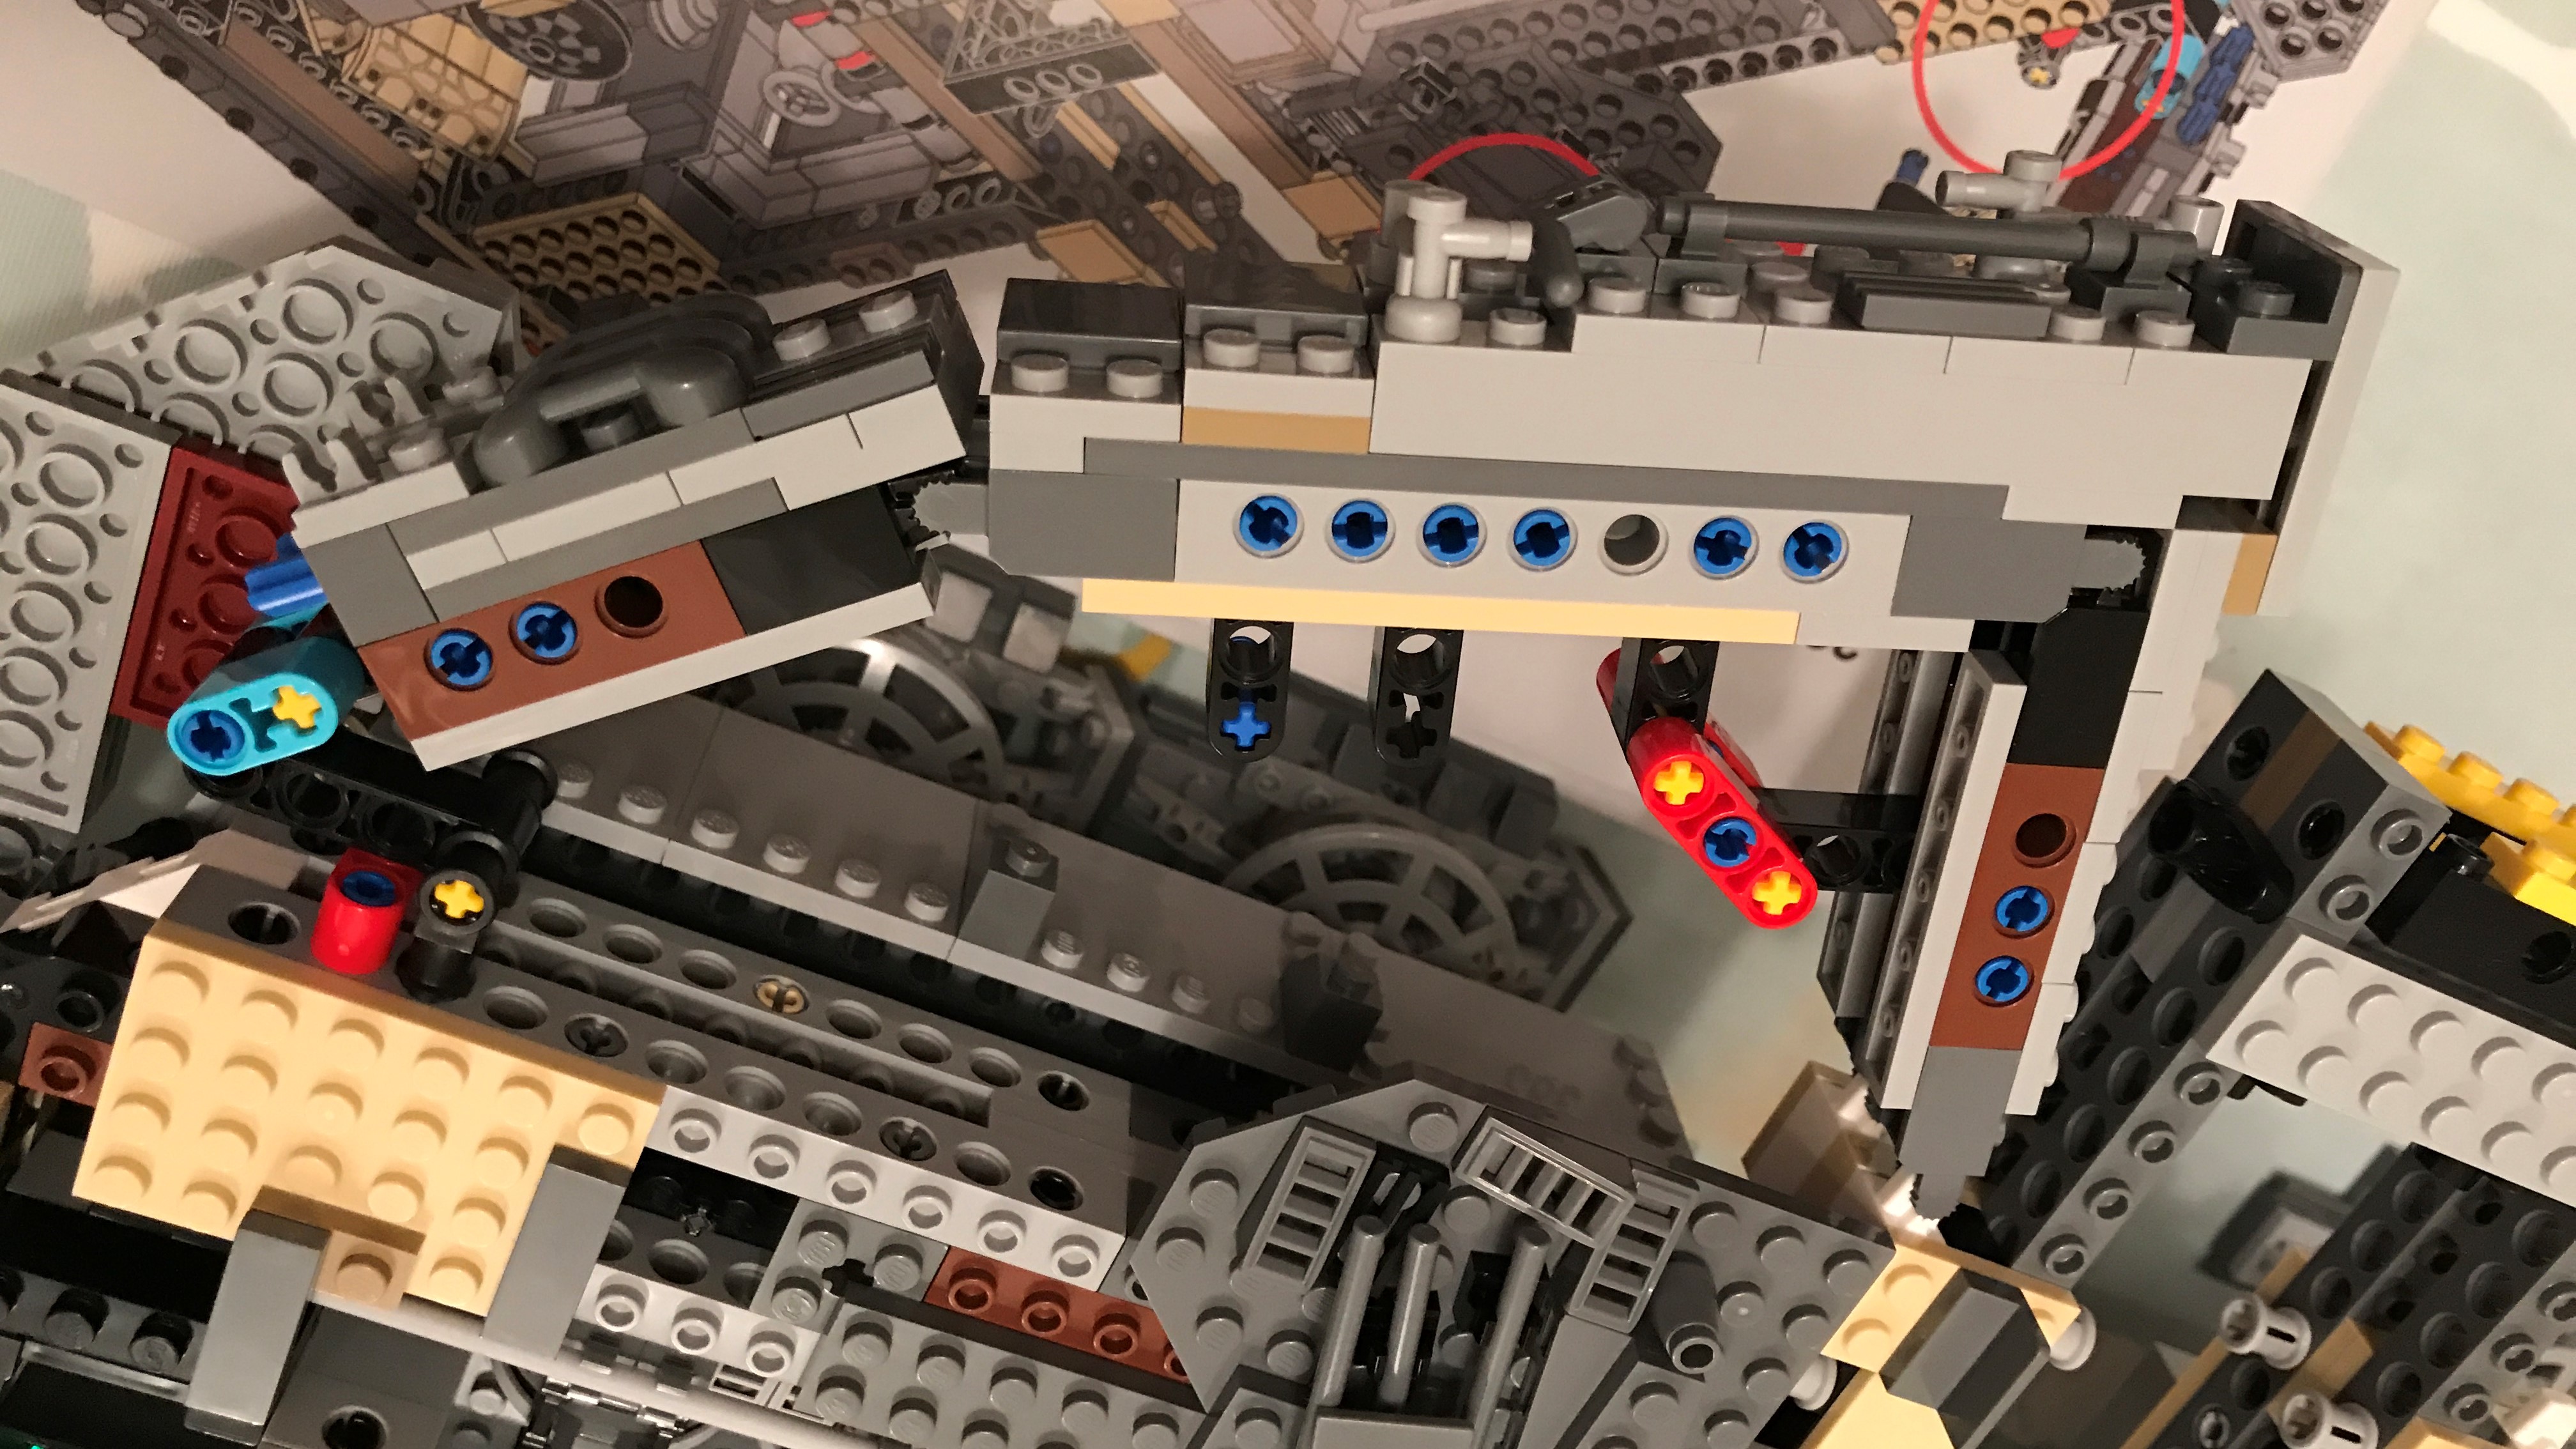
The steps after - towards and beyond 400 - include plenty of this kind of action. Large beams, pins and other elements that make up the rear and side edging of the craft.
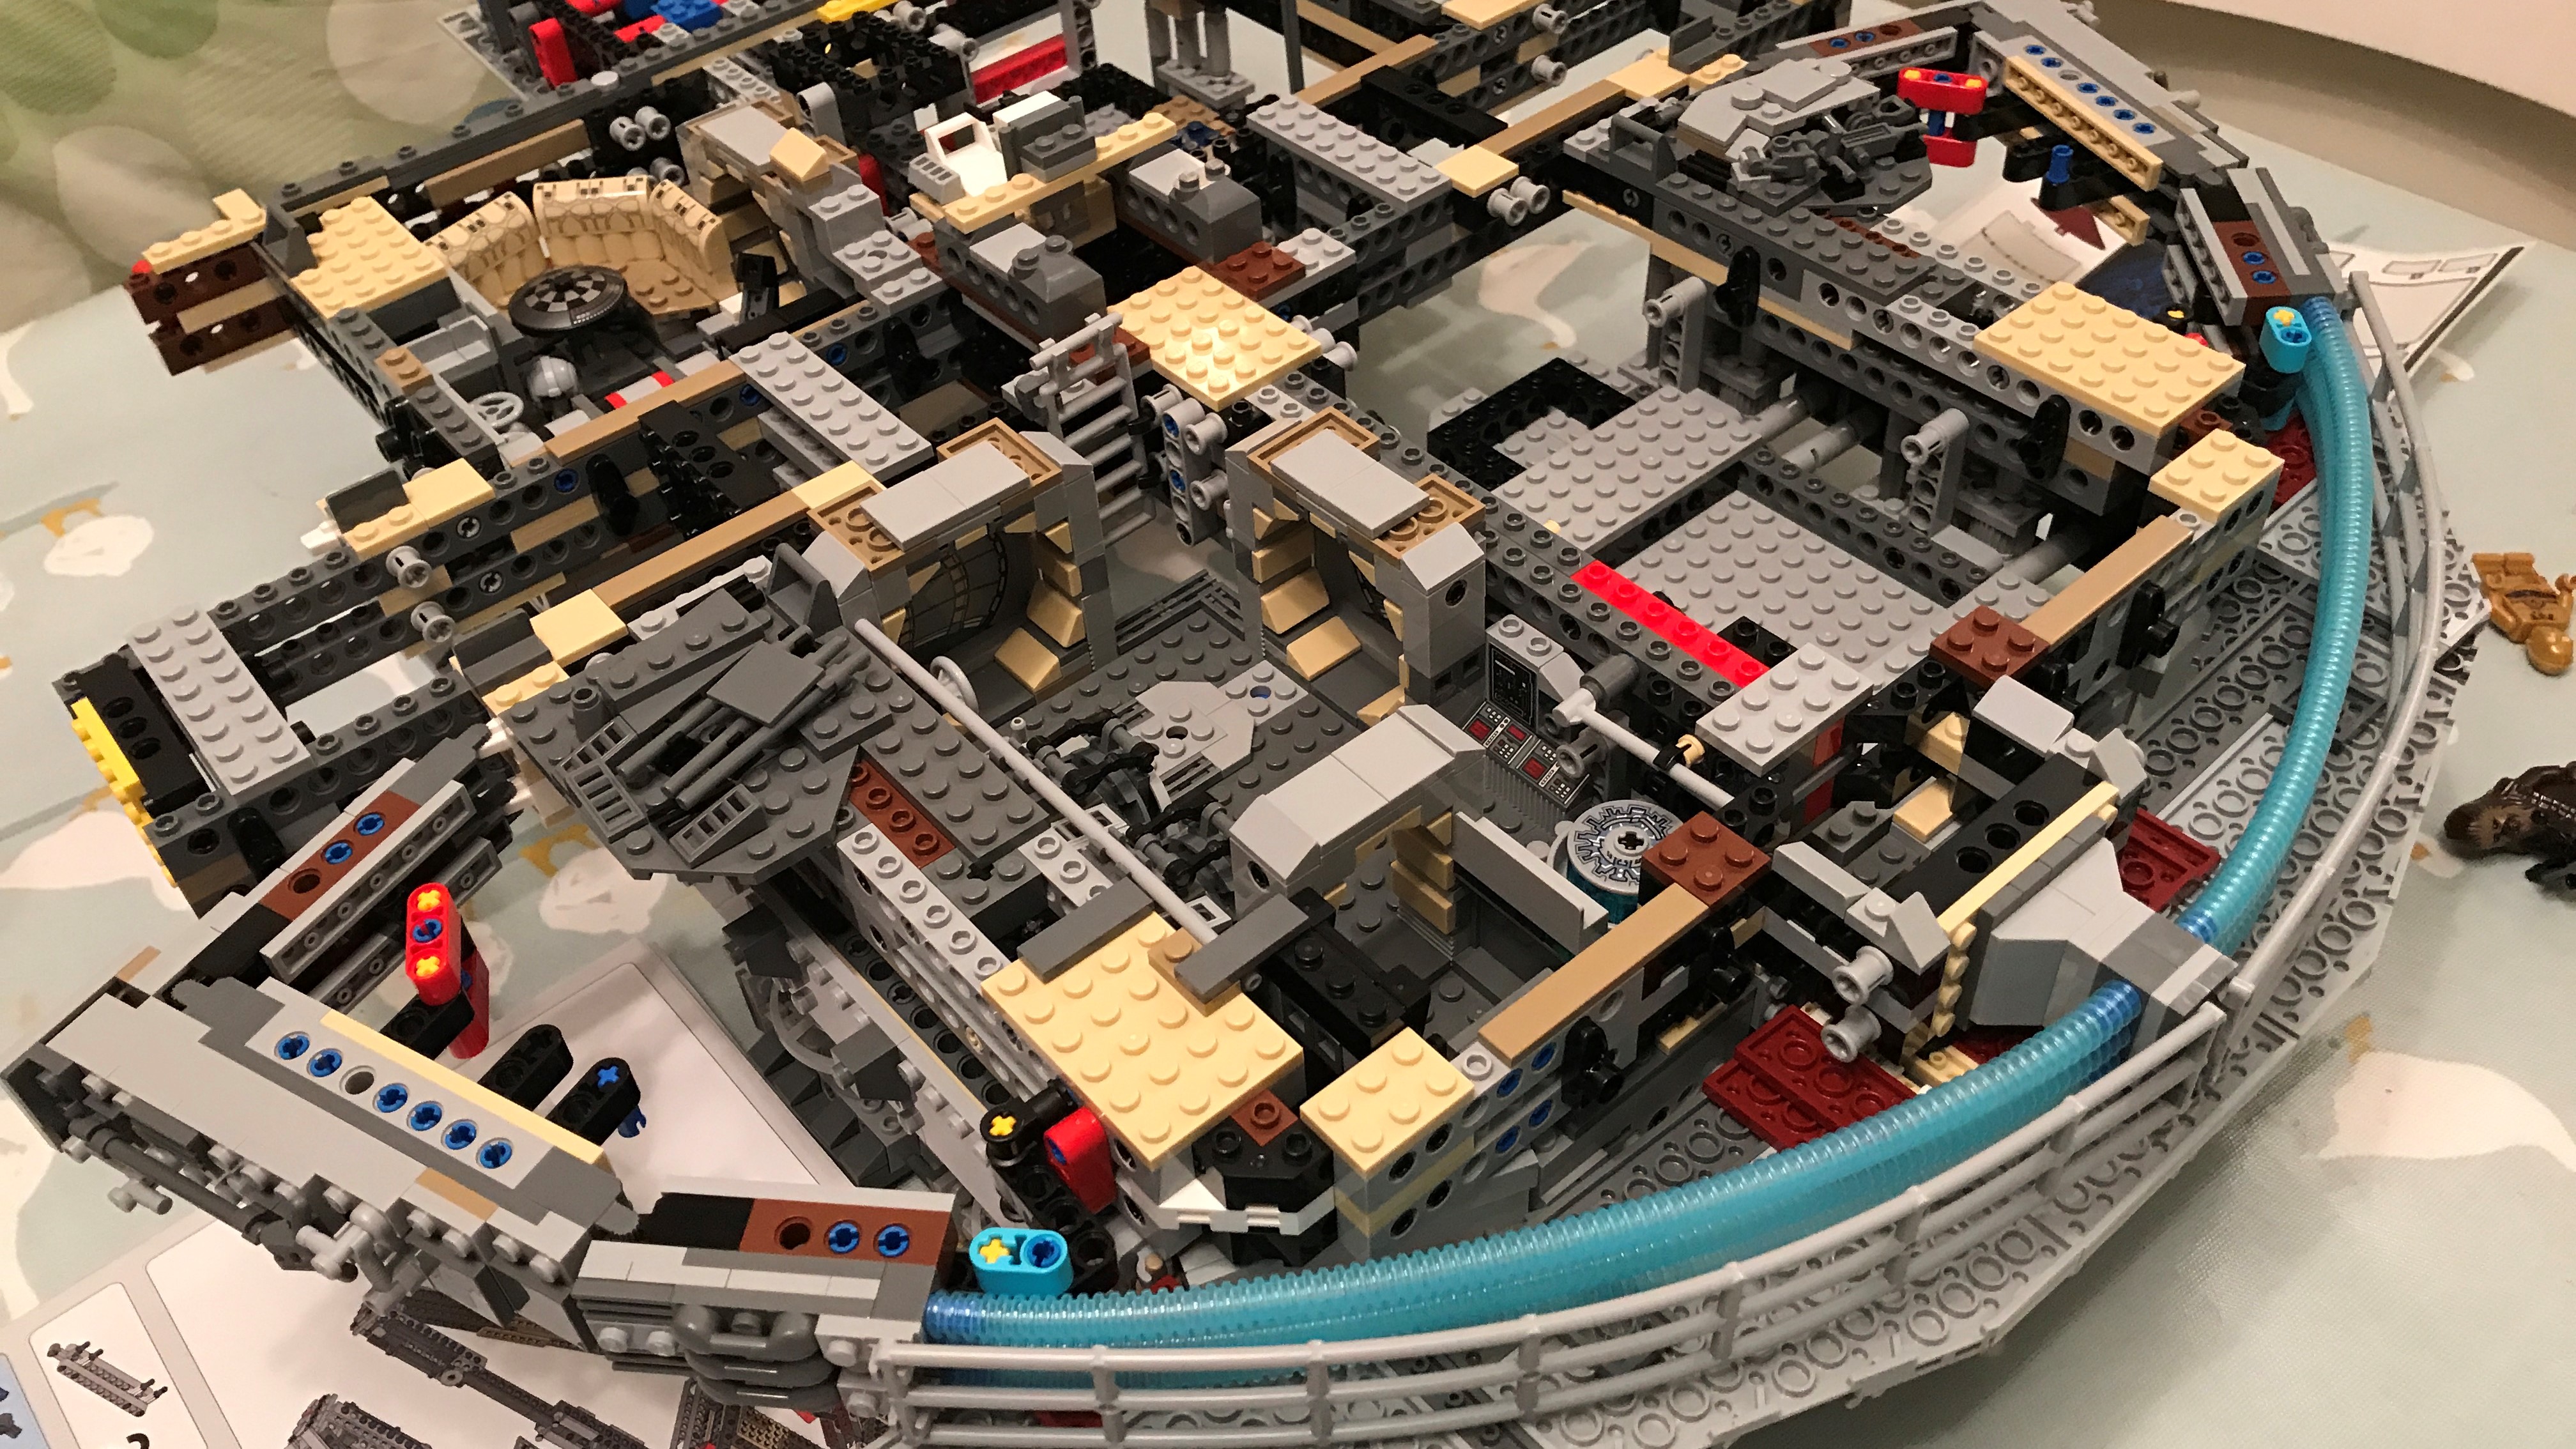
At the end of last week we were at step 430ish, so about a third of the way through the build.
As well as the outer edges of the craft, you also do a lot of work on the undercarriage during the the next few hundred steps. There's a lot of work - including the boarding ramp, gunnery station and more - that you just don't see from above.
As you get towards step 600-700, you really start to feel a sense of achievement. Yeah, you're only half way ish but you start to have something that looks like a spaceship, albeit one that's requiring a top half.
As you can see, there are plenty of coloured elements in the interior, but they all get covered over by grey eventually. A lot of the brightly coloured elements are the places onto which you pin various covers or other pieces of the ship, so they help with placement.
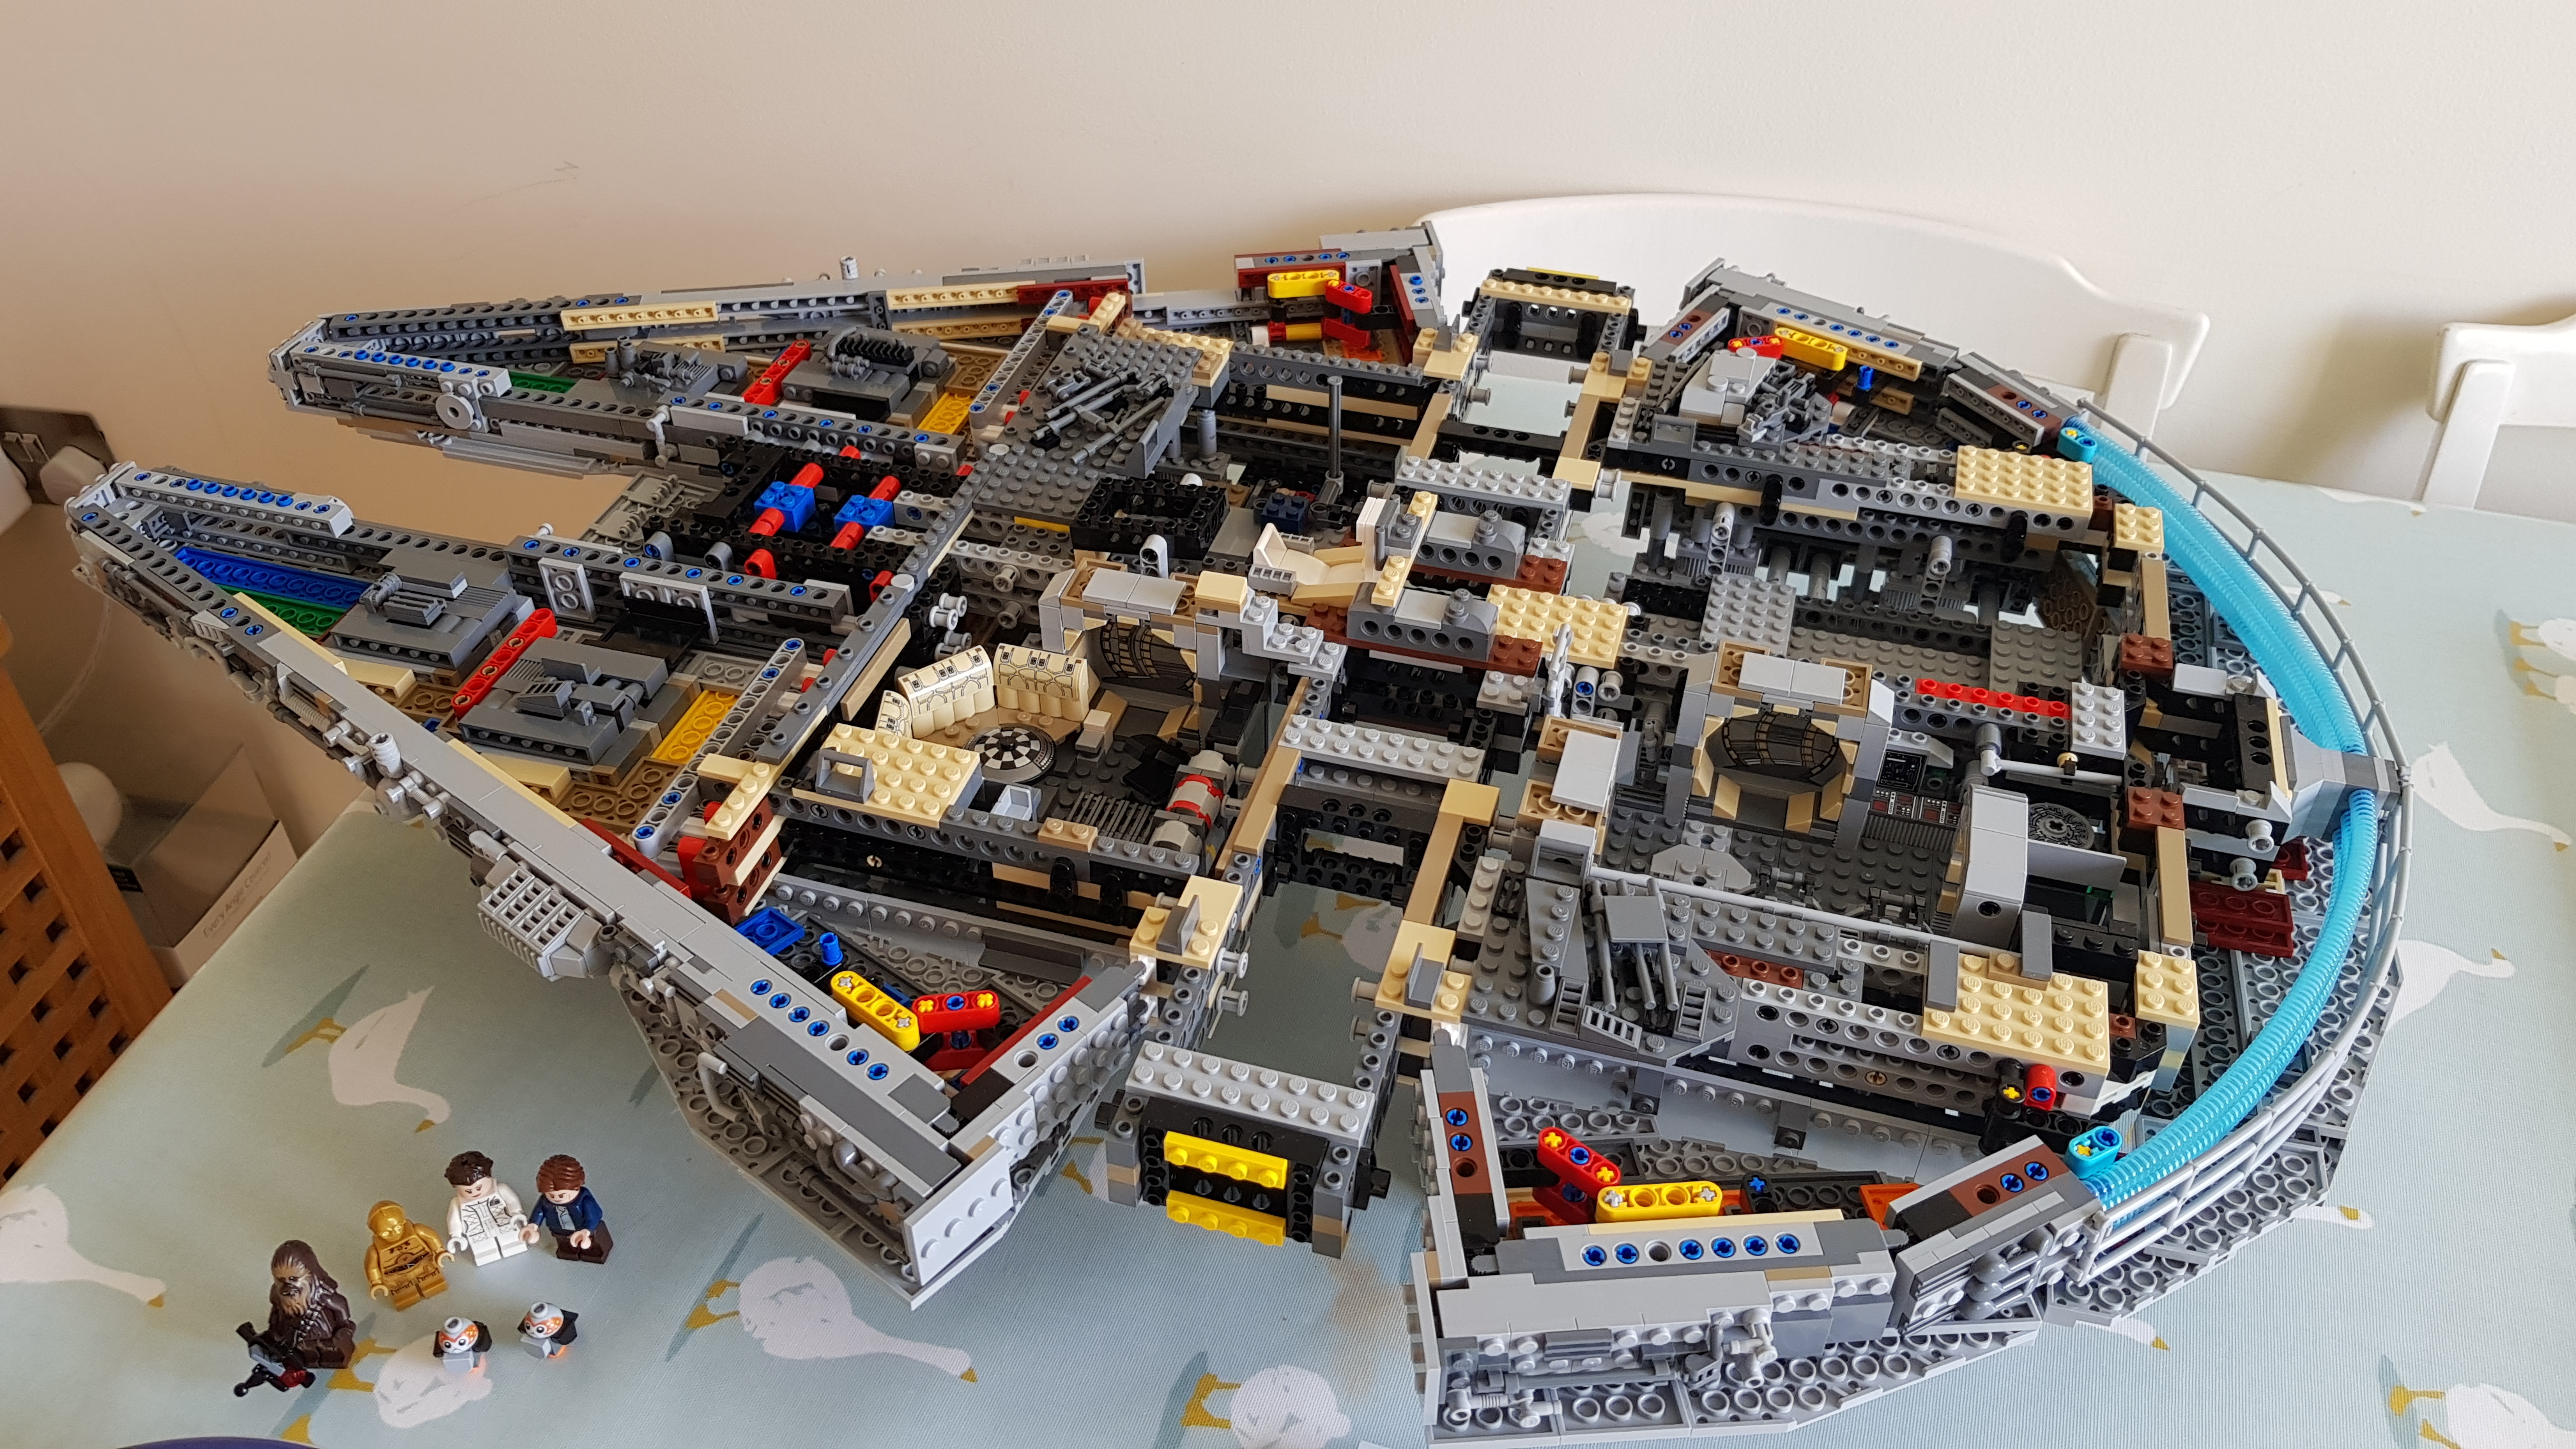
We took a little video of our progress up to this point to show you the key rooms and more:
Next you start work on the top half of the ship. including covers for the front, the central part above the boarding ramp (below) and more.

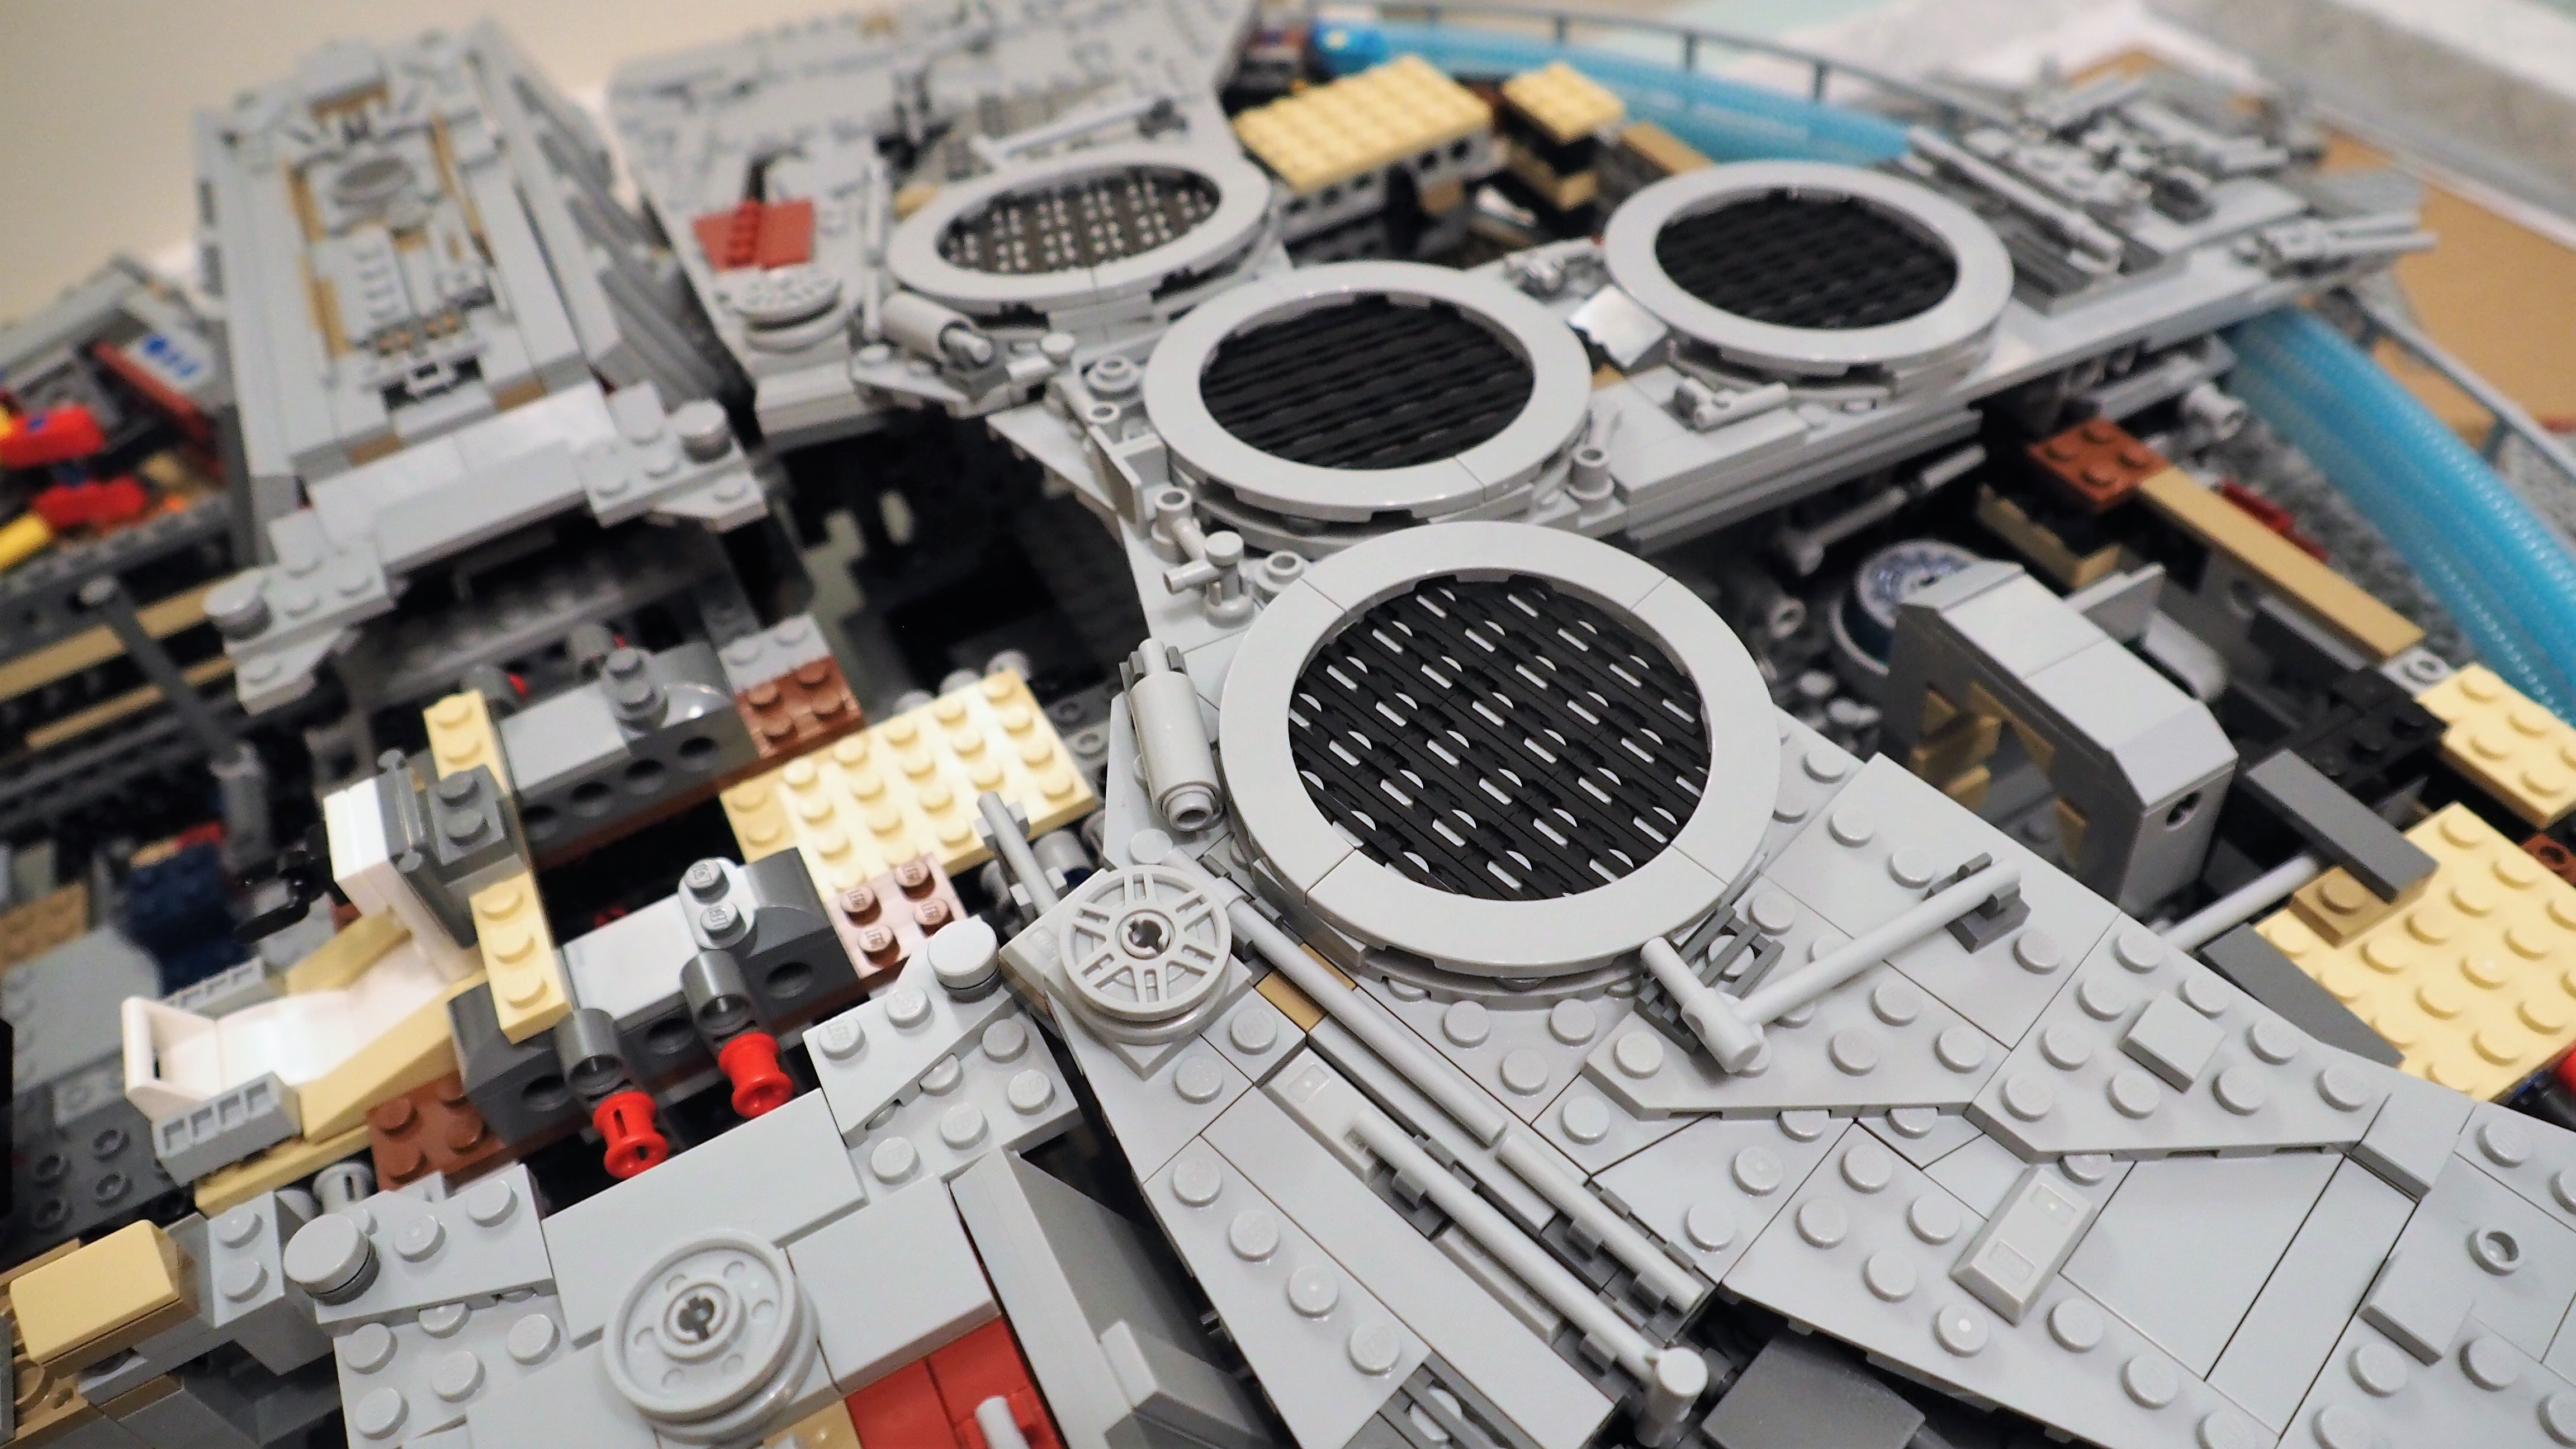
We thought the Technic parts would cease to be part of the build as we moved onto covering the rear of the ship (steps 800-1,000 approx) but most of the sections are underpinned by Technic beams that hold the covers in place. Some sections are designed to be removable, as you'll see as we move through the remainder of the build.
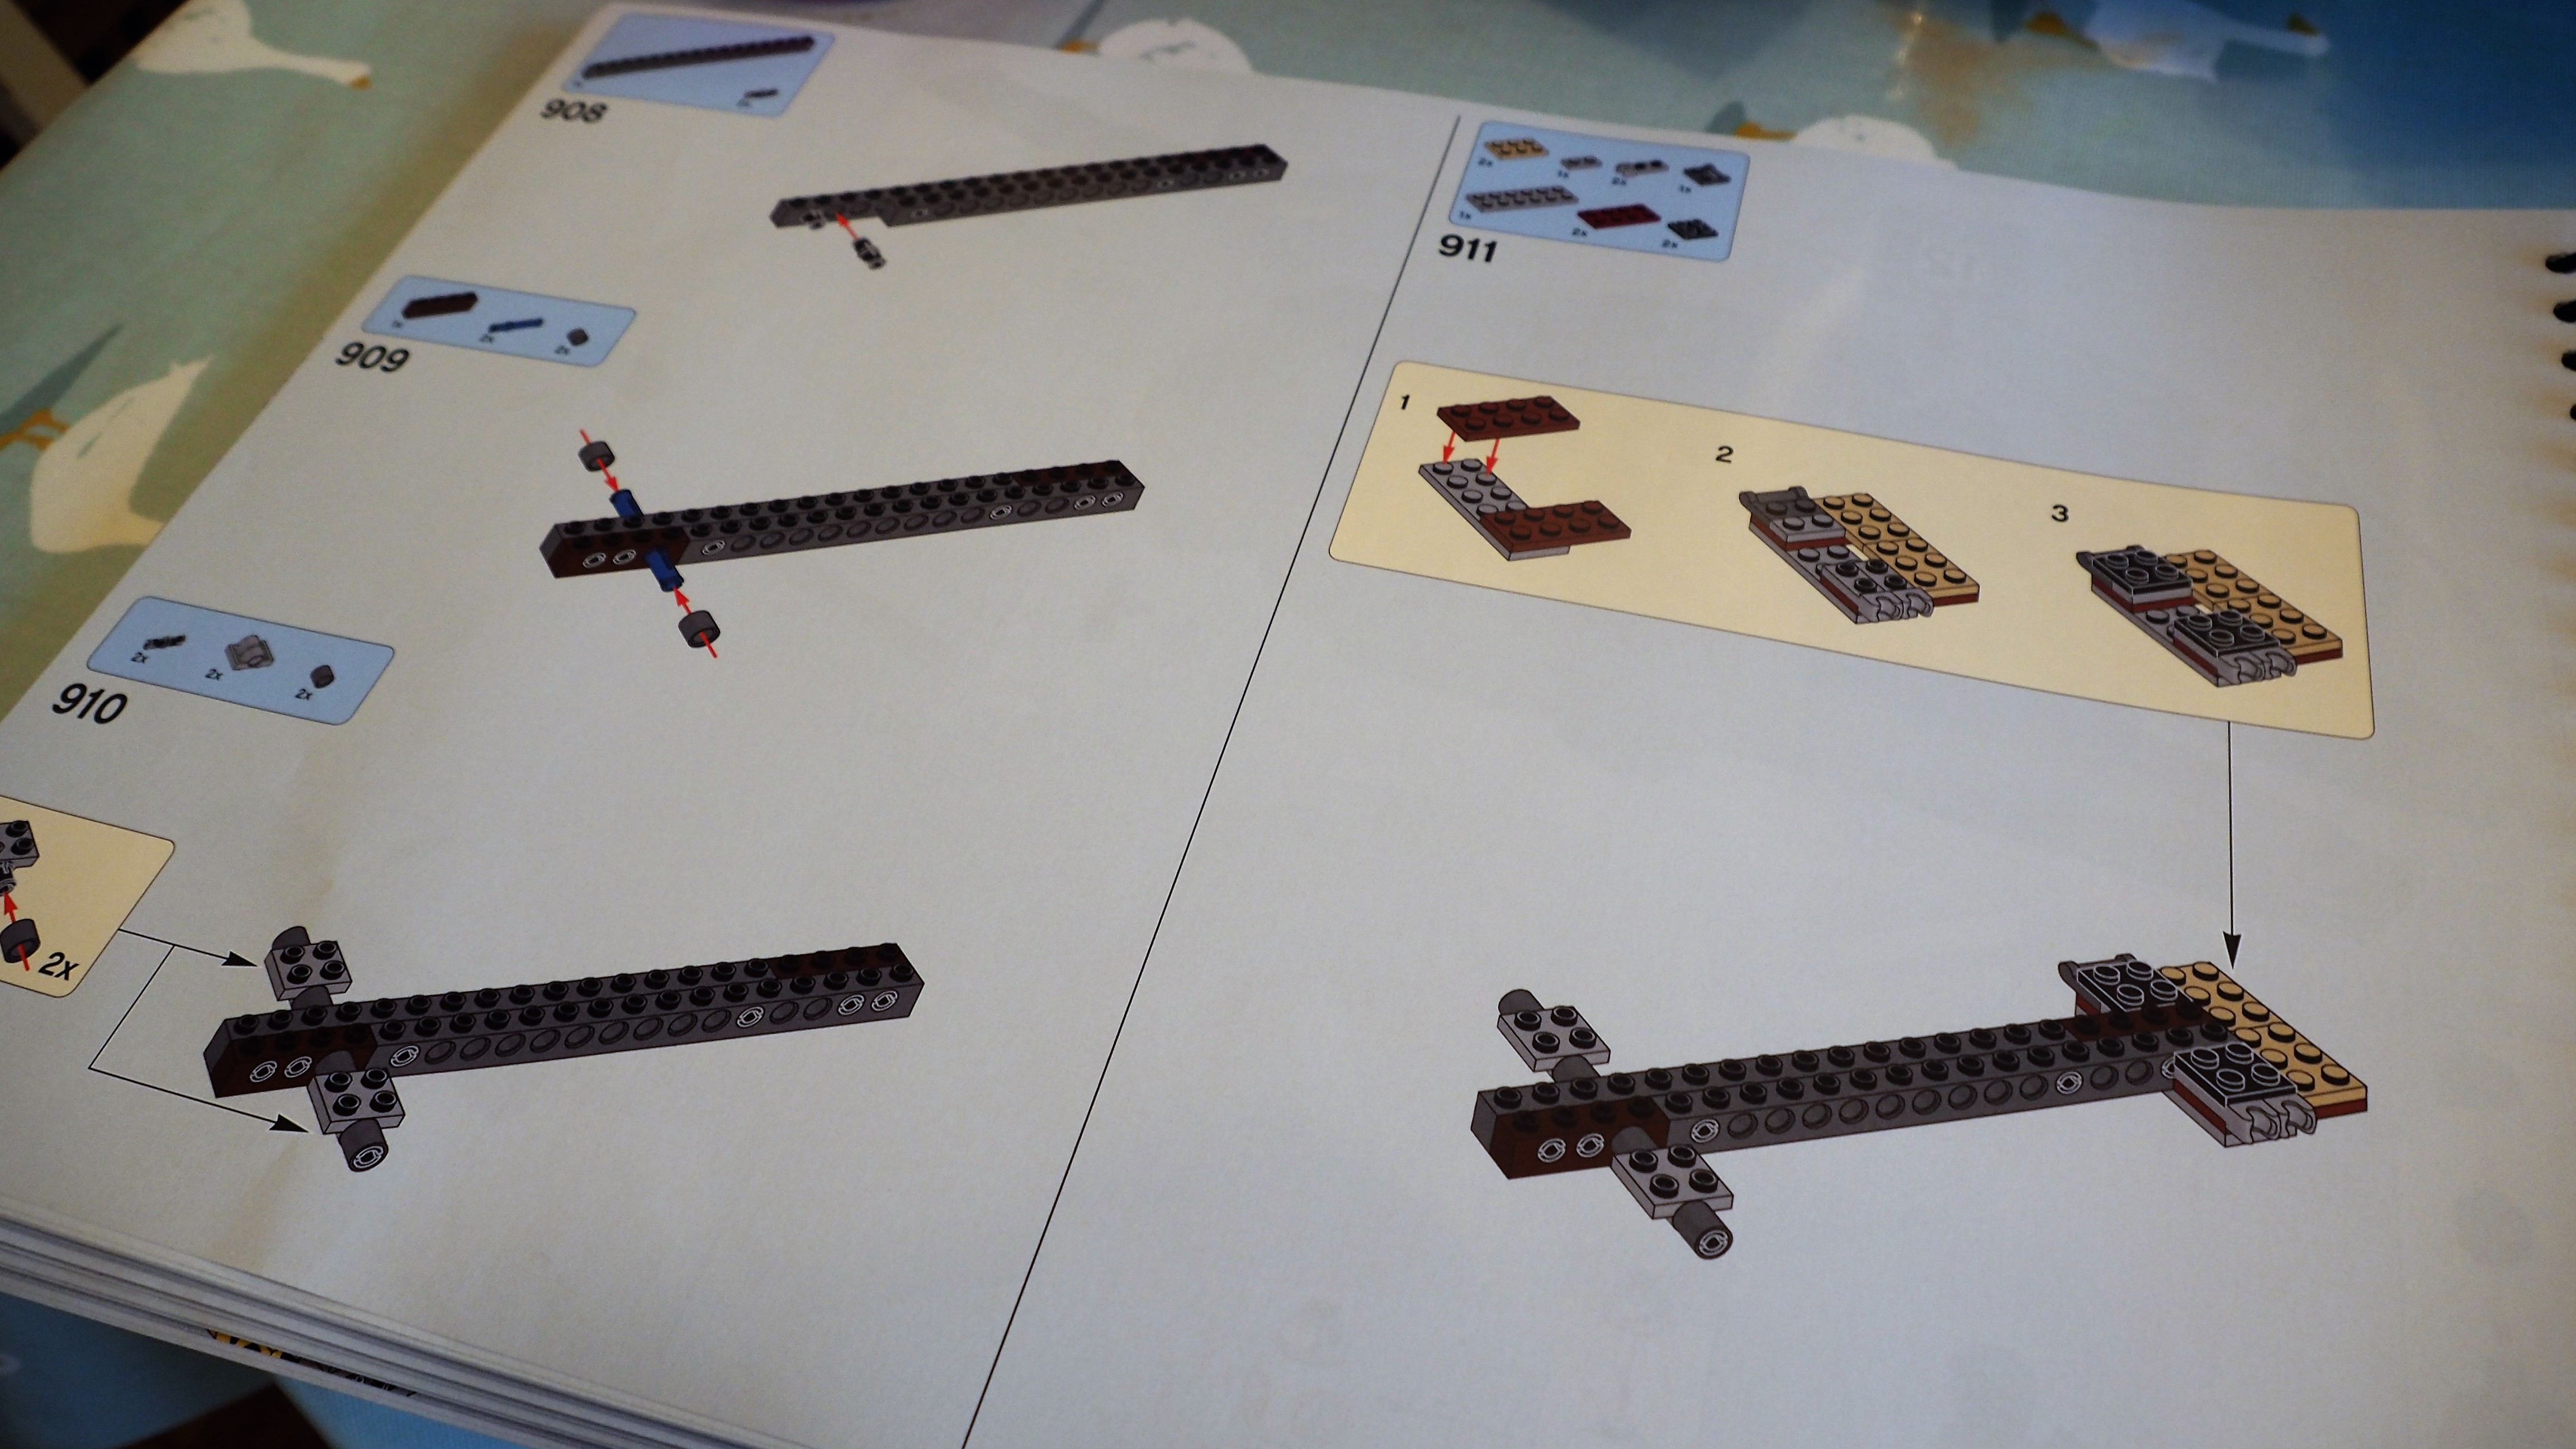
You can move through this part of the build quite rapidly and we're currently on step 1,030 with the rear of the ship done in addition to the undercarriage. With only 300 or so steps to go, we're feeling good about the rest of the build. Check back for more updates.
What we think of the UCS Millennium Falcon so far
Make no mistake, we're loving building this set. Who wouldn't?
It is long though and you'll probably be bent over a lot of that time - you could do with standing at a worktop rather than a table to build most effectively. You can't really be level with the pieces as you need a lot of table area for the instructions and you need to root through the pieces for the right one; so you need to be above things.
We have spent around 18 hours so far. Someone we know took 17 hours - which we feel is quick. Others have taken double that time and we're expecting to clock in somewhere between 22-25 hours in total as things stand. You do need a bit of patience!
Challenges? There are plenty! Progress isn’t rapid to start with and even if you have a mate to get you the pieces so you can assemble, a lot of the individual stages can involve delicate models that fit together to make the whole. It can be hard to slot these parts together at times.
As you’d expect, the steps range in difficulty hugely from ‘fold these bits in’ to ‘repeat the last three pages five more times’. Stage two involving the feet is particularly repetitive!
The model itself is pretty sturdy (so far) and despite obvious increasing weight it’s still quite easy to move should you need to during the build. The main challenge is actually the colours – or lack of them. Grey, dark grey and black are very similar and, as you’d expect, there are a LOT of those elements. They tend to merge into one and you need to build with a good light.
We’ve had some builders say it’s a shame this model can’t be hung up. Even if that was possible, you’d need some fairly sturdy hooks to hang this amount of weight.
We’ll update this as we get on with the build!
Dan is a previous Editor for T3.com and covered the latest in computing, home entertainment and mobile tech. He's also the former Deputy Editor of TechRadar and former Editor of Lifehacker UK. Dan has written for numerous computing and lifestyle magazines and has also written a book, too. You'll see him pop up in numerous places, having been quoted in or on The Sun, BBC World Service, BBC News Online, ITN News, BBC Radio 5Live, BBC Radio 4 and Sky News Radio.
-
 3 overrated shoulder exercises, according to a fitness expert (and what to do instead)
Sculpt 3D shoulders whilst minimising injury with these three alternative exercises
By Bryony Firth-Bernard Published
-
 Polar’s new subscription feature lands in the shadow of Garmin’s Connect+ rollout
PR genius or timing disaster? Polar’s new Fitness Programme adds adaptive training to its ecosystem
By Matt Kollat Published