
If you're anything like me, you've been using the miserable days of January to deep clean everything in sight. I've gone from scrubbing every single surface in the bathroom to washing and ironing the sofa covers, and boy, does it feel good.
This month is also a great opportunity to deep clean any grooming or wellness items you rely on every day. This could include cleaning your pillow or mattress, or even giving your favourite sex toy a scrub. However, there may be one thing you're overlooking, and that's your electric shaver. As they're often in contact with soap and water, it's assumed that they don't need regular cleaning, which is completely false. It's actually an extremely important thing to do, and has been shown to prolong its life and ensure optimal performance.
I'm going to take you through the best way to clean your electric shaver, and the best thing is that it will literally take less than a minute. However, before we start, please make sure your electric shaver is waterproof and can be safely rinsed with water.
Step one: remove hairs from the shaving head
The first thing you need to do when cleaning your electric shaver is to turn it off and carefully remove the shaving head. With most models, this means removing it completely or opening the cover if you have a rotary shaver.
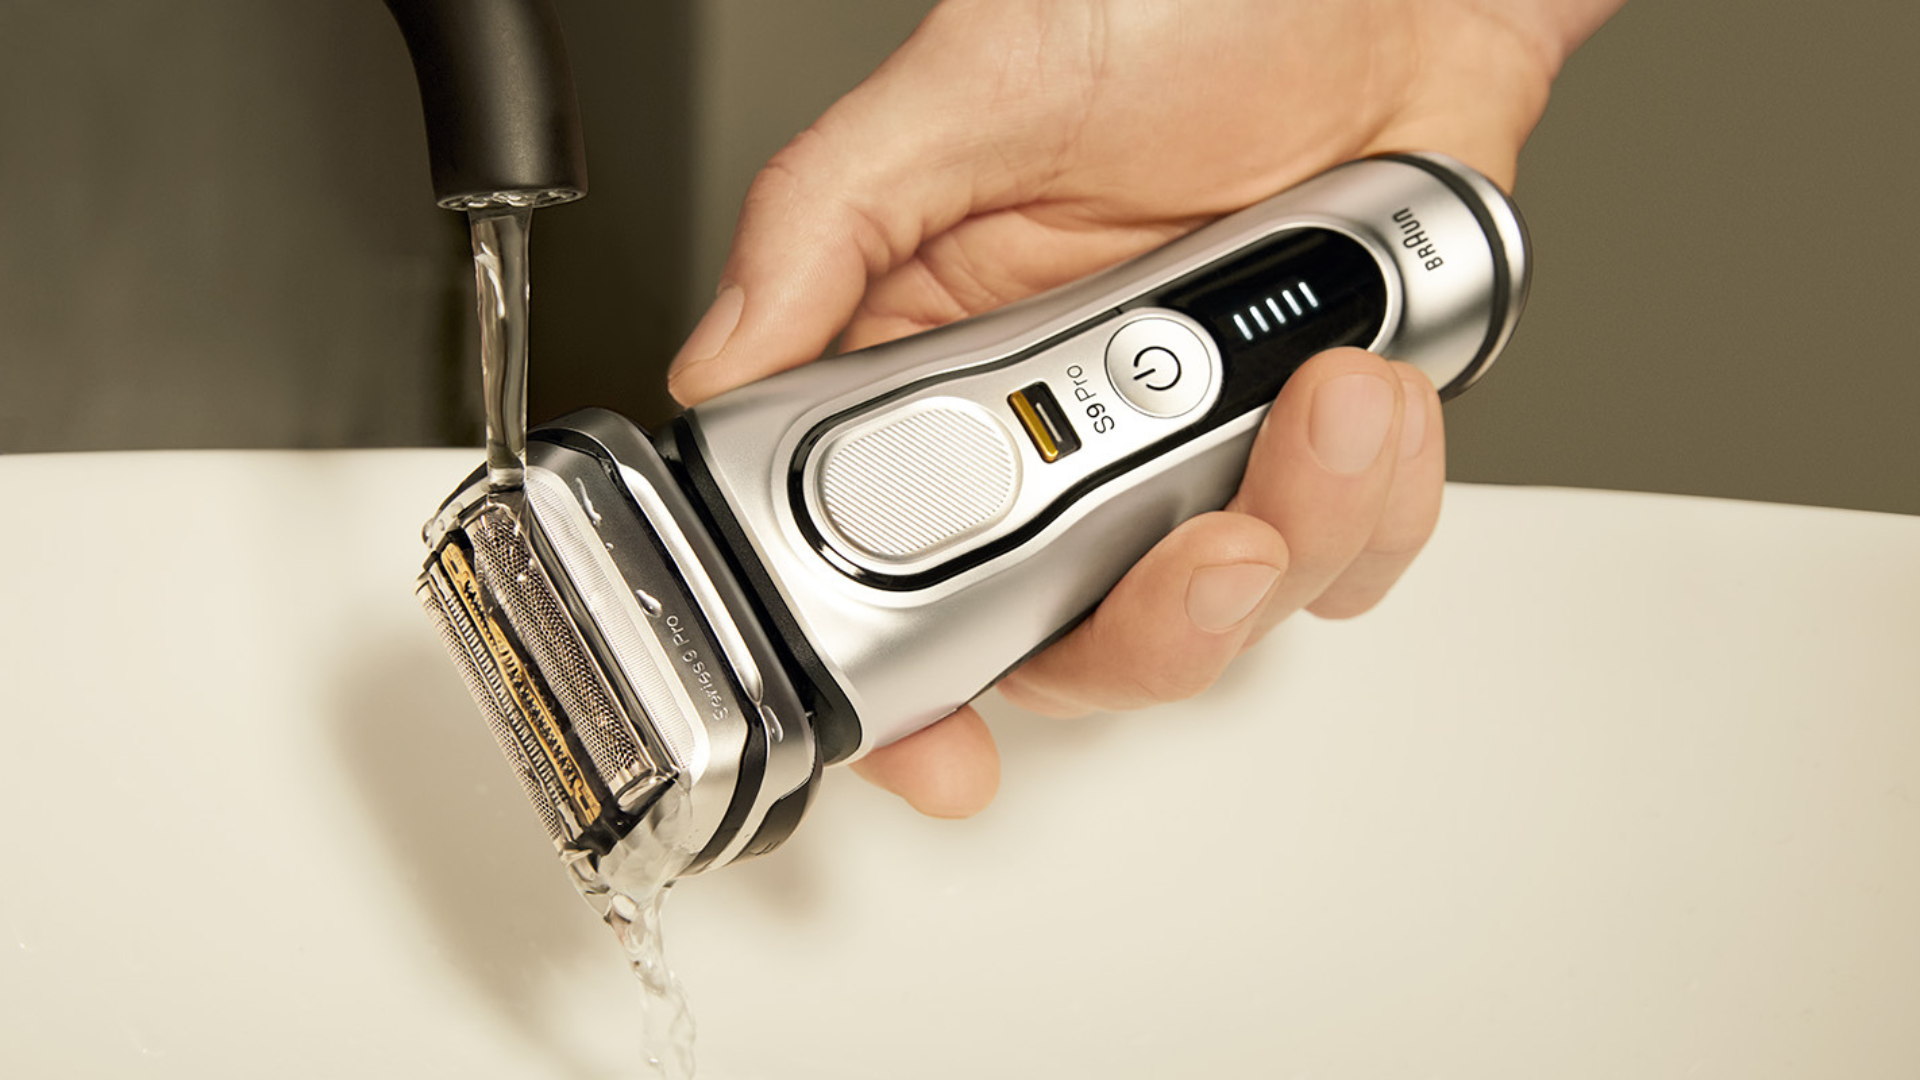
Lightly brush off any hairs and debris you find or gently tap the it on the sink or countertop. Once it's clear, close the shaving head or cover and lightly run it under some water. This will also help remove the build up of shaving cream or gel.
Step two: apply a dab of liquid soap
Next, you should apply a dab of liquid soap to the cutting surfaces. You can use hand soap, dish wash soap or even some shower gel, but try to aim for unscented. When it's all lathered up, turn the shaver on and run it for around 15 seconds.
Step three: rinse the head generously with warm tap water
After that's done, turn the tap on and rinse the shaver underneath warm water for around 10 seconds. This will remove most of the foam and any remaining hair clippings.
Sign up to the T3 newsletter for smarter living straight to your inbox
Get all the latest news, reviews, deals and buying guides on gorgeous tech, home and active products from the T3 experts
Make sure there's no soap residue left as you don't want your skin to be irritated when it's next used.
Step four: disassemble and rinse again
Once again, remove the shaving head, cover or cassette (depending on your model) and rinse the parts under warm water. Make sure to focus on the blades this time but they don't need to be removed completely.
Step five: shake off excess water and let parts air dry completely
It's very important to allow your electric shaver to dry completely before putting it back together again. If you don't, this may result in it malfunctioning or rusting, which isn't ideal.
Make sure to pat any removable parts dry and lay them out so they're able to dry completely before reassembling. Once they are, you're good to go!
Interested in more? Check out our comparison guide between electric shavers and beard trimmers.

Lizzie is T3's Home Living Staff Writer, covering the latest in style, wellness and beauty tech. From skincare gadgets to vacuum cleaners, she's your go-to for trends and top recommendations.
When not writing, Lizzie enjoys mooching around Bath, spending time with loved ones, or testing her review units – often during an enthusiastic cleaning spree!