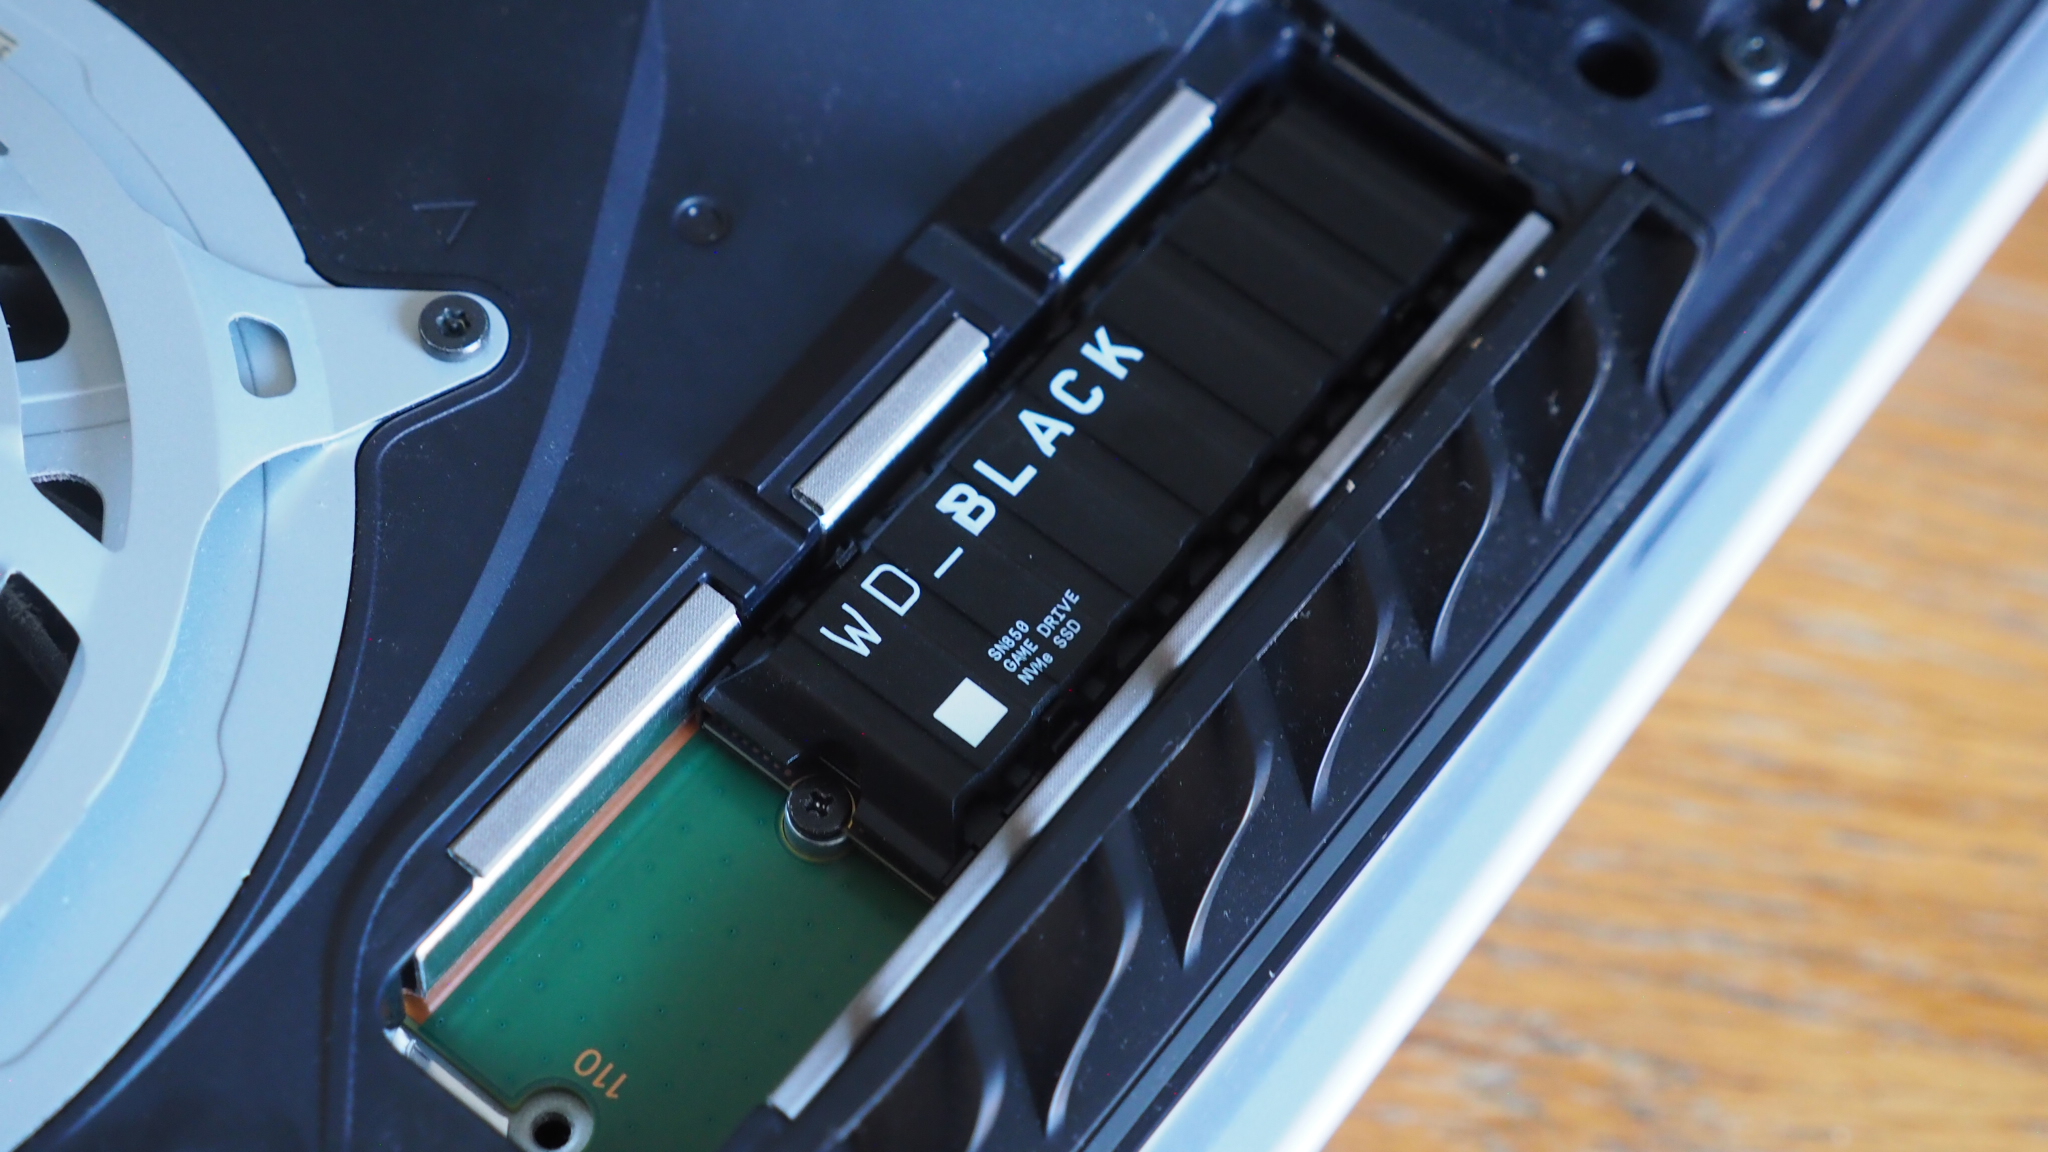
It was during Amazon Prime Day 2022 that it hit me: I've been harking on about installing an internal SSD in my PlayStation 5 since I bought the console back in 2021, but hadn't got around to it for various financial reasons and other excuses.
A couple of things kinda forced my hand: I bought Horizon Forbidden West for an incredible price (there was £25 off) and, when I went to install it, my PS5 system wanted over 200GB of spare space. I didn't have that!
Which bought me to my second now relevant point: the only other Amazon Prime Day deal that really stood out to me was WD Black's M.2 1TB being on offer for about half price. Seemed like a no-brainer.
So here we are: new game, new internal PS5 SSD, and now a new article on the subject. Here's my step-by-step guide on how to easily install your PS5 storage expansion, what kit you'll need to do so, and the minimum specs you need to look out for ahead of buying.
1. The kit you'll need
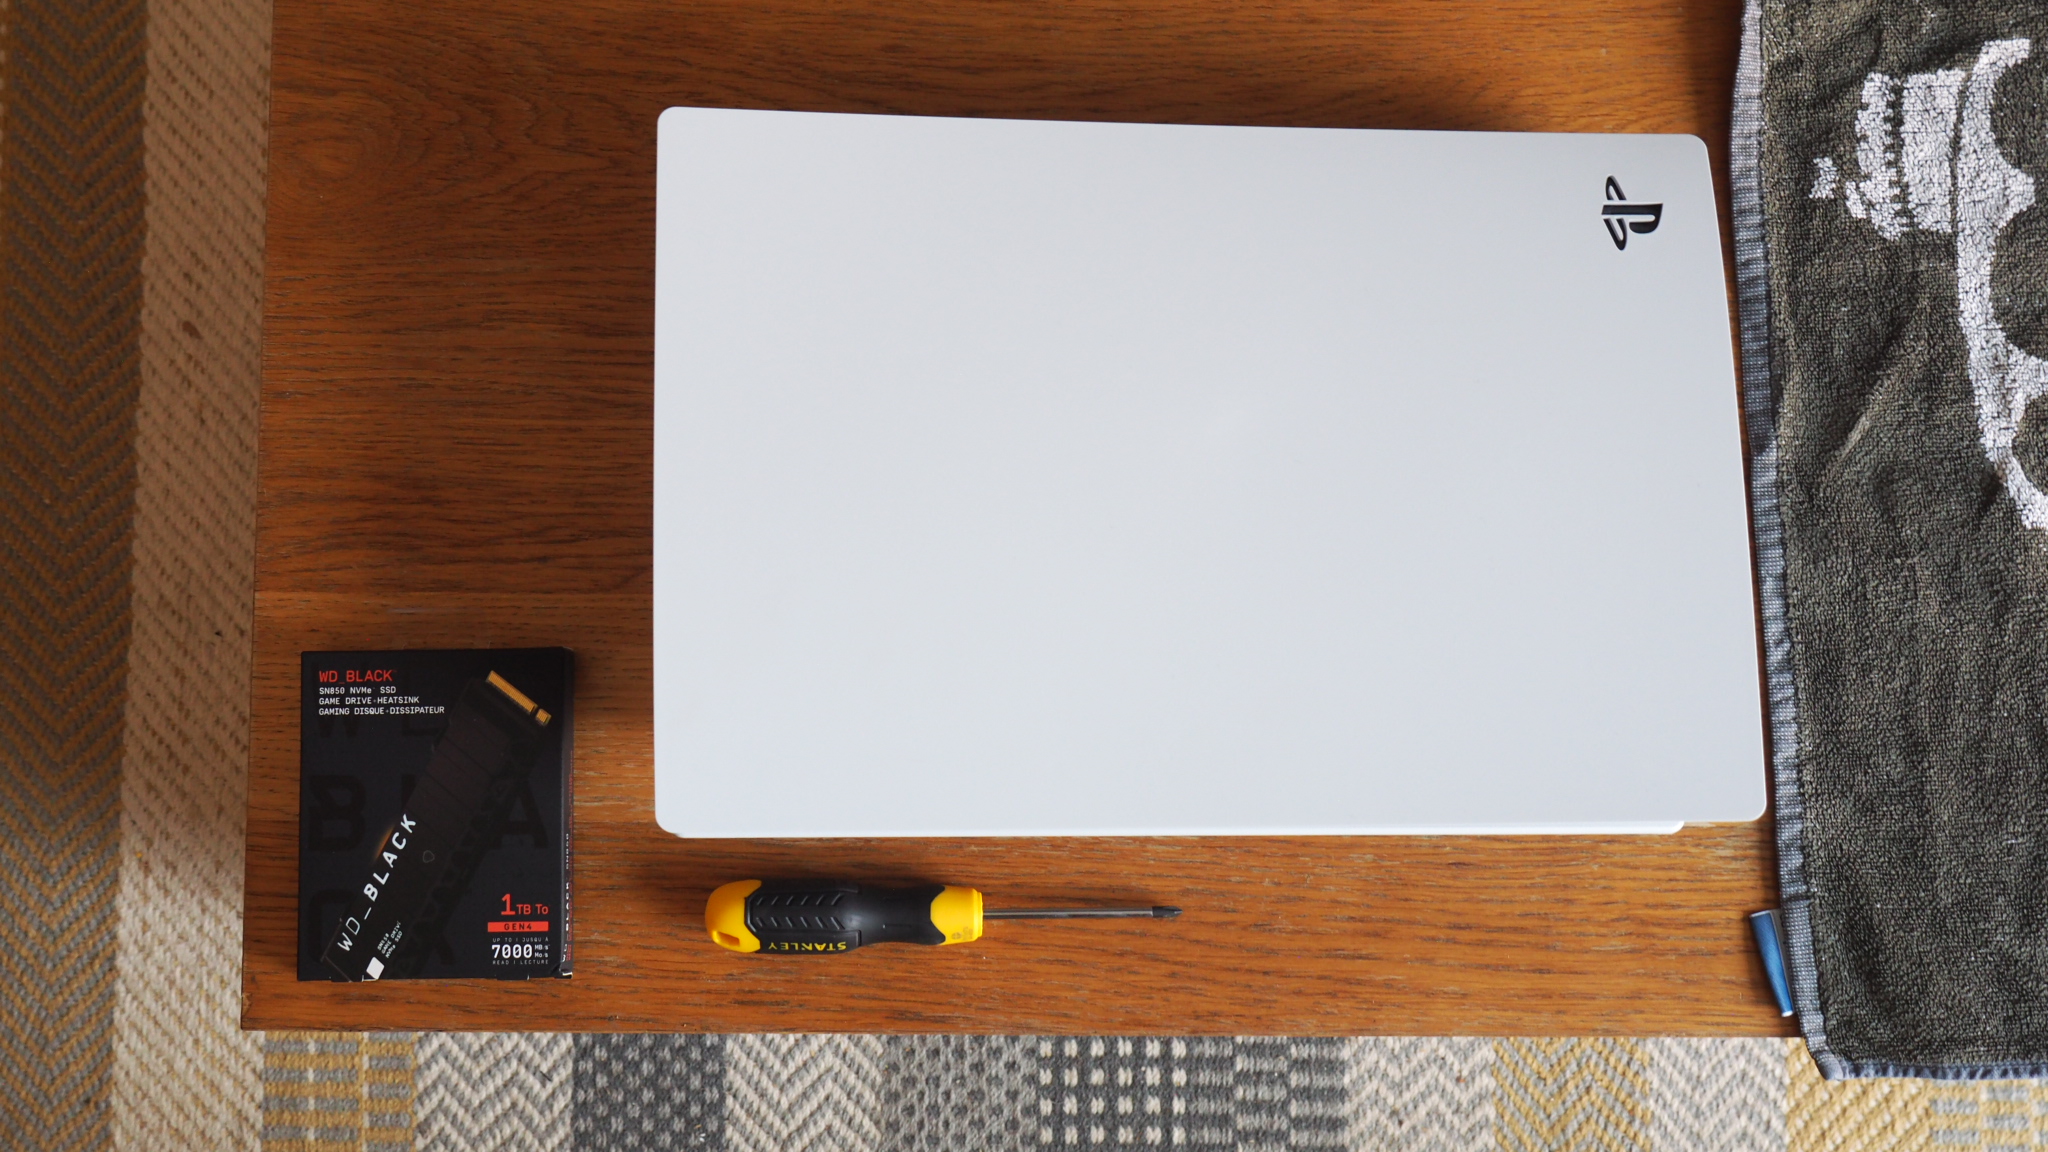
- 1x Philips PH1 screwdriver (PZ1 will also serve fine)
- 1x cloth/duster (believe me, you'll want it)
- 1x clean and level working surface
- 1x suitable M.2 SSD with heatsink
2. Which SSD is compatible with PS5?
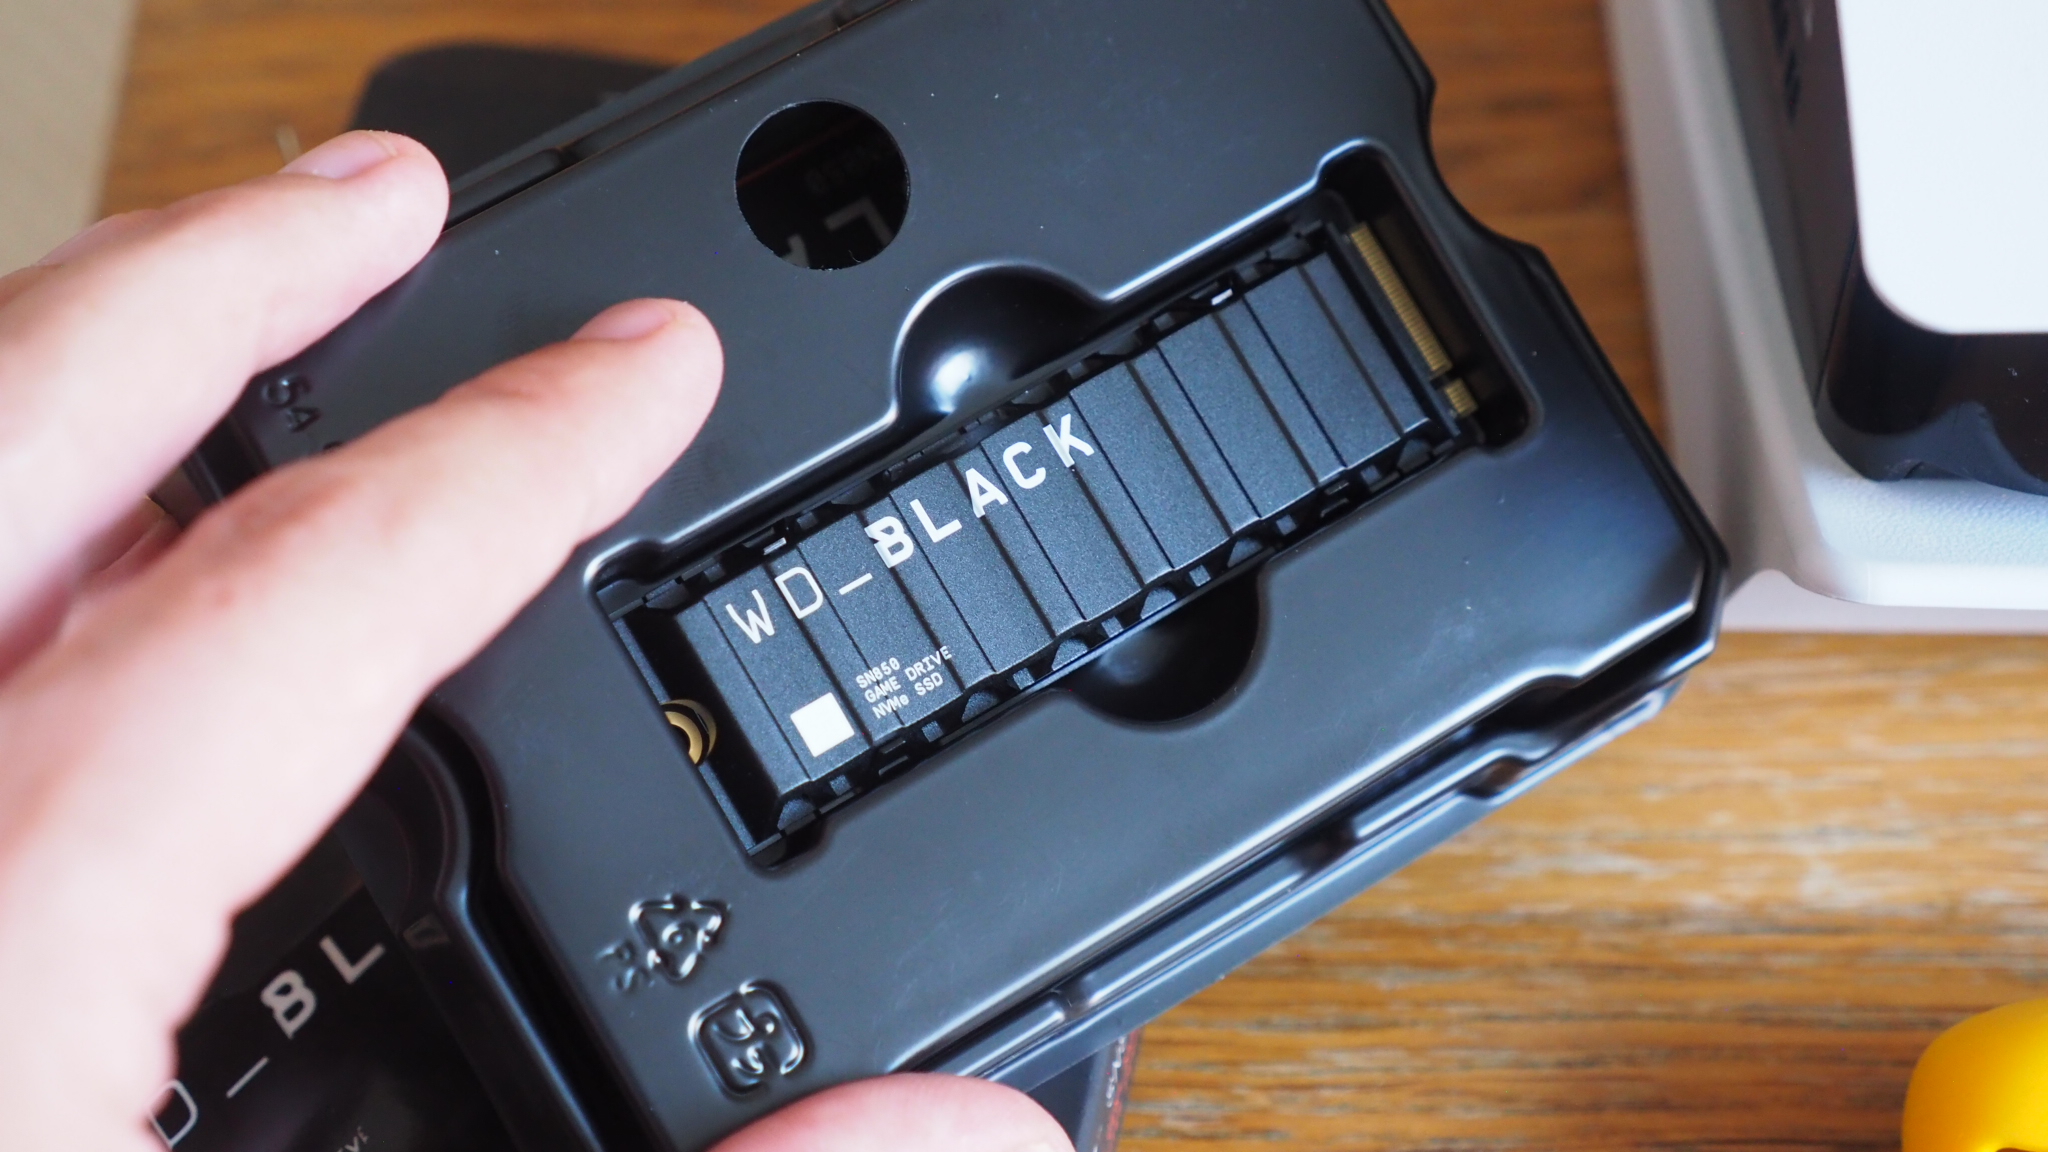
Suitable storage expansion for the PlayStation 5 needs to be an M.2 SSD type, which describes the form-factor of the drive (see picture above for scale).
But that's not all, Sony PlayStation asserts that you need a drive with heatsink to dissipate the heat. Now you could buy an M.2 drive and separate heatsink, but companies also make all-in-one components too, such as the WD Black SN850 I've selected here.
There's another significant reason I've picked this drive: it's fast. And not just fast for the sheer hell of it, the PS5 requires a minimum read/write speed of 5,500MB/second in order to load games super-fast (including while mid-game in many instances). Sony's own equivalent Nextorage product is more than that, while this WD Black drive can hit 7,000MB/s. It's speedy.
Sign up to the T3 newsletter for smarter living straight to your inbox
Get all the latest news, reviews, deals and buying guides on gorgeous tech, home and active products from the T3 experts
3. Ensure PS5 system software is up to date
Once you've got everything you need ensure that your PS5's system software is installed to the latest. Old software won't be compatible with the SSD install otherwise, as that happened at a later date.
You can check this by going to Settings > System > System Software > System Software Update and Settings > Update System Software. I suspect it'll already be up to date as Sony auto-prompts all the time.
4. How to remove PS5 covers
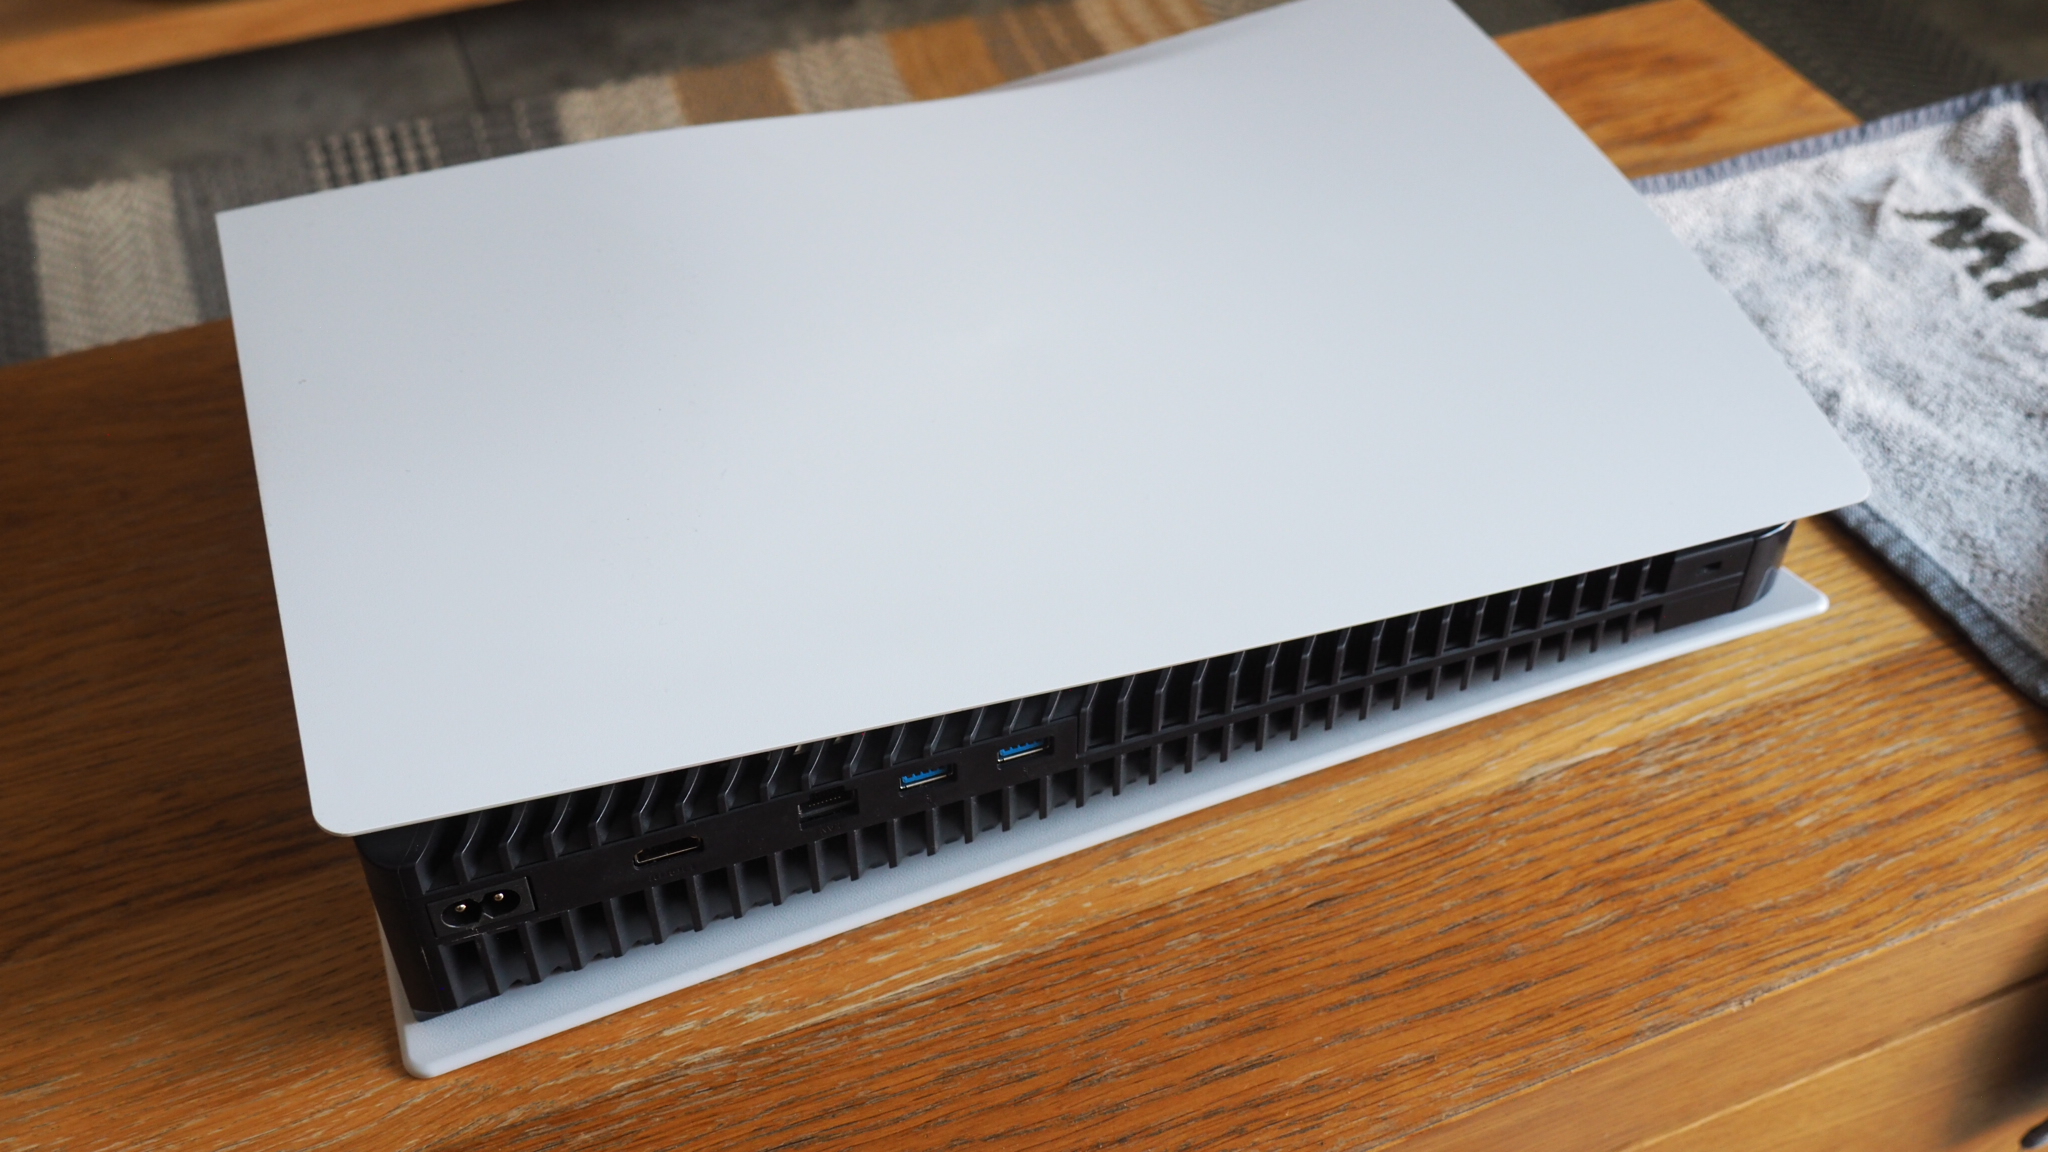
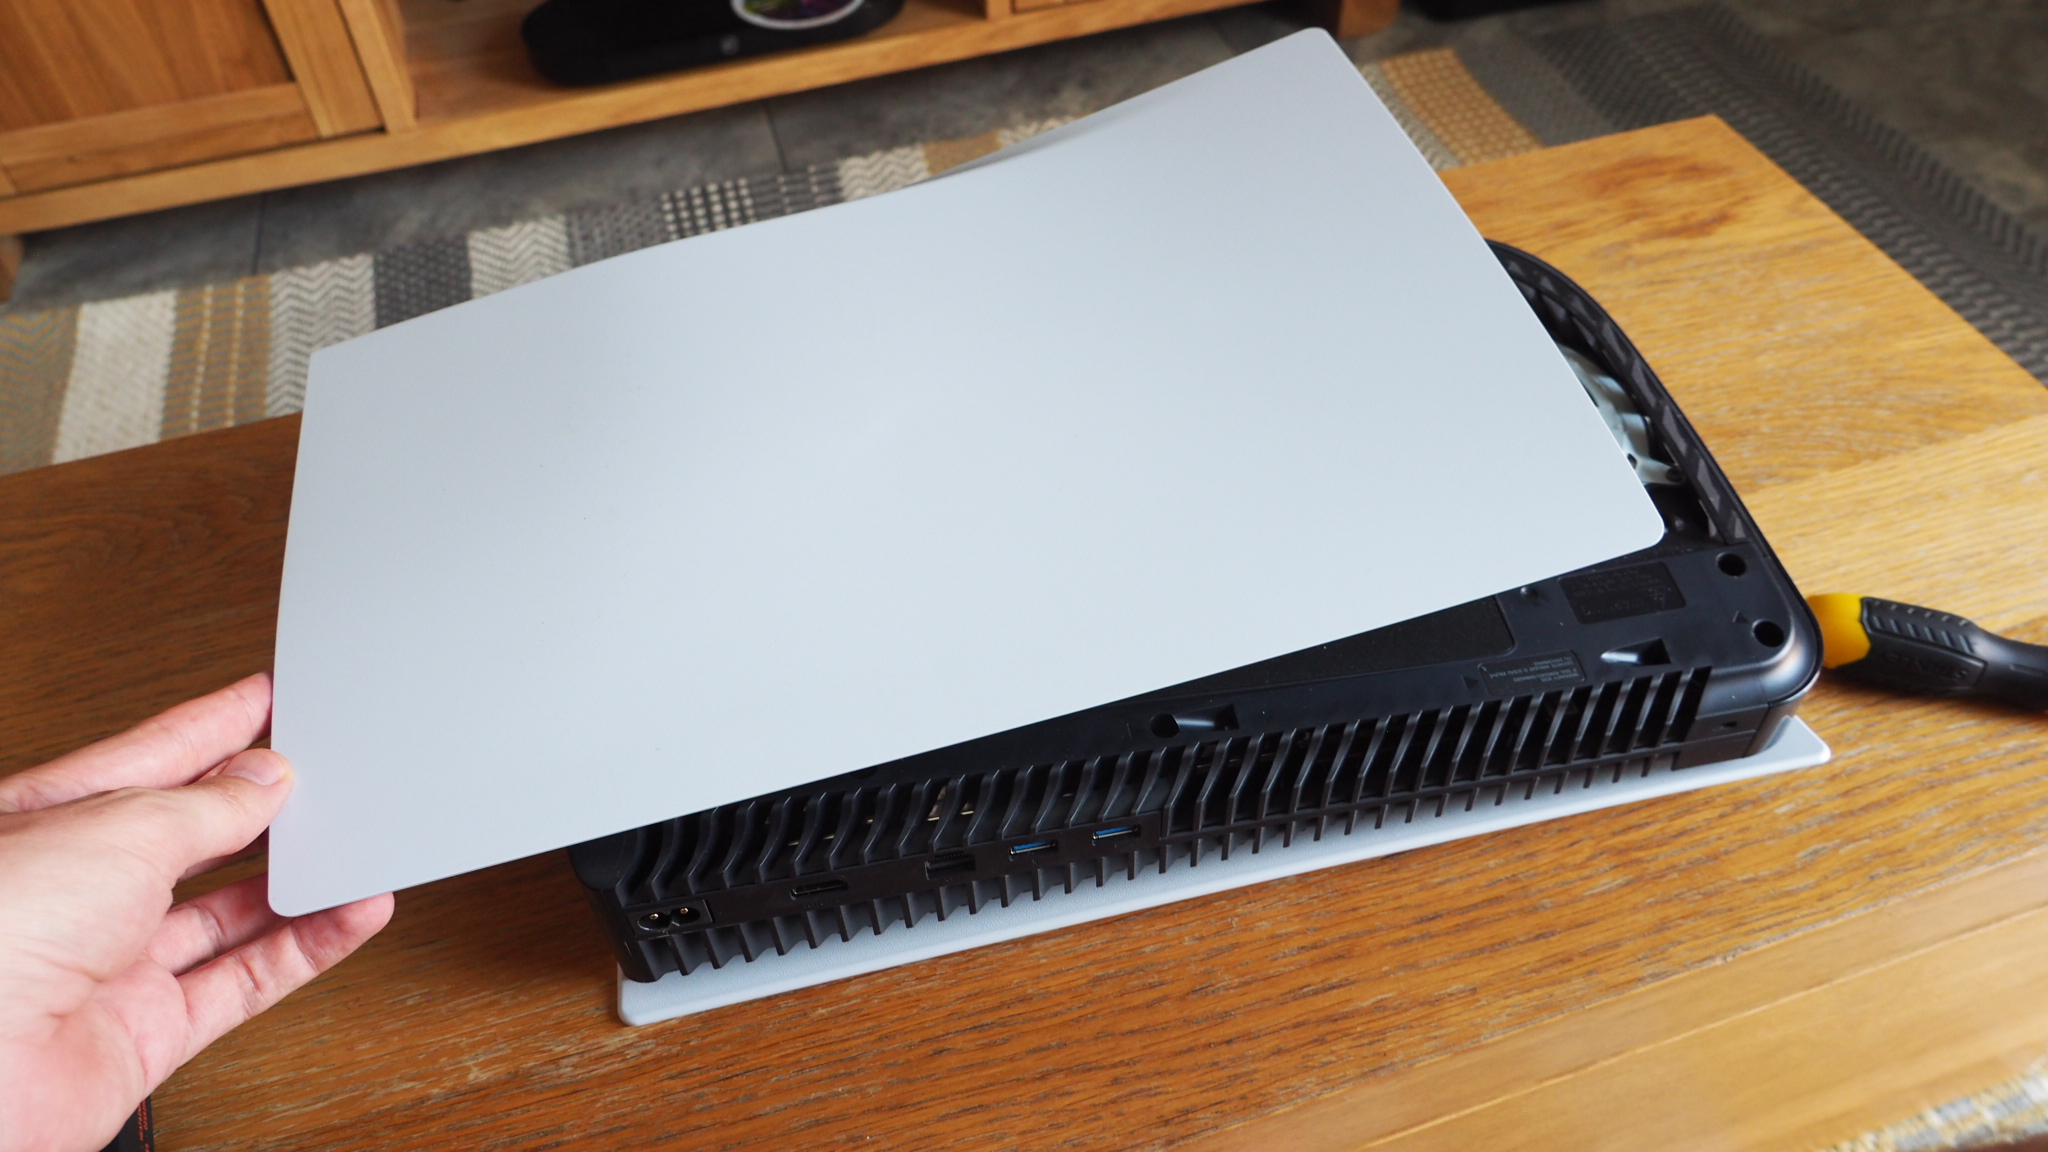
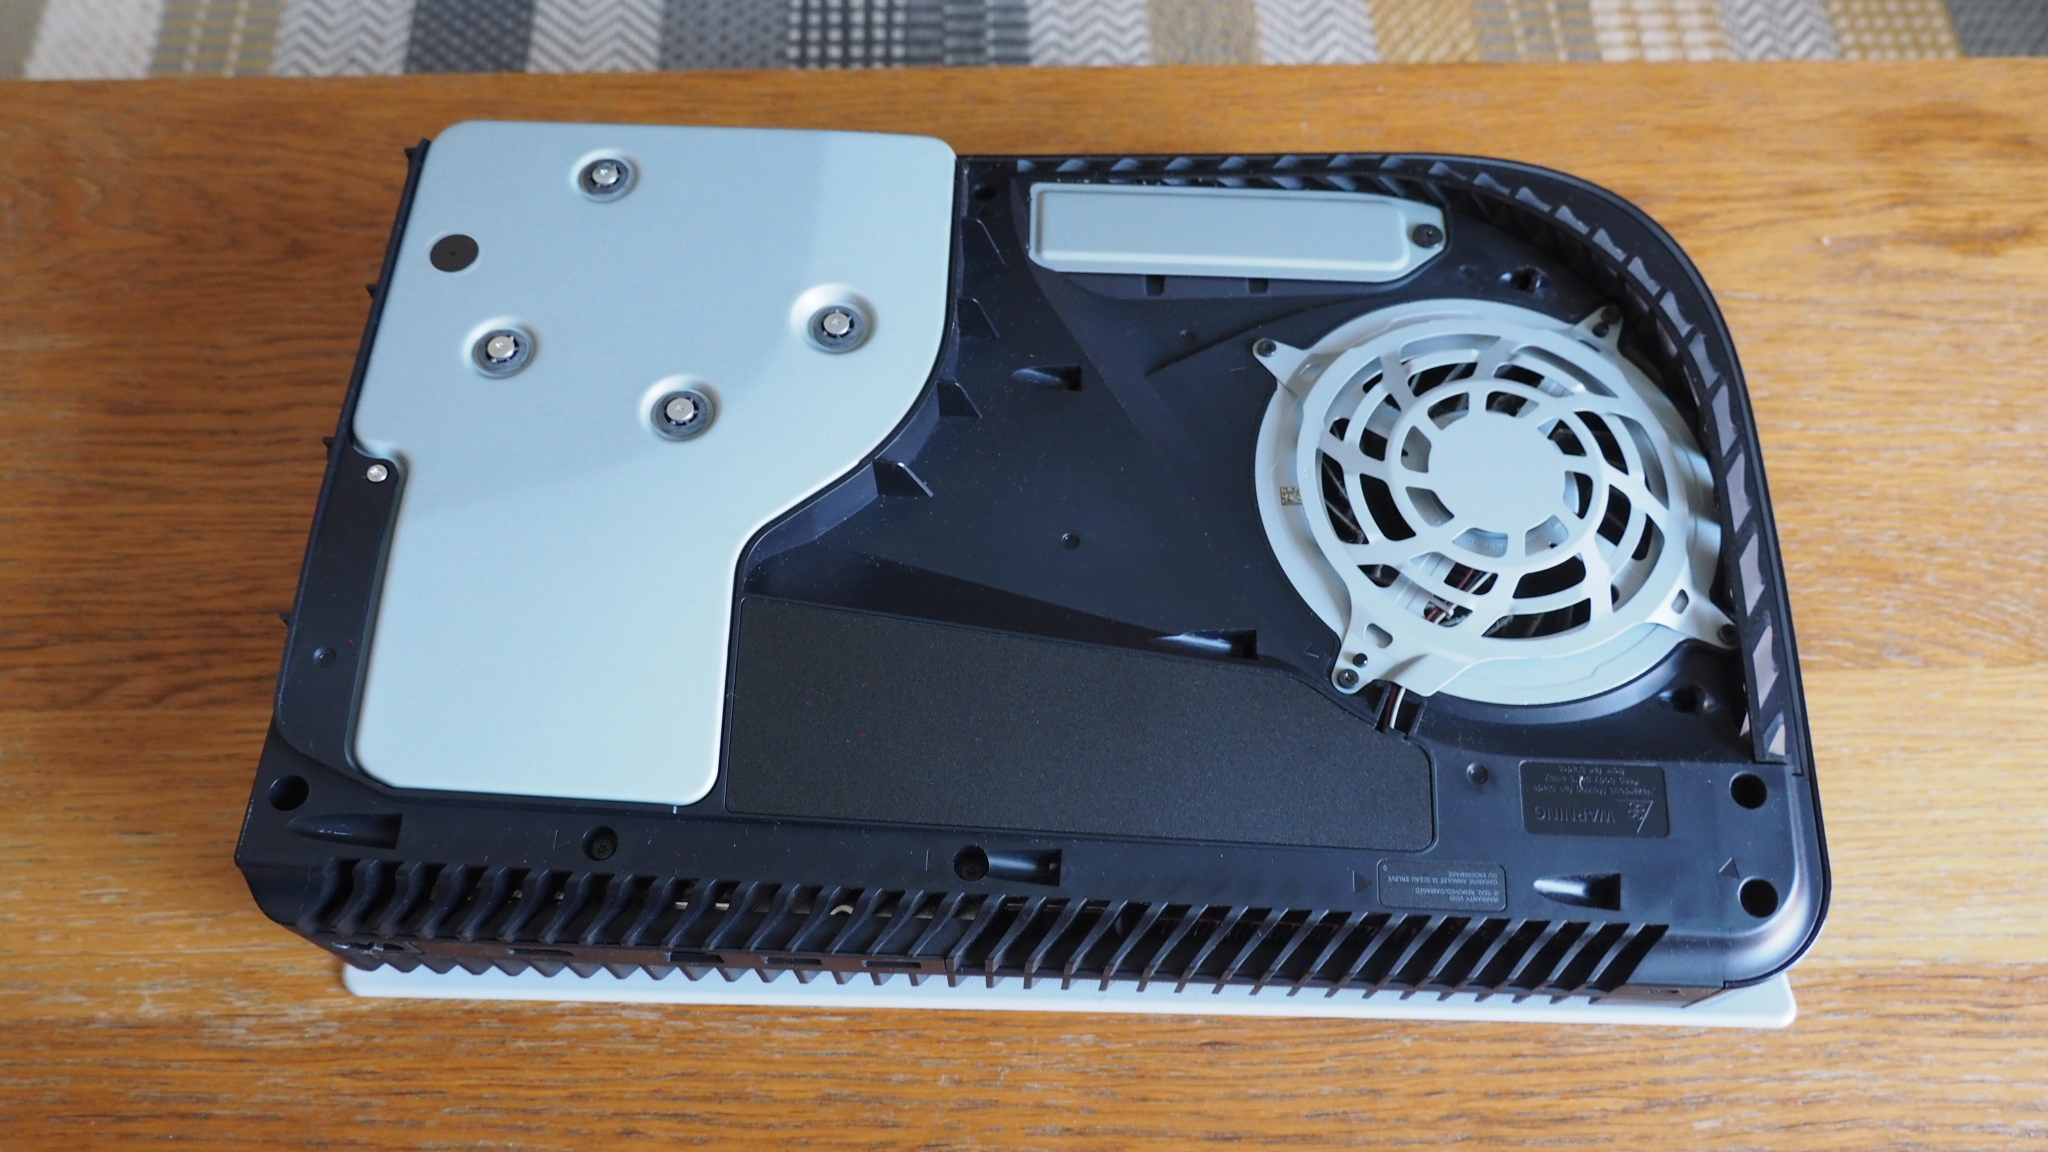
The next step is to power down your PS5 (press the PS button on the controller, select the Power circle to the far right and select Turn Off PS5). Ensure you wait until no console lights are flashing, otherwise that's an unsuccessful shutdown. Now unplug all cables.
Get the PS5 onto your flat work surface, the PS5 logo face up. Find yourself an earthed metal object (radiator will do) and touch that to destaticize yourself. Now flip the console over, so the rear ports are facing you.
Next job is to remove the white cover. Place your right hand to the near corner and your left hand to the adjacent lower corner opposite. You'll want to push upward with your right hand whilst pulling down with your left, until 'chonk' the faceplate will release. It's only clipped into place, there's no screws or anything, and no you won't break it (like I at first feared was the logical conclusion of this step).
Now take a moment to dust the heck out of your PS5. If, like me, you've come to this step late things probably aren't entirely clean inside, so it's a good opportunity to clean down with a duster or microfibre cloth. It'll help operation in the future and avoid overheating. You can remove the opposite faceplate after the install process in the same way to do the same thing.
5. Remove the internal SSD cover
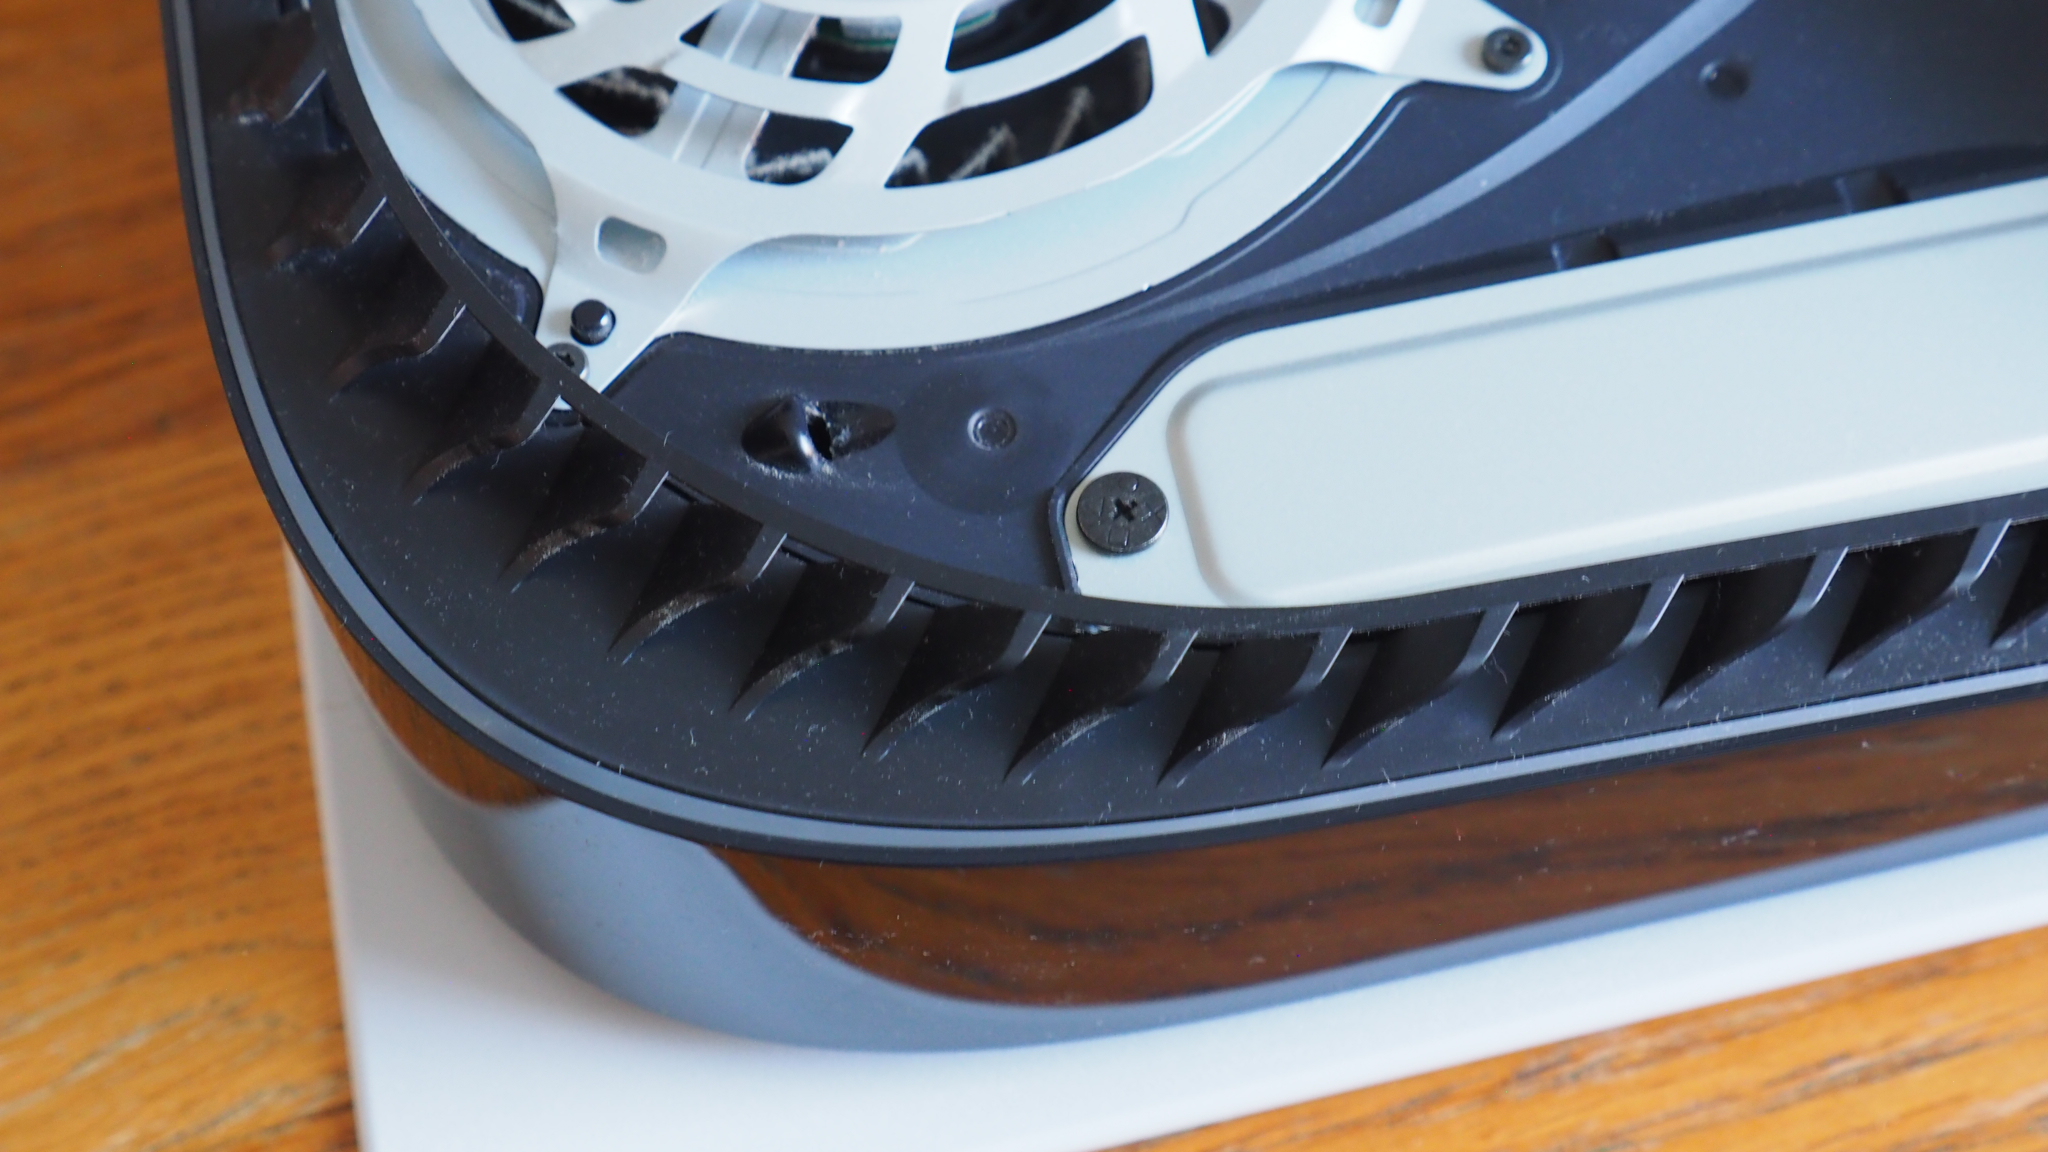
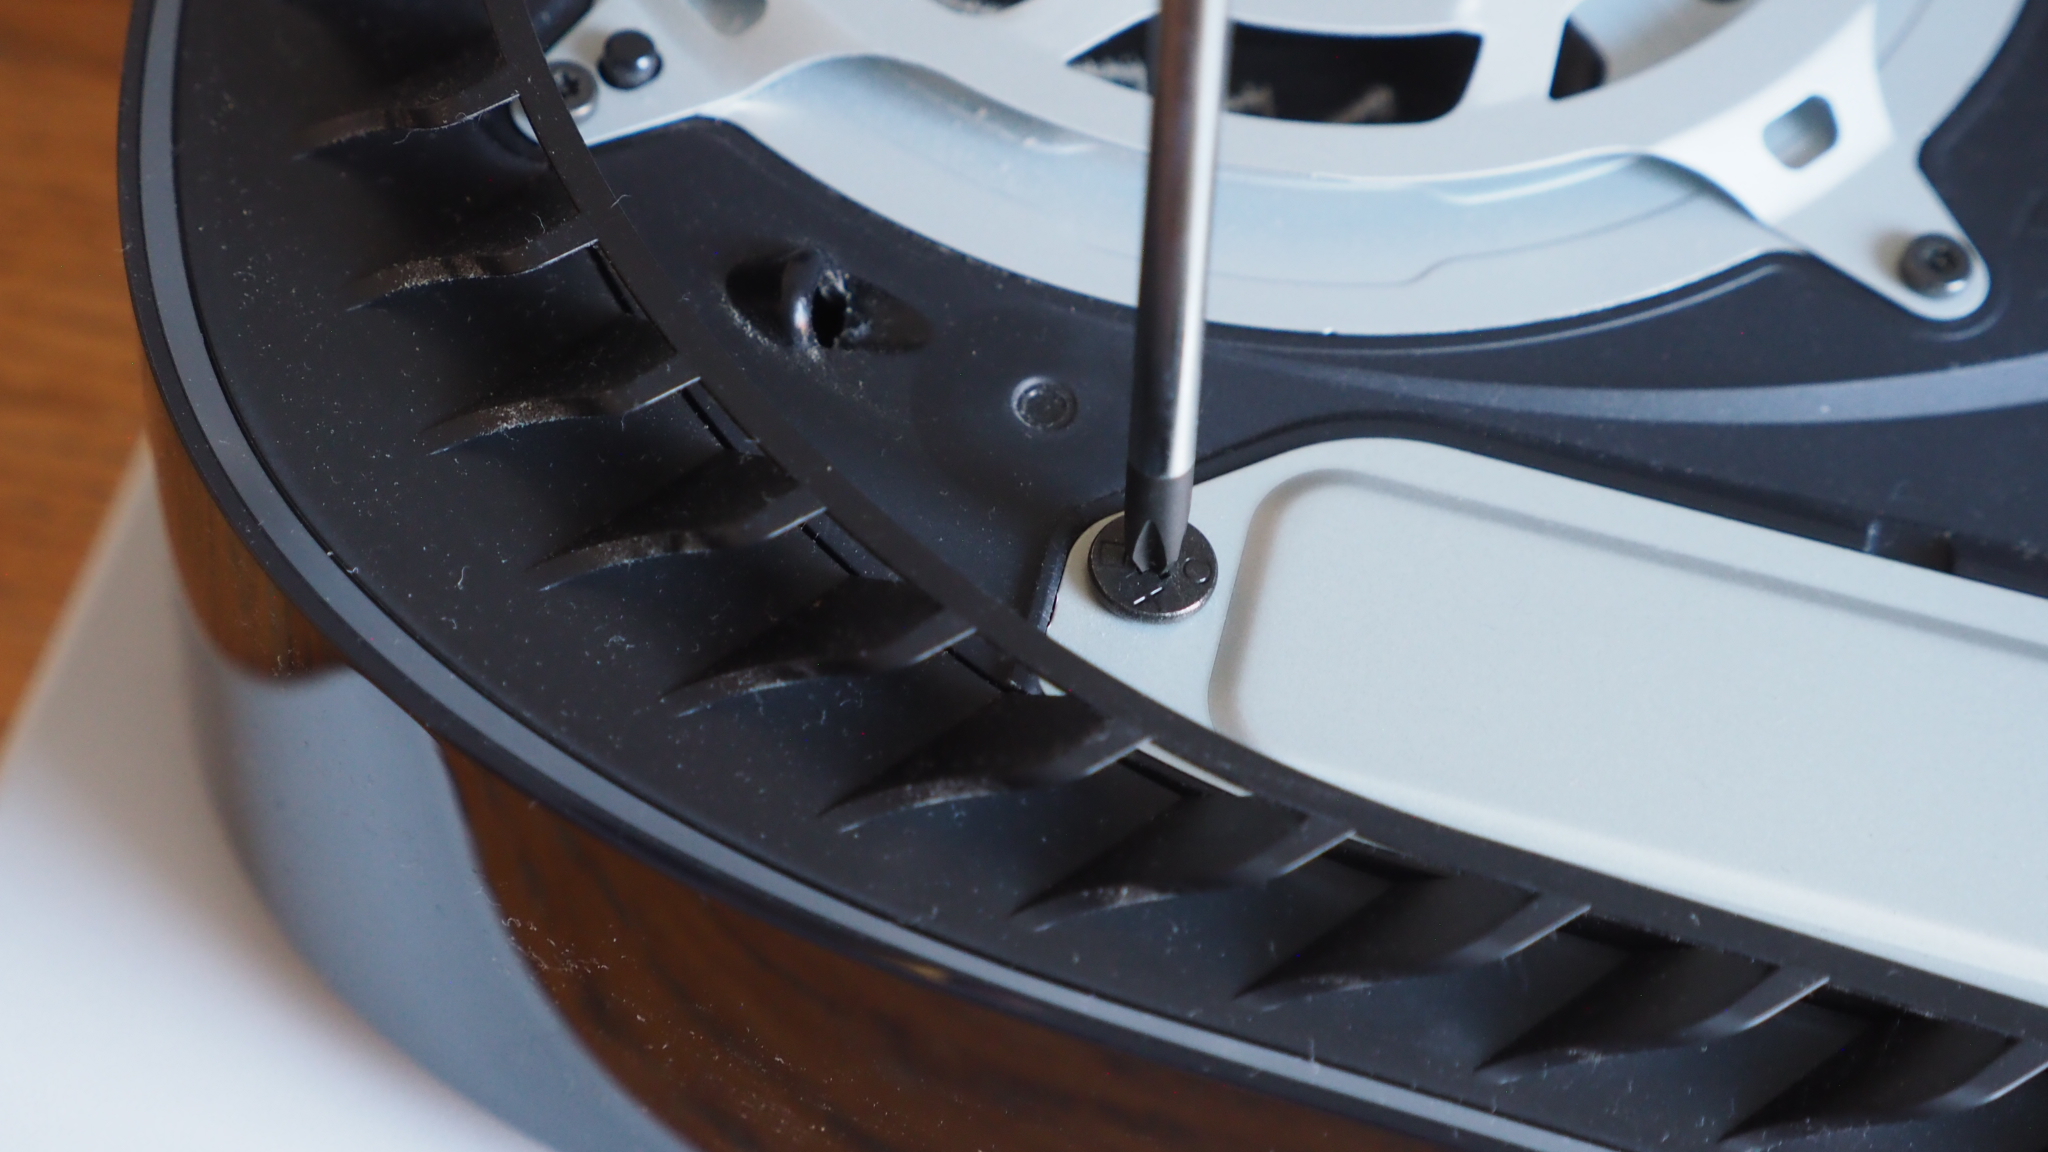
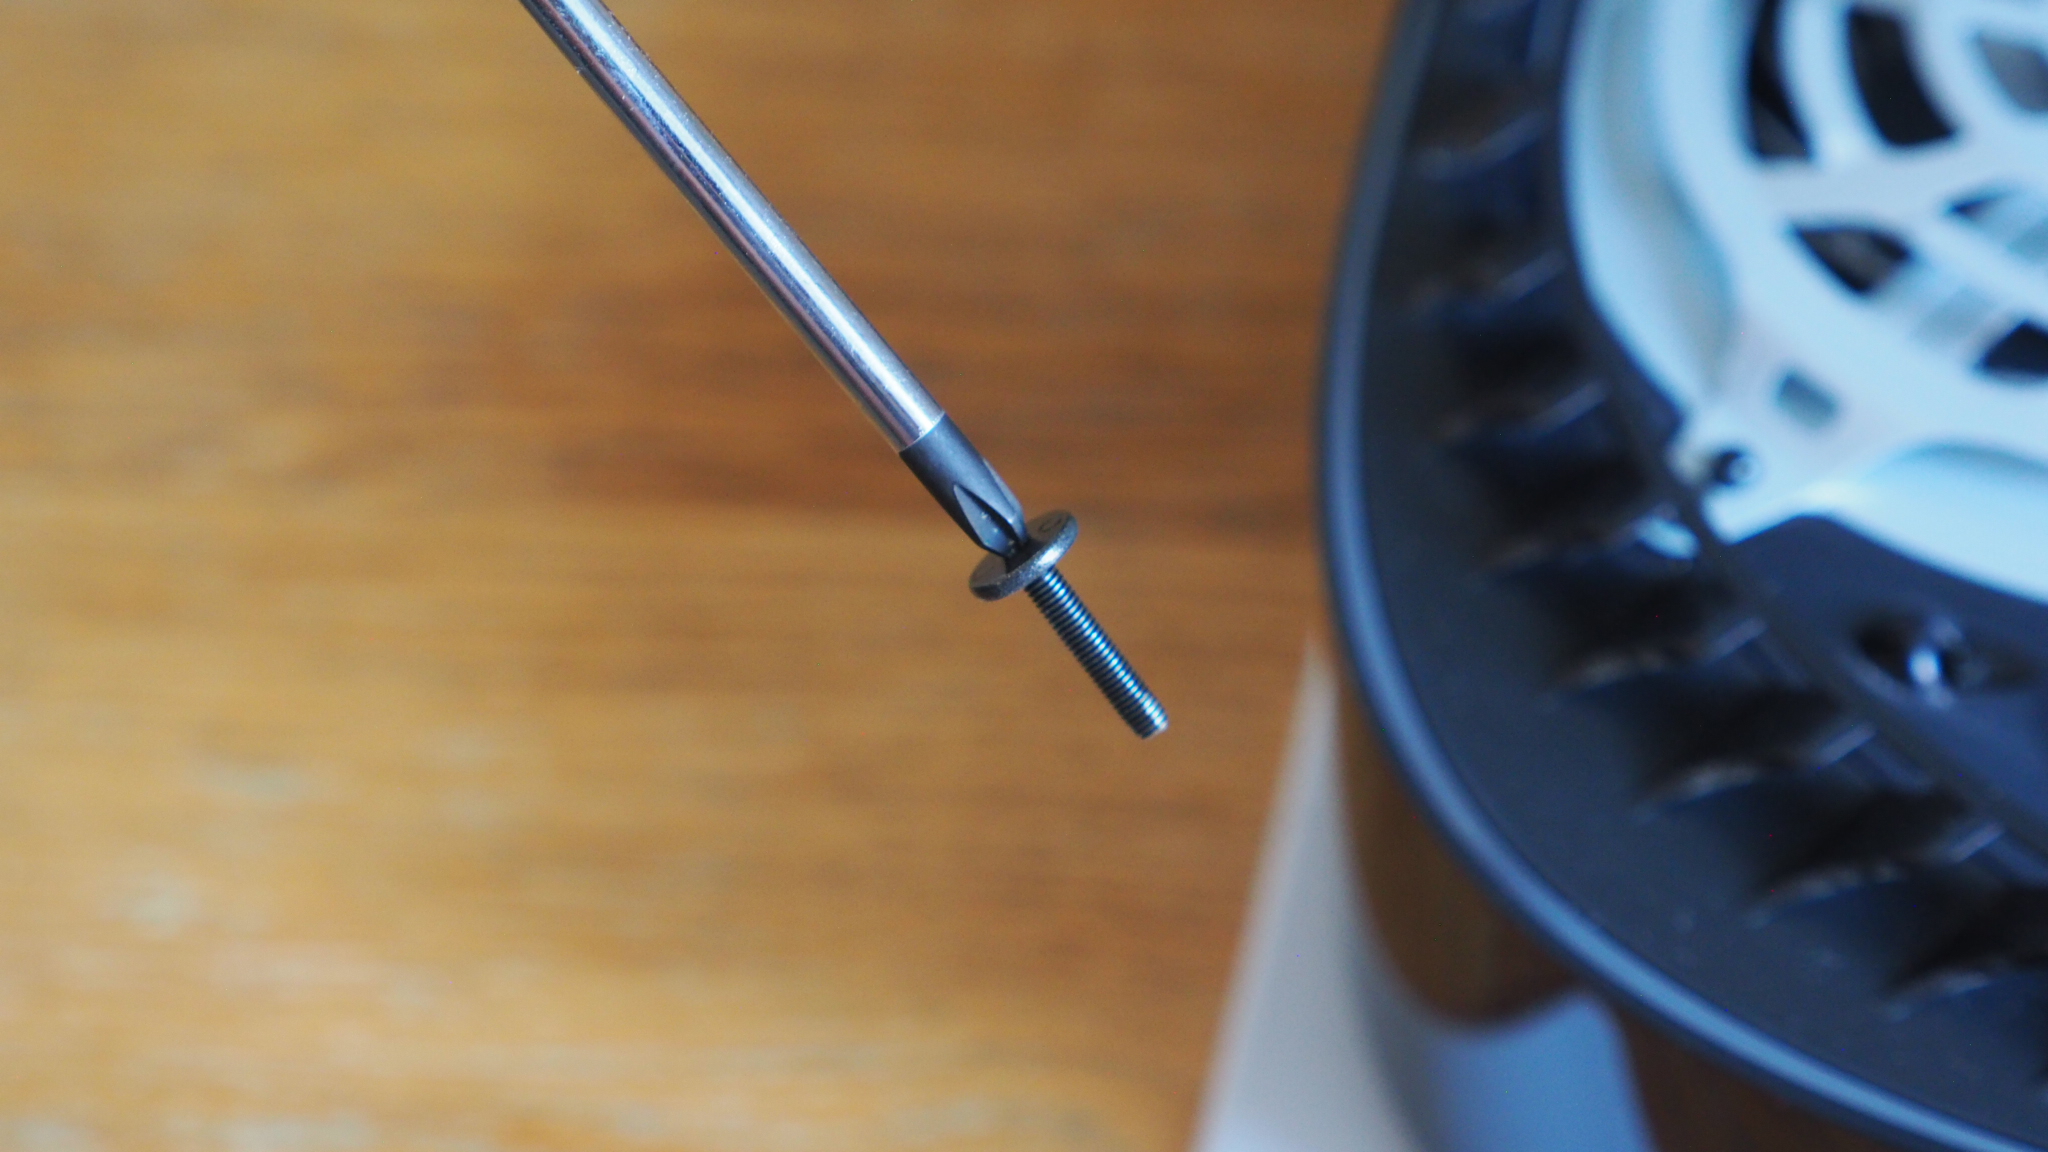
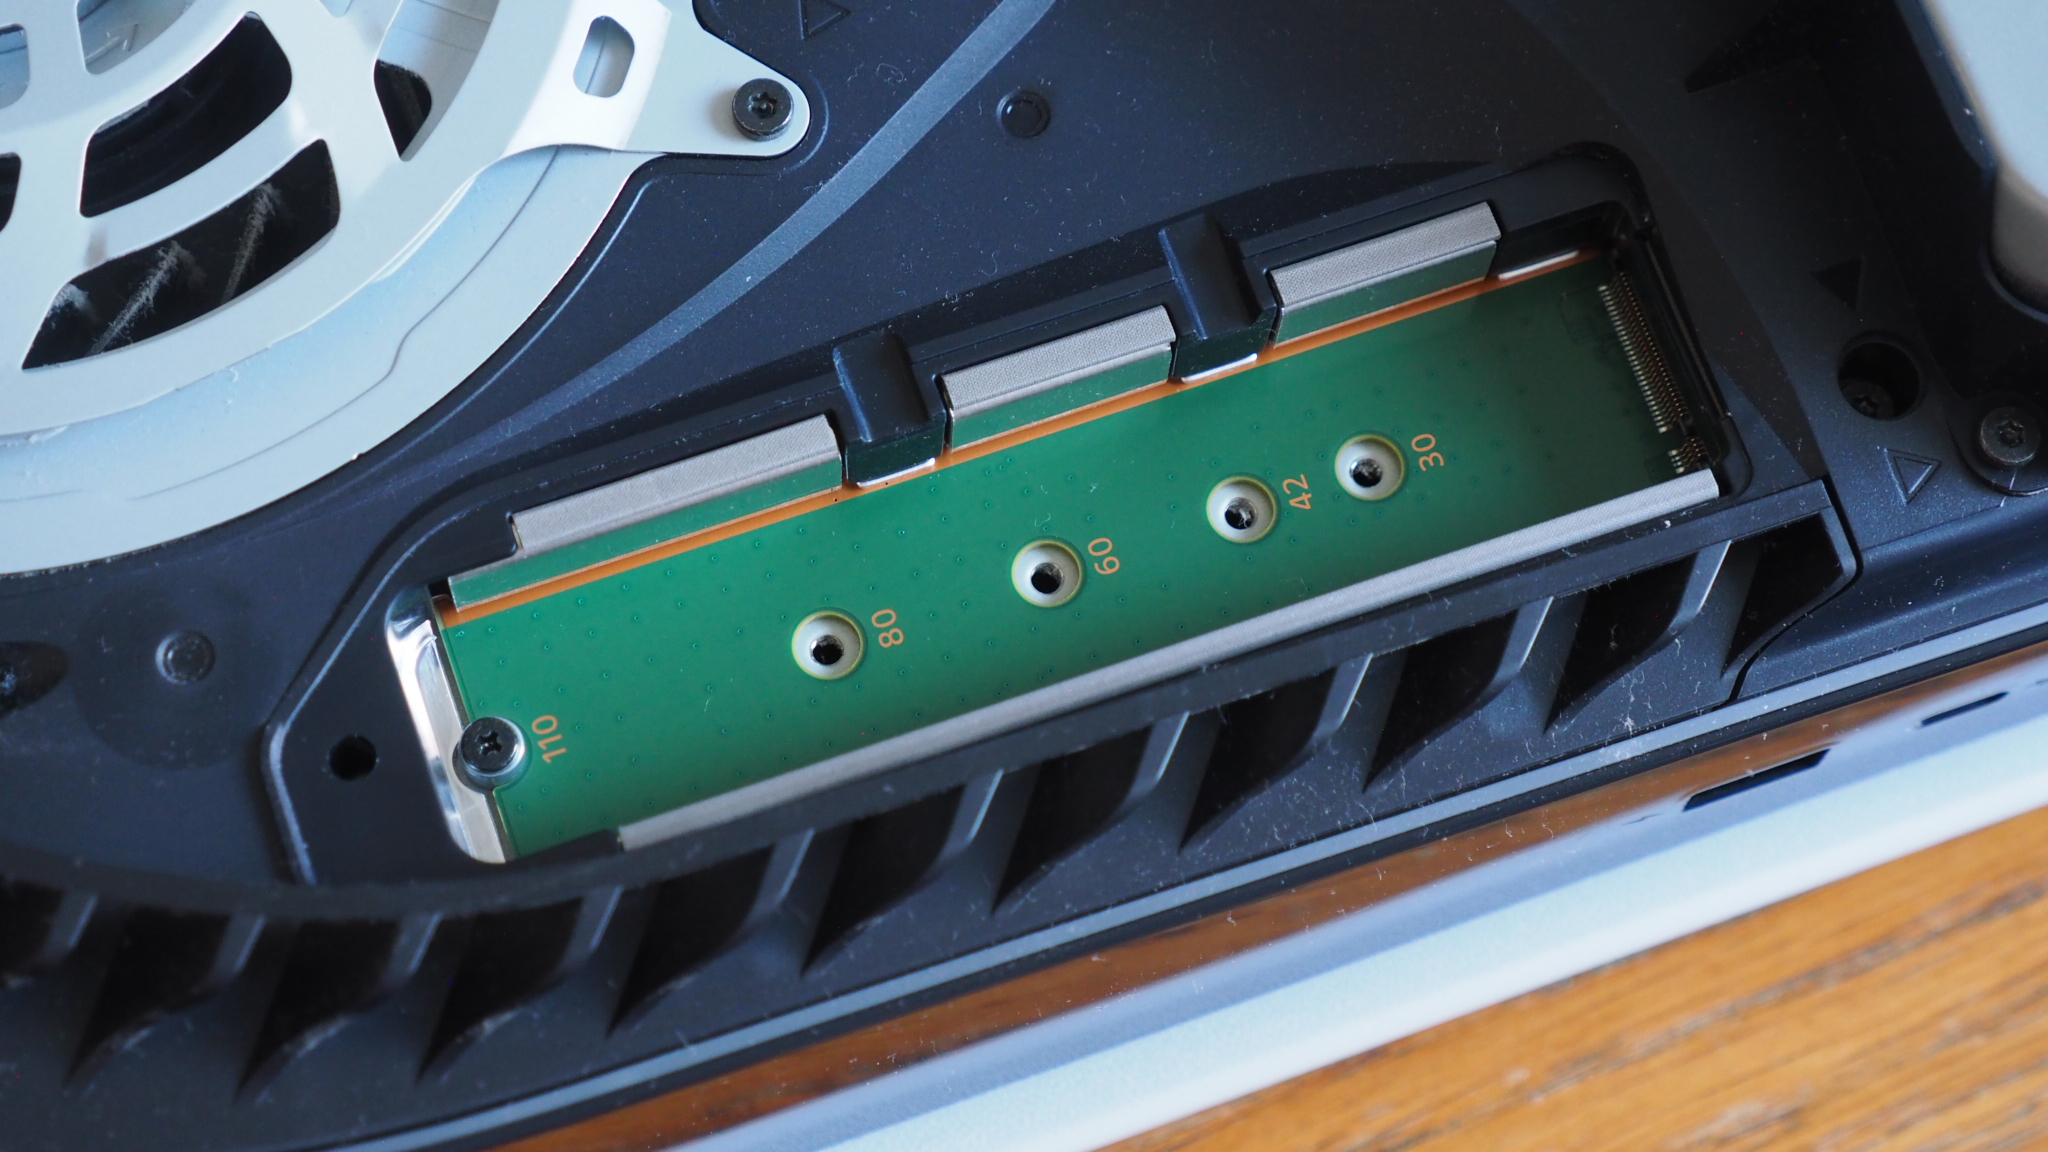
Next, identify the internal SSD cover. It's held in by one screw (complete with PS's △ O X ▢ markings, a nice touch), so here's the Philips PH1 screwdriver step: simply unscrew and put the screw to the side.
Beneath you'll reveal the dock for the M.2 SSD. You'll notice there are five screw holes, four of which are empty. Why so many? You can get drives of different physical lengths, so the next step is to secure your specific drive at the right length.
6. Prepare washer position
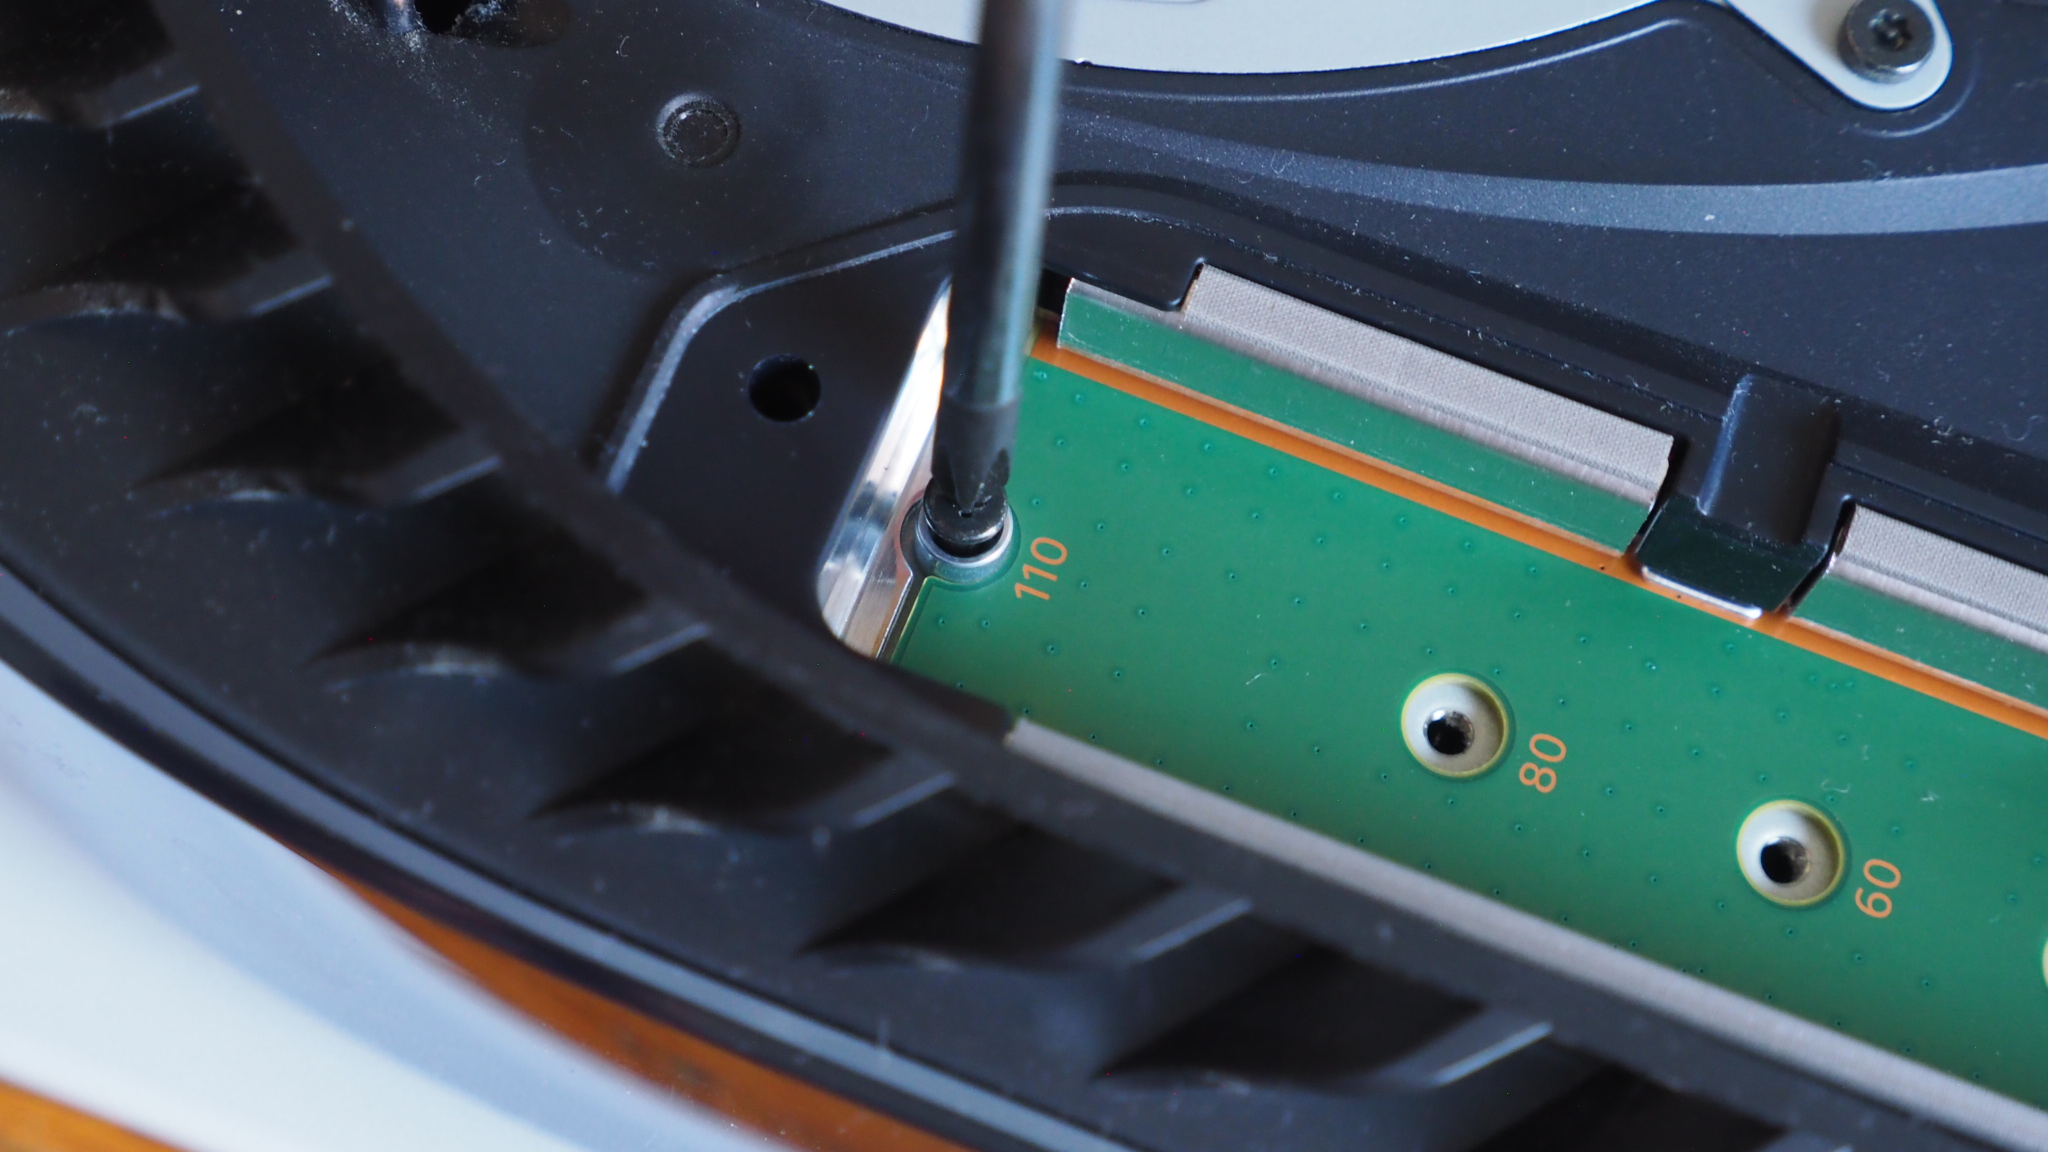
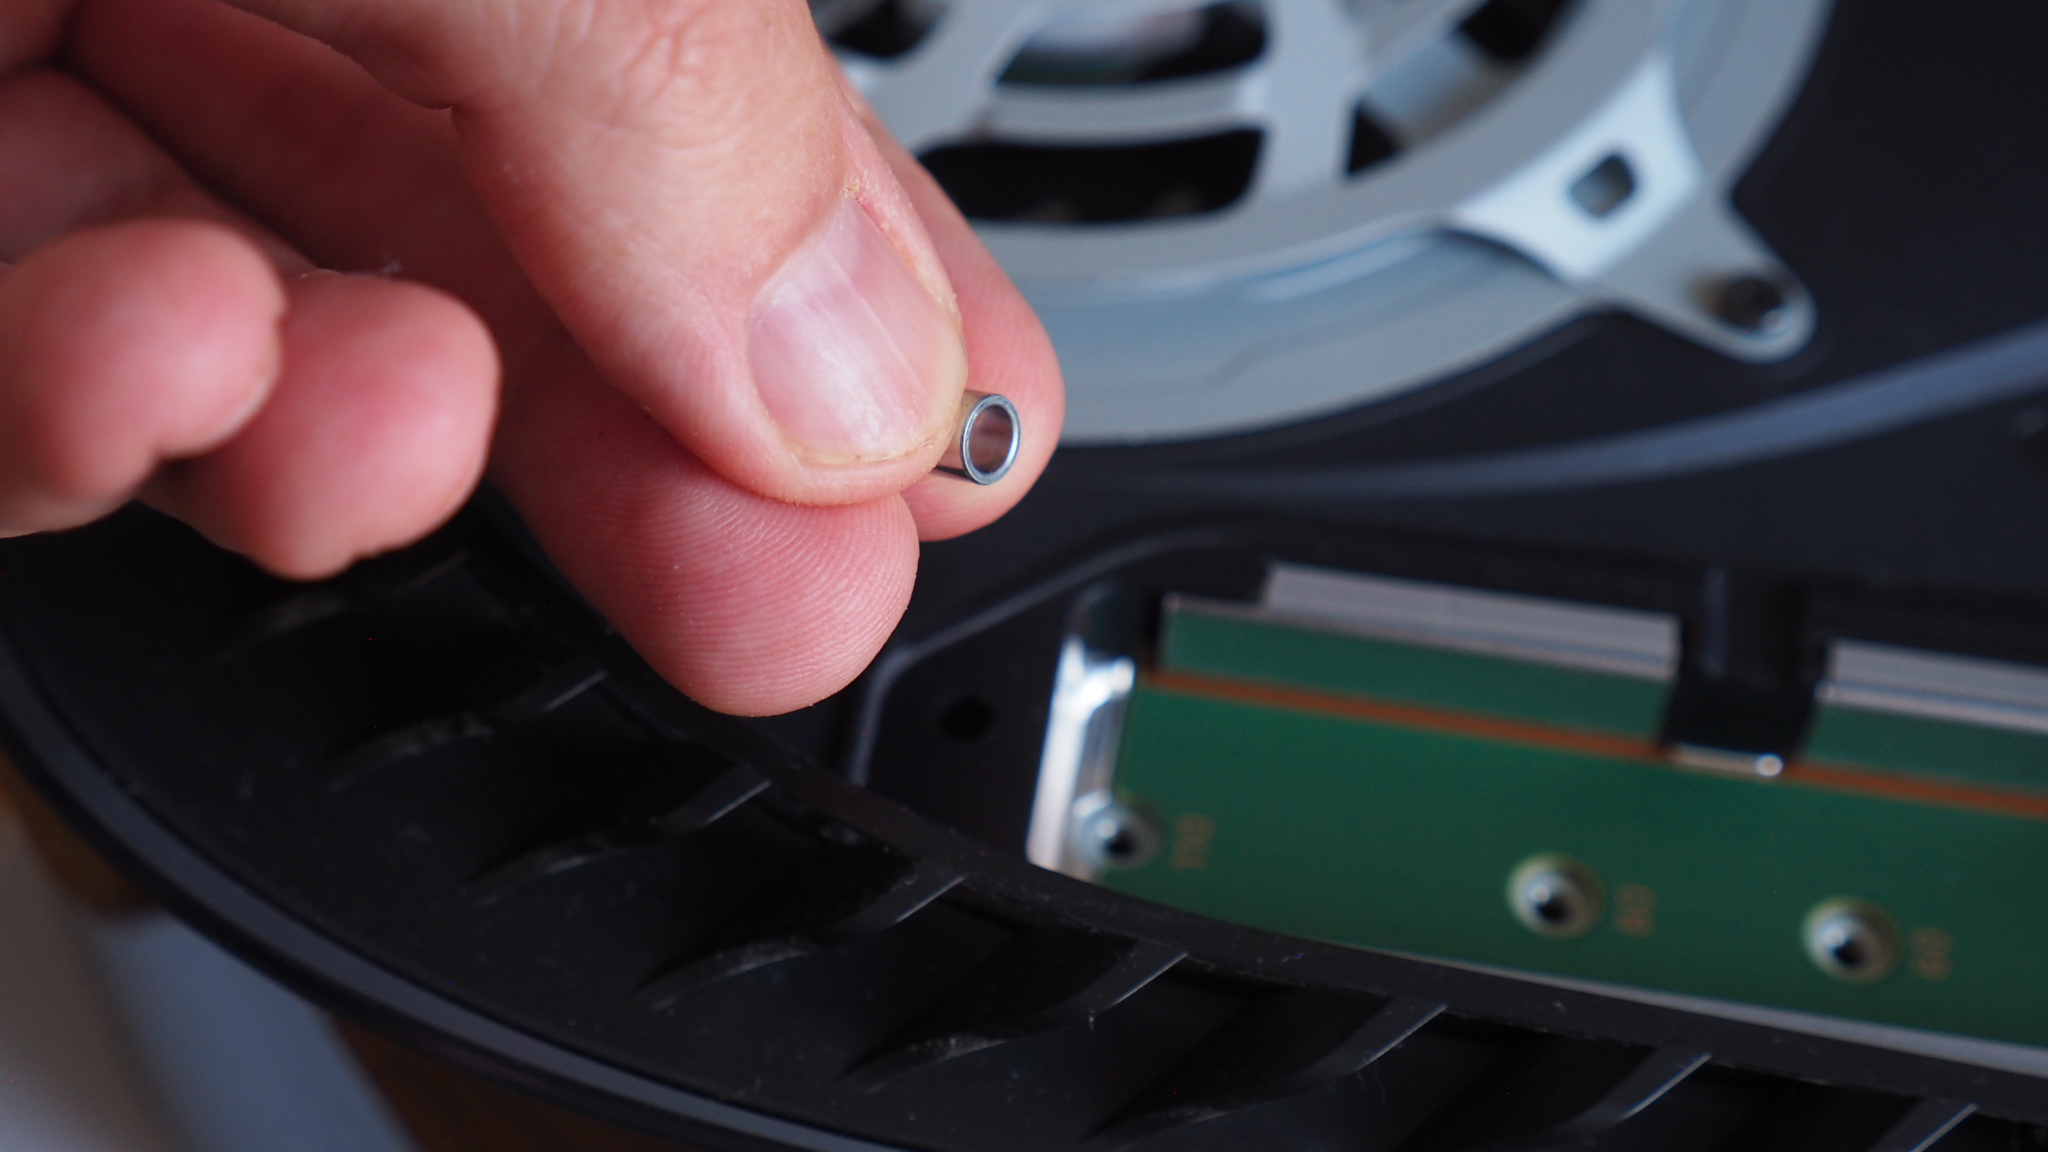
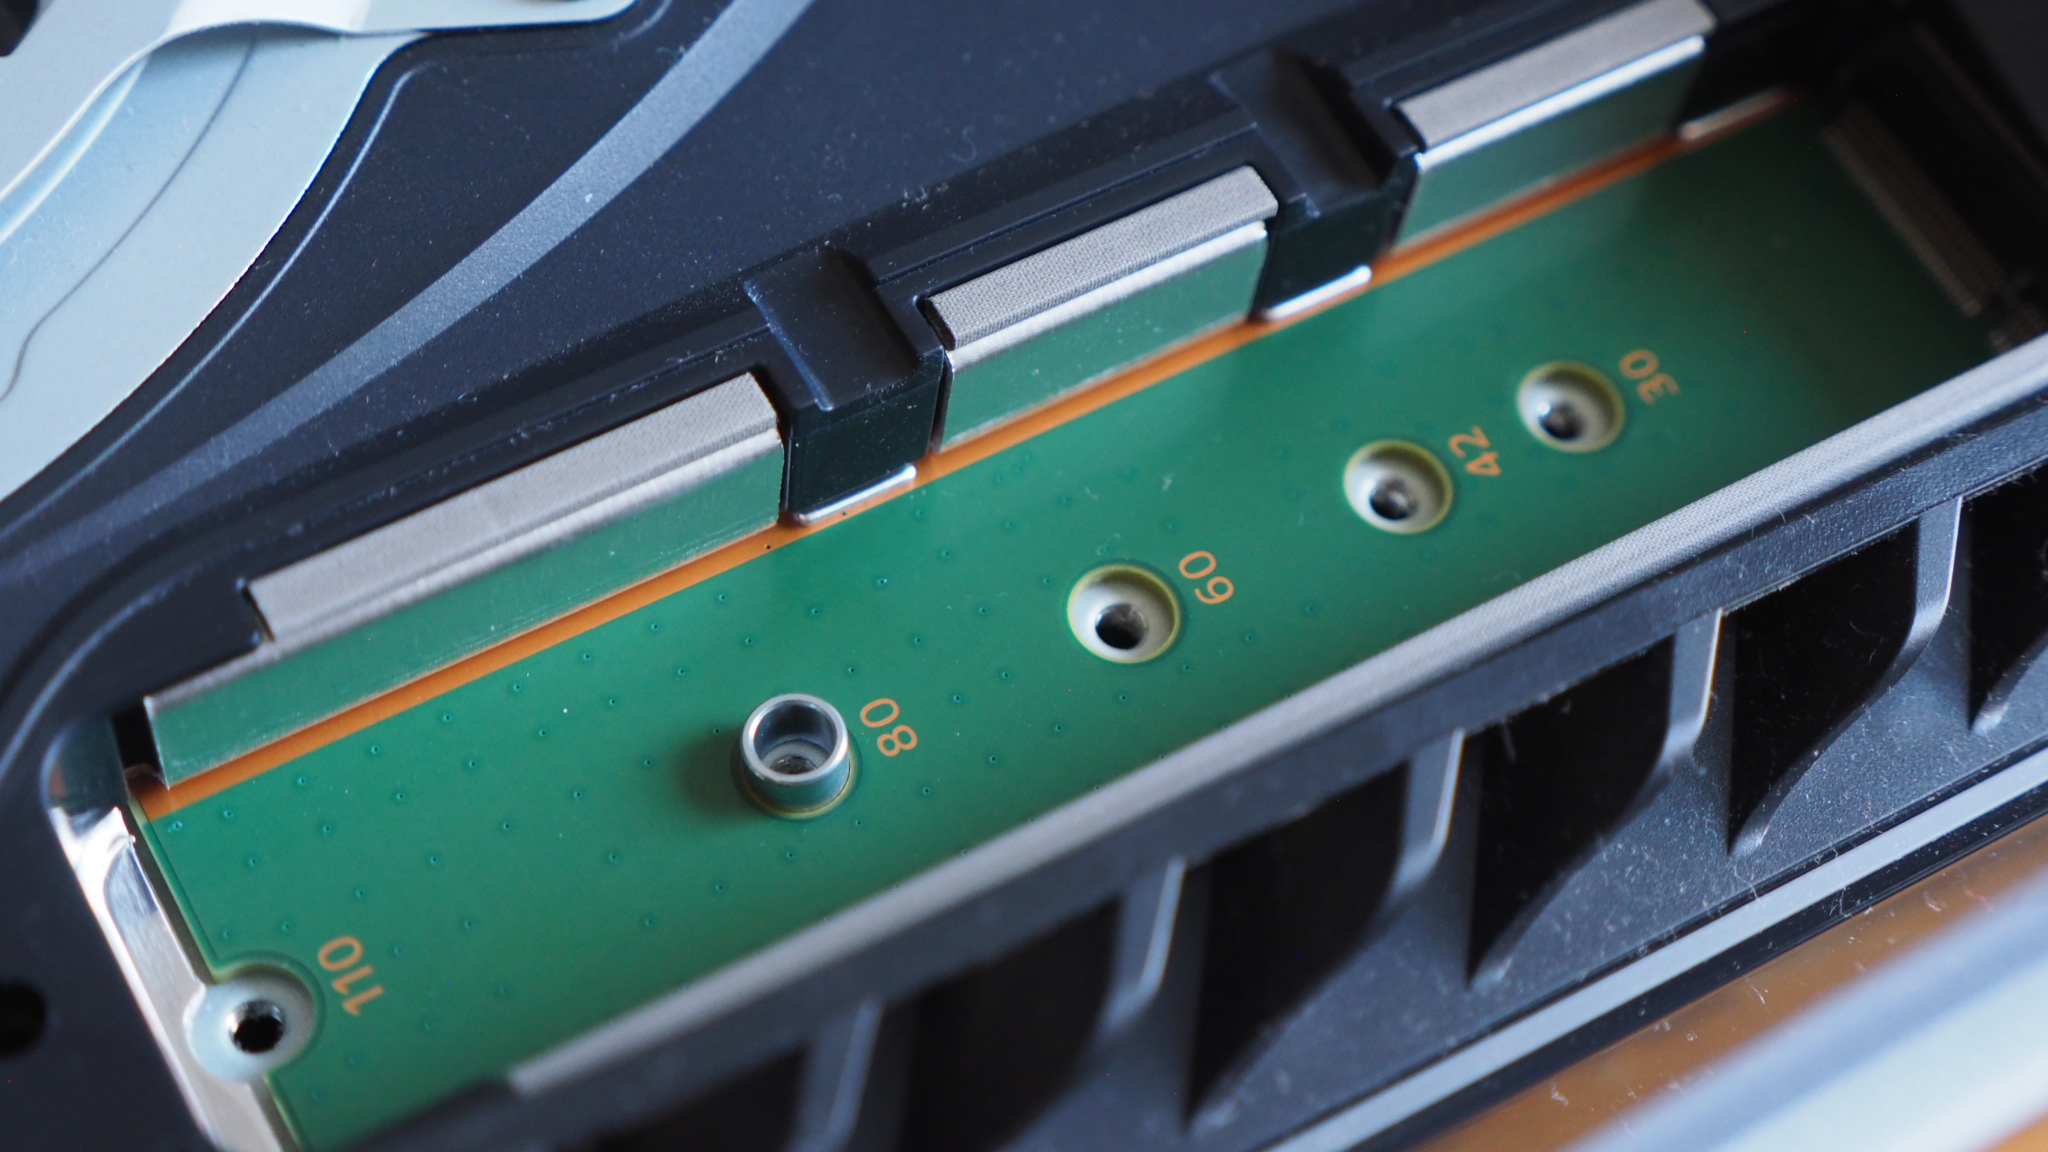
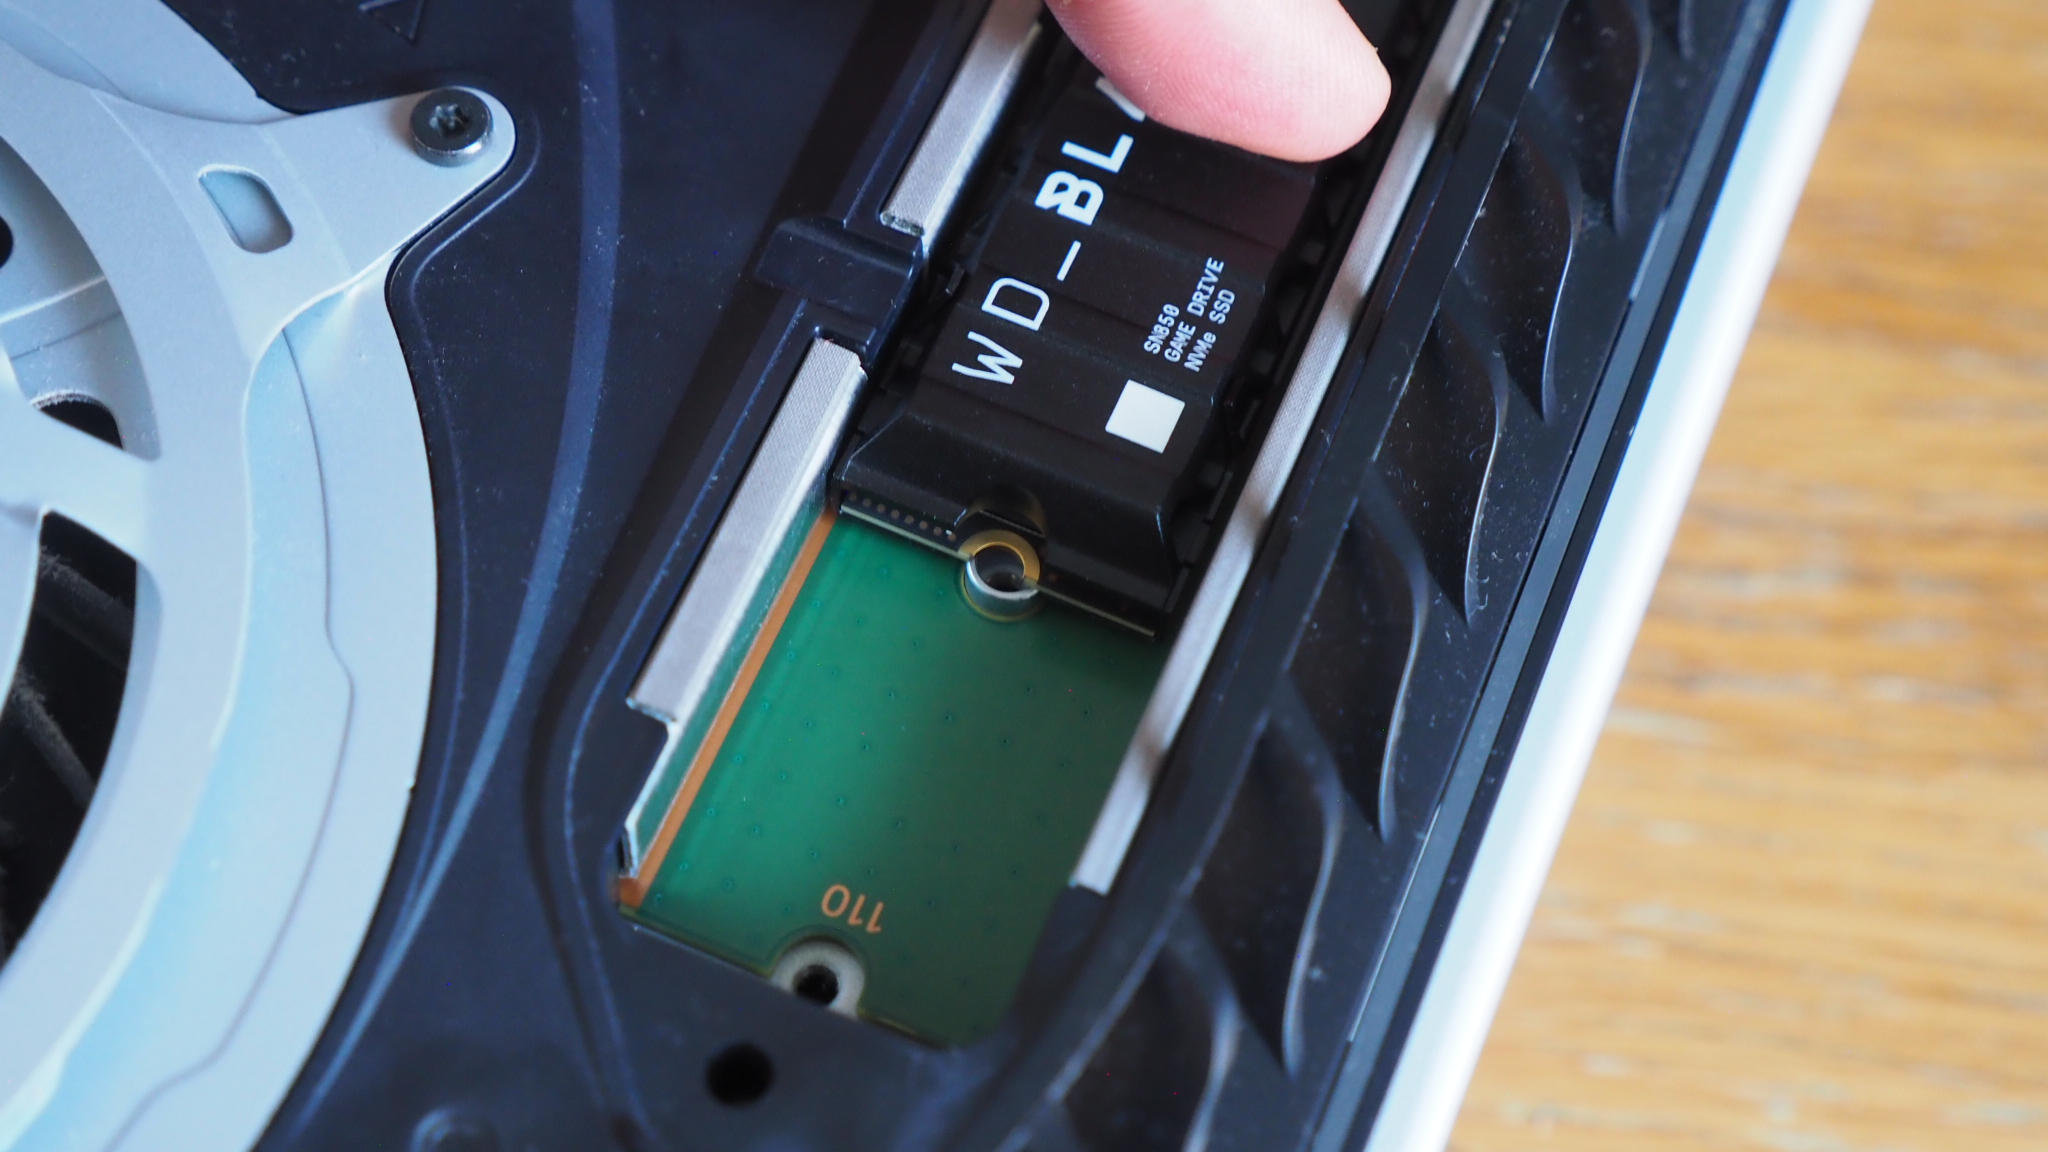
If you casually line-up your M.2 SSD over the bay you'll be able to see which of the four corresponding screw holes will match up to its end.
You'll then need to do the following: remove the screw from the fifth position, set it aside, then remove the washer below and position this in the relevant screw hole for your drive install. Don't screw anything back in yet though.
7. Install the SSD
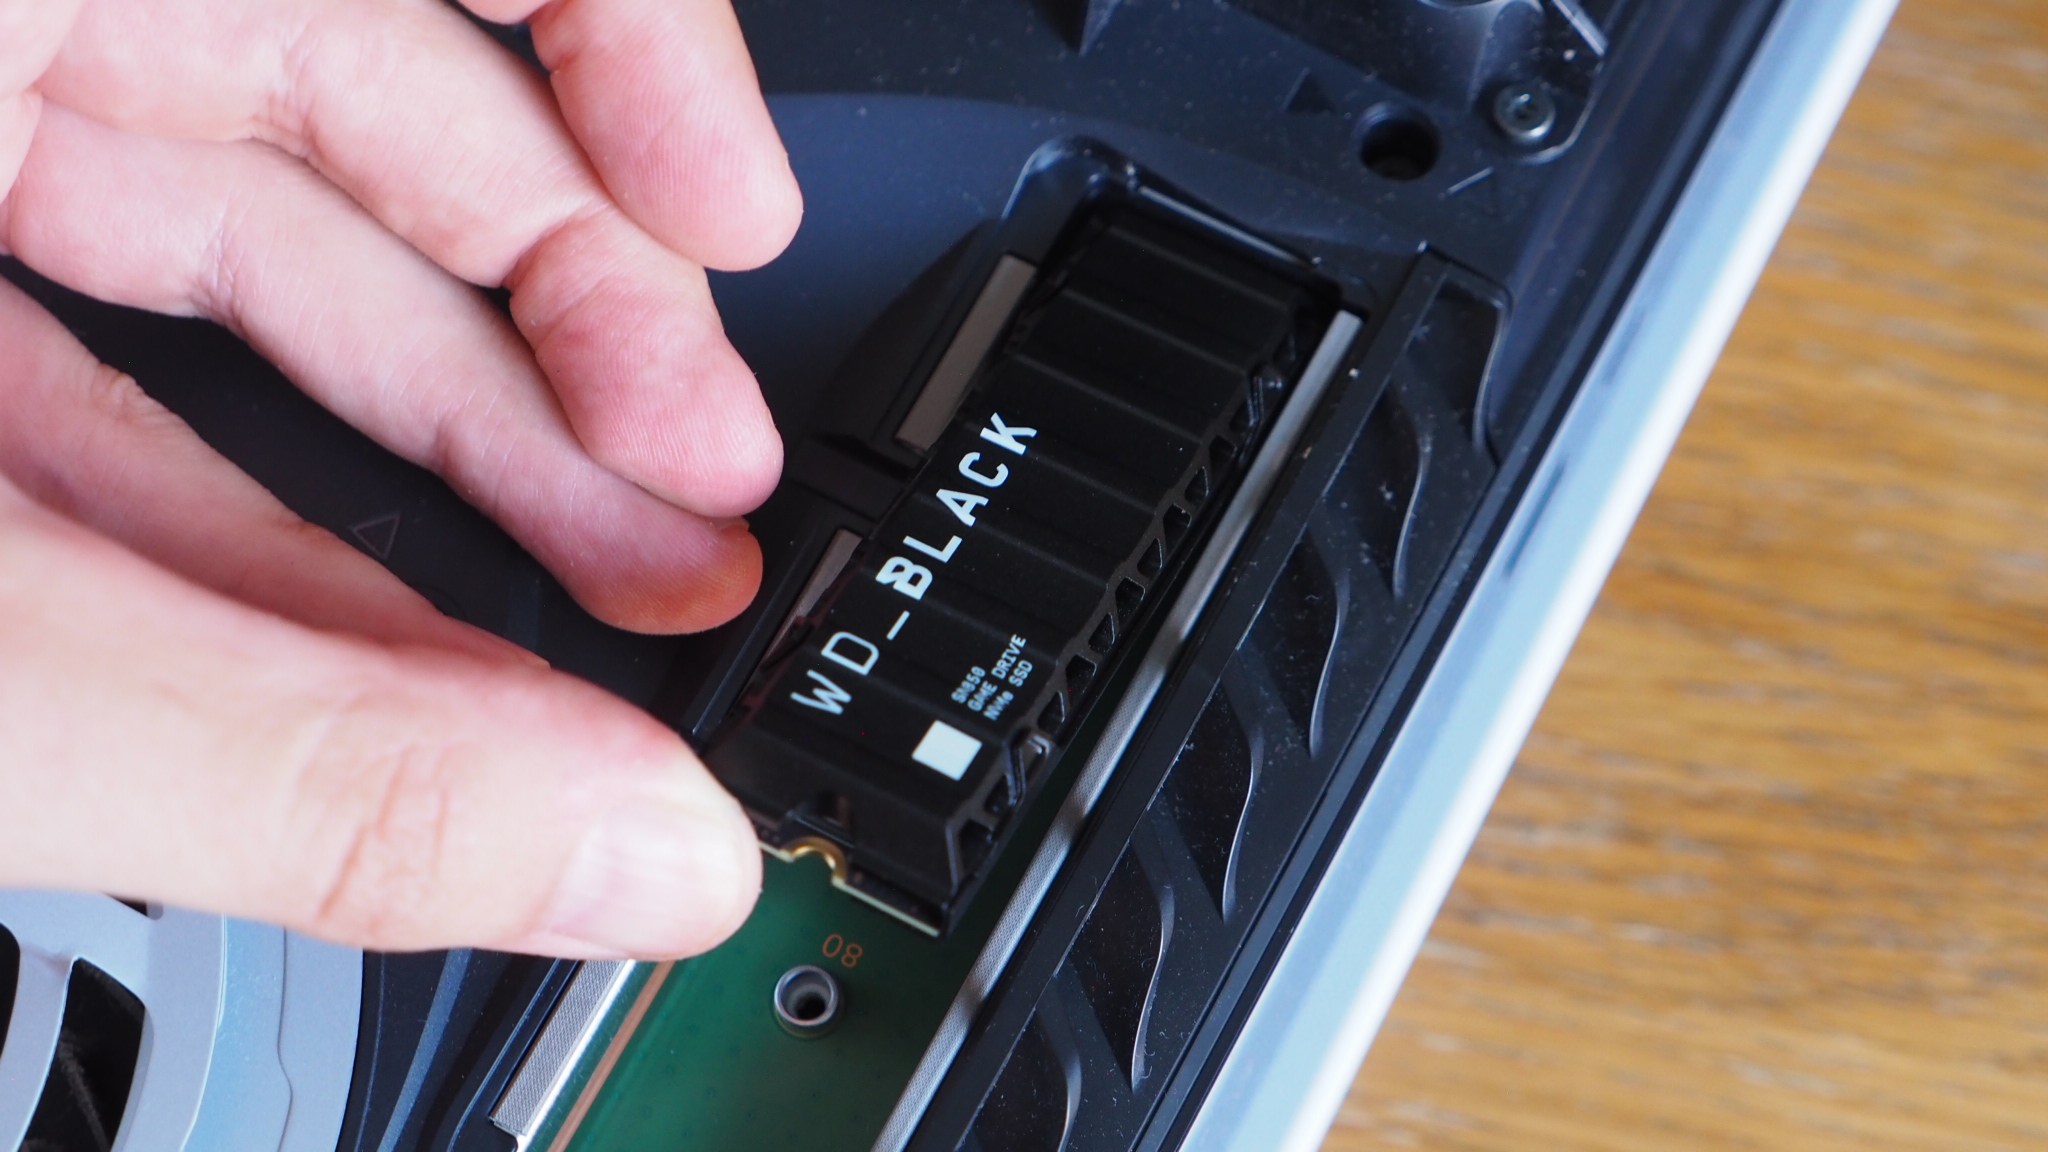

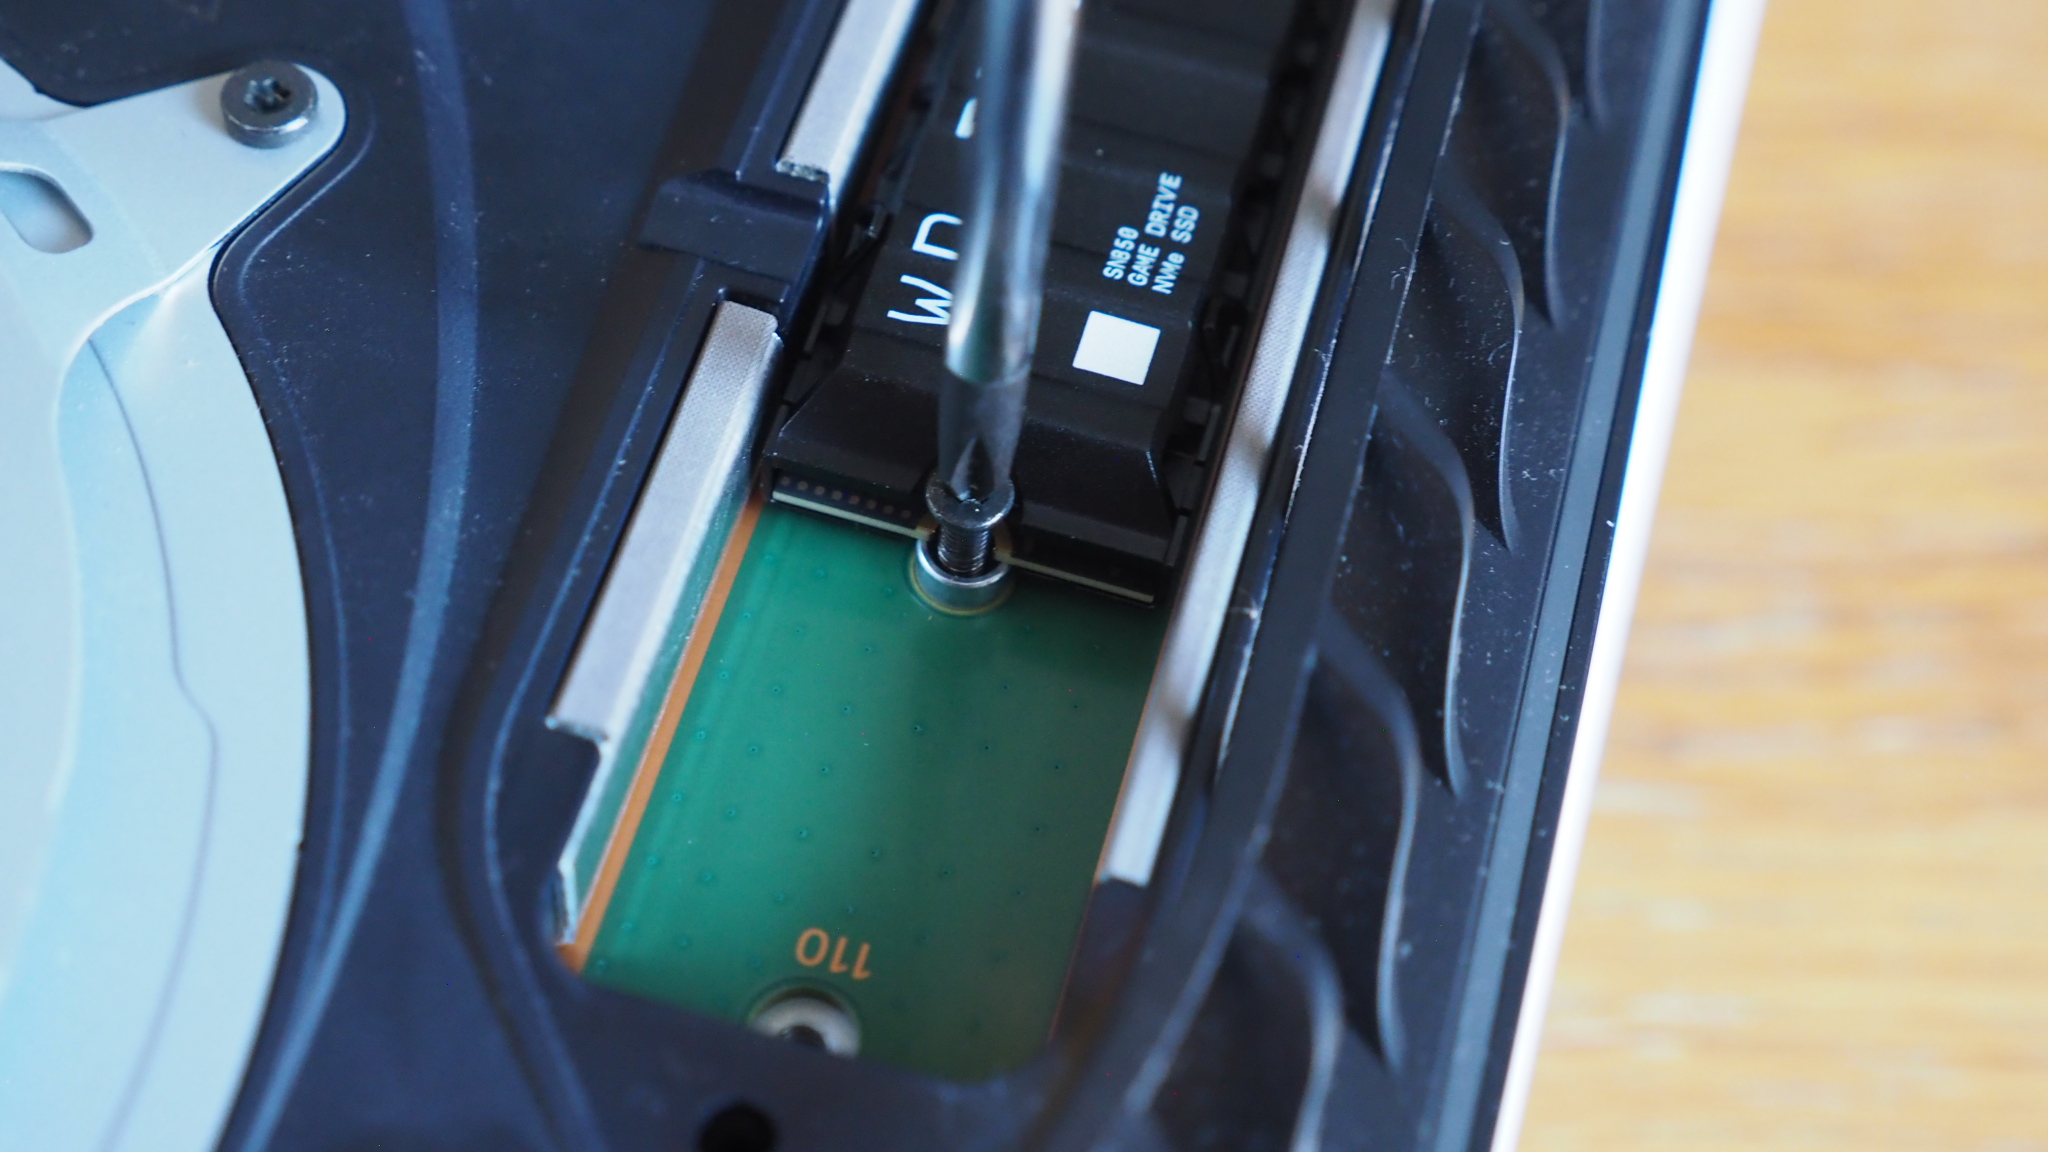

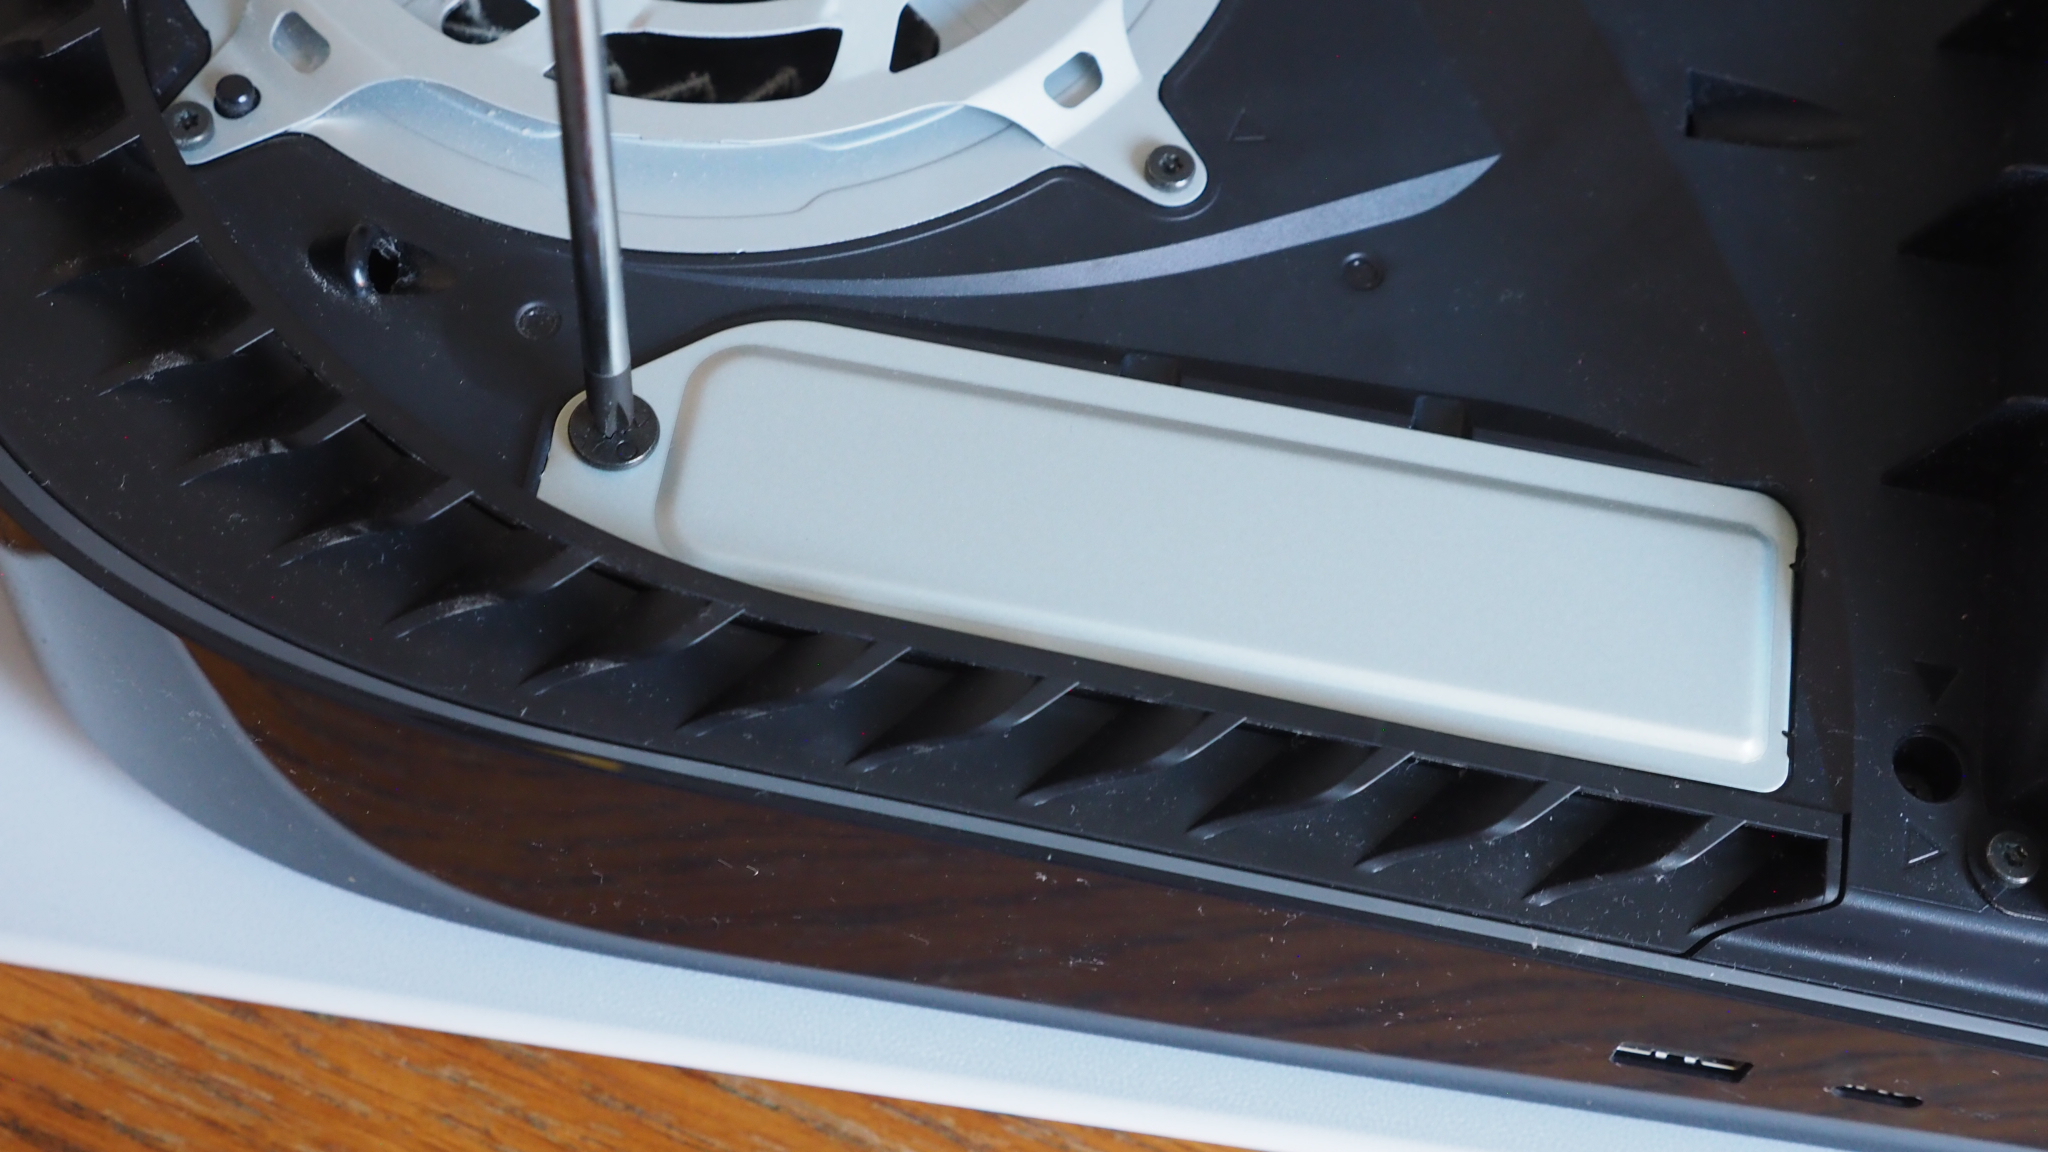
Now press the SSD's connector into the open end at around 45 degrees. It doesn't plug in by pushing it flush, so don't do that.
Once it's pressed in, push it down so it's flat to the surface and resting on the washer you've just installed. Now you can pop the small screw from step #6 back into place and screw it down. That'll ensure the SSD is solidy in place.
8. Return the cover and faceplate
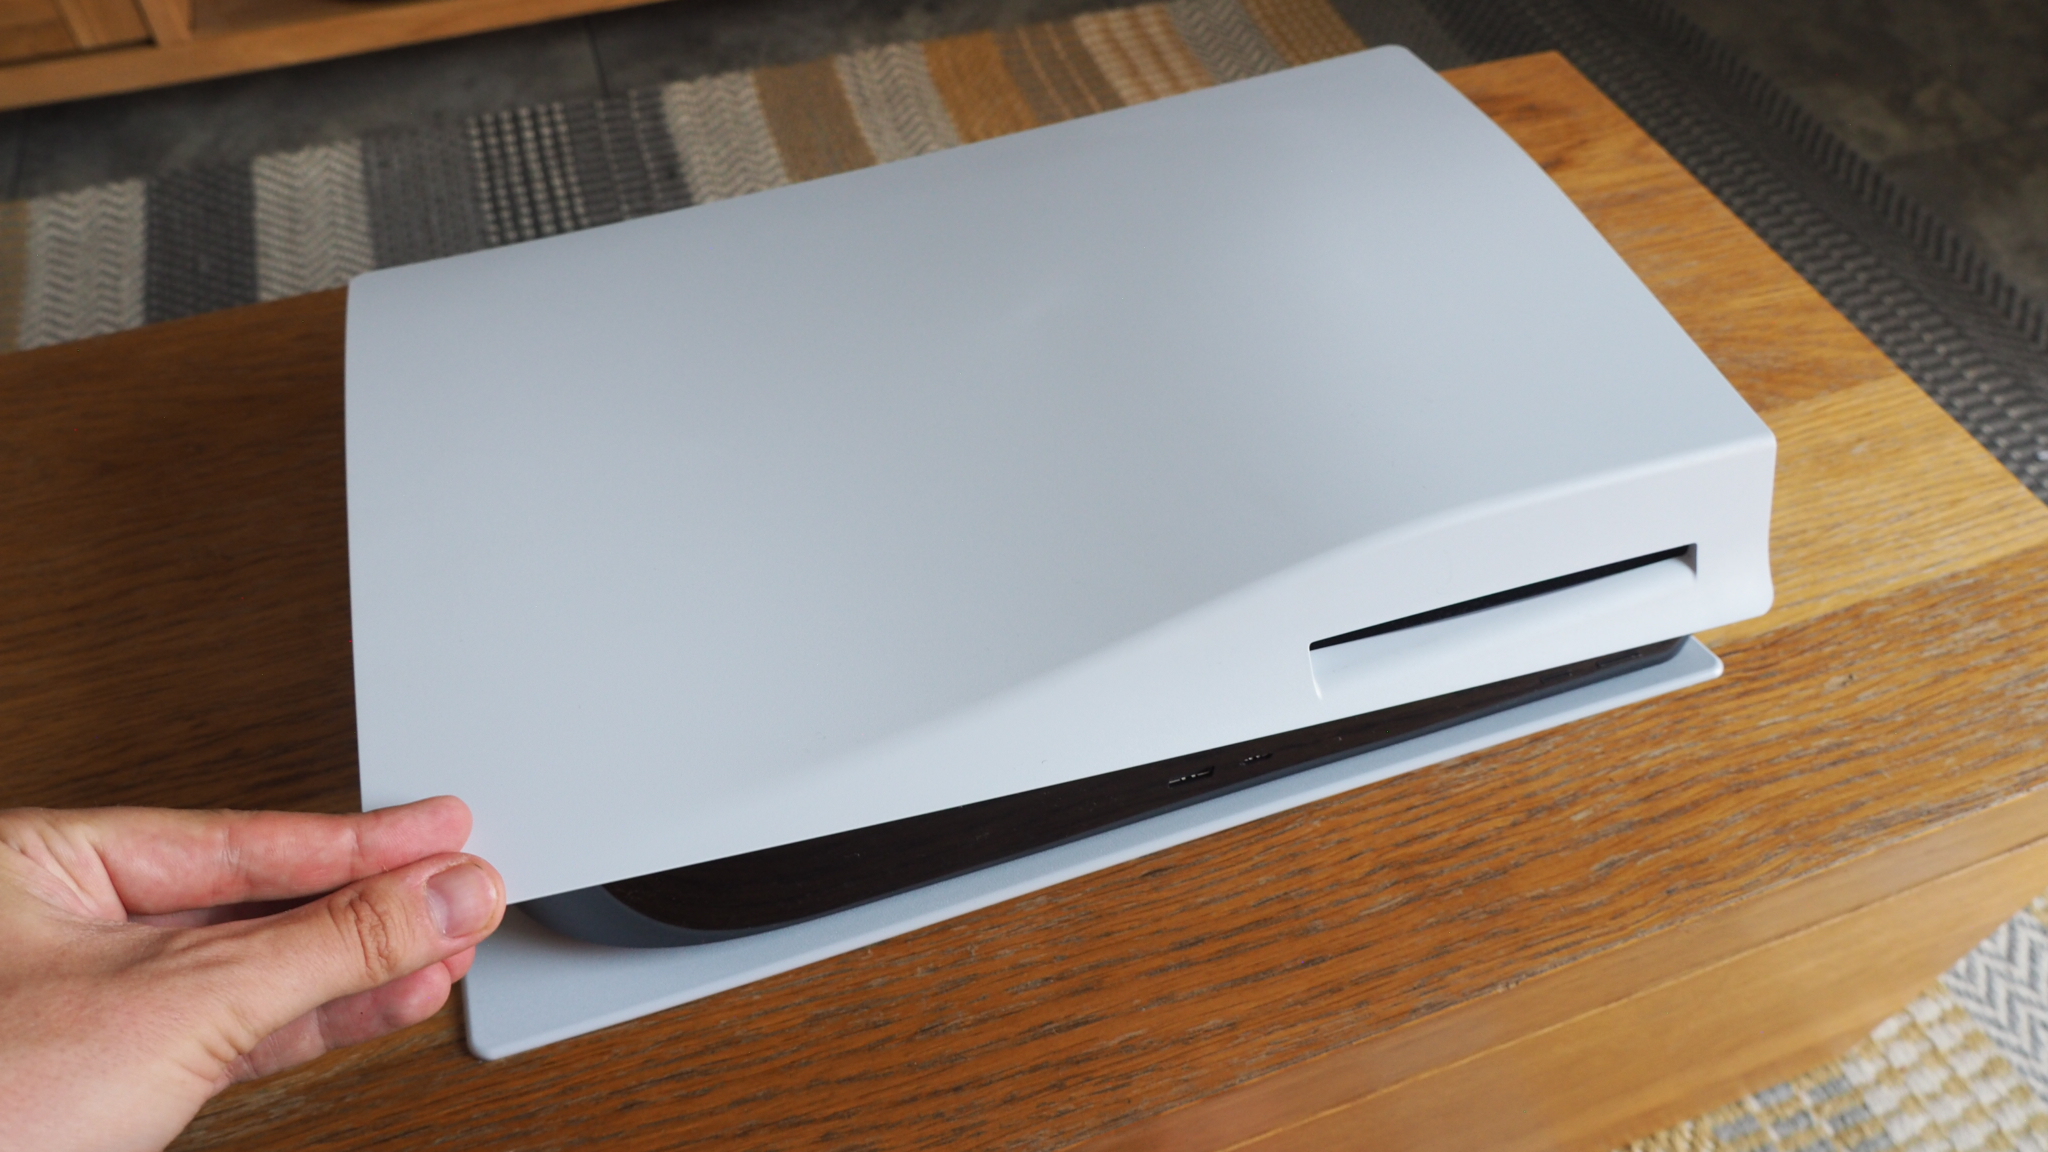
Next return the internal SSD cover and the larger screw from step #5.
You'll now need to reapply to PS5's faceplate, which a bit like the perils of removing it just takes a bit of confidence: I just thwacked it back into place and, ensuring you hear a solid 'click', you'll know it's firmly in place.
You may wish to remove the opposite faceplate to continue your cleaning project whilst you're here, just as a reminder. I think it'll be worth it.
9. Plug back in, format SSD
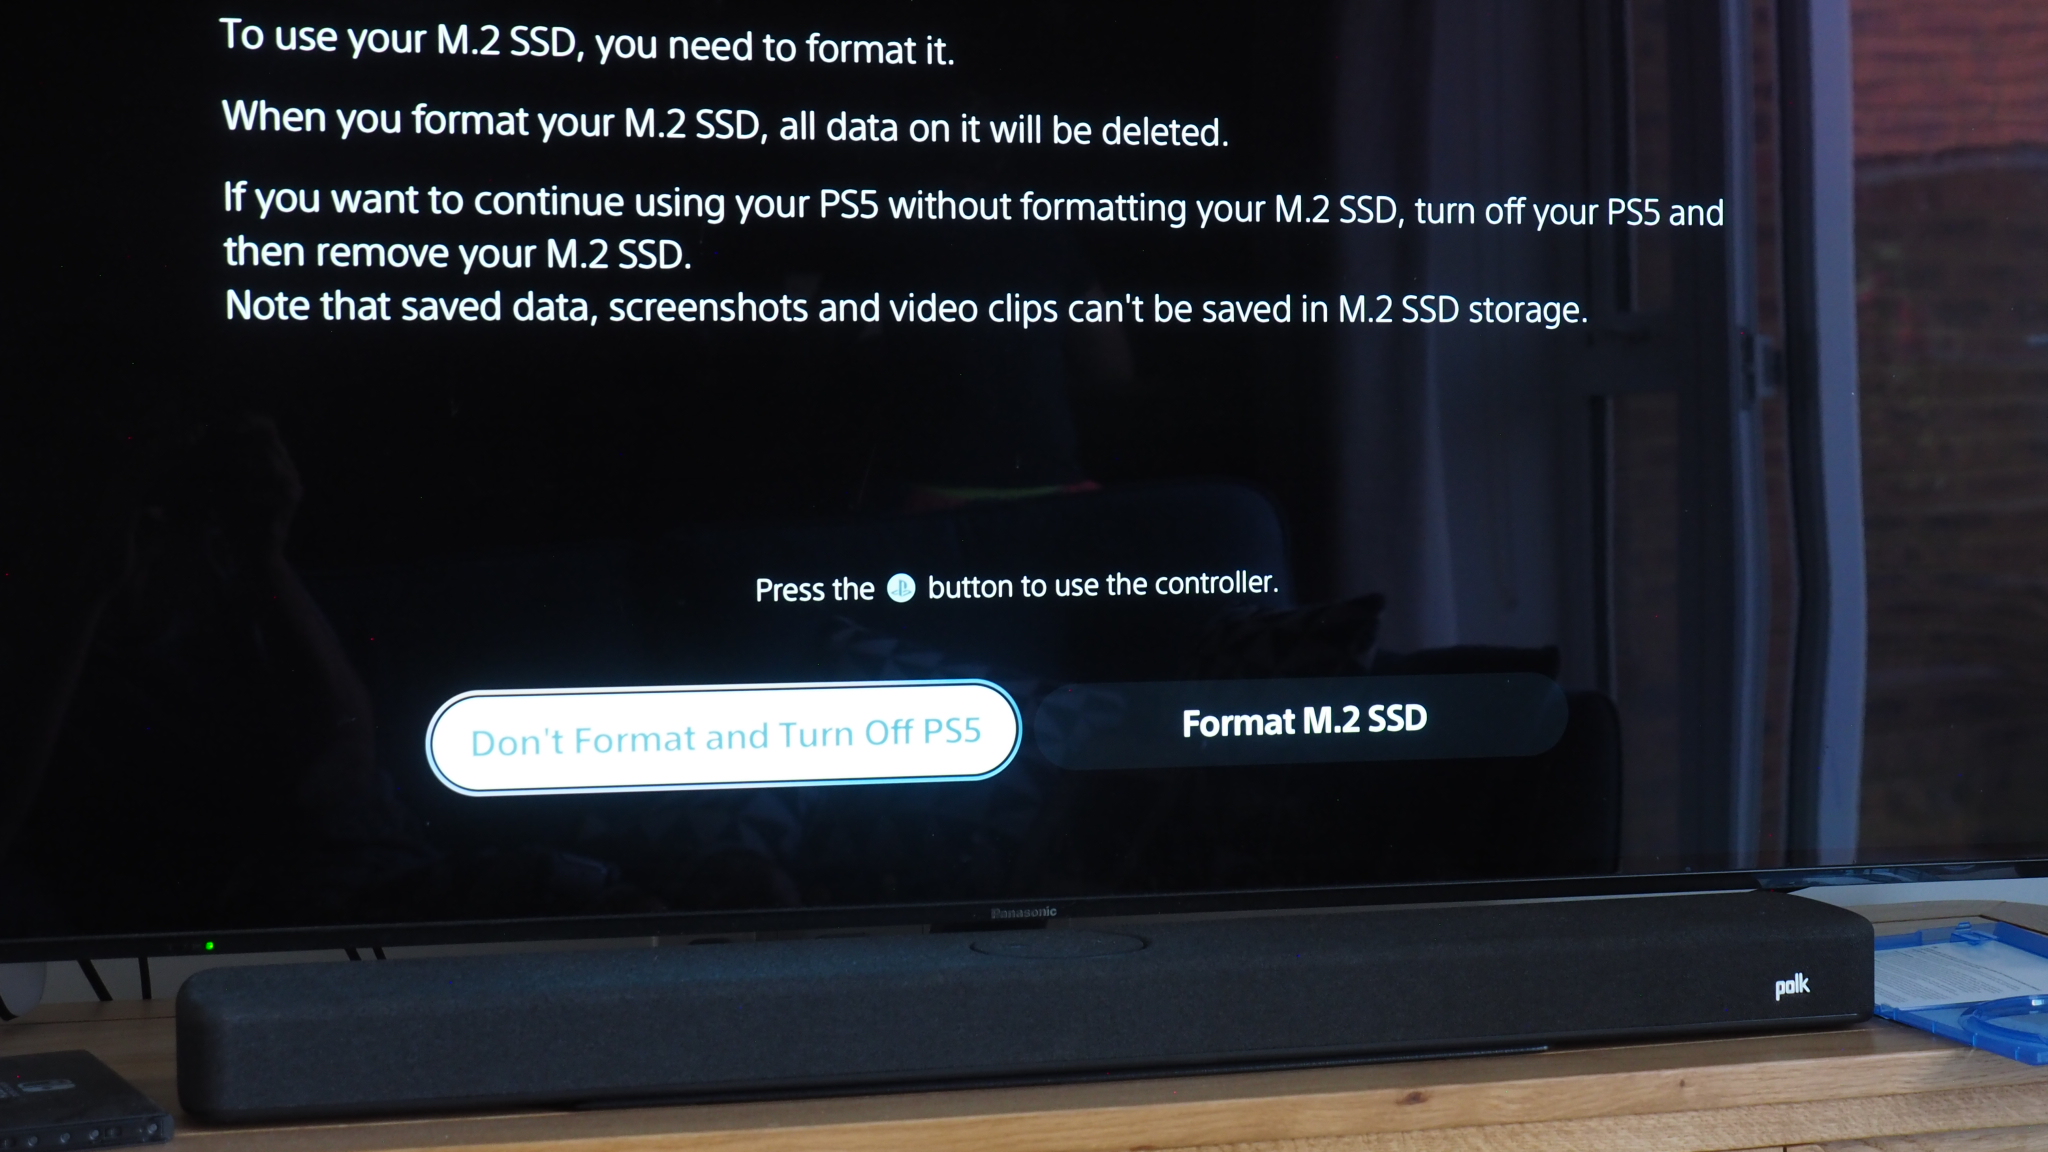
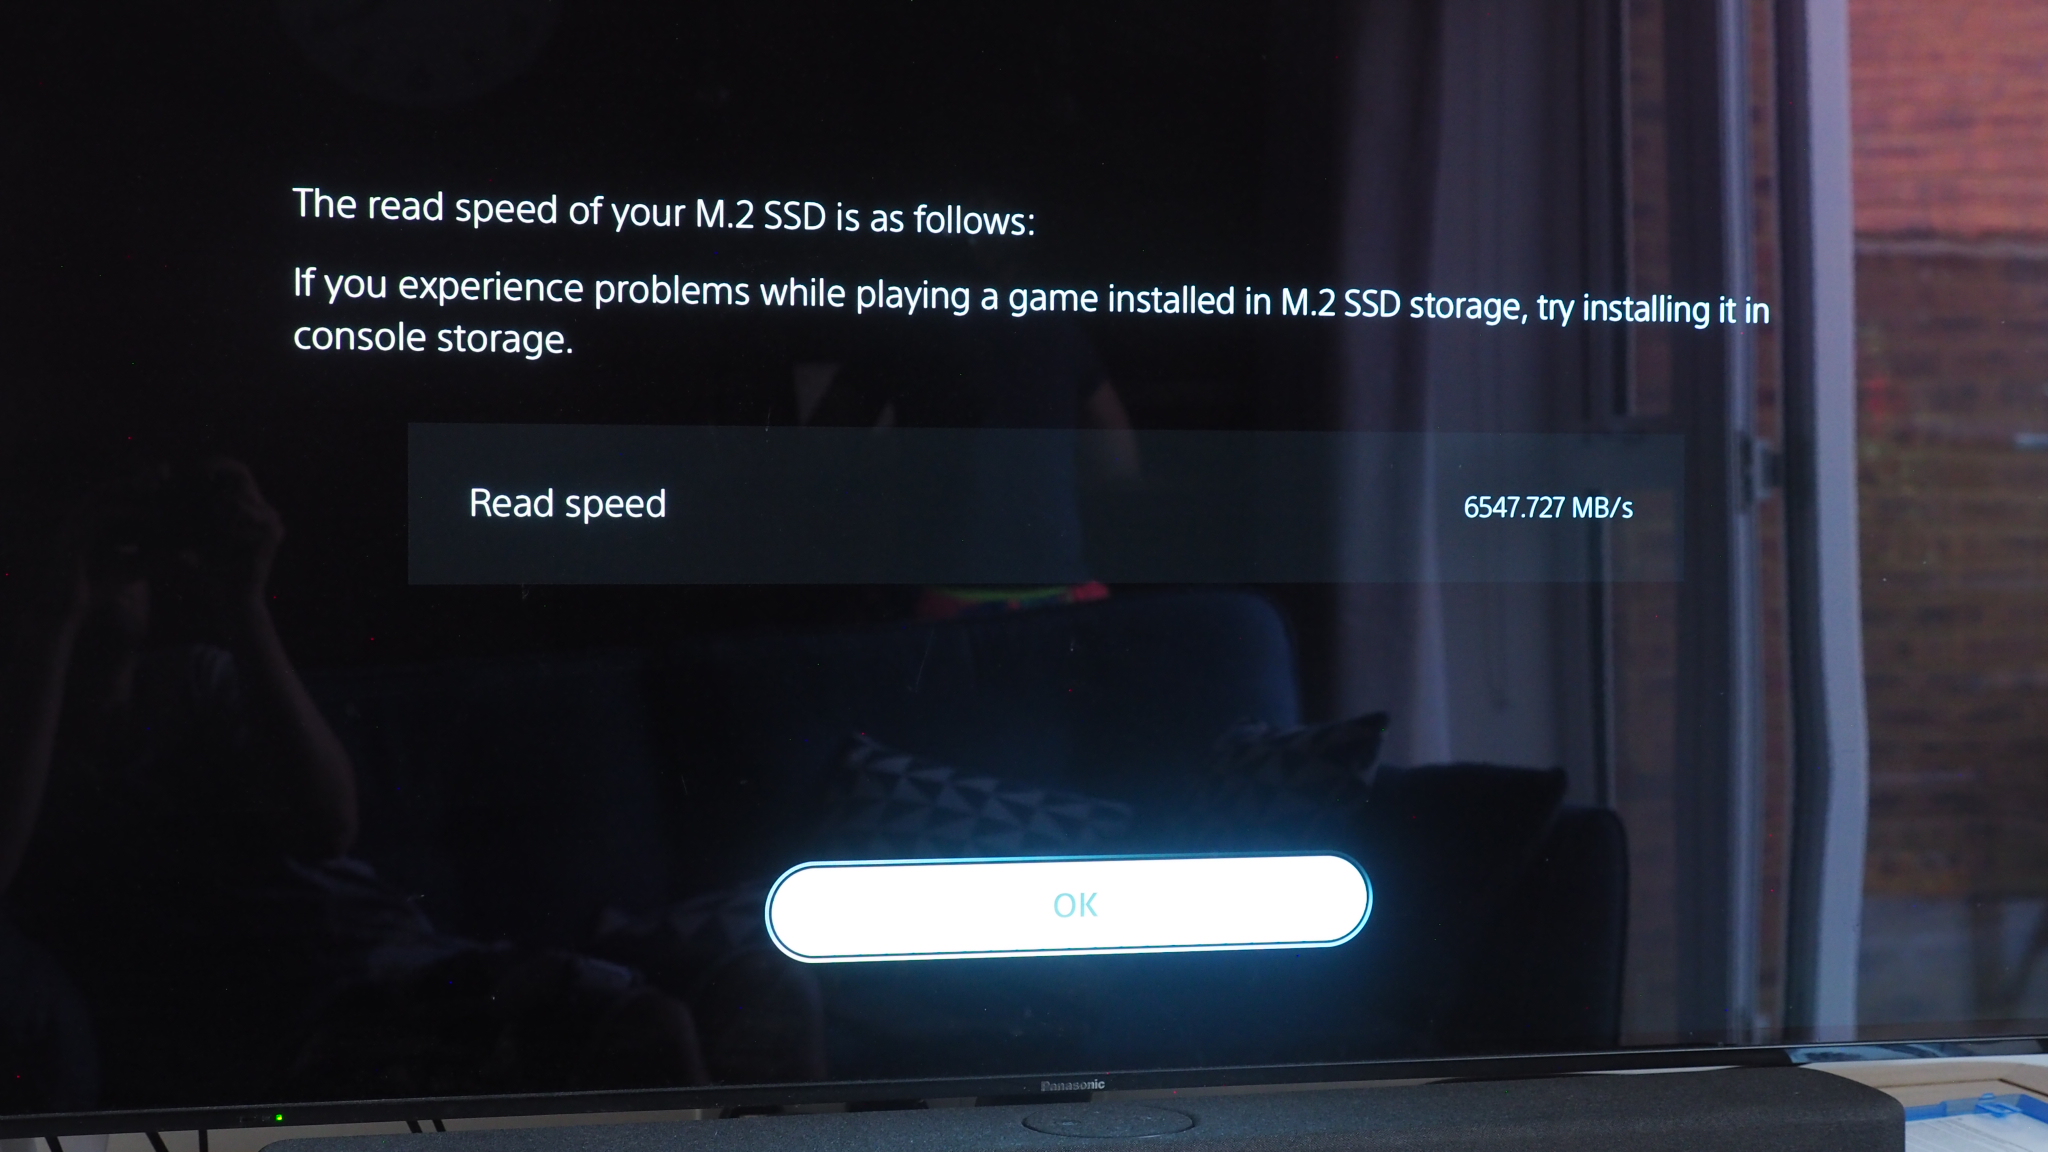
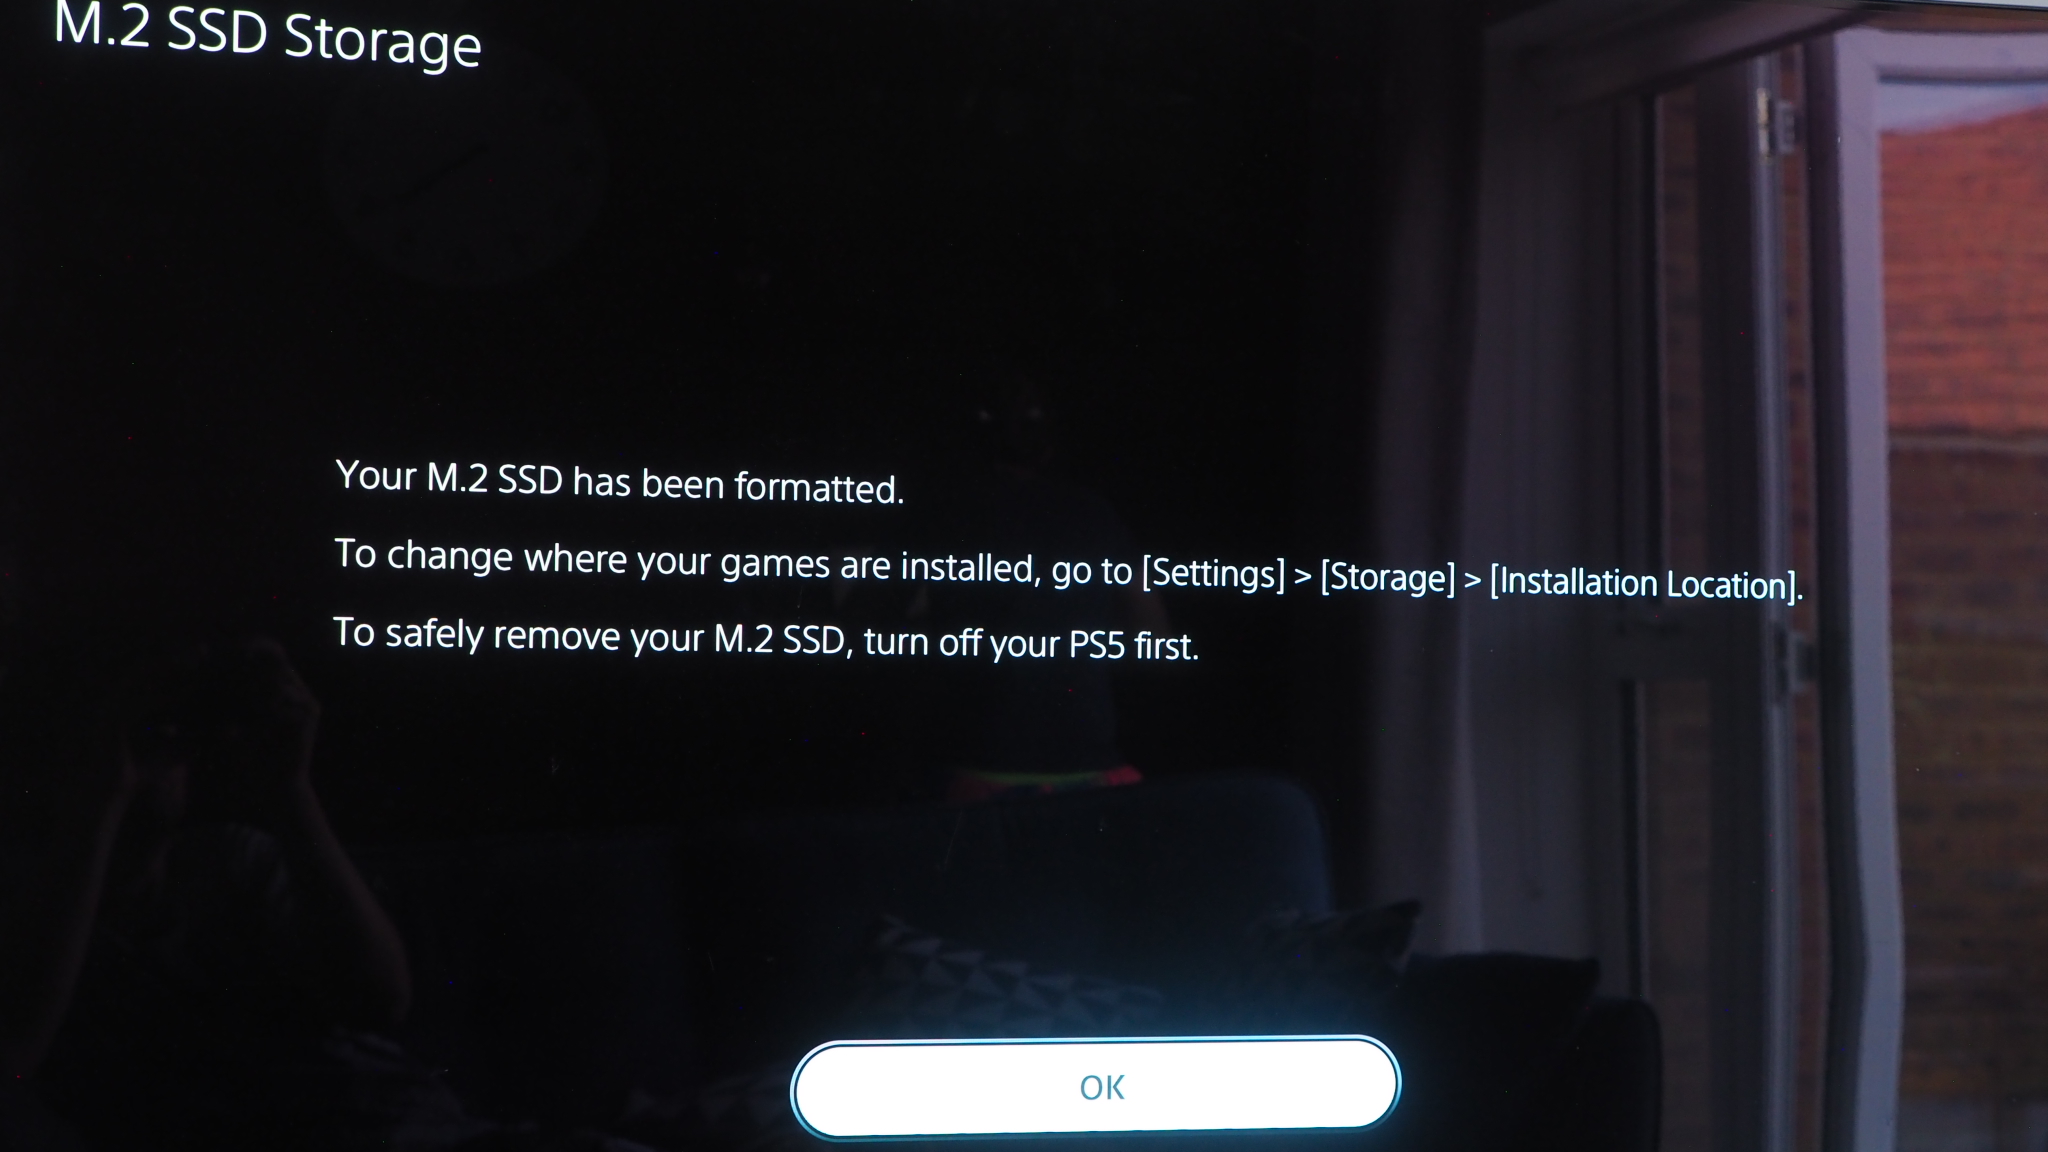
After plugging in and firing the console back up, the next bit's kinda important as you want to make sure you only format the just-added M.2 SSD when prompted, not your (probably currently full) original PlayStation 5 SSD.
The prompt appears when turning the console on, however, so select that M.2 option, hit X on the controller, and the system will sort it all out in less than a second. It even tells you read speed, which in my case was around 6548MB/sec. Very nice!
10. Get installing all those lovely games!

That's it, job done, you've got more internal PlayStation 5 storage than before. I tell you what, I was so relieved after getting my extra terabyte of space because it meant I could install Horizon Forbidden West finally. I felt like that metal dino in the picture above.
Although I'm already possibly maybe having regrets that I didn't fork out for even more capacity, as Western Digital also makes a 2TB version of the drive. There's also a cheaper 500GB version – and you can see the price differences in the widget below. I guess we'll see where I land in a few months' time in the pre-Christmas holiday period, eh?

Mike is T3's Tech Editor. He's been writing about consumer technology for 15 years and his beat covers phones – of which he's seen hundreds of handsets over the years – laptops, gaming, TV & audio, and more. There's little consumer tech he's not had a hand at trying, and with extensive commissioning and editing experience, he knows the industry inside out. As the former Reviews Editor at Pocket-lint for 10 years where he furthered his knowledge and expertise, whilst writing about literally thousands of products, he's also provided work for publications such as Wired, The Guardian, Metro, and more.