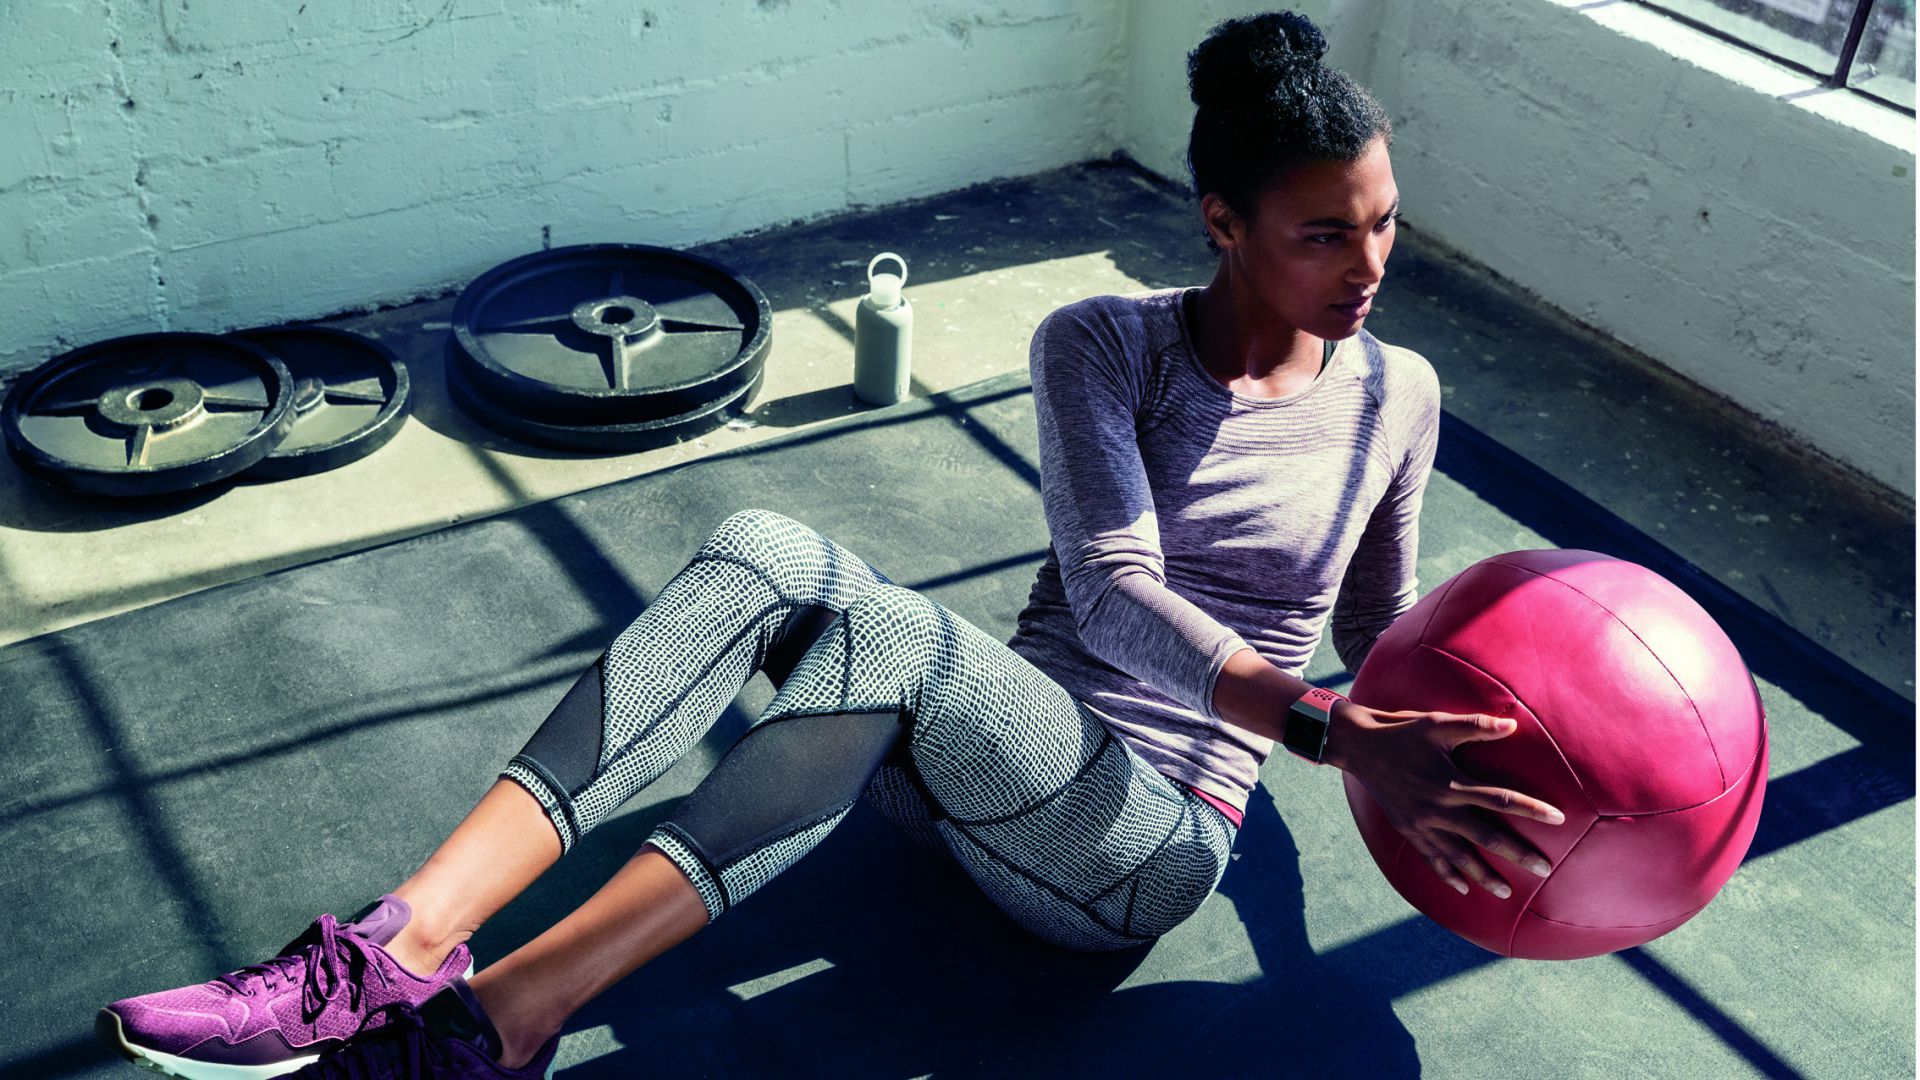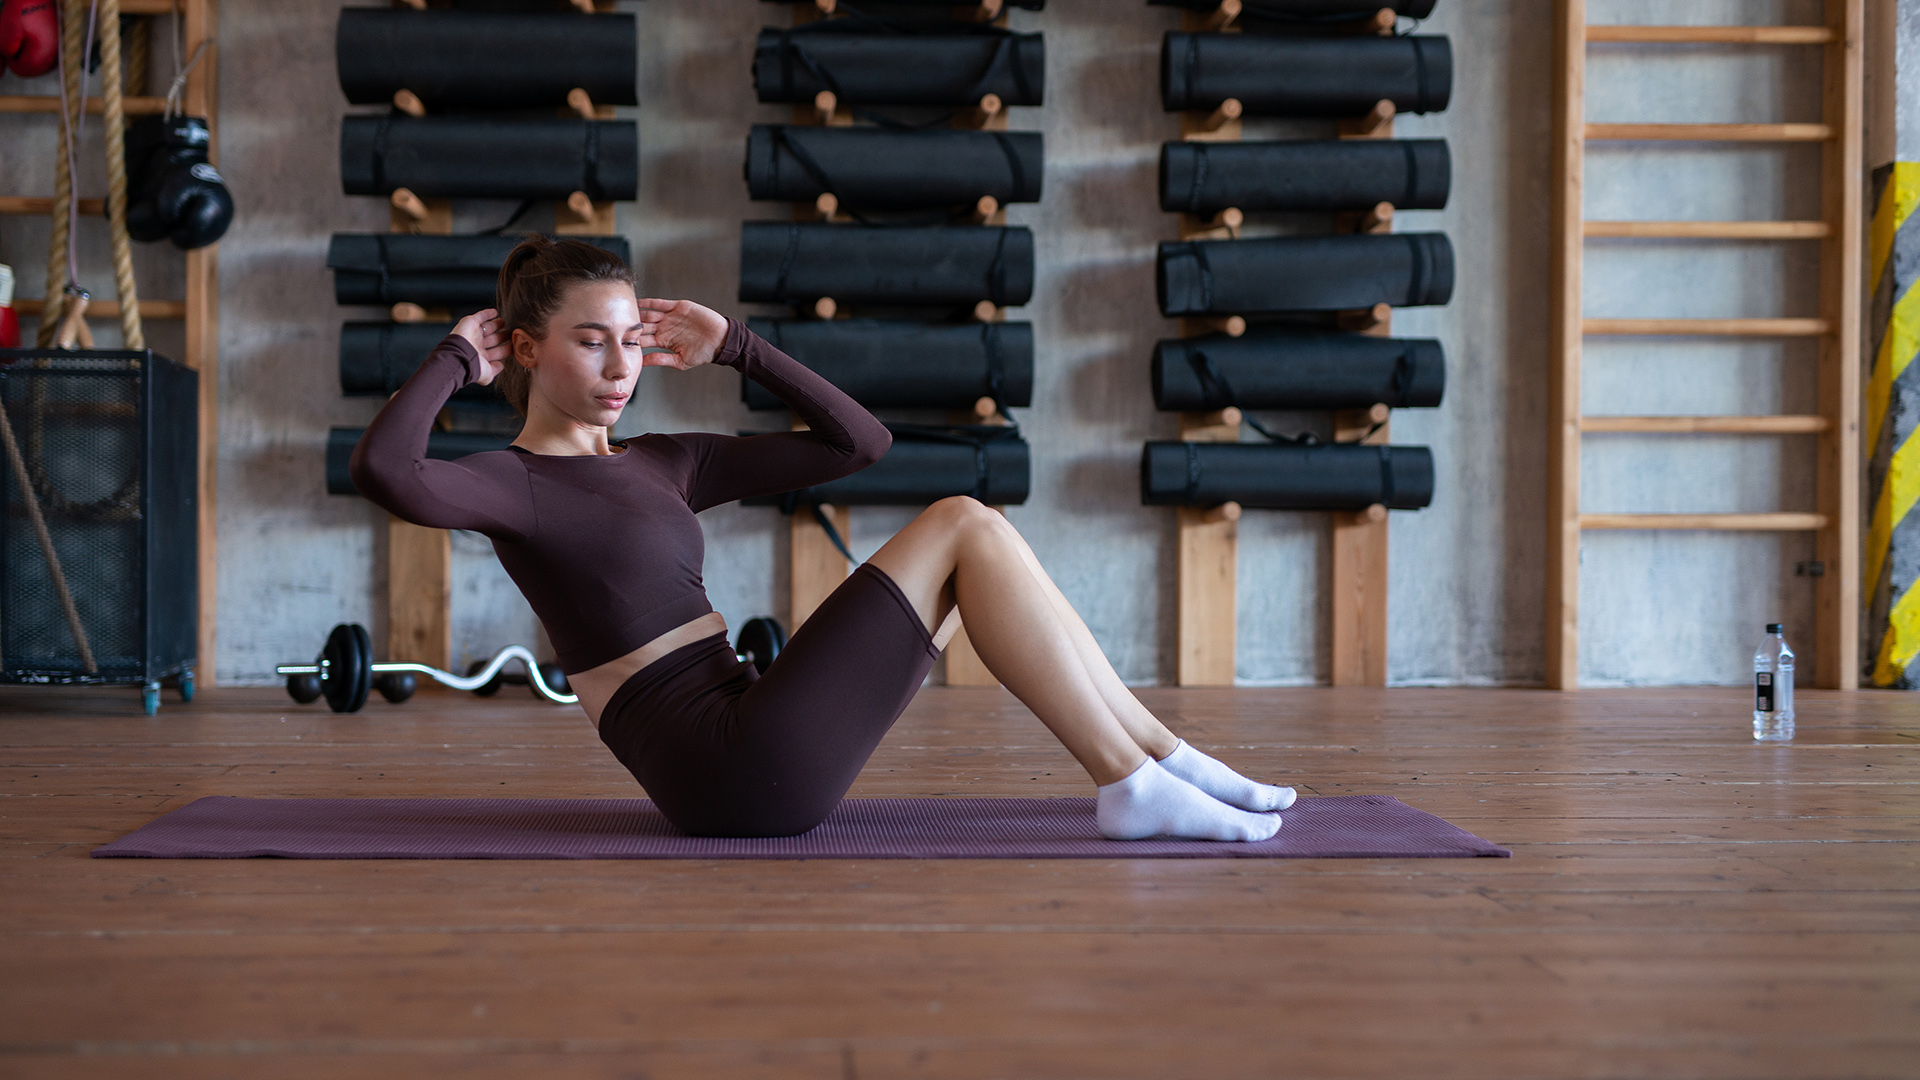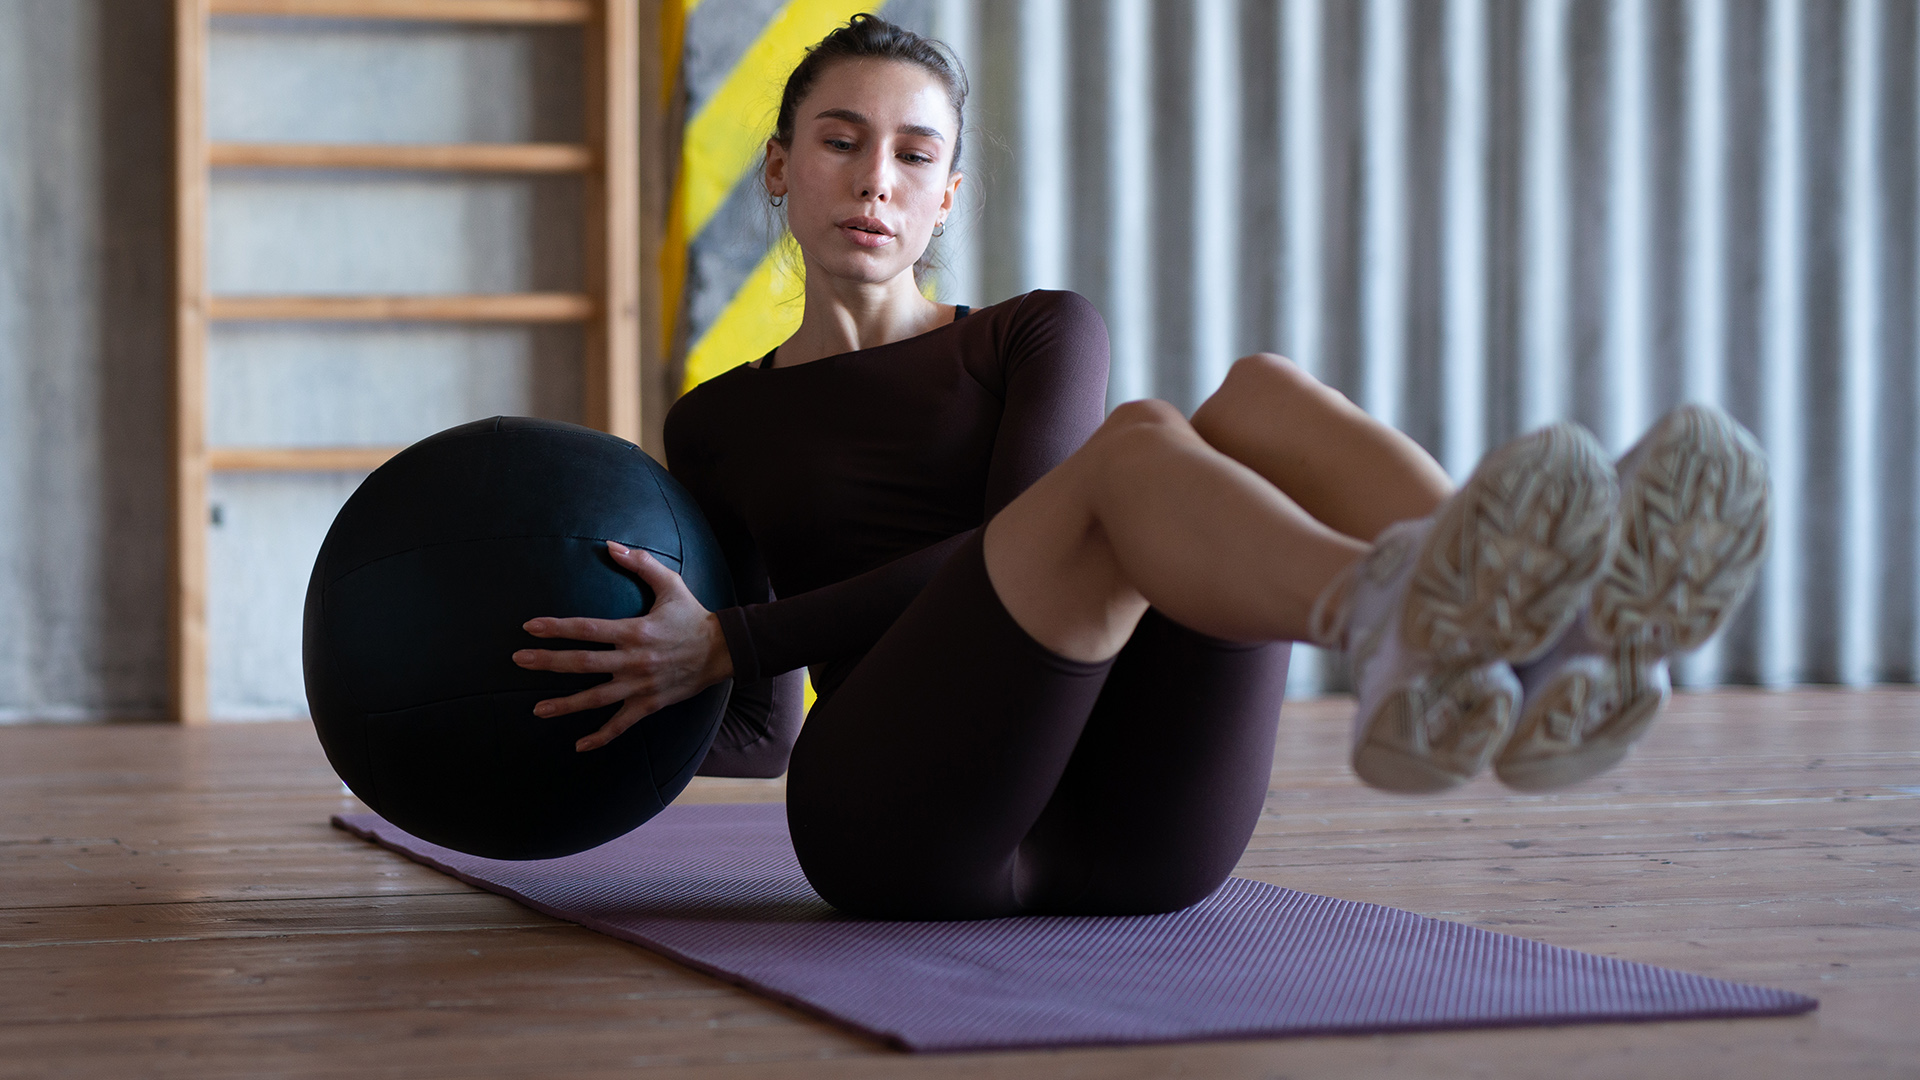

With summer just around the corner, many of us are keeping our midsections firmly in mind. Therefore, it seemed only fitting that my next physical challenge for T3.com should involve a core exercise. And what better way to show those love handles who’s boss than with the waist-whittling oblique twist?
I’ve taken on many physical challenges for T3 over the last six months, performing 50 squats, 100 burpees, and 100 jumping jacks a day for a week, to name a few. As a qualified PT, many of the exercises I’ve done have come second nature to me. But as a journalist, I’ve still double-checked everything I know about performing these exercises with the experts to ensure I’m passing on the correct advice about form and technique to you.
Imagine my surprise, then, when I discovered I’d been doing the oblique twist – sometimes also called Russian twists – incorrectly my entire life! And if I’ve been doing it badly, there’s a good chance you might be, too. Want to know more about how to do oblique twists properly and what happened when I did 100 oblique twists a day for a week? Read on...
What are the benefits of oblique twists?
When performed correctly, the oblique twist is an amazing core stability exercise that will strengthen and challenge your abs, help to taper your torso, and even improve your athletic performance.
Efficient and highly effective, this rotational ab exercise gives you way more bang for your buck compared to straightforward sit-ups and crunches because it manages to target all the muscles of the core in one go and help strengthen your spine.
As a rotational core move, the oblique twist primarily targets your internal and external obliques, which are the muscles found at the sides of the abdomen, as well as the rectus abdominus muscles, which form your six-pack.
Additionally, this exercise recruits several secondary muscles, including the transverse abdominis (your deep core muscles), the erector spinae (a group of muscles that run up your spine), your latissimus dorsi (found to the sides of your middle back), and your hip flexors.
Sign up to the T3 newsletter for smarter living straight to your inbox
Get all the latest news, reviews, deals and buying guides on gorgeous tech, home and active products from the T3 experts

While the oblique twist might seem easy, it’s much tougher than it looks. That’s because you need to lean back into the start position and remain in this challenging isometric position while you rotate from side to side - and that demands a lot of balance, stability, strength, and control.
Aside from building a strong, stable core, incorporating rotational exercises such as oblique twists into your workouts will introduce more variety into your movement patterns to challenge your body in different ways. While the body can move through three planes of motion – frontal (side-to-side), sagittal (forwards and backwards), and transverse (rotation) – we often neglect to train our bodies with rotational movements, sticking to frontal and sagittal exercises like deadlifts, squats and crunches instead.
But training with rotation can help you to carry out daily tasks more easily - think twisting around to reach something or moving an object from one side to the other – while increasing your power through rotation, which can, in turn, help to improve your athletic performance if you do activities that require powerful rotational movements such as golf, tennis, and boxing.
How I do oblique twists
Oblique twists for beginners: If you’re new to this exercise and core work in general – or you’ve never done oblique twists properly before - start out by practising the simplest version where your feet stay rooted on the floor throughout. Here’s how:
- Sit on the floor with your knees bent at a 45-degree angle and press your heels into the floor.
- Brace your core muscles, then lean back slightly so your torso and legs form a V shape. Ensure you keep a straight spine, pull your shoulders back, and avoid rounding the shoulders or slouching.
- Keep your legs locked in a stationary position and slowly twist your torso to the right as you exhale in a controlled motioned. Inhale and return to centre, then repeat on the other side. This is one repetition.
- Aim to keep your arms straight out in front of you, parallel to the floor (you can clasp them together if you prefer) and let your gaze follow the movement of your hands.
Traditional oblique twist: Once you have mastered the basic move above and feel your core is strong enough for a new challenge, you can progress onto the more traditional oblique twist you might be used to seeing, where your feet are raised off the floor. Here’s how:
- Sit on the floor with your knees bent at a 45-degree angle, heels resting on the ground. Root your sit bones into the floor.
- Keeping your spine elongated and straight and shoulders back, brace your core and lean back from the hips so you create a V shape with your torso and thighs.
- Reaching your arms straight out in front, slowly lift your heels a few inches off the floor so that you are balancing on your sit bones. You can cross your feet at the ankles if that feels more comfortable (doing this can also aid your balance).
- Maintaining your posture and braced core, rotate from side to side in a controlled fashion, remembering to exhale as you twist away from your legs, and inhale as you return to centre.
I did 100 oblique twists a day for a week – 6 things I learned
1. Don’t drop the ball
On day one, it was all about getting back to basics, i.e., dismissing everything I thought I knew about the oblique twist and starting over from scratch.
To my surprise, it turns out that if you want to do the oblique twist properly and reduce any strain on your back and neck to prevent injury, you should never touch your hands to the floor when twisting from side to side or touch your weight to the floor if you’re holding a medicine ball, dumbbell, kettlebell or weight plate.
At first, I found this news confusing because I had naturally (like many, I’m sure) assumed that being able to reach over and touch my hands or weight to the floor was a sign of greater core strength and fitness or that it provided a tougher workout for better, faster results. After all, you’ll see oblique twists being performed this way in various workout programmes and online demonstrations today.
However, touching your hands or weight to the floor is a massive no-no for several reasons, one of them being that over-rotating puts a massive strain on your back and neck, which helps to explain why the oblique twist has a bit of a bad rep amongst physiotherapists and osteopaths.
Instead, your belly button should always remain pointing straight ahead as you move your arms from side to side. You absolutely shouldn’t be rotating your entire lower back and belly button as you move from side to side because this action deactivates some of your abs and puts a greater focus on your back. Confused?
Don’t be. Try ten reps of both methods, and you’ll soon see that by keeping your moves smaller with less extreme twisting, you will feel the exercise in your abs much more.
2. Posture is everything
On Day two, despite keeping my rotations small and my feet firmly on the ground throughout my 100 oblique twist reps, I was definitely feeling the aftereffects in my obliques and abs. Better still, I didn’t have any of that lower back or neck pain I used to get after doing oblique twists, which I credit to not over-rotating and trying to touch my hands to the floor.
This goes to prove that when done correctly and safely, the oblique twist is an excellent bodyweight exercise, and you don’t need to add weights to feel the burn unless you already have a super-strong core that needs an extra challenge.
With this in mind, I spent Day two trying to perfect my posture by keeping my spine straight, and my shoulders pulled back and down the spine. Hunching over is another big no-no because when you round at the shoulders and don’t maintain a flat back, you start to deactivate some of your core muscles which makes the exercise less effective and efficient.
By maintaining a poker-straight spine and focusing on the positioning of my back and shoulders as I leaned back, however, I found holding this position under isometric tension way more intense and challenging.

3. Slow and steady wins the race
By day three, my oft-neglected obliques were feeling satisfyingly achy but not so bad that I was restricted in my movements. Knowing I wanted to take my oblique twists to the next level, I decided to make sure my technique was perfect before started raising my feet off the floor.
I did this by really slowing down my movements and concentrating on my breathing because it’s surprisingly easy to hold your breath for several reps while doing oblique twists, and I knew that tendency would only get worse once I lifted my feet.
Again, because of those incorrect video demos – and even some workout scenes from movies - I think there can be a real temptation to rush through your reps in the mistaken belief that will make you fitter and stronger.
Instead, taking your time will help you maintain your impeccable form so you get the most out of the exercise and get stronger in the long run. Moving too fast or throwing too much weight around isn’t advisable because you’ll lose the integrity of your reps and put yourself at risk of injury.
Of course, slowing things down further meant I spent even more time under tension as I leaned back, and I admit I split my 100 oblique twist reps into two groups of 50 to get through them.
4. Get off the ground
When I woke on day four, I felt like my entire core had gone through the mill, but I still wanted to progress onwards by raising my feet off the floor. This is a lot trickier than it looks because maintaining your balance while perched on your sit bones and keeping your legs raised puts a real assault on your lower abs and hip flexors.
In fact, the difficulty level goes up dramatically when you raise your feet a few inches off the floor. My biggest challenge was ensuring my legs and belly button remained pointing straight ahead, as my lower body tended to lean over in the opposite direction to where my arms were heading.
All in all, both the physical and mental challenge of this exercise went up several notches, so I broke my reps down into five sets of 20 interspersed throughout the day to ensure I could execute my movements properly without losing any of my form. And by the end of the day, I’d be lying if I said I wasn’t feeling stiff and sore.
5. Warm things up
On day five, I woke to a world of pain, especially in my lower abs and hip flexors, which I had neglected to stretch out the day before. In fact, I felt as stiff as a board, which just goes to show how many muscles the oblique twist targets.
So, before I performed even one of my 100 reps, I made sure I got thoroughly warmed up with a long power walk around the park before I moved into a light run. Then, I spent a good 20 minutes taking my body through a series of dynamic warm-up exercises to make sure my back and hips were thoroughly limber before I got down to bash out my first 20 reps of the day.
If I’m honest, I didn’t enjoy doing the oblique twists on the fifth day, but that’s also because I was getting pretty bored now doing the same thing over and over. I knew I had to spice things up the next day.
6. Put a twist on it
Having thoroughly warmed up and cooled down the day before, I felt much better on day six. Indeed, I was feeling pretty strong, so I decided to introduce some variety. After warming up again, I kicked off with 25 punch twists, where I’d twist to the left and punch my right arm over to the left side, and then do the opposite on the other side. I loved these because they felt a bit more dynamic, even if I was keeping things heavily under control.
Next, I grabbed a light dumbbell to perform 25 weighted oblique twists – making sure to always keep the dumbbell practically parallel to the floor - and I found these especially tough on my obliques which had by now grown accustomed to twisting from side to side using only my bodyweight.
Later in the afternoon, I performed the same round of 25 punch twists and 25 weighted oblique twists again, and while I felt I’d been rocked to my core (get it?), I was also feeling pretty powerful.
I did 100 oblique twists a day for a week – my verdict
On the seventh and final day of my oblique twist challenge, I was feeling in excellent shape. I powered through my day six routine of punch twists and weighted twists with perfect form and felt a reassuring sense of stability and strength in my core.
I think it can sometimes be easy to forget about the obliques when you’re on a quest for a six-pack, but neglecting these muscles means you’re neglecting to train your core in its entirety, and that’s not great if you want to maintain a strong, well-balanced, healthy body.
Activating my obliques with oblique twists meant I felt much stronger during my training sessions in the week that followed, and my runs and weightlifting sessions felt easier too. I didn’t see much difference in the appearance of my waist, and I didn’t expect to in one week. But it’s what’s on the inside that counts, and my core felt fantastic.
Jo is a London-based freelance journalist and content creator specialising in fitness, health, lifestyle and beauty. With a degree in Journalism, Film & Broadcasting from Cardiff University and almost 20 years’ experience in the industry, she interviews celebrities and Olympians for a living, while testing out the latest beauty, hair, wellness and fitness gadgets. As a Level 3 Personal Trainer and author of several fitness guides, she gets to try the coolest workouts while reviewing active travel destinations and writing investigative features about the wonderful world of wellbeing for many of the UK’s top magazines, newspapers and digital publications. When she’s not sitting at her laptop, Jo likes exploring new walking spots with her beagle, gardening, and DIY. She is also one of the few people on the planet still obsessed with what’s coming up in Phase 5 of the Marvel Cinematic Universe.