The best smart phones can take great pictures, to the point where you rarely need to worry about taking a 'proper camera' with you anymore. Holiday shots, weddings, pics of the kids and pets, are all easily snapped on your camera phone.
The iPhone is known for taking excellent images, as the huge billboard examples have shown with Apple's 'Shot on an iPhone' campaign. The current iPhone 13 Pro Max is not just the best camera phone I've used but beats many digital cameras I've used over the years too.
One of the great things about taking a picture on an iPhone is that it's difficult to take a bad shot. Simply point and press and the AI will do most of the work for you. However, it's not impossible to get a bad shot and in certain conditions, there are simple things that you can do to make sure your picture is better.
They say the best camera is the one you have in your hand, but it's also true that the camera is only as good as the person taking the picture. I've put together three of the most common mistakes that people make when taking iPhone photos. Avoid these and you'll drastically improve your hit rate for truly Instagrammable shots.
1. Check the flash
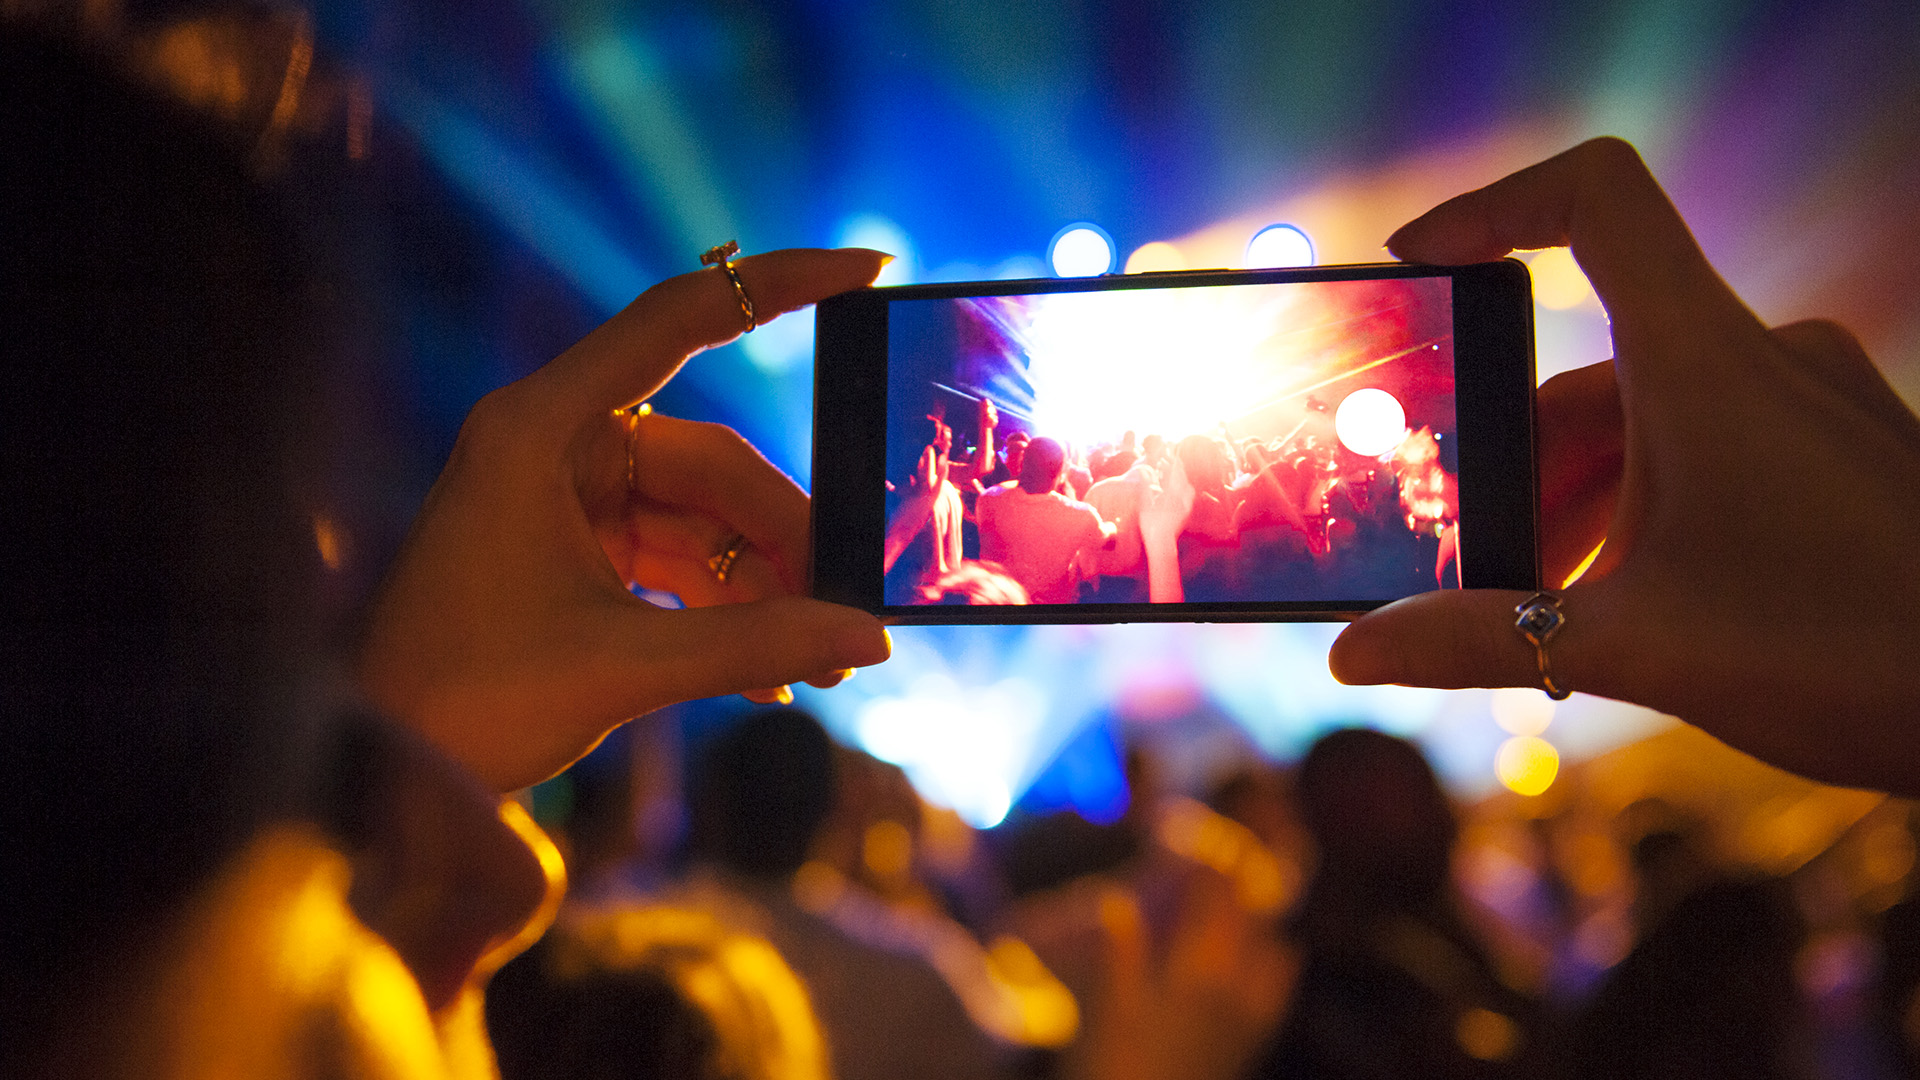
Whenever I see huge crowds at concerts with millions of camera flashes going off, a little piece of me dies. That LED flash on your camera phone has a range of just a few meters, so trying to light up something on a stage hundreds of meters away is pointless. All it will do is make that person standing in front of you brighter, so the stuff further away is even harder to see.
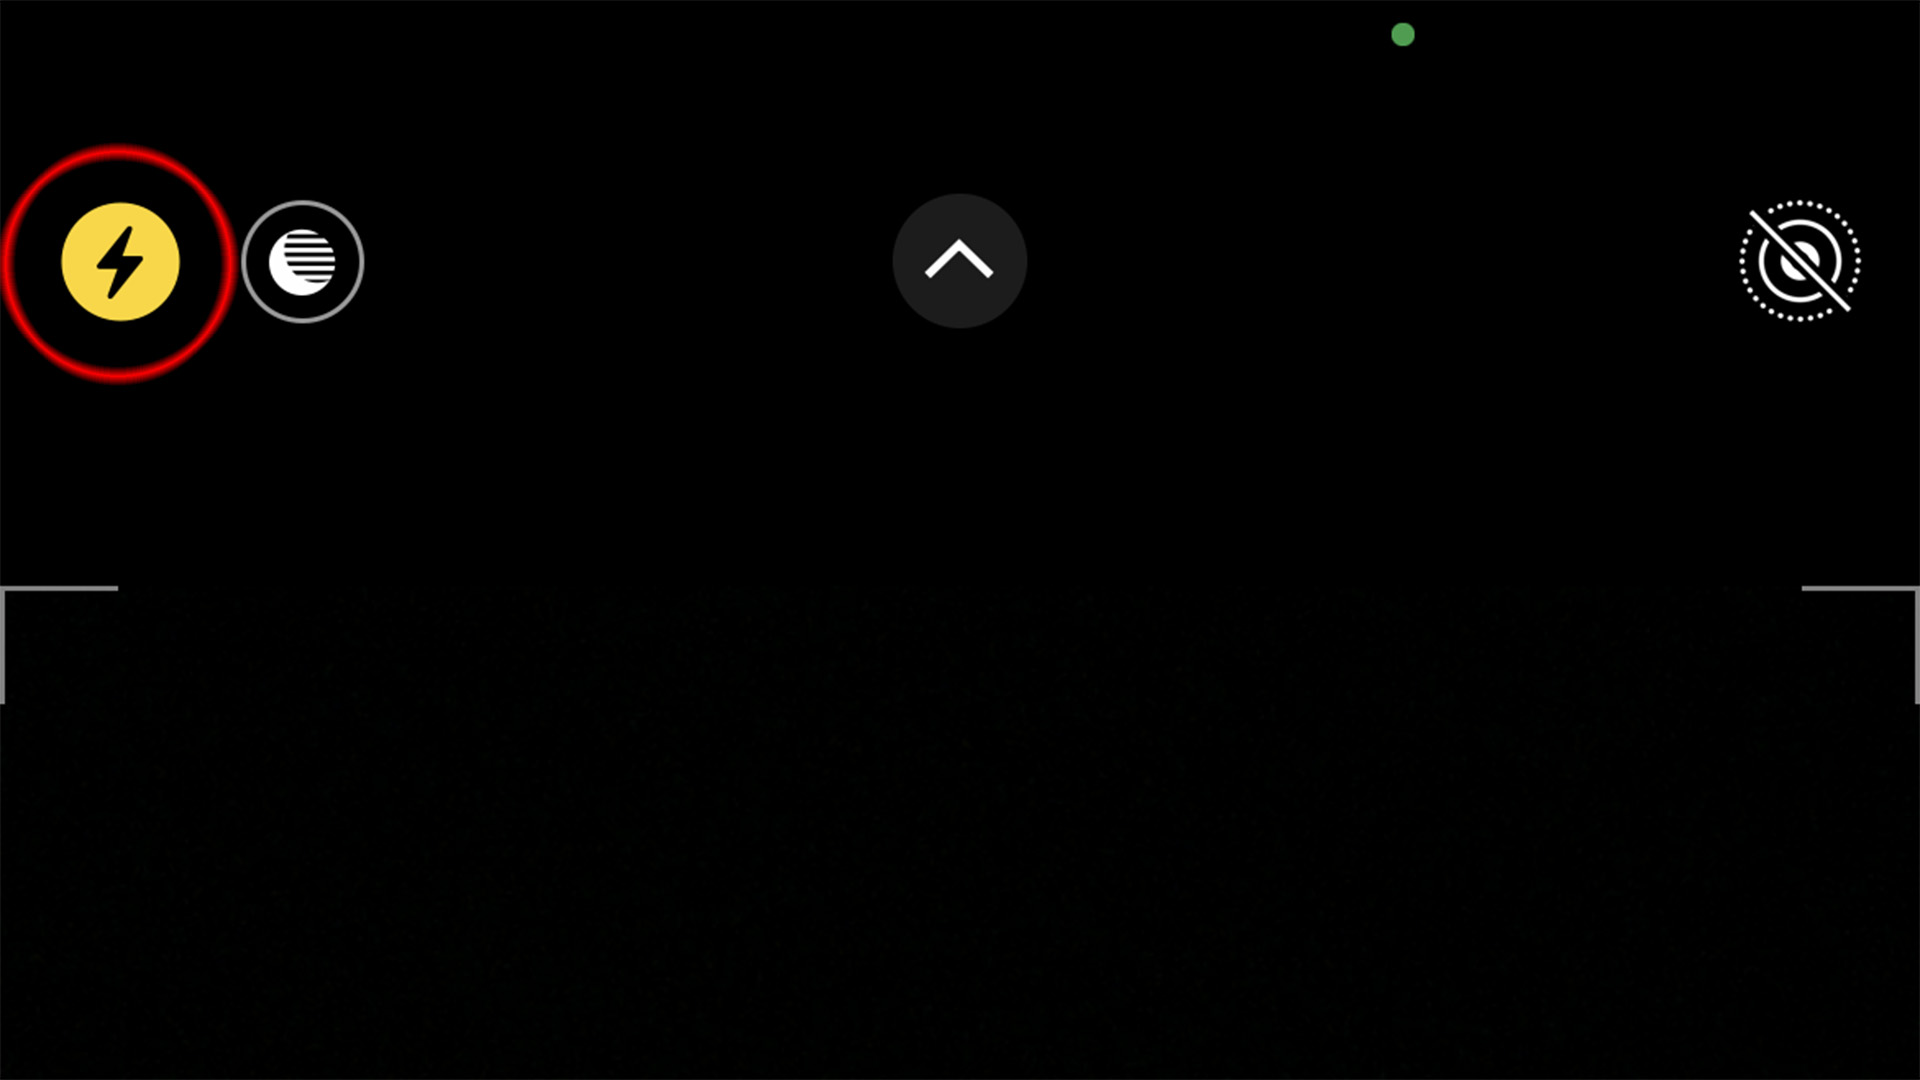
Unless you are taking a portrait of someone stood right next to you – and even then, only if there's no other choice – turn that flash off. Your iPhone flash is normally set to auto, so you'll need to manually set it to off in the camera options (top left of the screen). Doing this will result in much more natural images in any situation.
2. Keep still (night mode)
To improve the low light abilities of the iPhone, it employs a function called Night Mode. This uses a slower (digital) shutter speed and takes multiple images in quick succession, sometimes over 1-3 seconds, and then combines them for the end result. With Night Mode enabled it's possible to take handheld shots in near darkness and have them look clear and bright. Originally these were almost too bright but Apple has pulled that back a bit with the latest models.
Sign up to the T3 newsletter for smarter living straight to your inbox
Get all the latest news, reviews, deals and buying guides on gorgeous tech, home and active products from the T3 experts
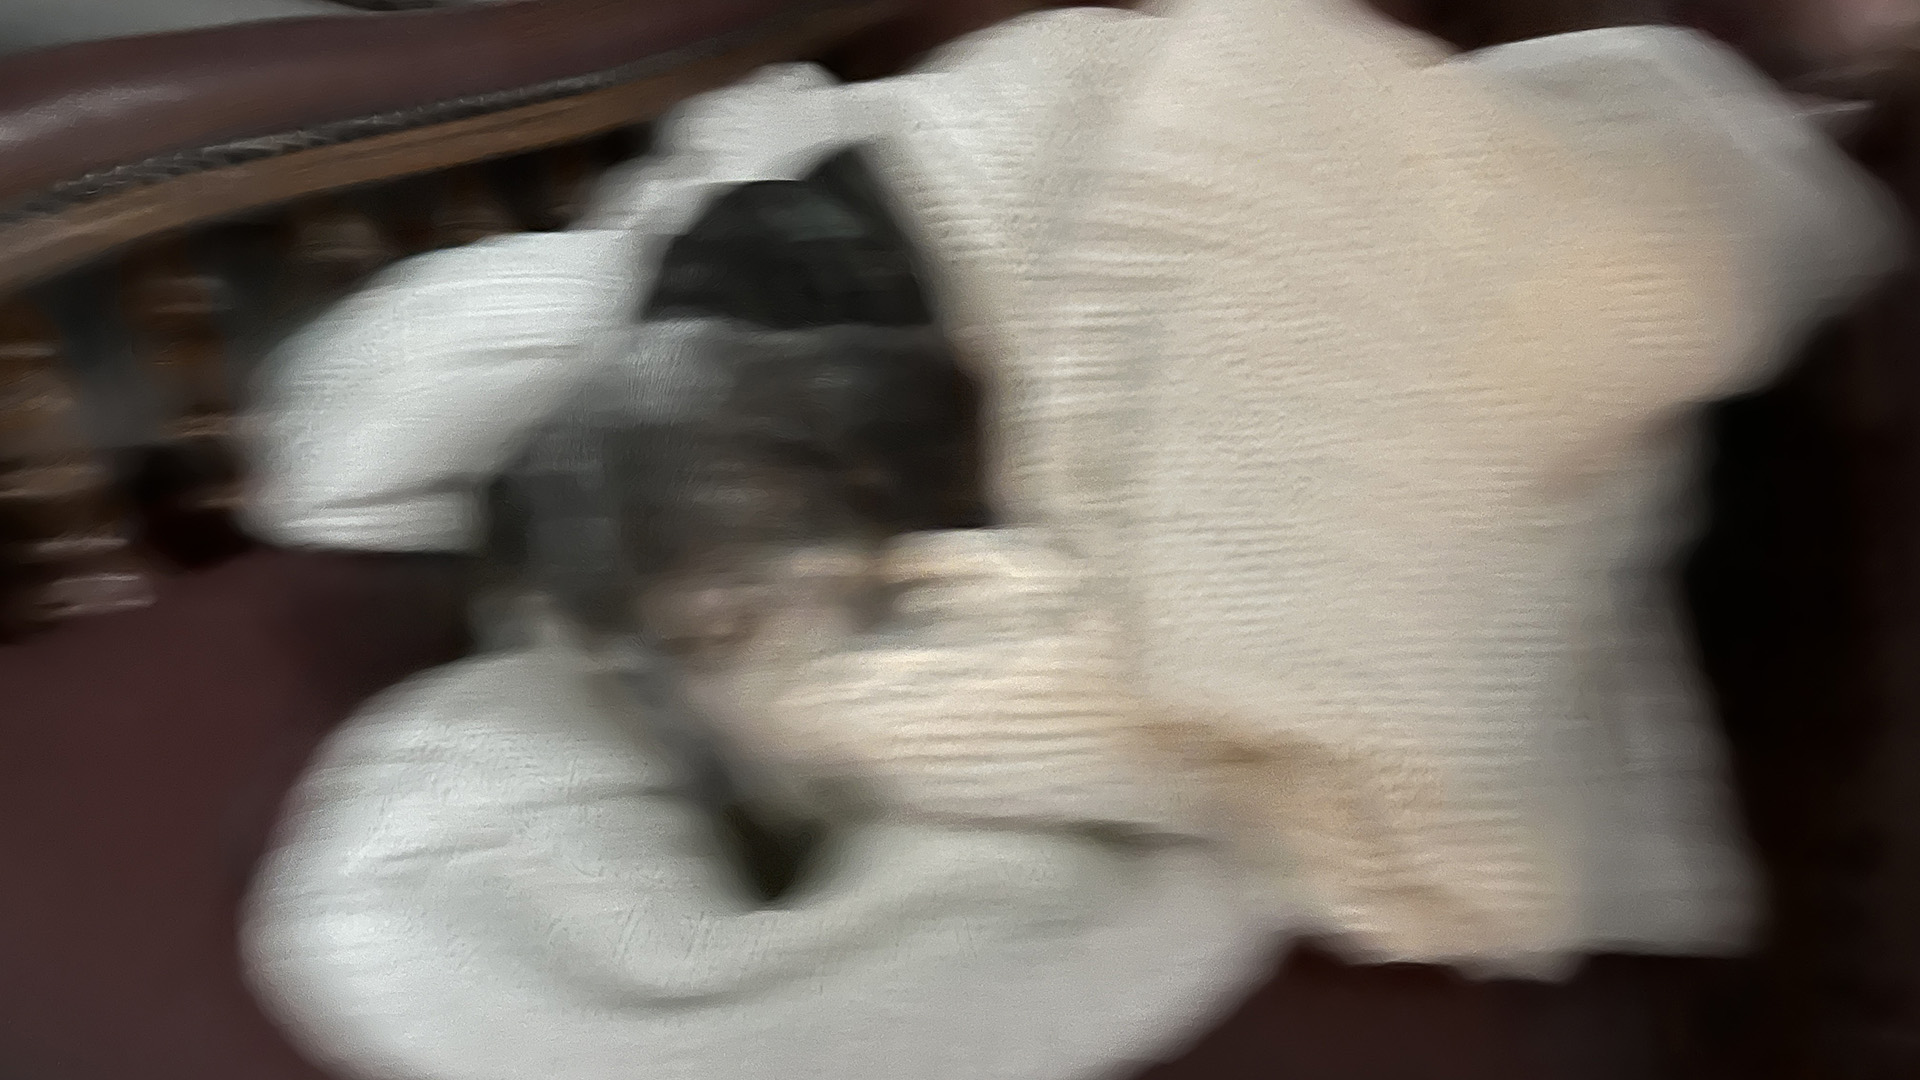
The problem with Night Mode is that, if not used correctly, it can lead to a blurry image. The most important thing is to keep the camera as still as possible while it takes multiple shots. It will correct for slight movement but rapid movement will ruin it. If possible, rest the phone on something stable, like a wall, or hold the phone in two hands for support.
If you have a moving subject, Night Mode is not going to help. The best thing to do with this is to make sure the mode is turned off (it can come on automatically). If the subject is close to you, this is one time when the flash will come in useful, as it will freeze the shot.

3. Change lens
The main reason I prefer the iPhone 13 Pro over the iPhone 13 is the addition of the third camera lens but even with two lenses, you still have a choice when it comes to your picture. Changing your choice of lens to a wide-angle or a longer telephoto not only allows you to zoom in or out but it changes the feel of the image.
The telephoto lens on the iPhone 13 Pro is great for portraits as it creates greater separation between your subject and their background and also makes their features look more natural. If you've tried taking a selfie with a cameraphone you'll know that a wide-angle lens can distort your features, whereas a longer lens doesn't.
Using the wide-angle lens can make an image look more dynamic though, when used in the right way. I always use it for landscapes as it creates bigger skies and street shots can benefit from the effects of the wide-angle distortion too.
As T3's Editor-in-Chief, Mat Gallagher has his finger on the pulse for the latest advances in technology. He has written about technology since 2003 and after stints in Beijing, Hong Kong and Chicago is now based in the UK. He’s a true lover of gadgets, but especially anything that involves cameras, Apple, electric cars, musical instruments or travel.
-
 Three exercises to 'life-proof' your shoulders, according to a mobility expert
Healthy shoulders mean better movement, more strength and less injury
By Bryony Firth-Bernard
-
 The 7 luxury travel items I won't leave home without – and why you shouldn't either
I've flown for many hundreds of hours – and know these luxury travel items will improve your journey
By Mike Lowe
-
 Will there ever be a US-made iPhone?
It's something right-wing commentators have called for
By Sam Cross
-
 Is the cost of my iPhone going up? Everything we know about the effects of tariffs on tech
It's an uncertain time for tech fans, with predictions not looking good for the price of phones, laptops and more in the US and beyond
By Sam Cross
-
 iOS 19's new design leaks straight after WWDC 25 announcement
This could be a significant change
By Sam Cross
-
 Your iPhone tipped to get a seismic upgrade with iOS 19 – the biggest in many years
It's said to be the most significant overhaul in over a decade
By Sam Cross
-
 Google Maps design update finally comes to iPhone after Android owners have enjoyed it for months
It should make one-handed use much easier
By Britta O'Boyle
-
 iPhone 16e review: smart, simple and affordable
Forget the 16, the iPhone 16e is the model that most people will end up buying, and I can see why
By Mat Gallagher
-
 Apple AirTag 2 was missing from iPhone 16e launch, but could still arrive soon
We could be just months away
By Sam Cross
-
 Photoshop's getting a surprise free upgrade on iPhone – and Android's next
The full experience is coming to mobile
By Max Freeman-Mills