Yoga can be a great way to banish sluggishness and give you a boost. Even a quick, simple stretching sequence can have a big impact on your energy levels and mood. Right now, many people are working from home, spending long periods sitting in make-do 'offices'. When we do this it can make us feel lethargic as we struggle to maintain an upright, comfortable posture throughout the day. Top that with distractions at home, like your children arguing or your partner expressing themselves loudly on their Zoom meeting in the next room, and it's no wonder you feel frazzled.
Overstimulation of the senses combined with long periods of inactivity can make you feel, well... drained. So why not try this yoga sequence to remove some of those cobwebs from your mind and get your body moving so you can continue your day with a little zest?
What do I need to practice yoga?
You don't need anything for this yoga sequence except for some loose or stretchy yoga clothing. However, if you're planning on doing yoga regularly it's worth kitting yourself out with a few extras.
The piority is one of the best yoga mats. These add extra grip and to provide some padding for your knees and hands. Other useful bits of kit include one of the best yoga blocks (for getting into tricky poses, and deepening stretches), a yoga wheel (to help with backbends and hip openers) and one of the best yoga towels (these lay on your mat, to add a sweat-absorbing, grippy layer).
If you're not sure yoga is right for you, you might want to check out our yoga vs Pilates: which is better for you? explainer.
- Learn how to clean a yoga mat
- Here's where to buy the best home gym equipment
- Check out the best running shoes
1. Warm up the spine
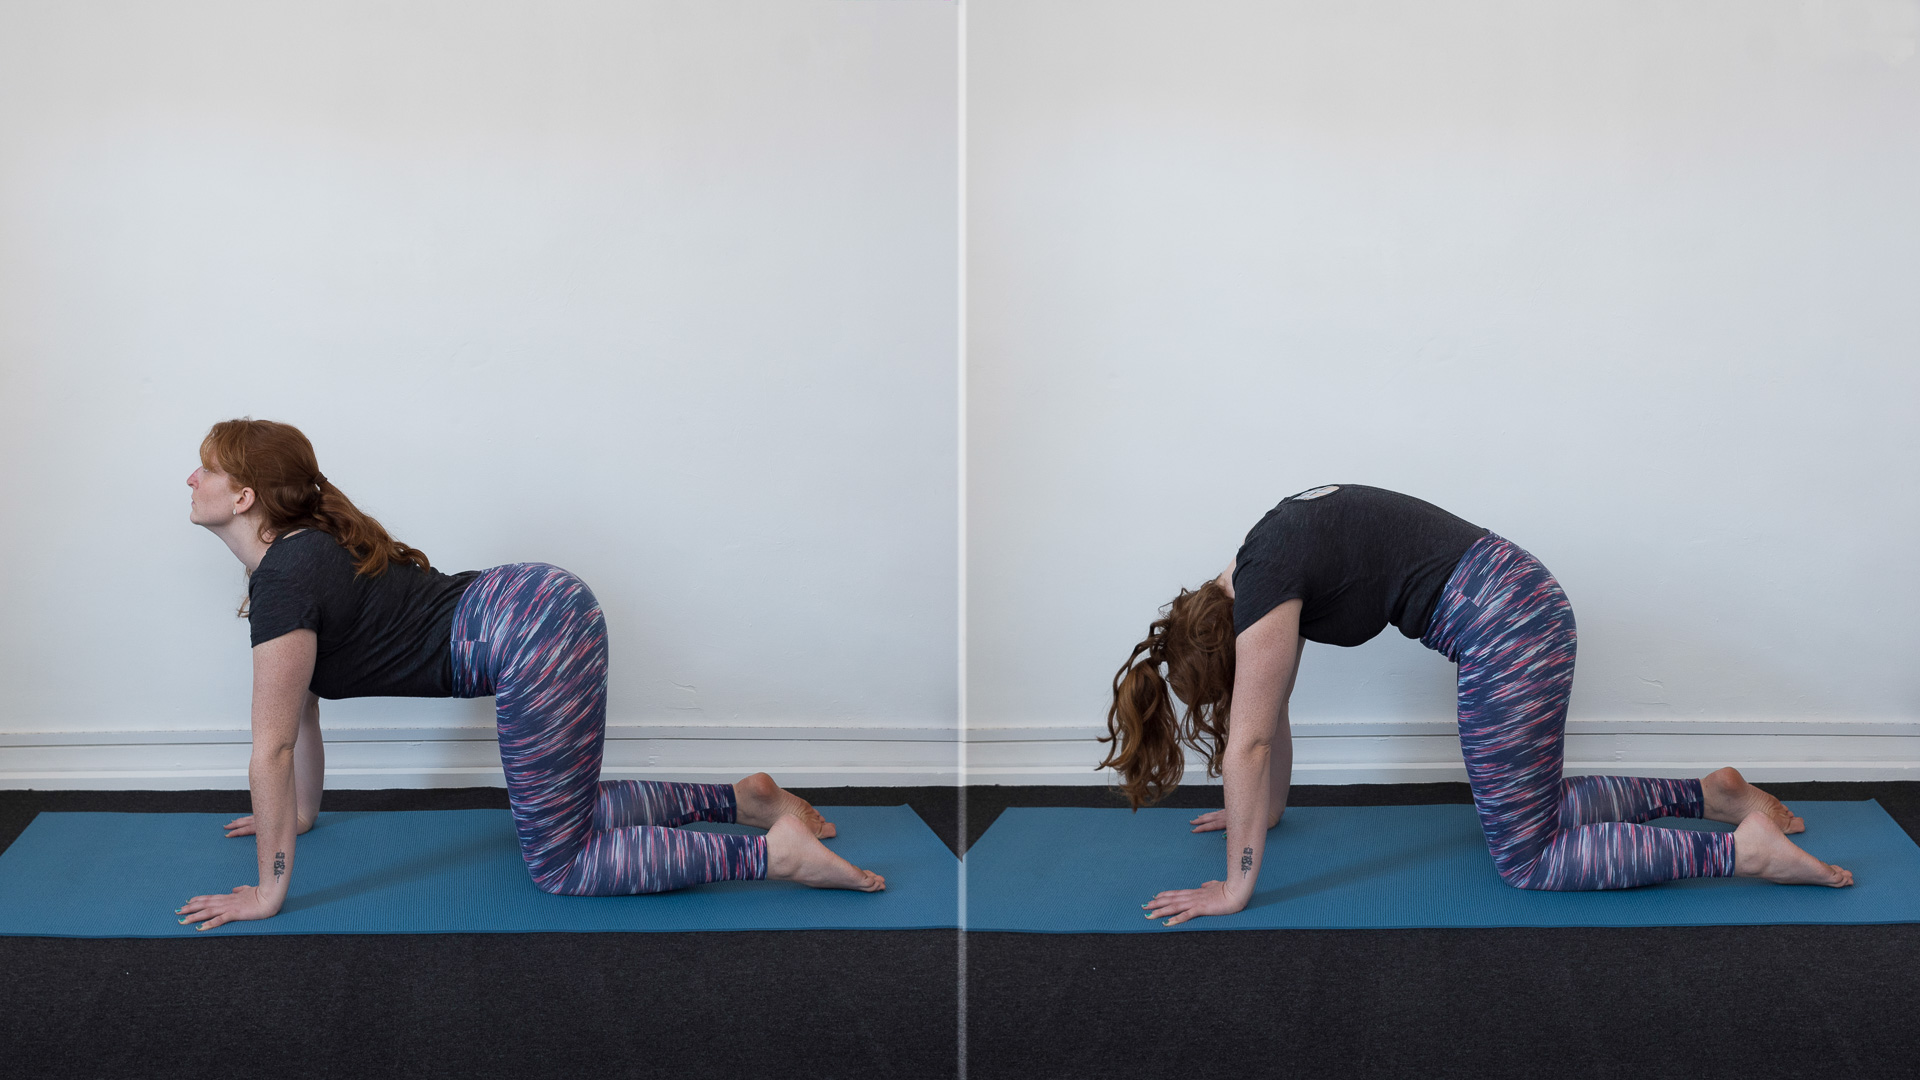
This is known as cat/cow – it helps to loosen up the spine before moving into other postures
Come to an all fours position on the ground, stacking your shoulders over your wrists and hips over your knees. On an inhale drop your belly towards the floor, lift your tailbone up and look up (this is the 'cat' pose). As you exhale press into your hands, round your back, bringing your chin to your chest (the 'cow' pose). Do this five times, syncing the movement with your breath.
Pro tip: If you have sensitive wrists, move your hands forward ahead of the shoulders to remove the pressure.
Sign up to the T3 newsletter for smarter living straight to your inbox
Get all the latest news, reviews, deals and buying guides on gorgeous tech, home and active products from the T3 experts
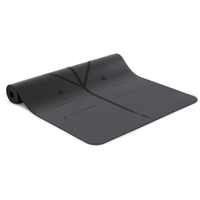
Liforme Yoga Mat | View on Amazon
If you're doing yoga or pilates regularly, it's very worth investing in a proper mat. This is our favourite – it's made from natural rubber, eco-friendly, super-grippy, and has markers to help you align your body correctly. For more options, explore our guide to the best yoga mats.
2. Go upside down with downward dog
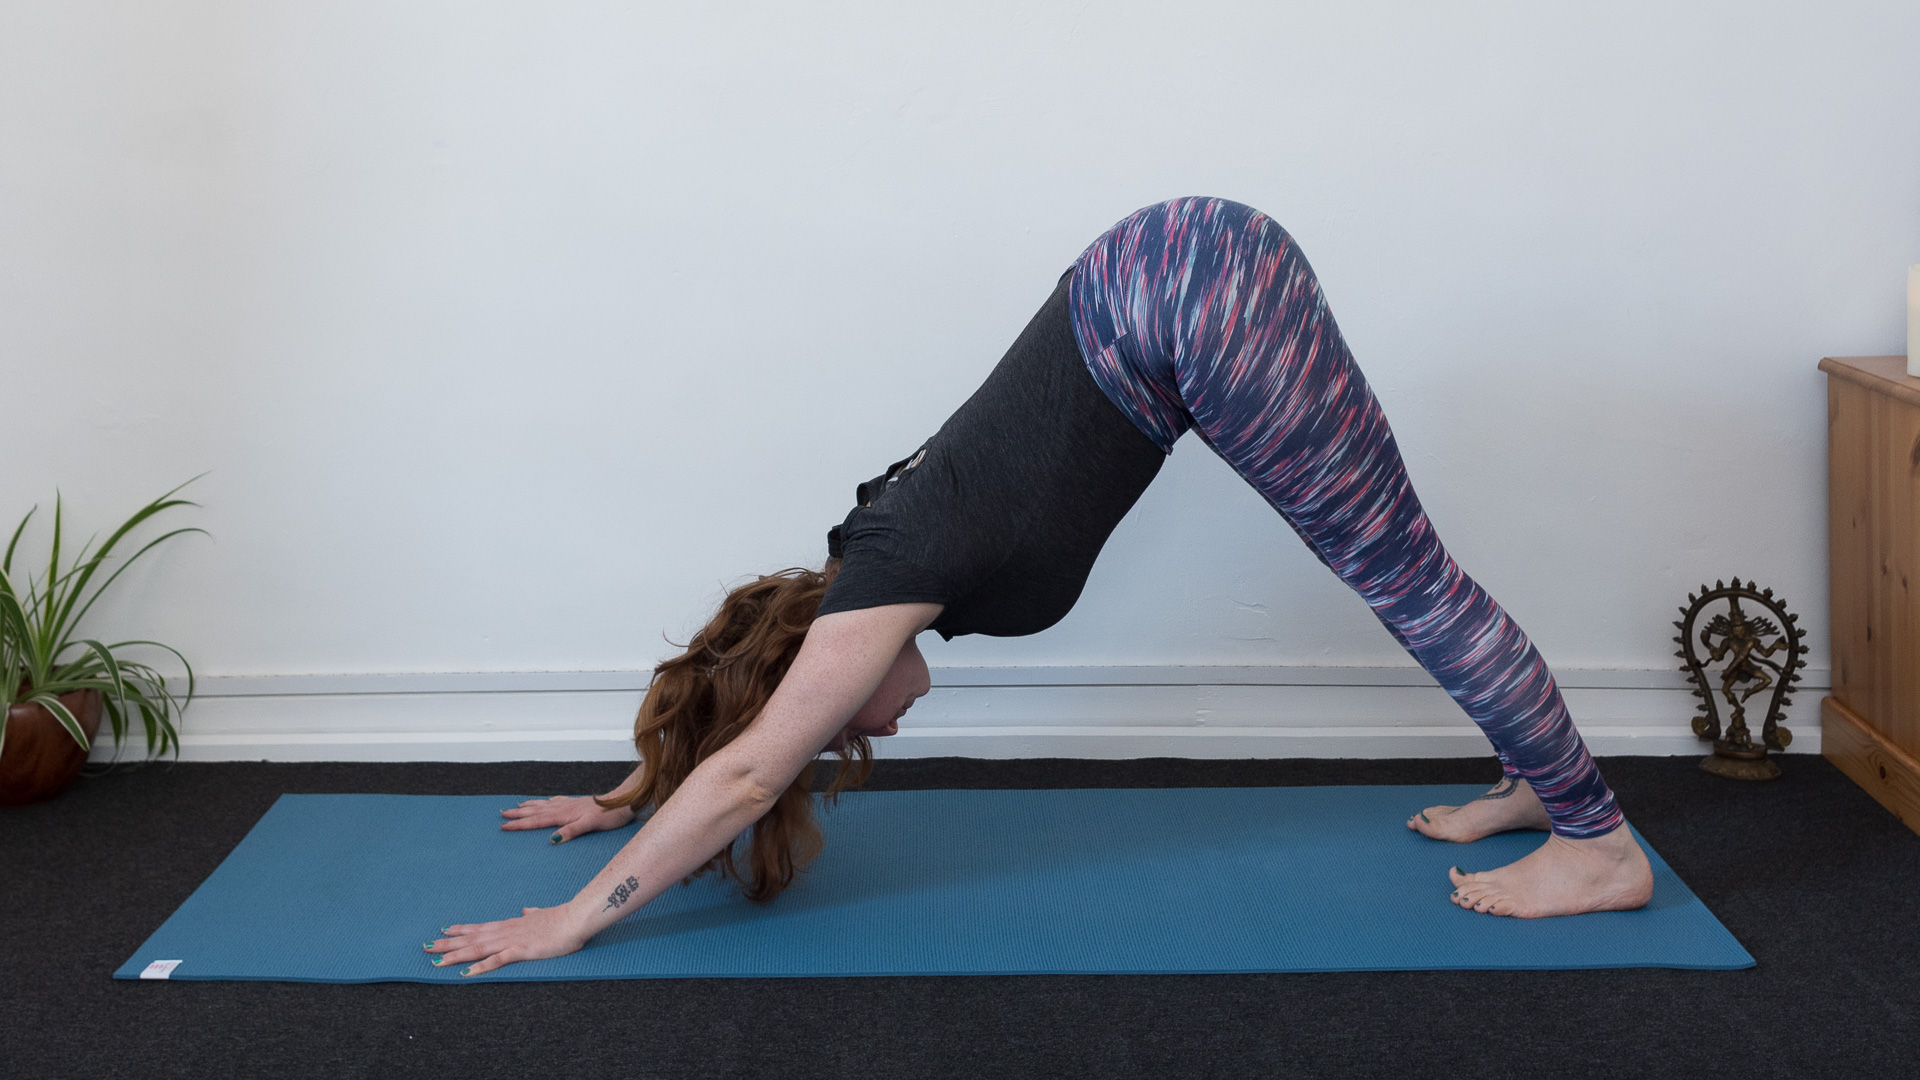
Downward dog helps to increase the blood flow to the brain making us more alert
From an all fours position, tuck your toes and lift your hips up into what's known as the 'downward dog' position. Spread your fingers, straighten your arms and press your weight back into your legs. Move your chest towards your thighs. Take five slow, deep breaths here.
Pro tip: If you find that your back starts to round when your legs are straight, bend your knees and lift your heels up to keep your spine straight.
- Create a calm space with one of the best oil diffusers
- ... or one of the best candles
3. Open your heart
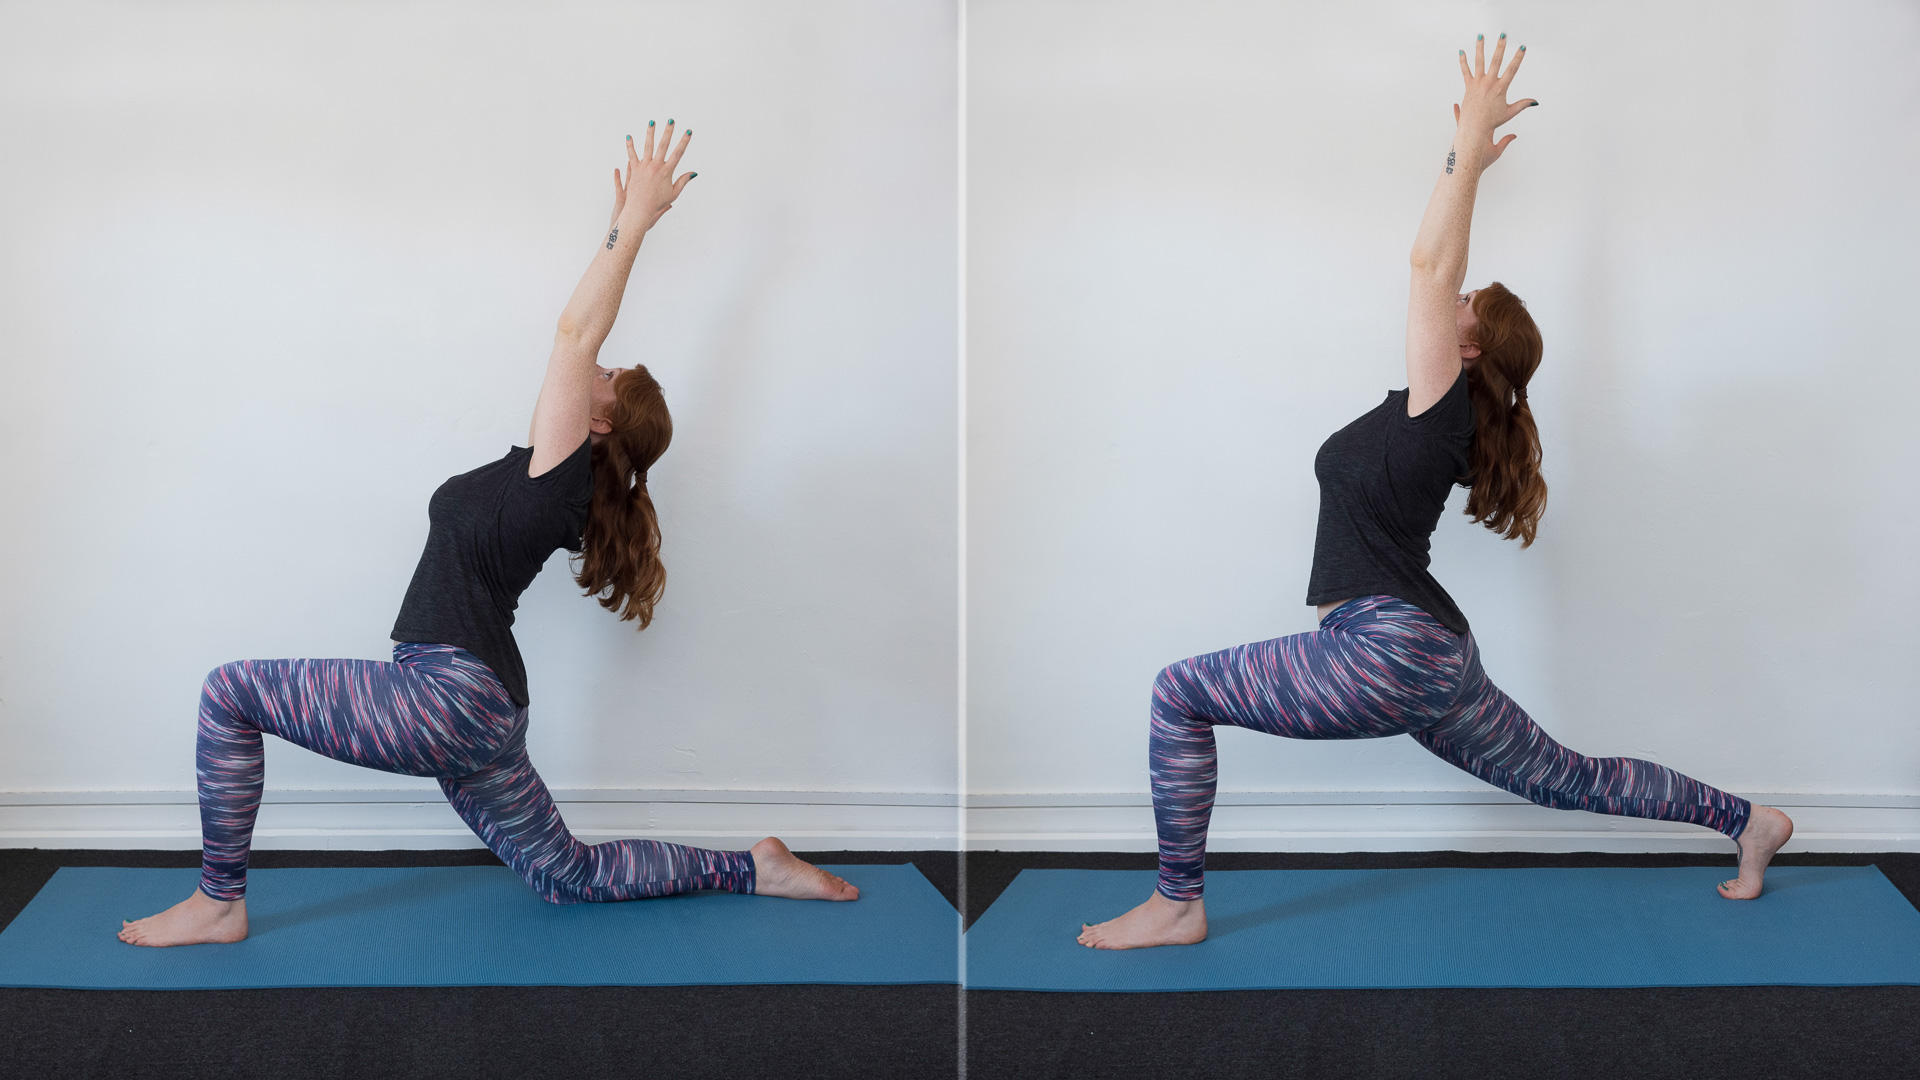
Crescent lunges are perfect for waking up the hips and thighs, releasing any heaviness in the legs
From downward dog, step your left foot forward in-between your hands, stacking your knee above your ankle. Drop your right knee to the floor so you're in a lunge position, and lift your arms up in line with your ears. Draw your navel in, lifting it away from your left thigh and begin to arch back. Make sure you drop your shoulders down away from your ears and lift your chest bone towards the sky. Take a breath.
Now tuck your right toes, press into your feet and lift your back knee off the floor for high crescent lunge. Send your right heel back to open your right hip flexors. Take a breath. Slowly return your right knee to the floor and repeat the sequence with the right foot forward.
Pro tip: If you can't bring your foot in between your hands from downward dog, place your knees to the floor first then step your foot through.
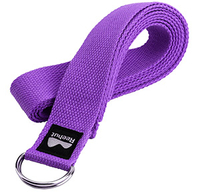
REEHUT D-ring yoga strap | View on Amazon
D-ring straps are incredibly useful if you're working on improving your flexibility. They give you something to pull against to help you deepen stretches and work your way towards achieving tricky poses. This one is robust, soft and inexpensive.
4. Prepare to twist
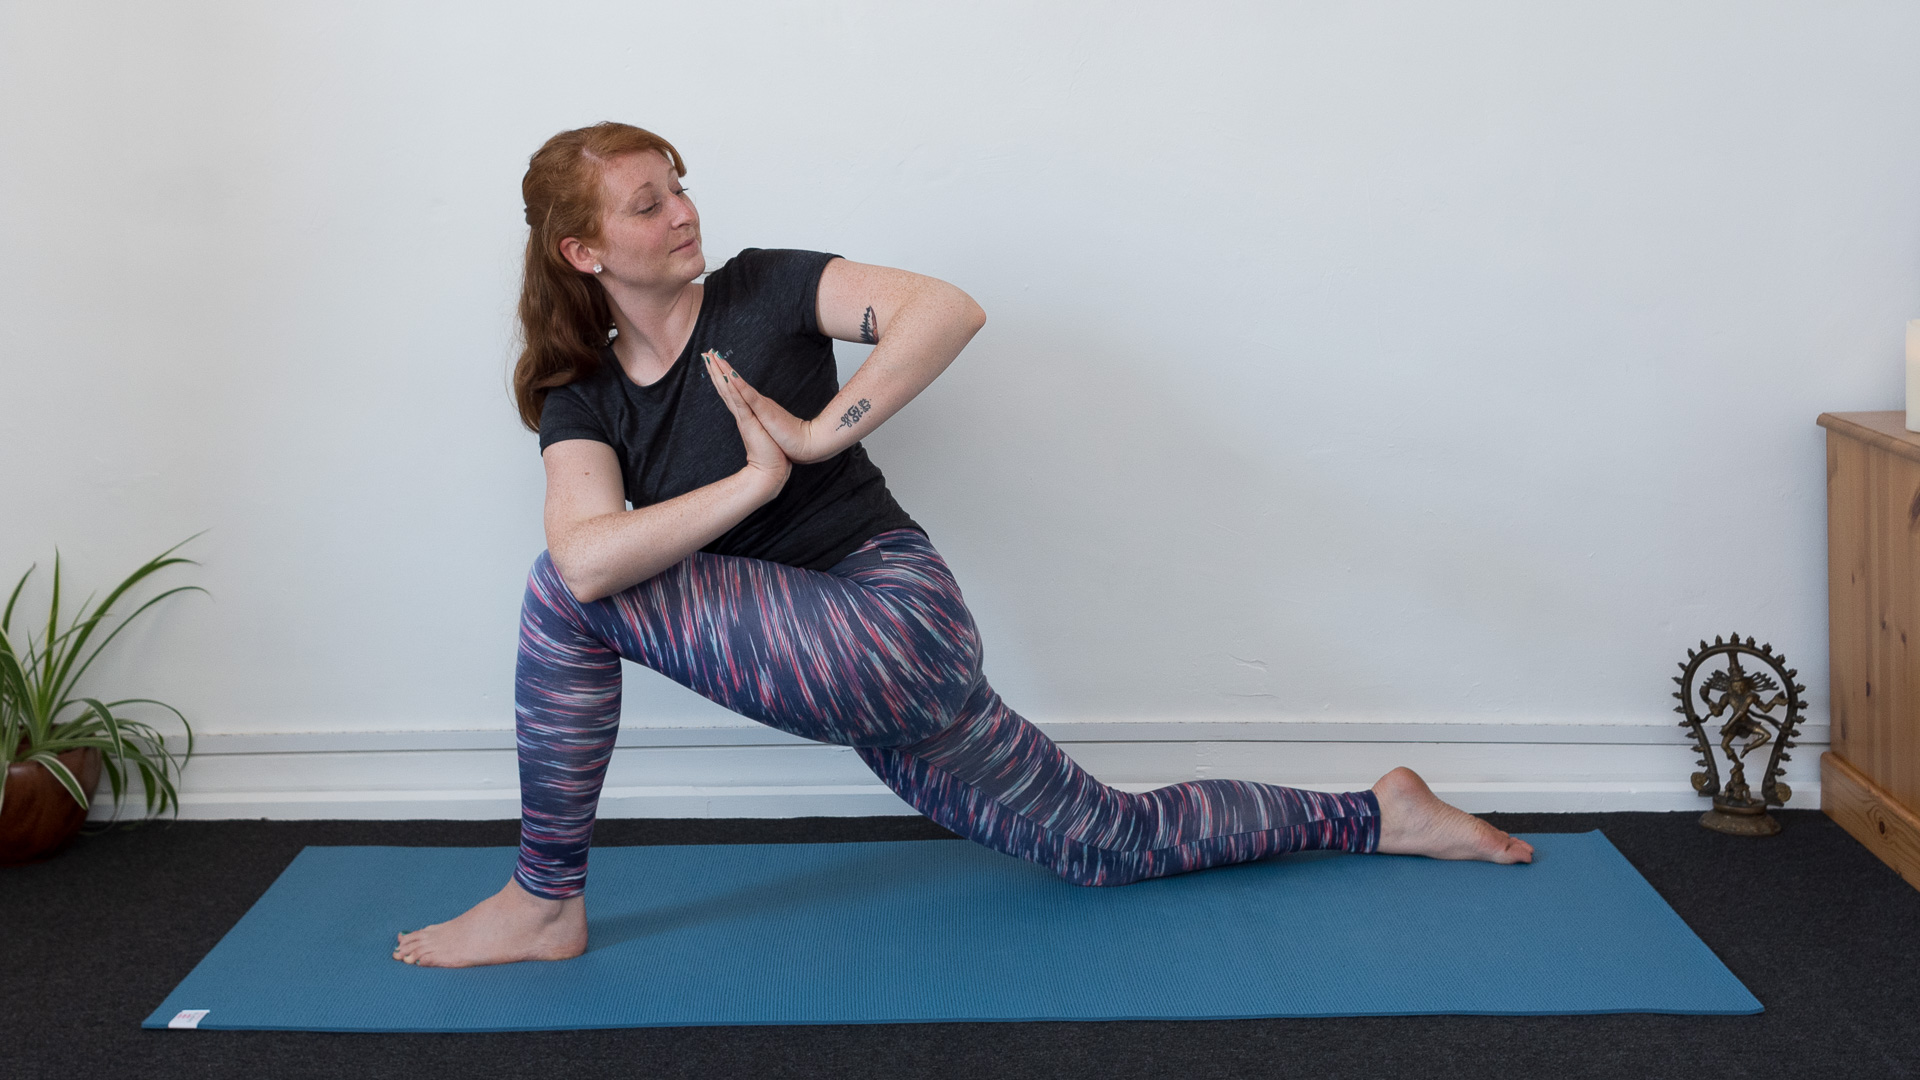
Twists keep the spine healthy as they help to hydrate the discs between the vertebrae
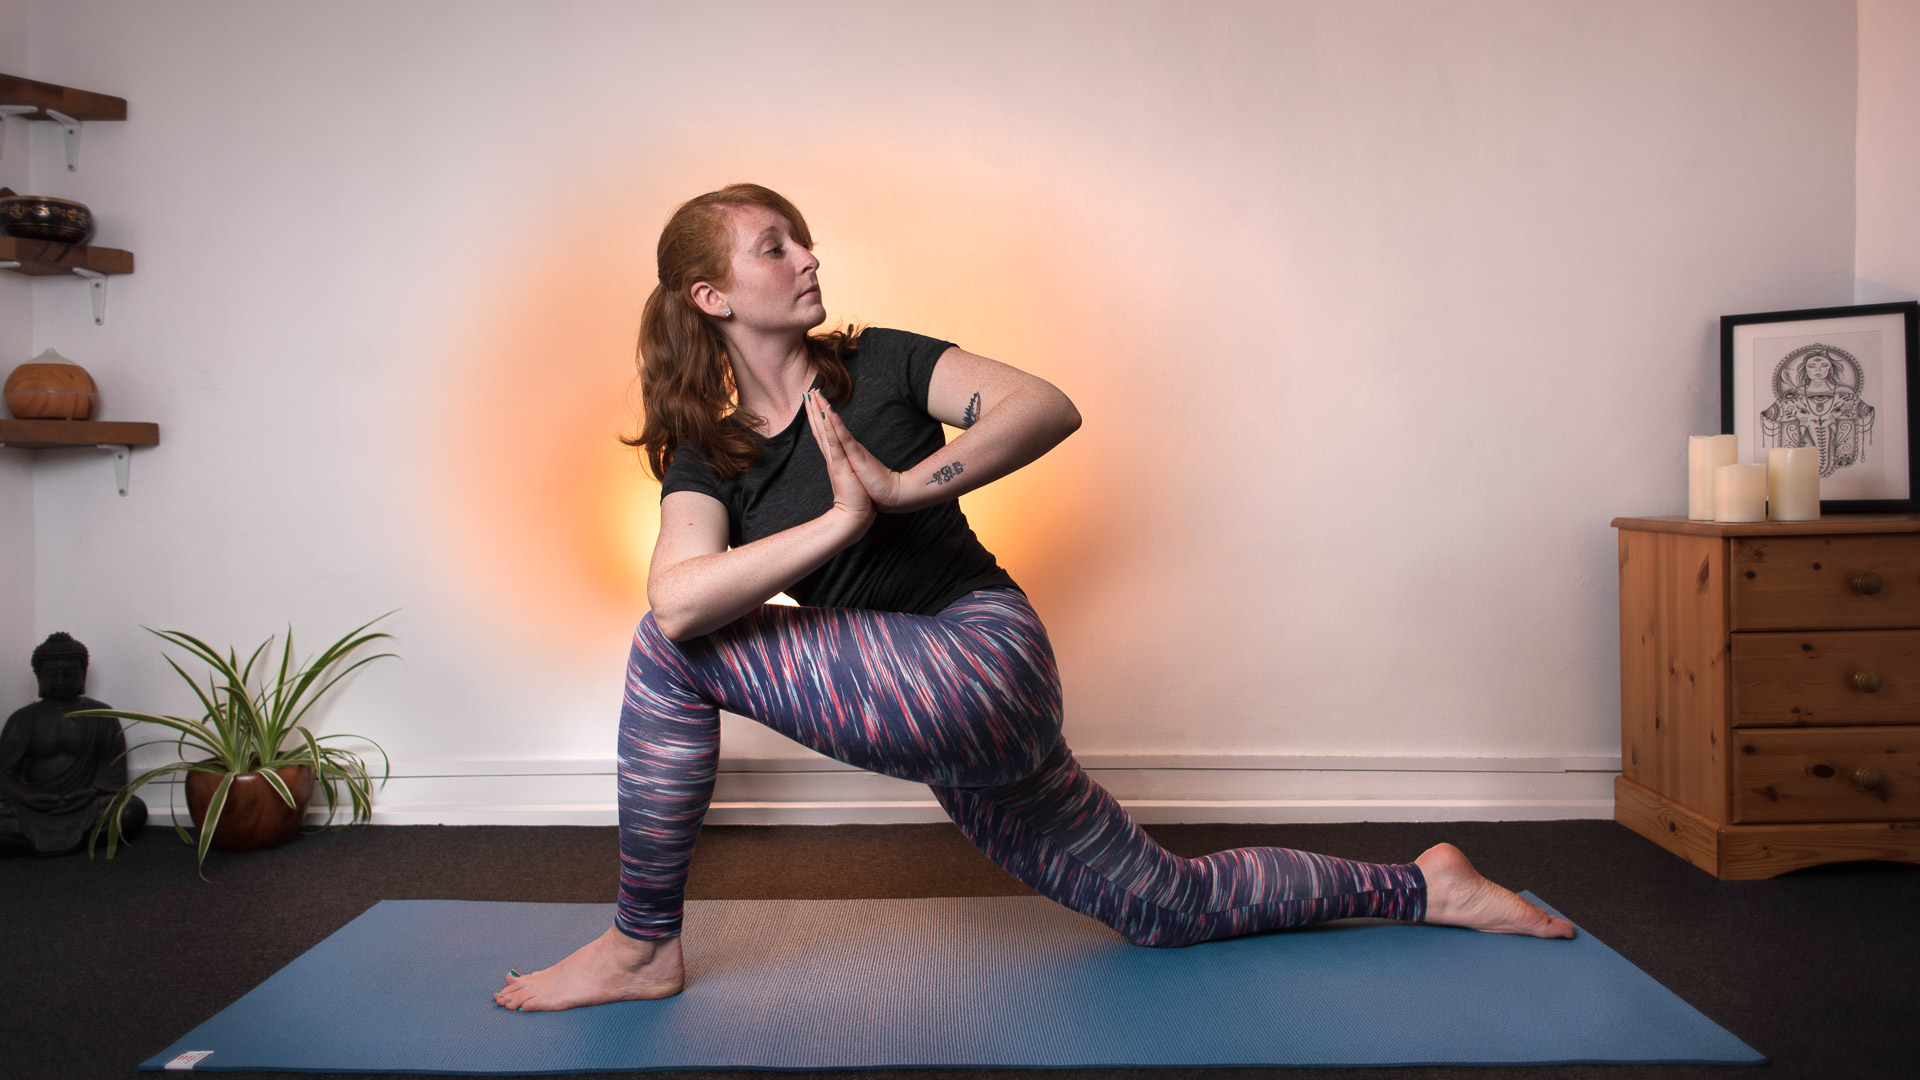
Come to a low lunge position, starting with your left foot forward. Bring your hands into a prayer position at the centre of your chest. Turn to your left, bringing your right elbow to the outside of your left knee. Press the hands together, helping to lift your chest away from the left thigh, aiming to line your thumbs up with the centre of your chest. If your neck is comfortable, you can turn to look over your left elbow. Take a few breaths. Come out of your twist slowly, and repeat the sequence with the right foot forward in your lunge.
Pro tip: If you can't connect your elbow to your knee, stay upright in your twist with the forearms parallel to the floor, thumbs into the centre of the chest.
5. Sink back into child's pose
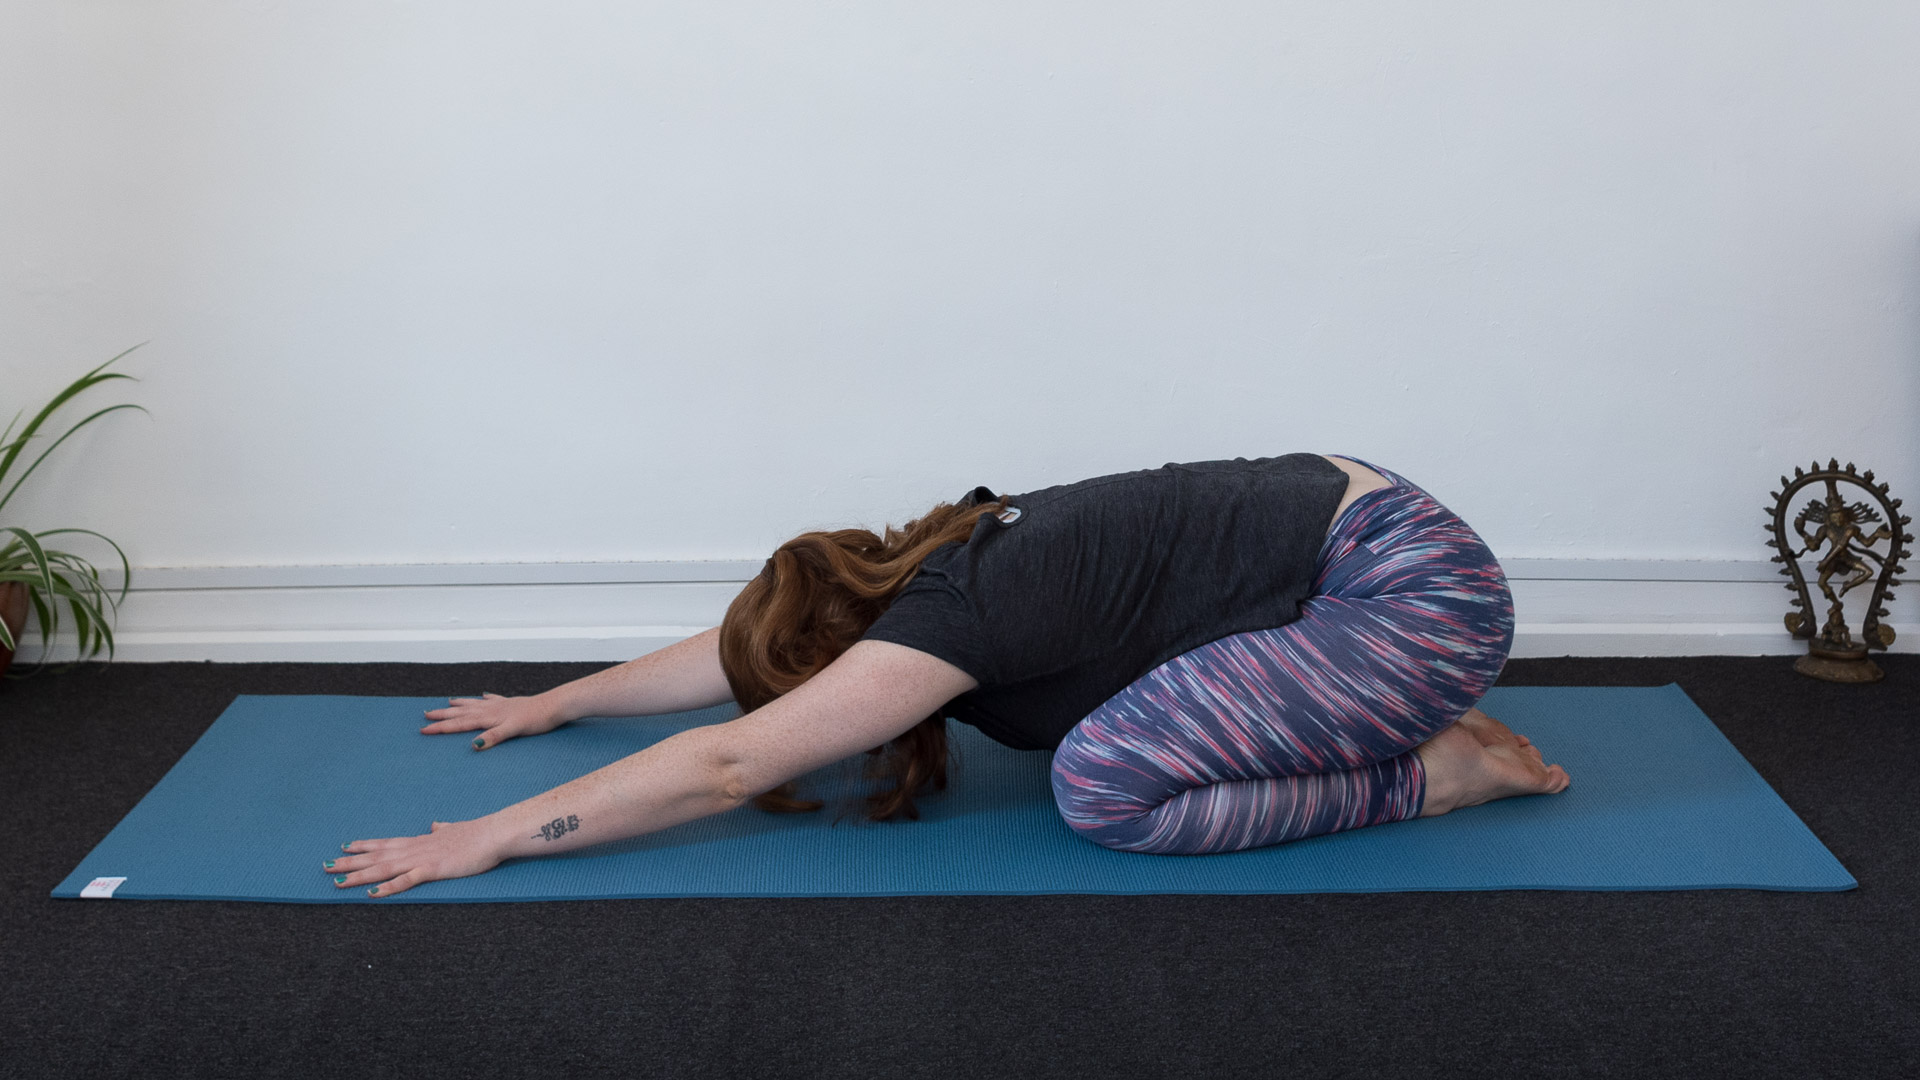
Extended child's pose is an active posture and helps to liven up your shoulders
After the lunges, from an all fours position bring your big toes together and separate your knees so your inner thighs hug your ribs as you sink your hips back to your heels. Keep the arms outstretched in front of you, fingertips or palms to the mat, lifting your elbows off the floor and sending your shoulders down the back, away from your ears. This is known as child's pose. Take three deep breaths here.
Pro tip: If you can't bring your hips to your heels, place a cushion underneath your buttocks. You can also place a cushion under your forehead to soften the neck.
6. Slide forward into cobra
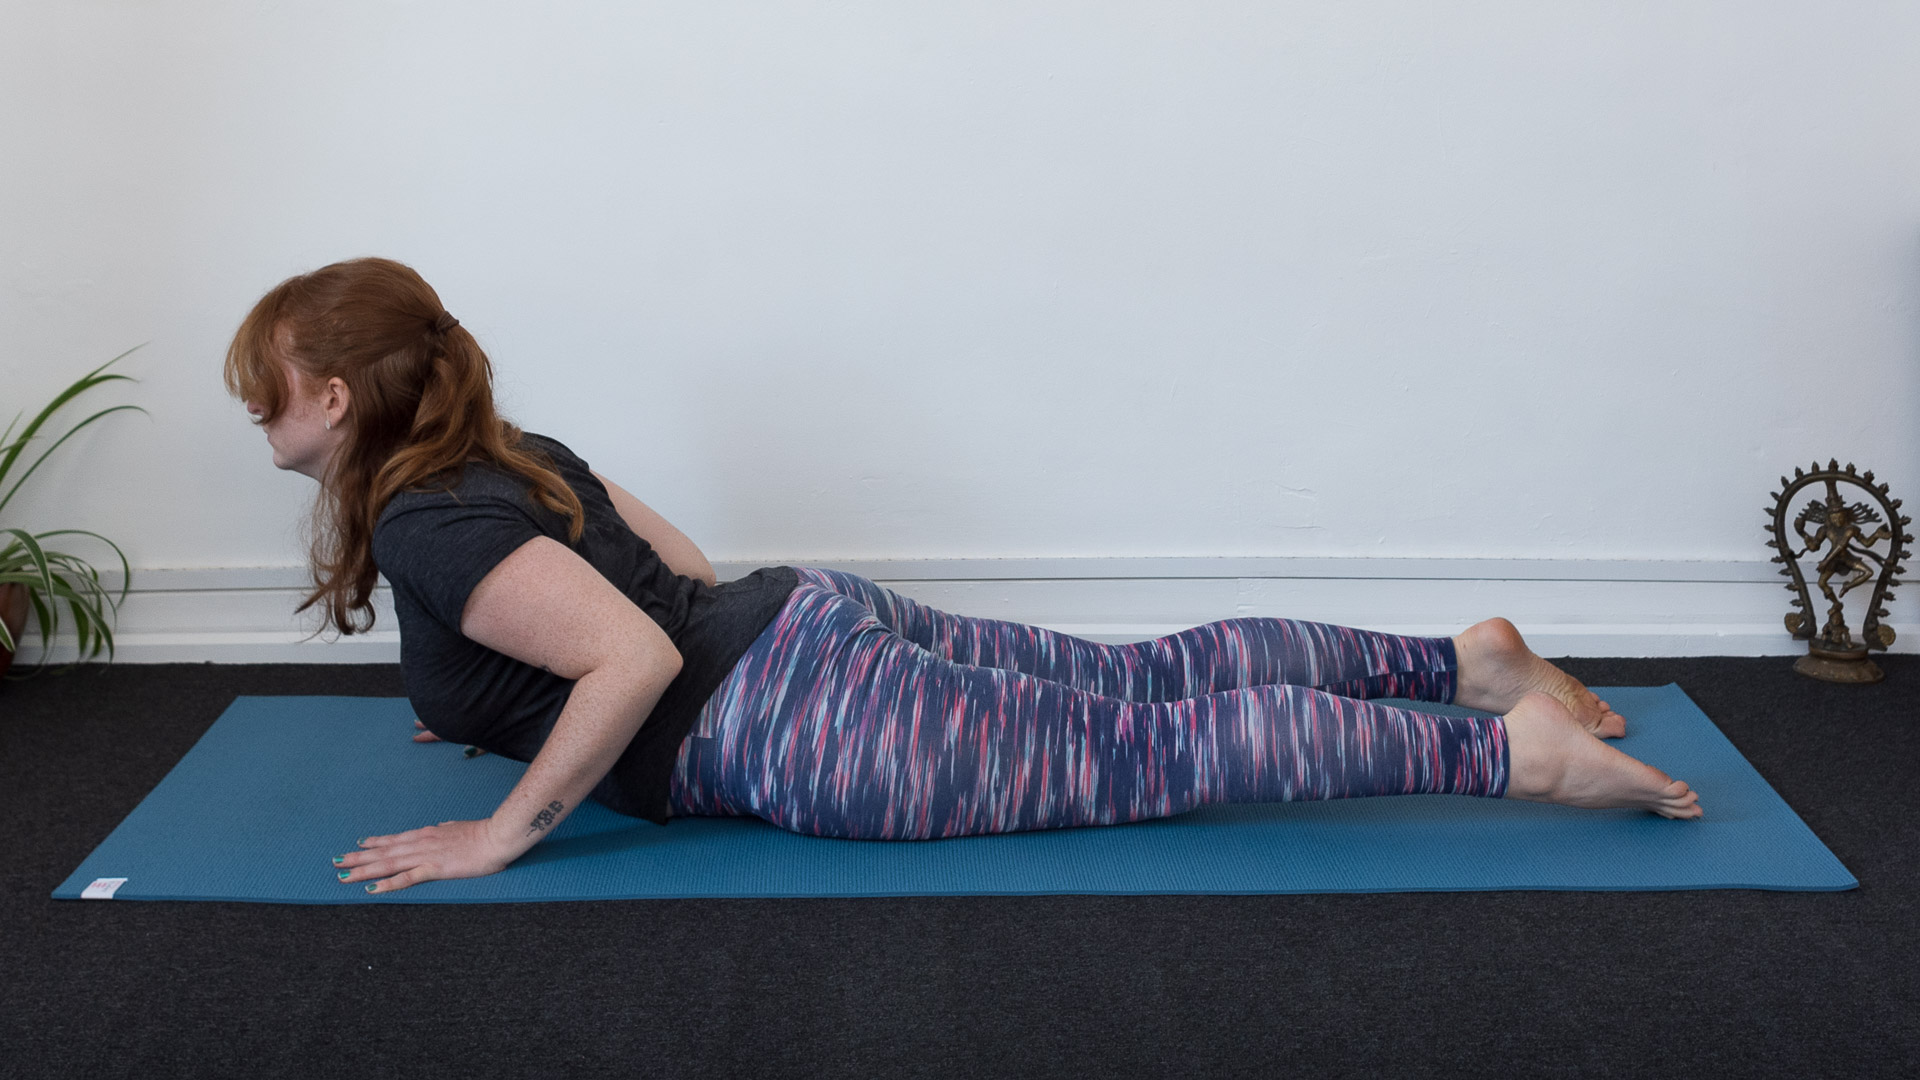
Backbends help to wake up the whole body and boost your mood
Slide forward onto your abdomen and place your hands either side of your chest. Bring your elbows into the back ribs, placing your forehead to mat. Press the tops of your feet down, lift your knees off the floor and start to draw your navel in. Keeping all of this engagement, as you inhale gently press into your hands lifting your head and chest forward and up. Take three deep breaths here and then lower back to the mat.
Pro tip: This pose is good for strengthening your back muscles – try and use your back muscles to lift yourself, with as little pressure in your hands as possible.
- A good night's sleep is vital to wellbeing – these are the best mattresses
7. Stretch out with bow pose
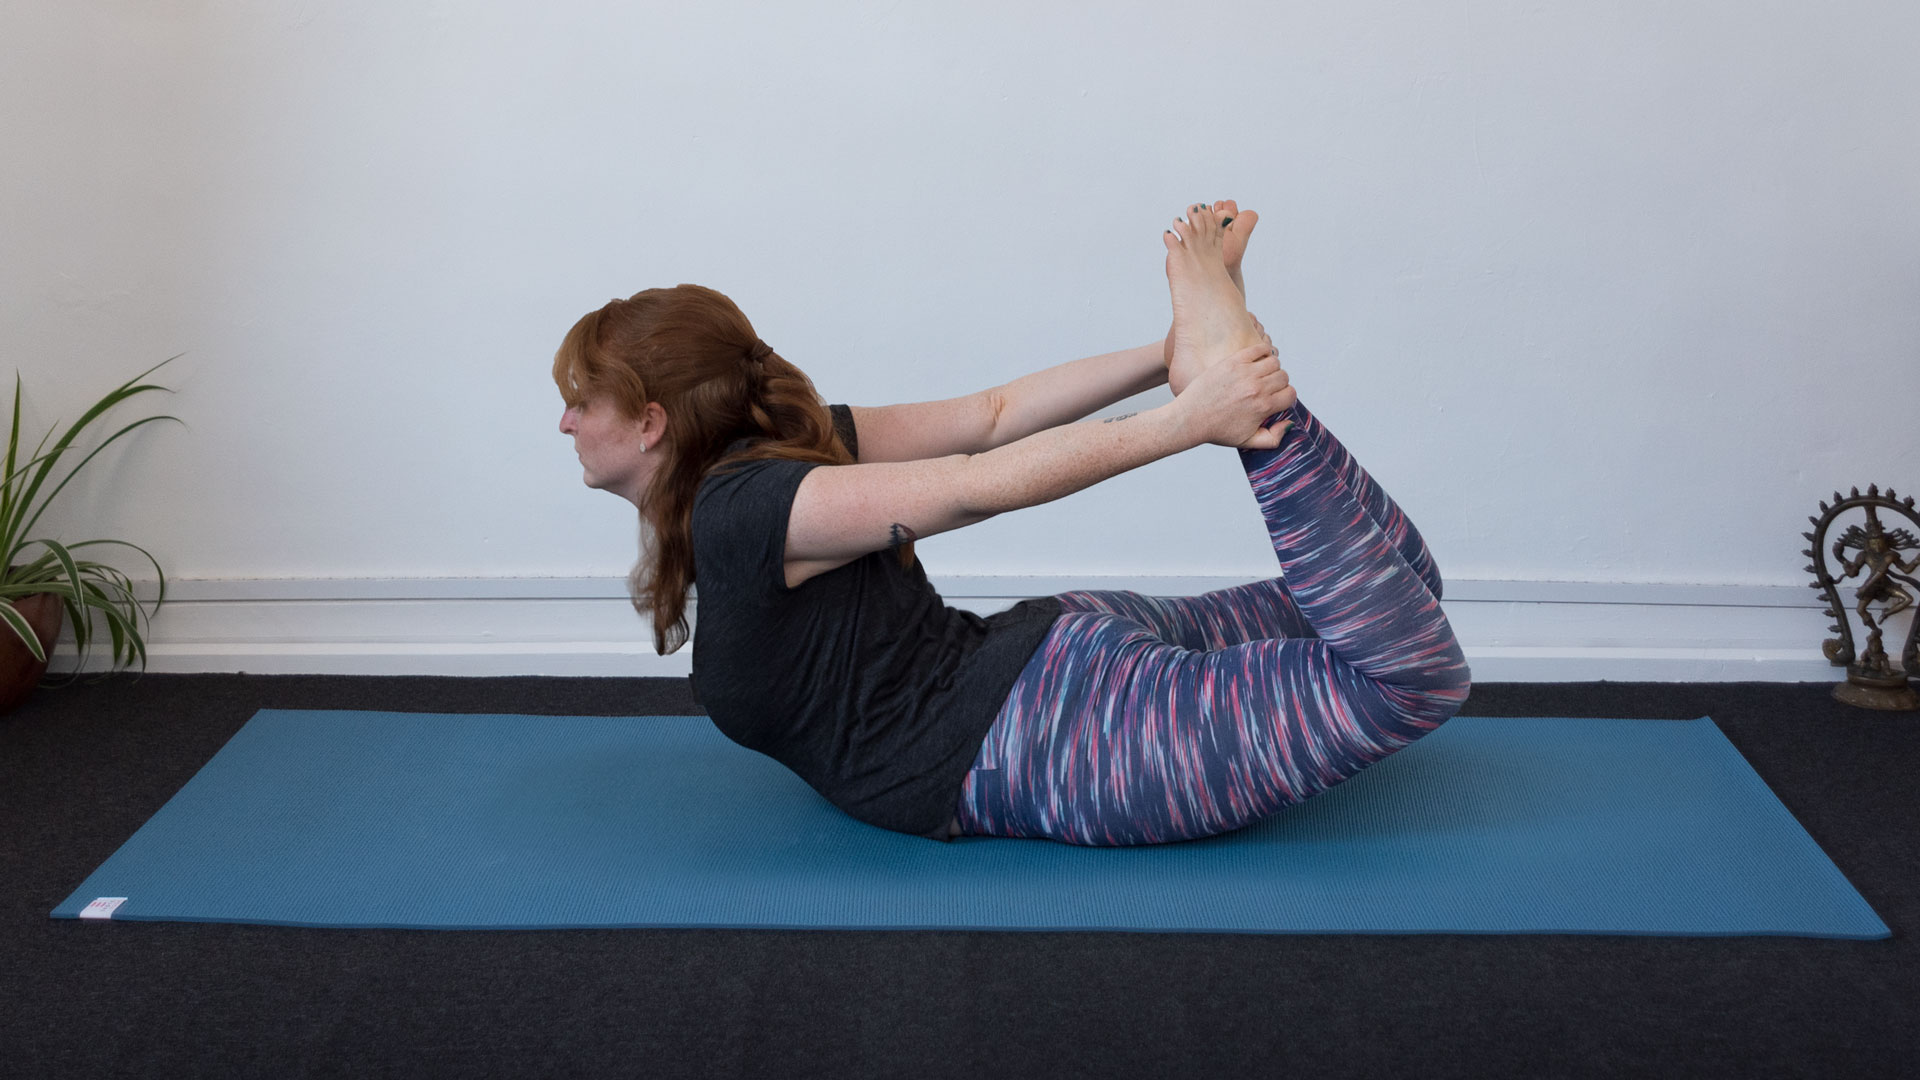
Bow pose opens the front of the body, helping to counteract the digital hunchback
Bend your knees taking hold of the fronts of your ankles. Make sure your knees are apart for this backbend. Place your forehead on the mat. As you inhale begin to move your shins back away from you and feel how this lifts the front of your shoulders up, away from the floor. You can allow your head and chest to follow this movement, perhaps you can even lift your thighs off the mat. Take two deep breaths here before releasing back to the floor.
Top tip: If you can't reach your ankles, you can use a yoga strap or belt – place it around the fronts of the ankles, and hold the strap instead. Or if you don't have a strap, you can reach your hands back and keep your thighs on the floor.
8. Let's twist again
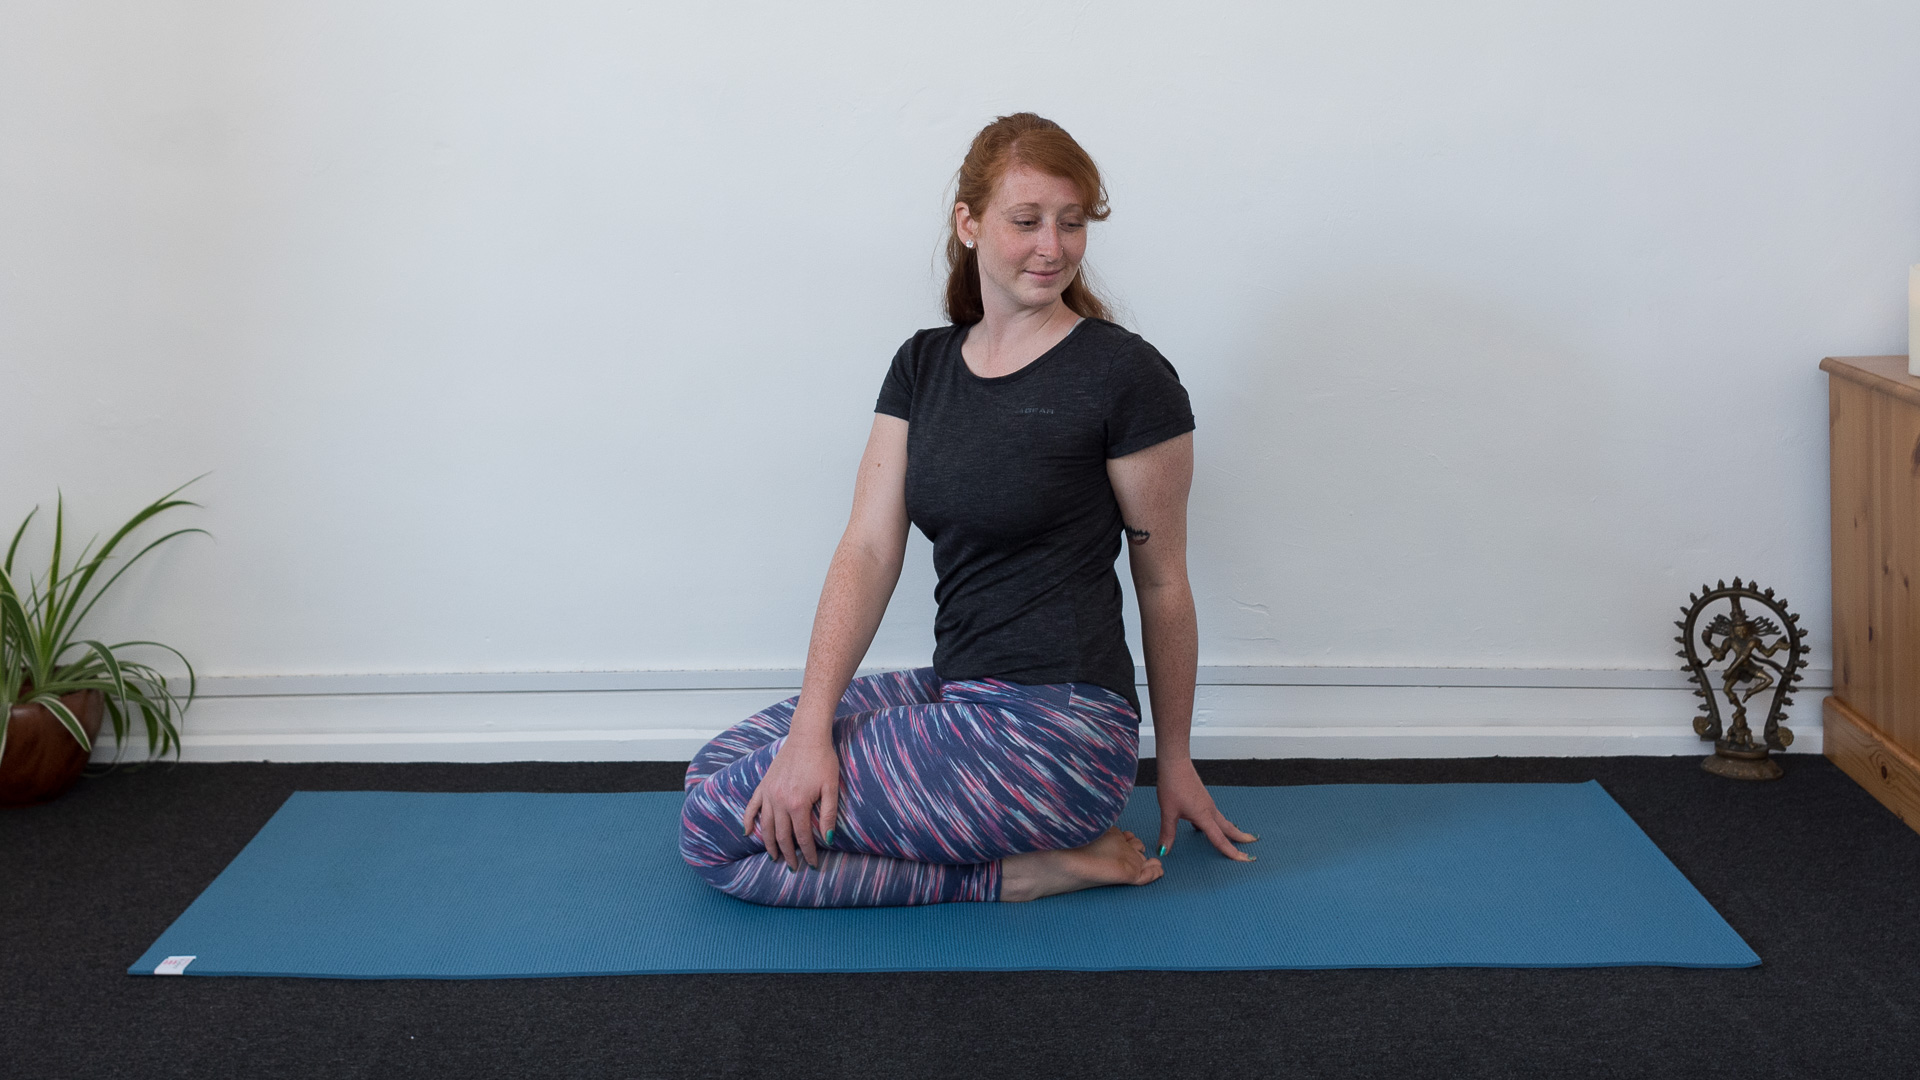
Twists give our internal organs a little massage, waking everything up
Bring yourself to sit back on your heels. Place your left hand behind you and your right hand onto the outside of your left thigh. Inhale, begin to twist to your left keeping your spine lifted as you turn. Take three deep breaths here and then repeat, twisting to your right.
Pro tip: You can place a yoga block or cushions underneath your buttocks to help make it easier to sit back on the heels.
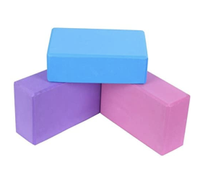
VLFit yoga blocks | View on Amazon
A foam yoga block is used as a prop while you're working on your balance and flexibility. They're lightweight, inexpensive and robust, and give you something to lean on or prop yourself up with when you can't yet reach whatever limb you're meant to be balancing on.
9. Stay focused with side plank
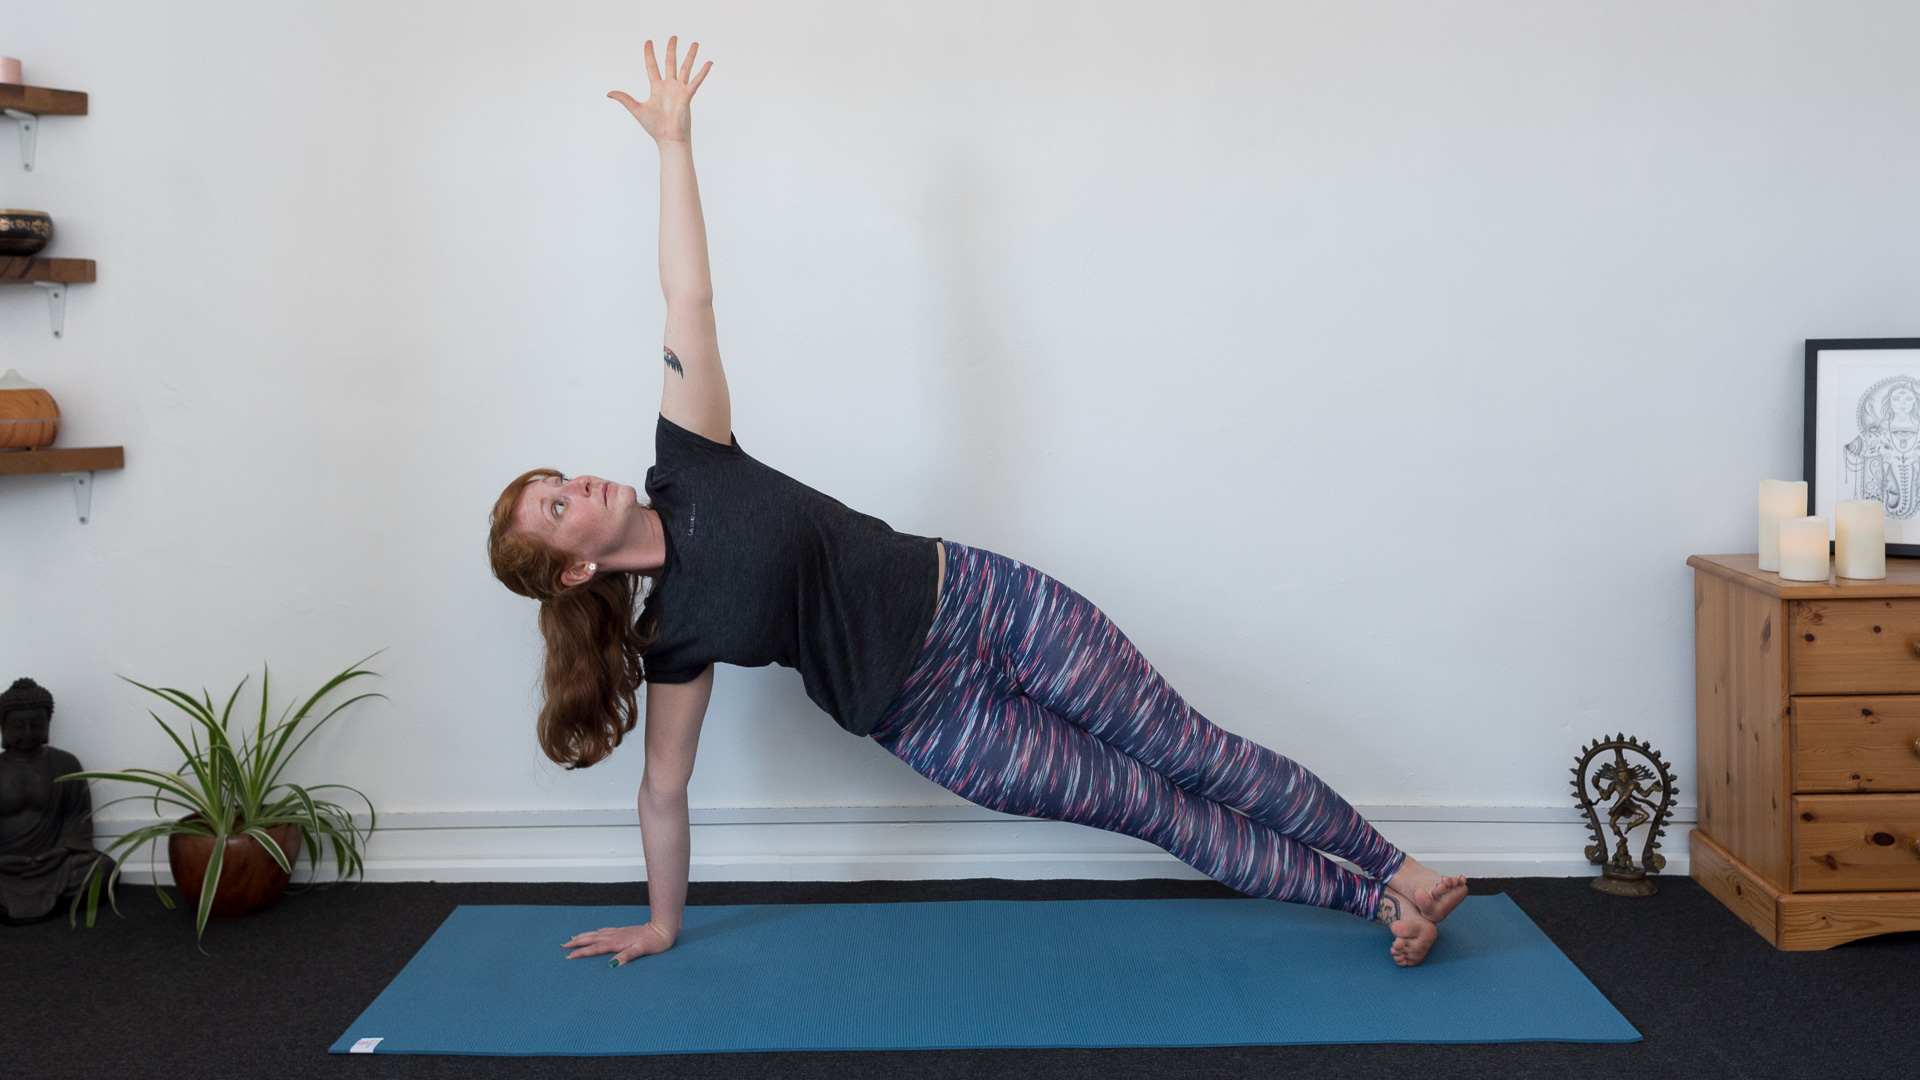
Arm balances help build concentration, as well as producing a little heat in the body – a sign that our energy has been lifted!
Making your way on to your right hip, place your right hand down stacking your wrist under your shoulder. Spread your fingers, begin to press into the floor moving your right shoulder blade onto the back and down, away from your ear. This is essential for a supported arm balance. Have a bend in the knees, stacking your knees and ankles. Place your left fingertips onto the floor in front of your hips. Press into your hands and feet then lift your hips off the floor, straightening your legs as you do so. Lift your left arm up, fingertips towards the sky. Take two deep breaths here before returning safely to the floor. Repeat on the left side.
Pro tip: Check out the video below for full instructions and modifications for this posture.
10. Relax your wrists
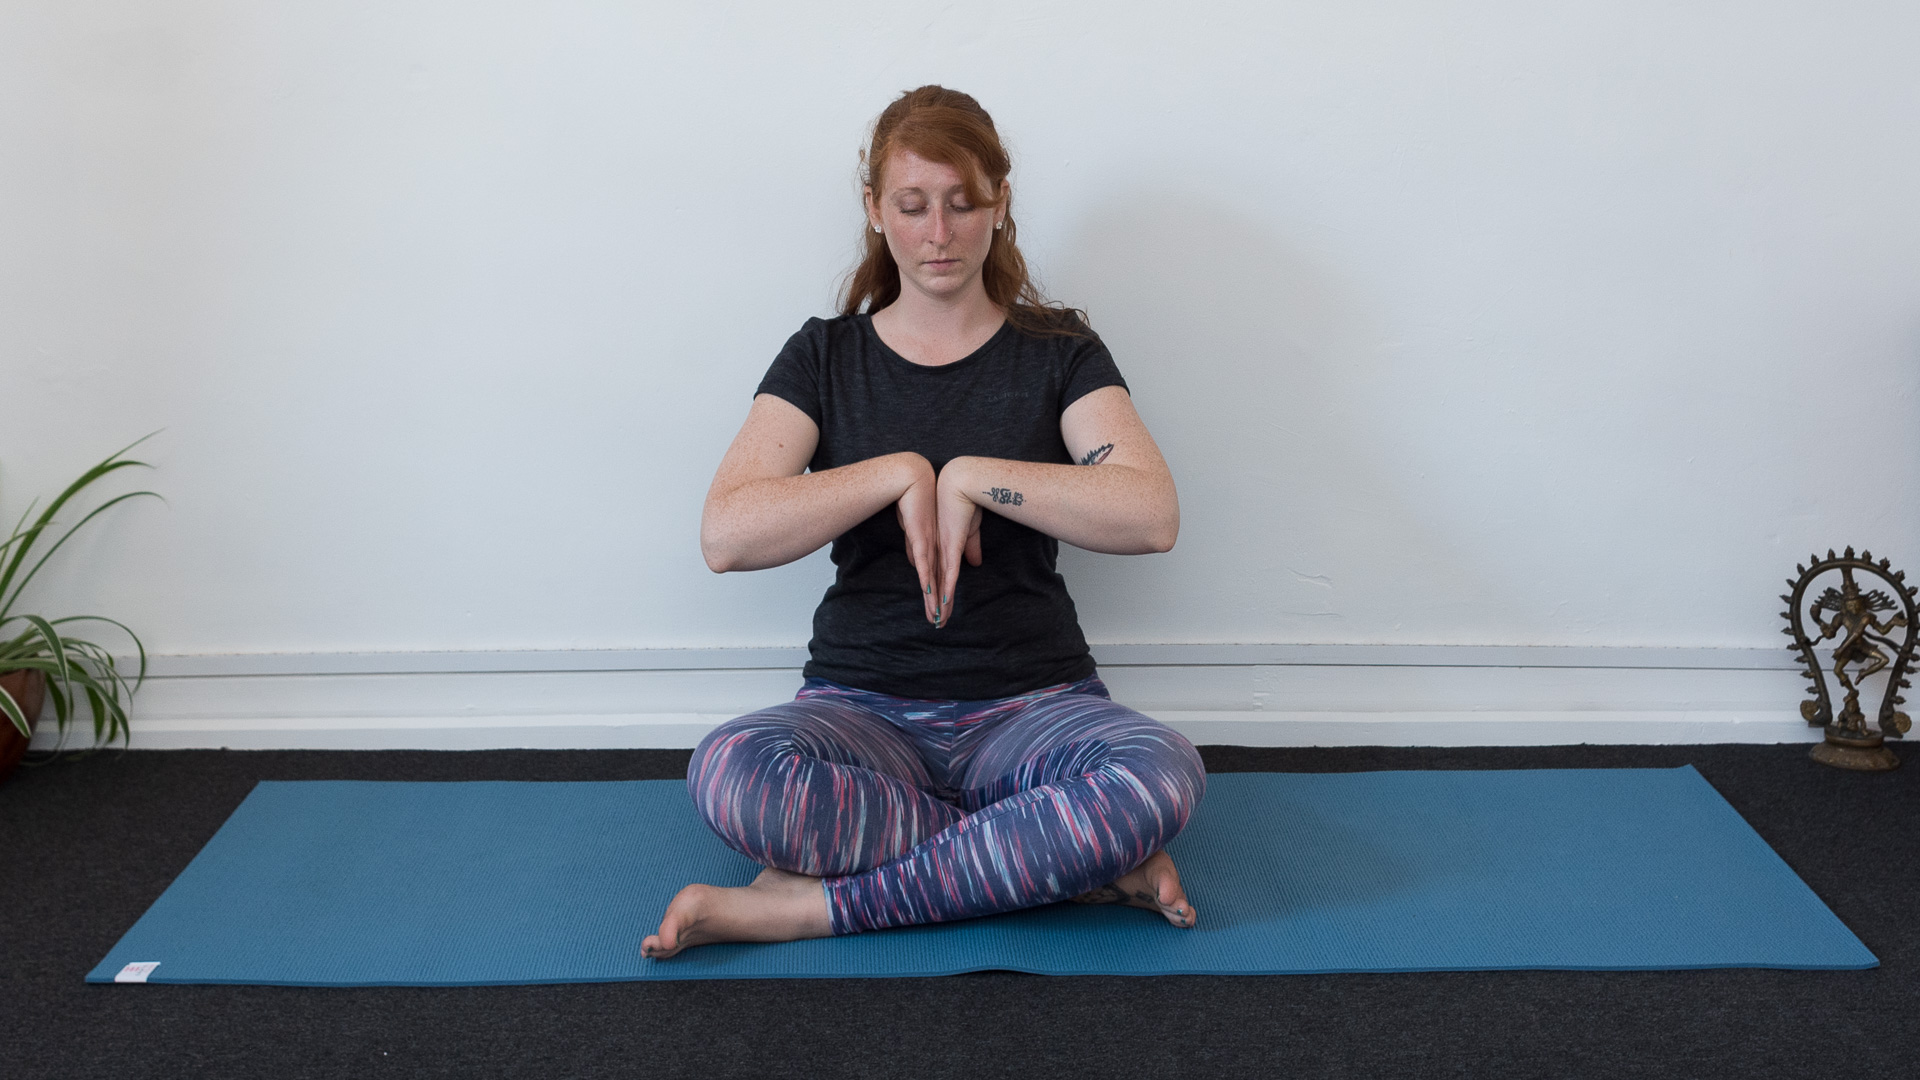
It's always a good idea to stretch the wrists out after strong arm balances
After your side plank, come to a cross legged position. Bring the backs of your hands together and drop your elbows, stretching the wrists out the other way. Take two deep breaths here.
Pro tip: If you find sitting cross legged uncomfortable, sit on the edge of some cushions to give your hips some extra help to relax.
11. Balance your energy
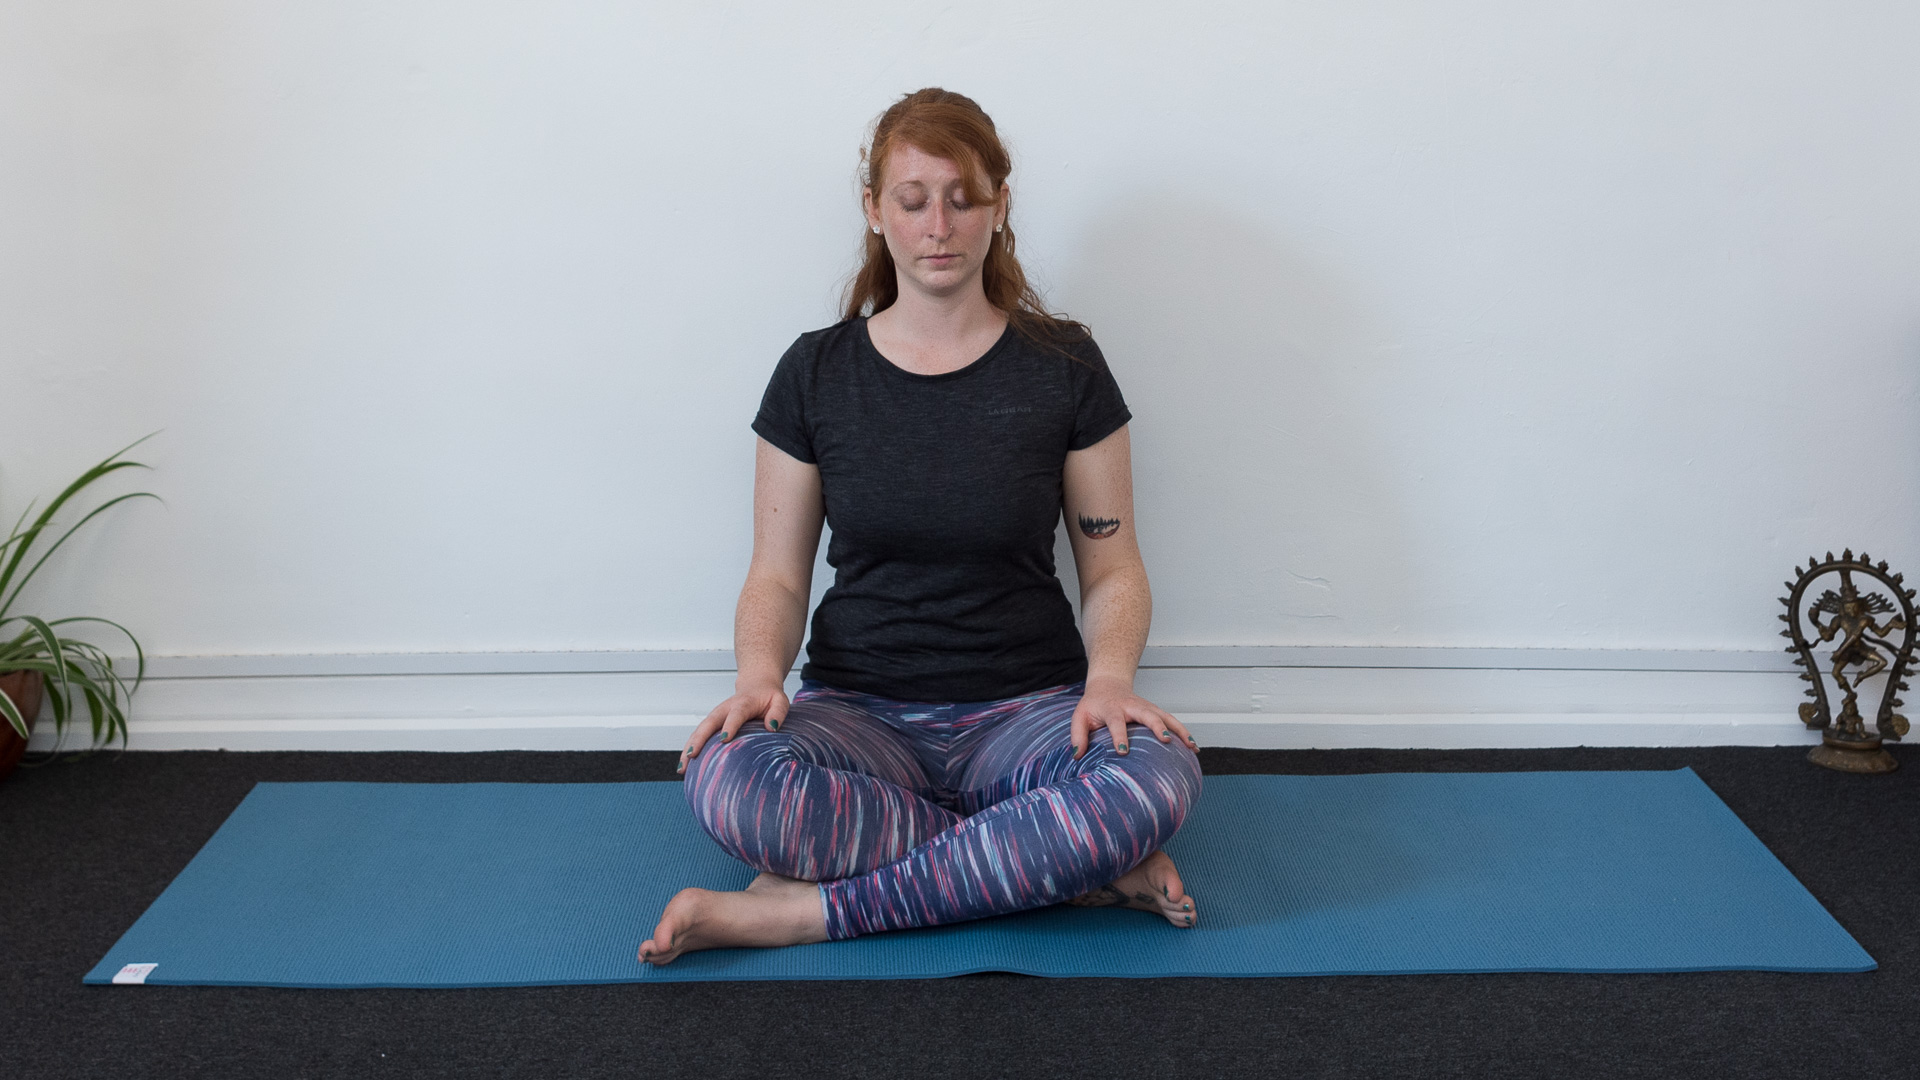
Don't forget to end your short practice with some mindful breathing to rebalance the energy of the body
Before continuing with your day, take a few deep breaths sitting in your cross-legged position. Taking a moment to feel the effects of the practice and bring your energy back into balance.
Wellness Week on T3
Wellness Week is brought to you in association with our new sister site Fit&Well and Wiggle. A new standard for a new age of wellbeing, Fit&Well helps you live a better, healthier, happier and longer life. Check it out today at www.fitandwell.com and accelerate your wellness journey.
So there you have it, a 10 minute yoga sequence you can practice any time of the day whenever you need a pick-me-up. Say goodbye to the cobwebs and hello to the rest of your day.
Want to work on improving your fitness? Try one of these articles:
Kat has 10 years of yoga teaching experience with further training in supporting injured students. She is qualified to teach Yin Yoga, Hormone Yoga Therapy and more traditional forms of Hatha yoga. She also has a certificate as a Yoga Therapy Practitioner.
-
 I ran the Seville marathon with ASICS – here’s 5 things I learnt from my first marathon
Everything I learnt from my first marathon
By Bethan Girdler-Maslen
-
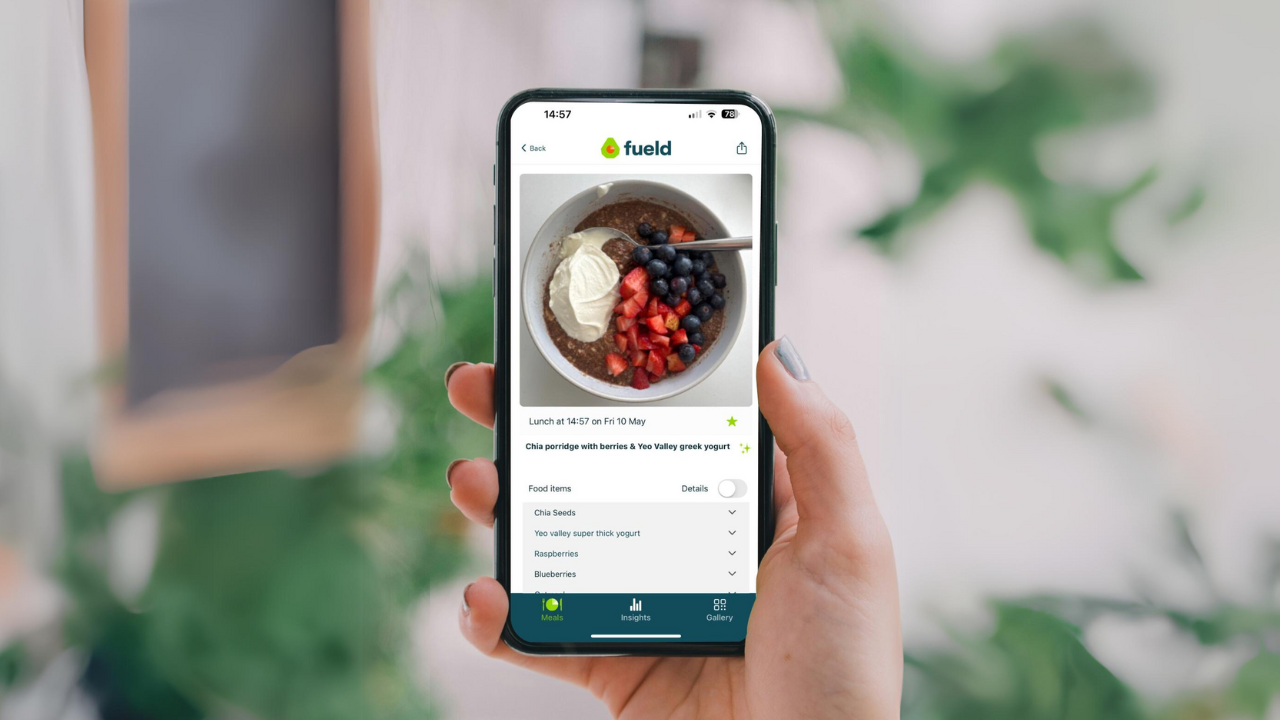 This AI food diary app can tell you the nutritional content of your food – with just one photo
Oh, and it's free to use!
By Lizzie Wilmot
-
 Zoe launches first own-brand supplement on the back of successful nutrition programme
Daily30+ will be available online and in select Waitrose stores later in July
By Lizzie Wilmot
-
 This new wearable monitors your hydration levels and will remind you to drink water
The world's first real-time hydration monitoring wearable is here
By Lizzie Wilmot
-
 I tried the Zoe nutrition programme – it told me exactly what I was doing wrong
If you haven't heard of the Zoe programme, where have you been?
By Lizzie Wilmot
-
 Manduka PRO yoga mat review: luxurious, eco-conscious but could have better grip
A luxurious top-end yoga mat that's almost perfect, apart from its grip... here's T3's Manduka PRO yoga mat review
By Kat Bayly
-
 Lumi Therapy powerPRO Massage Gun review: relieves sore muscles in an instant
Your muscles will never feel sore again with the Lumi powerPRO… if you can manage to hold it!
By Bethan Girdler-Maslen
-
 Lumi Therapy Eco Wolf Yoga Mat review: natural, cushioning and sturdy
The more you sweat, the more the Lumi Therapy Eco Wolf Yoga Mat grips
By Bethan Girdler-Maslen
